
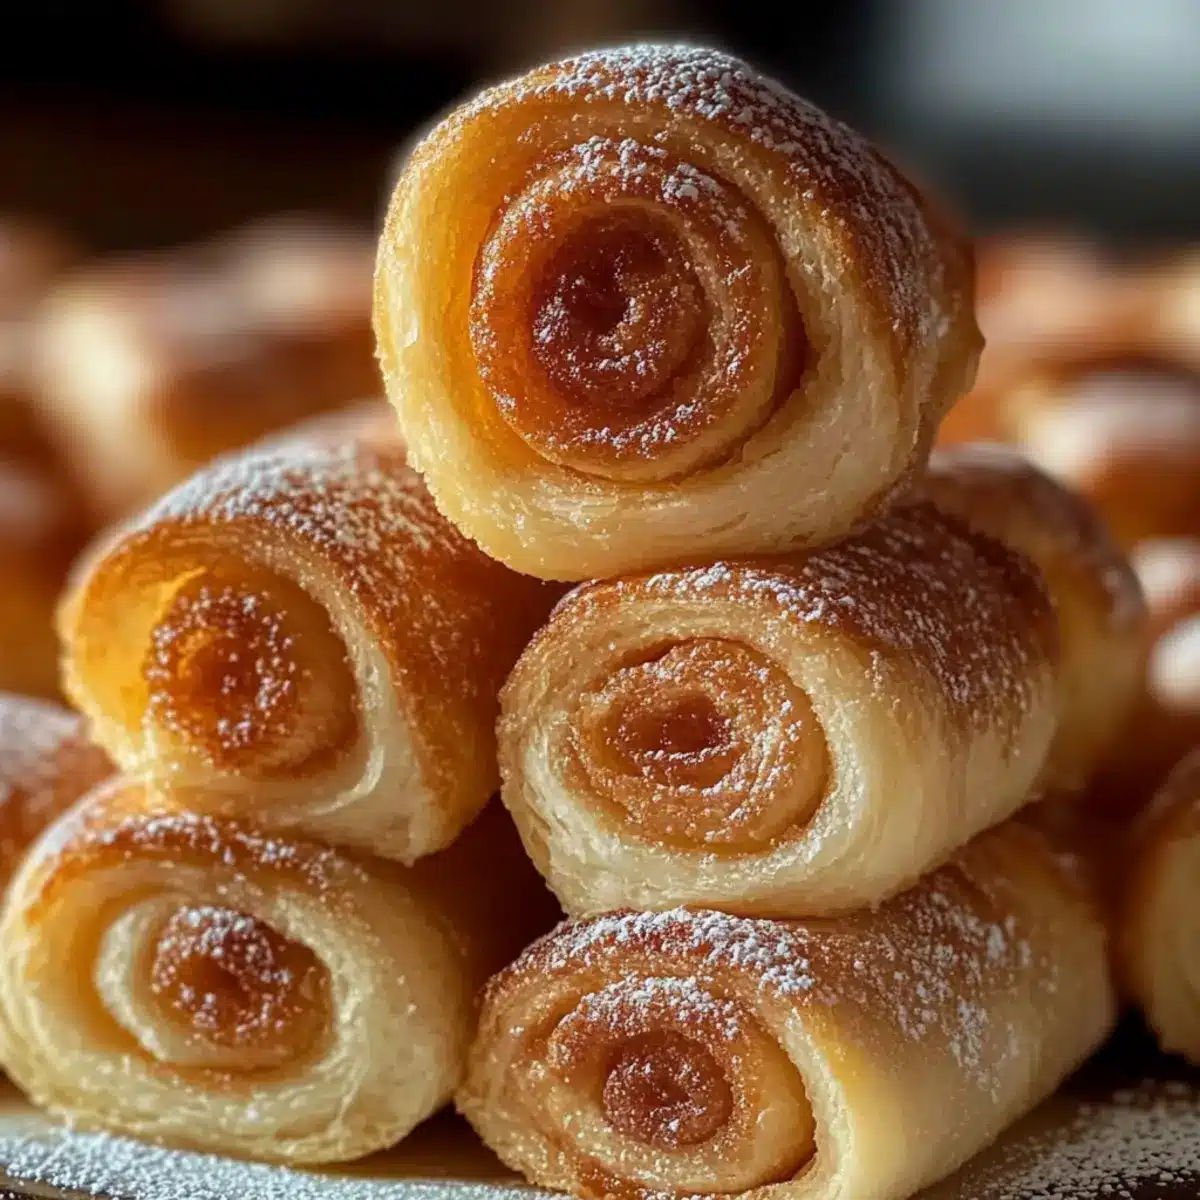
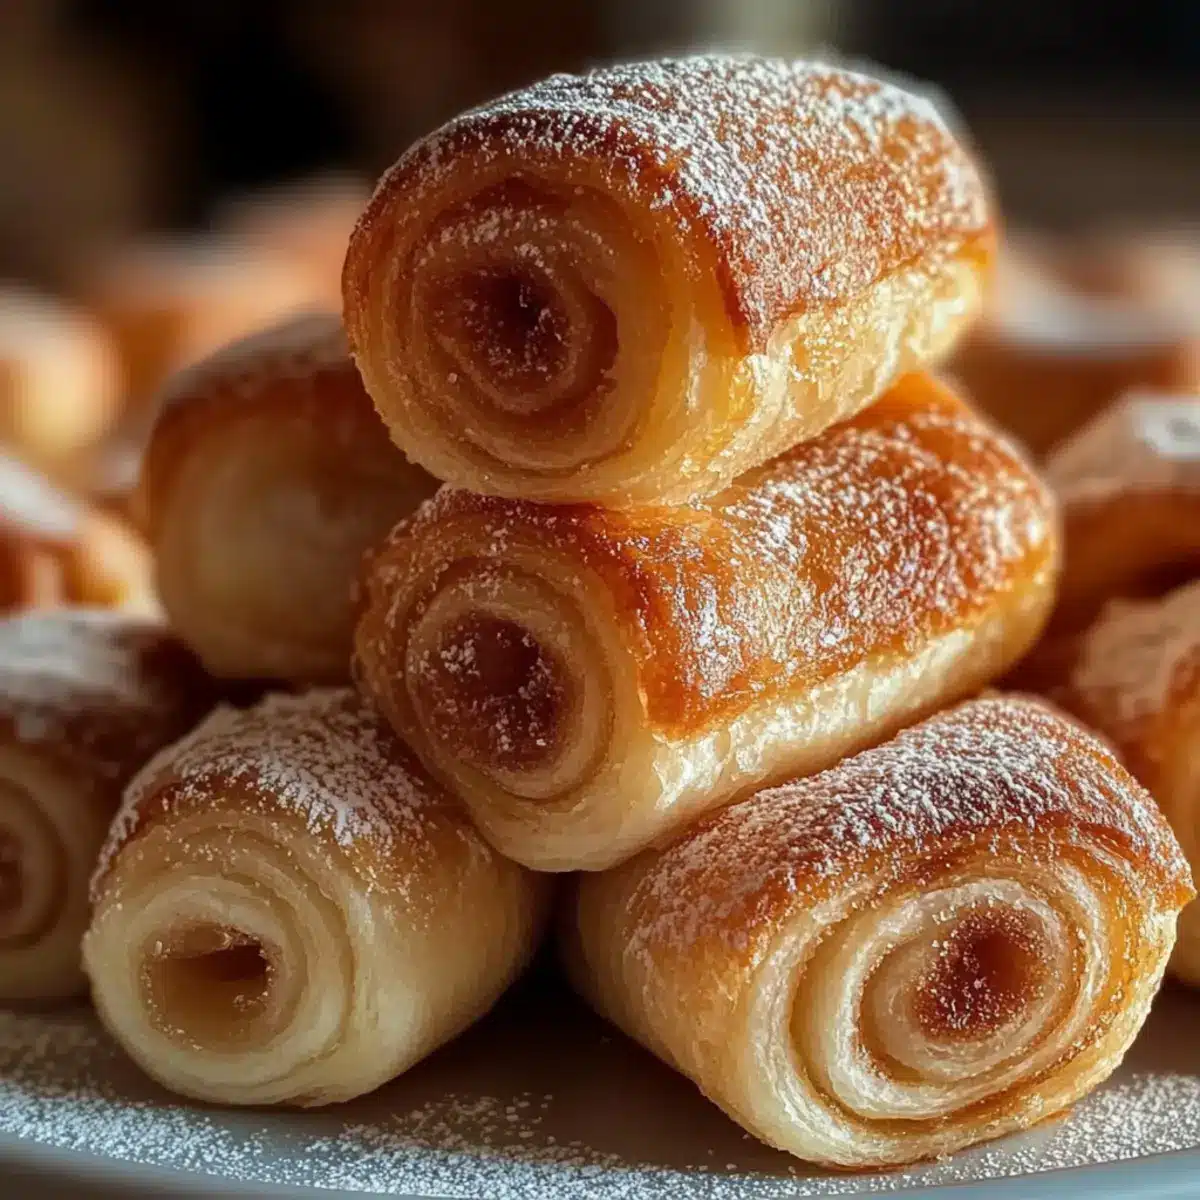
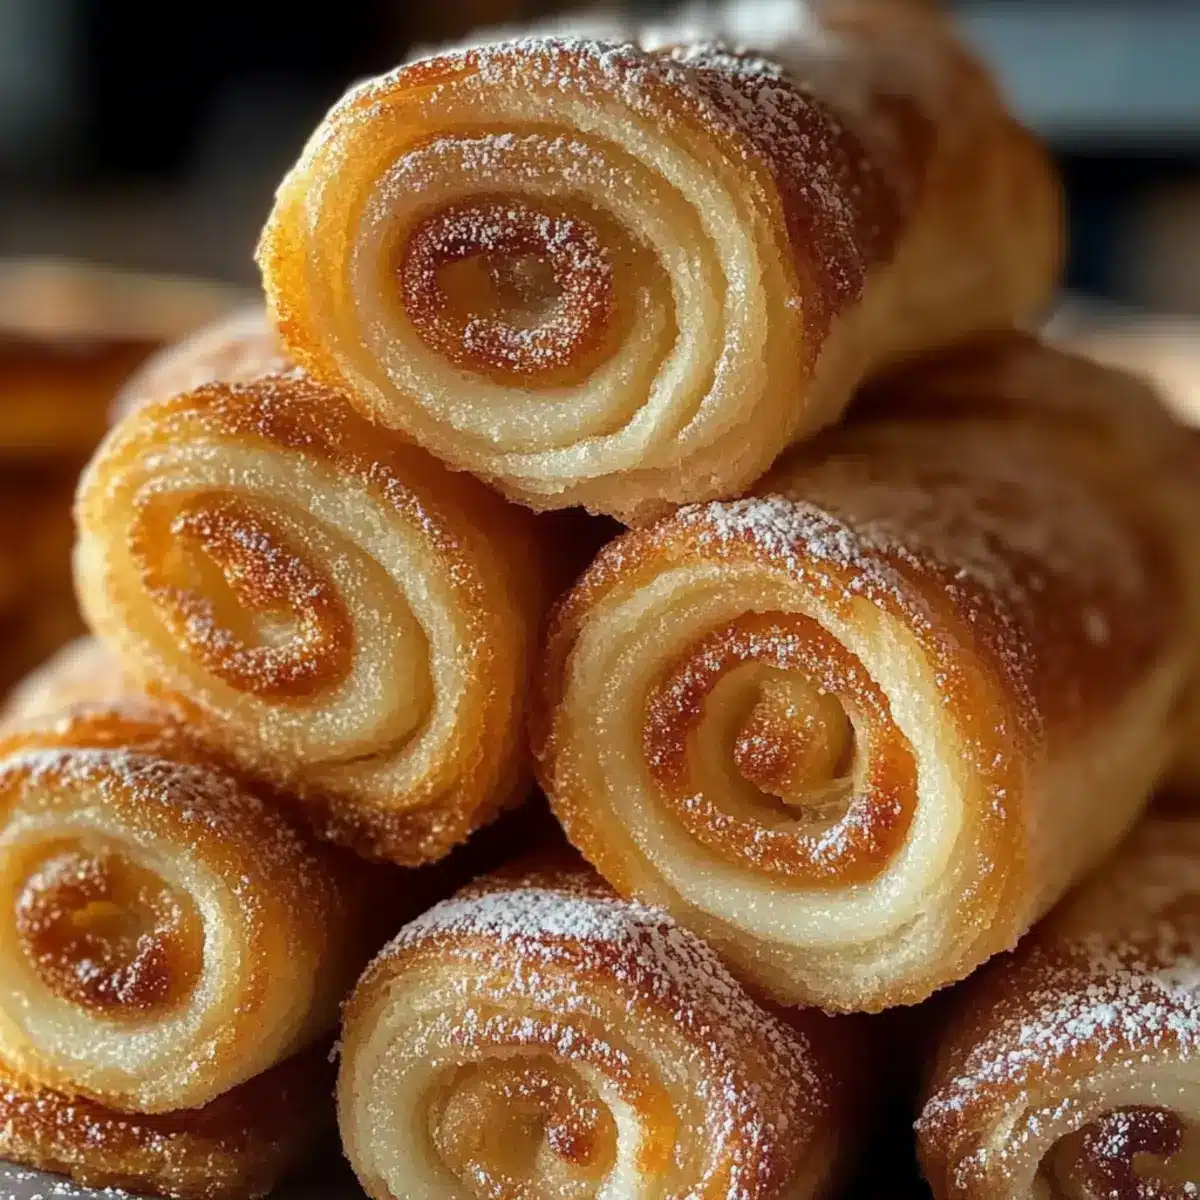
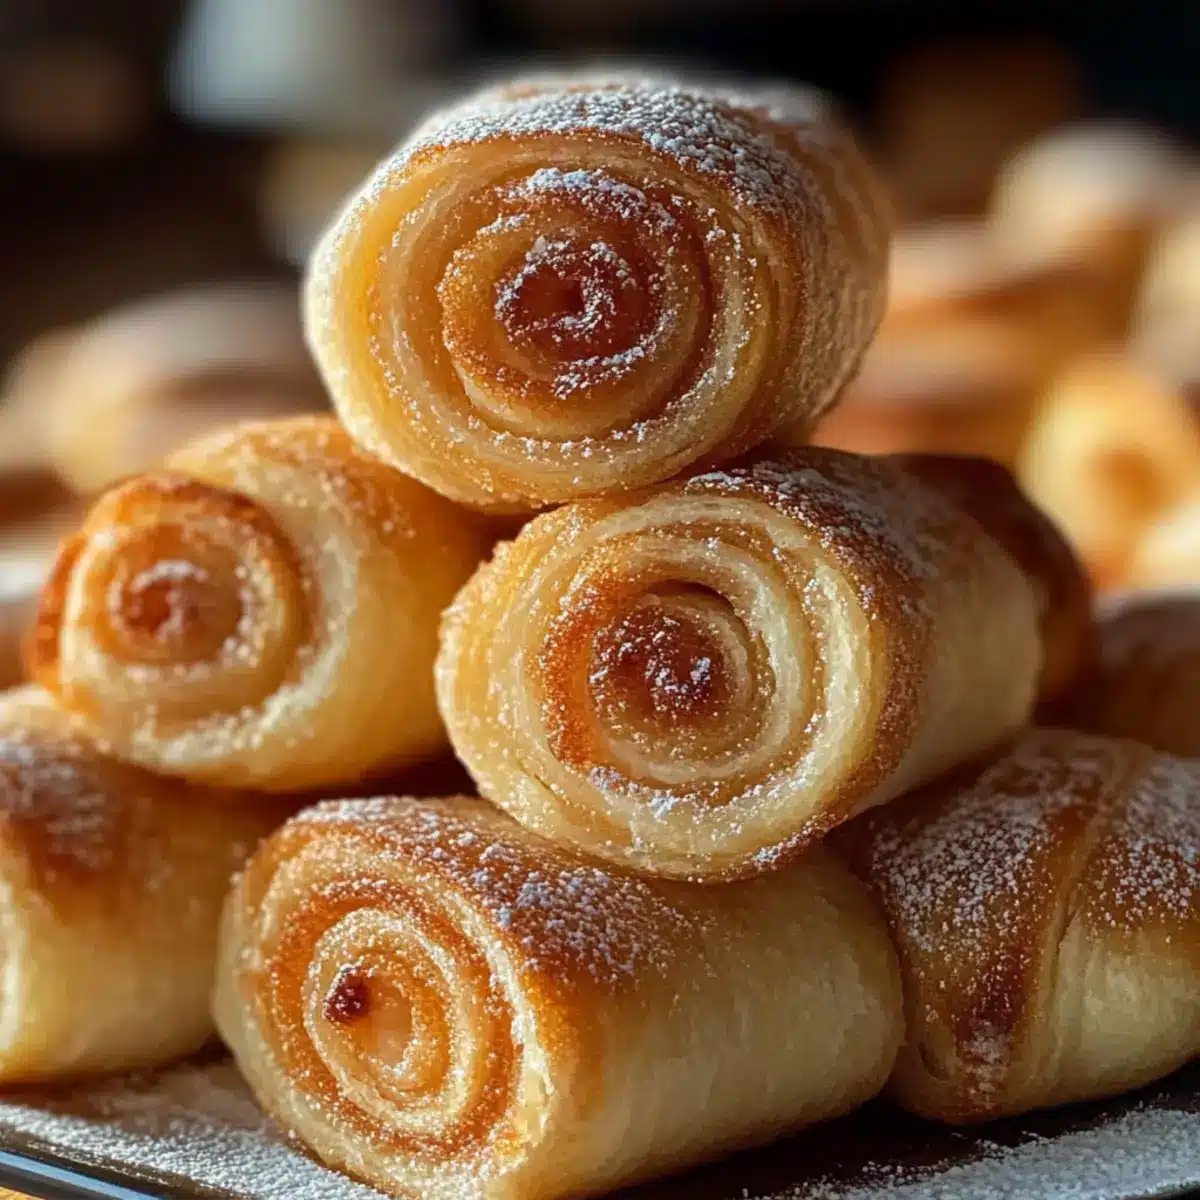
The aroma of freshly baked pastries wafts through the kitchen, coaxing everyone toward the source of that warm scent—my latest batch of Sugar Snails. These delightful spiraled pastries are the epitome of comfort food, with their soft, buttery interiors and crisp, caramelized edges. Unlike their sweeter cousins, cinnamon rolls, Sugar Snails offer a subtle sweetness that perfectly complements your morning coffee or afternoon tea. Plus, they’re incredibly versatile! Whether you opt for the classic flavor or explore tempting variations like vanilla or lemon, this recipe ensures that anyone, from novice bakers to seasoned pros, can whip up a batch in no time. Are you ready to embark on a delightful baking adventure that will elevate your brunch game? Let’s dive into making these irresistible treats together!
Why Love Sugar Snails?
Soft, Buttery Goodness: These Sugar Snails offer a comforting bite that melts in your mouth, making them a perfect brunch treat.
Easy to Make: With simple steps, even novice bakers can achieve bakery-quality results right at home.
Versatile Flavors: Feel free to experiment with variations like vanilla or lemon for a unique twist that matches any occasion.
Perfect Pairing: Great with coffee or tea, they make for an ideal snack or dessert, turning any gathering into a memorable feast.
Quick to Prepare: Ready in just a couple of hours, including rising time, these treats fit seamlessly into your busy schedule.
Crowd-Pleaser: Their irresistible aroma and delightful flavor are sure to win over family and friends alike! If you enjoy easy baking, don’t forget to check out my Ingredient Sugar Cookies for more sweet inspirations.
Sugar Snails Ingredients
• Light and fluffy, these sugar snails are made from simple ingredients that create a delightful treat perfect for any occasion.
For the Dough
- All-purpose flour – Provides structure while keeping the dough soft; spoon and level for best results.
- Yeast – Active dry or instant yeast helps the dough rise properly; always use fresh yeast for the best lightness.
- Milk – Whole milk adds creaminess; warm it slightly to activate the yeast for fluffy, soft sugar snails.
- Unsalted butter – Essential for rich flavor; ensure it’s softened for easy spreading into the dough.
- Granulated sugar – The star that adds a hint of sweetness and helps achieve that lovely caramelized finish.
- Egg – Contributes to both flavor and the binding of ingredients, resulting in a tender pastry.
- Salt – Enhances flavors and balances the sweetness of the pastry.
For the Filling
- Butter – Spread softened butter on the dough for richness that complements the sugar.
- Sugar – Sprinkle granulated sugar evenly for that signature sweet layer inside each swirl.
- Optional flavorings – Feel free to experiment with spices like cinnamon, vanilla, or lemon zest for unique flavor variations!
Optional Glaze
- Powdered sugar – Combine with a splash of milk for a simple glaze that adds a touch of sweetness if desired.
With these ingredients, you’re just steps away from enjoying warm, sugary, spiral pastries that are sure to impress. Happy baking with your delightful sugar snails!
Step‑by‑Step Instructions for Sugar Snails
Step 1: Prepare the Dough
Warm the milk until it feels slightly hot to the touch, then combine it with yeast and a teaspoon of sugar in a bowl. Allow this mixture to sit for about 5-10 minutes until it becomes foamy. This step is crucial for activating the yeast, ensuring your Sugar Snails rise beautifully.
Step 2: Mix Ingredients
In a large mixing bowl, combine the remaining sugar, egg, melted butter, salt, and about half of the all-purpose flour. Gradually mix in the foamy yeast mixture. Continue adding flour until a soft dough begins to form, incorporating all ingredients until well combined and smooth.
Step 3: Knead the Dough
Transfer the dough to a floured surface, and knead it for about 8-10 minutes by hand or with a stand mixer using a dough hook. The dough should become smooth and elastic, indicating that gluten has developed properly. This step is vital for achieving the tender texture of your Sugar Snails.
Step 4: First Rise
Place the kneaded dough into a greased bowl and cover it with a clean kitchen towel or plastic wrap. Let it rise in a warm place for 1 to 1.5 hours, or until it has doubled in size. You should see the dough puffing up nicely, signaling it’s ready for the next step.
Step 5: Roll Out
Once the dough has risen, turn it out onto a floured surface and gently punch it down to release air bubbles. Roll it into a large rectangle that is about 1/4-inch thick, ensuring the dough is even. This shape will help create those lovely spirals in your Sugar Snails.
Step 6: Add Filling
Spread softened butter evenly over the surface of the rolled-out dough, leaving a small border along the edges. Then, sprinkle granulated sugar generously over the butter. If desired, add your favorite variation, such as cinnamon or lemon zest, for extra flavor in your Sugar Snails.
Step 7: Shape Snails
Starting from the long edge, tightly roll the dough into a log shape. Once rolled, slice the log into even pieces about 1 inch wide using a sharp knife or unflavored dental floss for clean cuts. Place each piece in a greased baking dish, cut side up, to prepare for the second rise.
Step 8: Second Rise
Cover the sliced Sugar Snails with a kitchen towel and let them rise again in a warm spot for about 30 to 45 minutes. They should puff up and appear plump, indicating they are ready to bake, providing that delicious softness you’re aiming for in each buttery bite.
Step 9: Bake
Preheat your oven to 350°F (175°C). Once the oven is ready, bake the Sugar Snails for 20-25 minutes, until they are golden brown and emit a delightful aroma. Keep an eye on them, as the perfect visual cue is golden edges and a fluffy appearance in the center.
Step 10: Cool
Remove the Sugar Snails from the oven and allow them to rest in the dish for about 10 minutes before serving. This brief cooling time allows flavors to settle, ensuring each bite is a heavenly mix of soft, buttery goodness. Enjoy with your favorite beverage!
Make Ahead Options
These Sugar Snails are an excellent choice for meal prep enthusiasts looking to save time! You can prepare the dough and shape the snails up to 24 hours in advance. Simply follow the instructions until the second rise, then cover your baking dish tightly and refrigerate. To maintain their soft texture, wrap them well in plastic wrap to prevent drying out. When you’re ready to bake, allow the snails to come to room temperature for about 30 minutes before preheating your oven to 350°F (175°C) and baking them for 20-25 minutes. This way, you’ll enjoy fresh, buttery Sugar Snails without the morning hassle!
Storage Tips for Sugar Snails
Room Temperature: Keep uneaten Sugar Snails in an airtight container at room temperature for up to 2 days to maintain their softness and flavor.
Fridge: For longer storage, refrigerate in an airtight container for up to 5 days; just reheat in the microwave for a few seconds before enjoying.
Freezer: Freeze baked Sugar Snails for up to 2 months. Wrap them tightly in plastic wrap and place them in a freezer bag to prevent freezer burn.
Reheating: To reheat, thaw overnight in the fridge, then warm in the oven at 350°F for 5-10 minutes to restore that delightful, fresh-baked softness.
Sugar Snails Variations & Substitutions
Customize your Sugar Snails for a flavor adventure that’s as delightful as it is delicious!
- Vanilla Sugar Snails: Mix vanilla bean paste or extract into the butter filling for a heavenly aroma.
- Cinnamon Sugar Snails: Add a swirl of ground cinnamon to the sugar filling for that classic warmth.
- Lemon Sugar Snails: Brighten things up by blending lemon zest into the sugar to create a refreshing citrus note.
- Nutty Sugar Snails: Sprinkle finely chopped almonds or pecans over the sugar for a crunchy contrast.
- Glazed Sugar Snails: Whip up a simple glaze with powdered sugar and milk for a sweet finish on top.
- Chocolate Sugar Snails: Spread a thin layer of softened chocolate or Nutella on the dough before rolling for a decadent twist.
- Fruit-Infused Sugar Snails: Add dried fruit like raisins or cranberries to the filling for a chewy surprise.
- Savory Sugar Snails: Experiment with herbs and cheese; mix softened cream cheese with herbs for a unique savory take.
These variations not only spark creativity but also cater to different taste preferences! If you enjoy playing with flavors, don’t miss trying my Ingredient Sugar Cookies for more fun in the kitchen.
Expert Tips for Sugar Snails
Measure Carefully: Properly measure flour using the spoon and level technique; too much can make your Sugar Snails dry.
Use Fresh Yeast: Always check your yeast for freshness to ensure a good rise, which is crucial for fluffy pastries.
Cool Before Serving: Let Sugar Snails cool for at least 10 minutes after baking; this helps retain their softness and enhances the flavor.
Experiment with Fillings: Don’t hesitate to try different flavor variations, such as lemon or cinnamon, to make your Sugar Snails uniquely yours.
Clean Slicing: For neat slices, utilize unflavored dental floss instead of a knife to avoid squishing the delicate dough.
What to Serve with Deliciously Soft Sugar Snails
Imagine a cozy brunch table set with warm pastries, the aroma filling the air as you gather with loved ones for an unforgettable treat.
-
Fresh Fruit Salad: This vibrant mix of seasonal fruits adds a refreshing contrast to the buttery sweetness of Sugar Snails. Each juicy bite brightens up the palate and complements the rich flavors beautifully.
-
Coffee or Tea: The perfect warm beverage to sip alongside these pastries. A rich cup of coffee or a fragrant tea enhances the comforting experience, making every moment more enjoyable.
-
Scrambled Eggs: Light and fluffy scrambled eggs provide a savory balance that pairs wonderfully with sweet pastries. This classic combination elevates any brunch setting, adding warmth and satisfaction.
-
Greek Yogurt with Honey: Creamy yogurt drizzled with honey introduces a smooth, tangy element that beautifully contrasts the sweetness of the Sugar Snails. This pairing offers both flavor and a delightful texture.
-
Cream Cheese Frosting: A spreadable glaze made from cream cheese and powdered sugar adds decadence to your Sugar Snails. This luscious frosting provides an extra layer of richness that sweet tooth enthusiasts will adore.
-
Mimosas: Crisp and bubbly, mimosas are a festive choice that pairs wonderfully with pastries. Their light citrusy flavor adds vibrancy to your brunch, making it cheerful and celebratory.
Sugar Snails Recipe FAQs
How do I choose the right yeast for my Sugar Snails?
Absolutely! You can use either active dry or instant yeast for your Sugar Snails. Just make sure to check the expiration date on the packet to ensure freshness. Fresh yeast is a key player for achieving that nice rise and fluffy texture, so give it a finger test: if it’s crumbly or hard, it’s time to buy a new batch!
How should I store leftover Sugar Snails?
Store your uneaten Sugar Snails in an airtight container at room temperature for up to 2 days. If you have leftovers beyond that, you can refrigerate them in an airtight container where they’ll last up to 5 days. Just remember! Before enjoying, pop them in the microwave for a few seconds to regain their delightful softness.
Can I freeze my Sugar Snails?
Very! You can freeze your baked Sugar Snails for up to 2 months. To do this, wrap each pastry tightly in plastic wrap and then place them into a freezer bag. When you’re ready to enjoy them, simply thaw overnight in the fridge and reheat in a preheated oven at 350°F for about 5-10 minutes to restore their tender texture.
What do I do if my dough doesn’t rise?
If your dough doesn’t rise as expected, it could be due to a few common pitfalls. First, check if your yeast was fresh; it’s vital for a good rise. Next, ensure the milk was not too hot when added to the yeast mixture; it should be warm, not hot, as excessive heat can kill the yeast. Lastly, ensure you’re letting the dough rise in a draft-free, warm environment – an oven with the light on can make a great warm spot!
Are there any dietary considerations I should be aware of with Sugar Snails?
Yes, I often remind bakers to keep dietary needs in mind! Sugar Snails contain gluten and dairy due to the flour and milk used. For those with allergies or dietary restrictions, consider using gluten-free flour blends and non-dairy milk alternatives. Always check ingredient labels, especially for potential allergens.
How can I add flavors to my Sugar Snails?
The more the merrier! To infuse exciting flavors into your Sugar Snails, consider mixing in spices or zests to the sugar filling. Adding cinnamon, vanilla extract, or lemon zest can elevate your pastries to a whole new level of deliciousness. Experimenting is part of the fun, so don’t hesitate to find your perfect flavor blend!
Irresistible Sugar Snails: Buttery Delight for Brunch Bliss
Ingredients
Equipment
Method
- Warm the milk, combine with yeast and a teaspoon of sugar, and let it sit until foamy.
- Mix remaining sugar, egg, melted butter, salt, and half the flour in a bowl.
- Knead the dough until smooth and elastic, about 8-10 minutes.
- Let the dough rise in a greased bowl covered with a towel for 1 to 1.5 hours.
- Roll out the dough into a large rectangle about 1/4-inch thick.
- Spread softened butter on the dough and sprinkle granulated sugar evenly.
- Roll the dough tightly and slice into pieces about 1 inch wide.
- Let the sliced snails rise again for 30 to 45 minutes.
- Preheat the oven to 350°F and bake the Sugar Snails for 20-25 minutes.
- Allow to cool for 10 minutes before serving.
Leave a Reply