
The smell of melting cheese wafting through the kitchen brought me right back to my childhood, where comfort and culinary adventure intertwined. If you’re hunting for a guilt-free snack that doesn’t skimp on flavor, let me introduce you to Cheesy Zucchini Breadsticks. These low-carb delights are not only quick to prepare—ready in under 30 minutes—but they’re also the perfect vehicle for impressing your family or friends at any gathering. With their crispy edges and gooey interior, you’ll find yourself reaching for seconds (or thirds!) without a shred of remorse. Ready to elevate your appetizer game and satisfy those cheesy cravings? Let’s dive in!
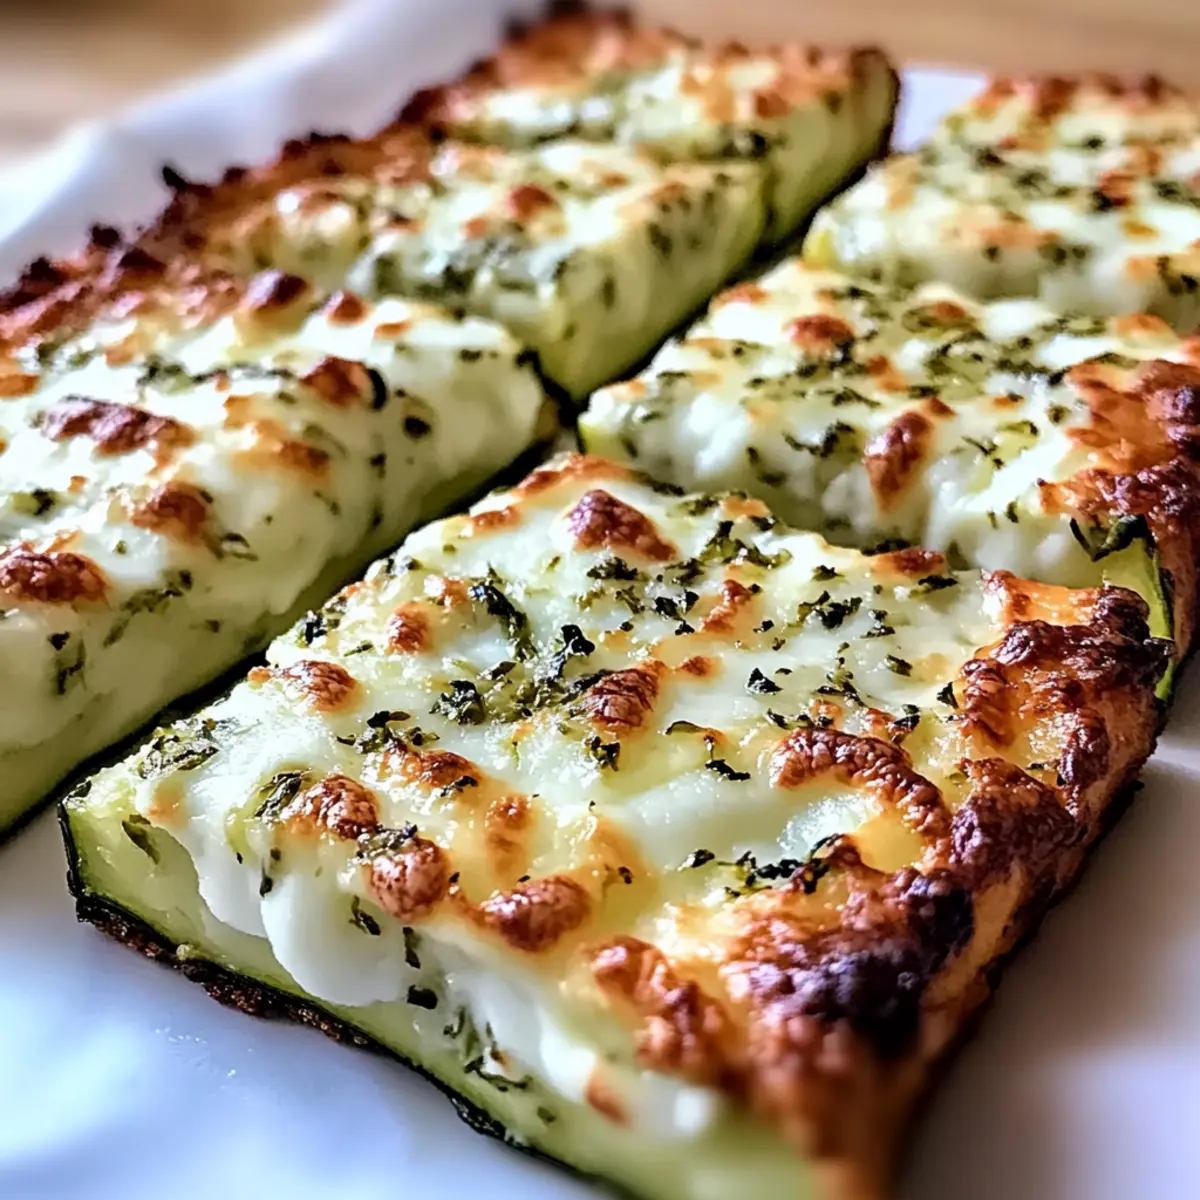
Why are these Zucchini Breadsticks irresistible?
Guilt-Free Indulgence: Enjoy cheesy goodness without the carbs!
Quick & Easy: Prep and bake in under 30 minutes!
Crowd-Pleasing: Perfect for game nights or family dinners.
Versatile Sharing: Pair with a creamy sauce or slaw.
Flavorful Twist: Customize with spices or different cheeses.
Dive into these Cheesy French Onion Meatballs and keep the flavor train rolling!
Cheesy Zucchini Breadsticks Ingredients
• Let’s gather everything you need for these guilt-free goodies!
For the Base
- Shredded Green Zucchini – 600g (4 cups) – Adds moisture and acts as the primary base; remember to squeeze out excess moisture for the best texture!
- Fine Sea Salt – 1 tsp – Helps draw out moisture, ensuring a crispier finish.
- Large Eggs – 2 – Vital for binding the ingredients together and providing structure.
- Parmesan Cheese – ½ cup (mixed in) & ¼ cup (reserved for topping) – Infuses rich flavor and golden color to the breadsticks.
For Extra Flavor
- Garlic Powder – 1 tsp – Elevates the aroma and taste, making each bite delightful.
- Mozzarella Cheese – 1.5 cups (shredded) – Provides that gooey texture we all adore in cheesy zucchini breadsticks.
- Dried Oregano – 1 tsp – Adds an herbal note that balances the richness beautifully.
Get ready to enjoy these Cheesy Zucchini Breadsticks that promise to be a crowd favorite at your next gathering!
Step‑by‑Step Instructions for Cheesy Zucchini Breadsticks:
Step 1: Prepare the Zucchini
Start by shredding 600g of green zucchini using a grater or food processor. Place the shredded zucchini in a colander, sprinkle with 1 tsp of fine sea salt, and let it sit for 10 minutes. This process will draw out excess moisture, helping to ensure that your Cheesy Zucchini Breadsticks come out crispy. After 10 minutes, gently squeeze the zucchini to remove as much liquid as possible.
Step 2: Combine Ingredients
In a large mixing bowl, combine the drained zucchini with 2 large eggs, 1 tsp of garlic powder, and ½ cup of parmesan cheese (reserve ¼ cup for topping). Mix well until everything is thoroughly combined. This mixture will form your base, creating a delectable foundation for the cheesy goodness to come.
Step 3: Bake the Base
Preheat your oven to 425°F (220°C) while you spread the zucchini mixture evenly onto a lined baking sheet, forming a rectangle about ½ inch thick. Bake in the preheated oven for 15-20 minutes or until the edges are golden brown and the center is firm. This step is crucial for achieving the right texture for your Cheesy Zucchini Breadsticks.
Step 4: Melt and Char the Cheese
Once the zucchini base is firm and golden, remove it from the oven. Generously sprinkle 1.5 cups of shredded mozzarella cheese and the reserved ¼ cup of parmesan evenly over the top, followed by 1 tsp of dried oregano for an aromatic touch. Return the baking sheet to the oven and broil for 3-5 minutes, watching closely until the cheese is bubbling and slightly charred.
Step 5: Cool and Slice
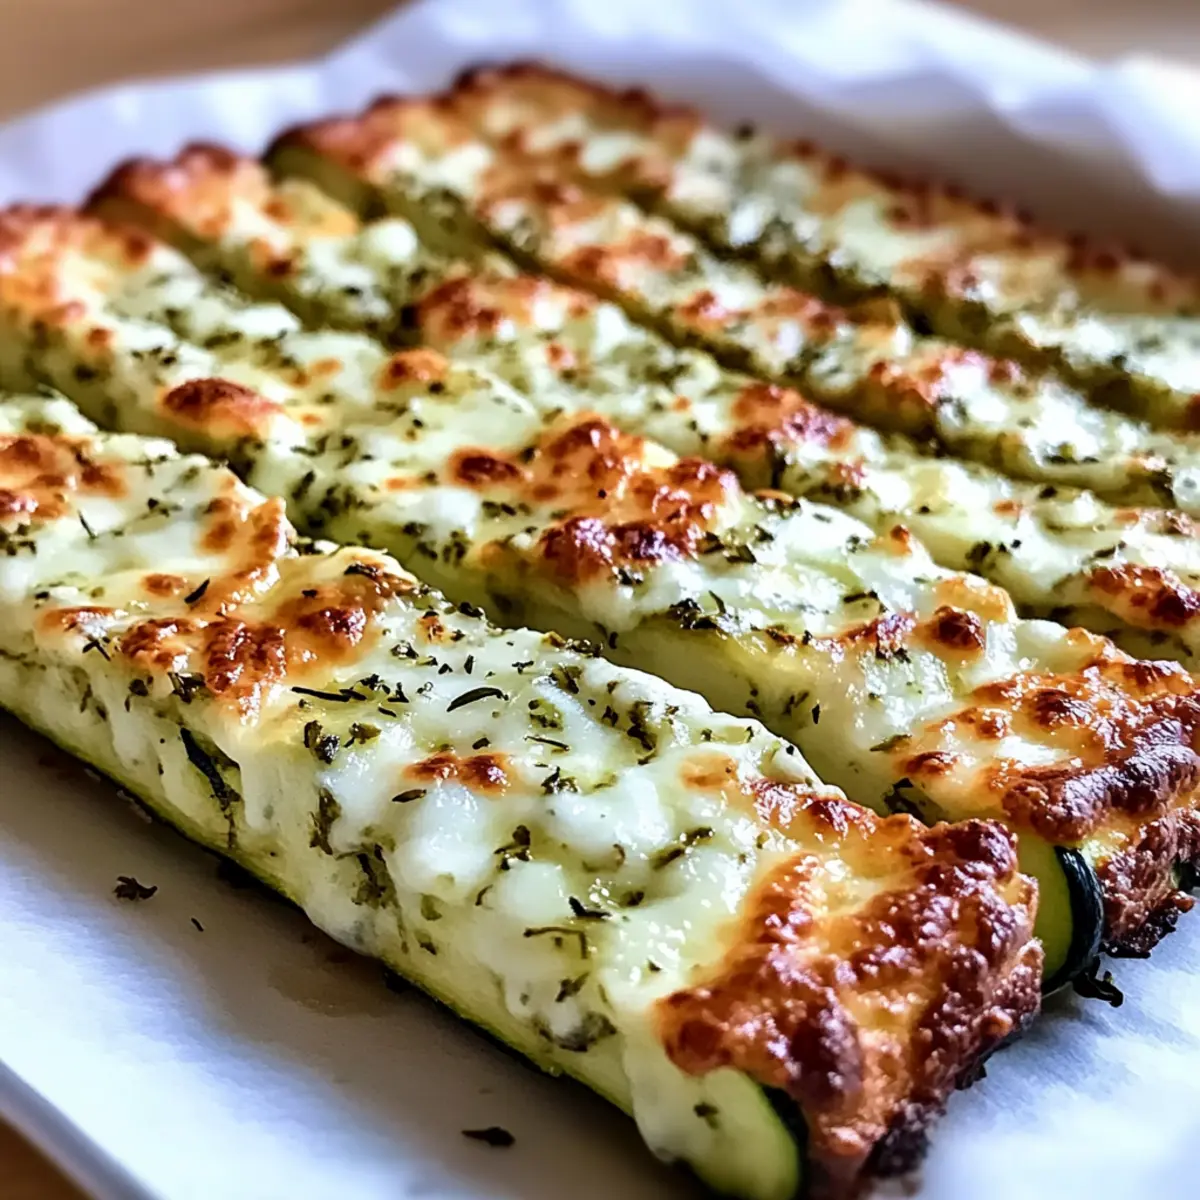
After broiling, remove the baking sheet from the oven and allow the cheesy zucchini base to cool for about 5 minutes. This resting time is essential to set the cheese and make slicing easier. Once slightly cooled, use a sharp knife or pizza cutter to slice into breadstick shapes; this will give you perfectly portioned Cheesy Zucchini Breadsticks.
Step 6: Serve and Enjoy
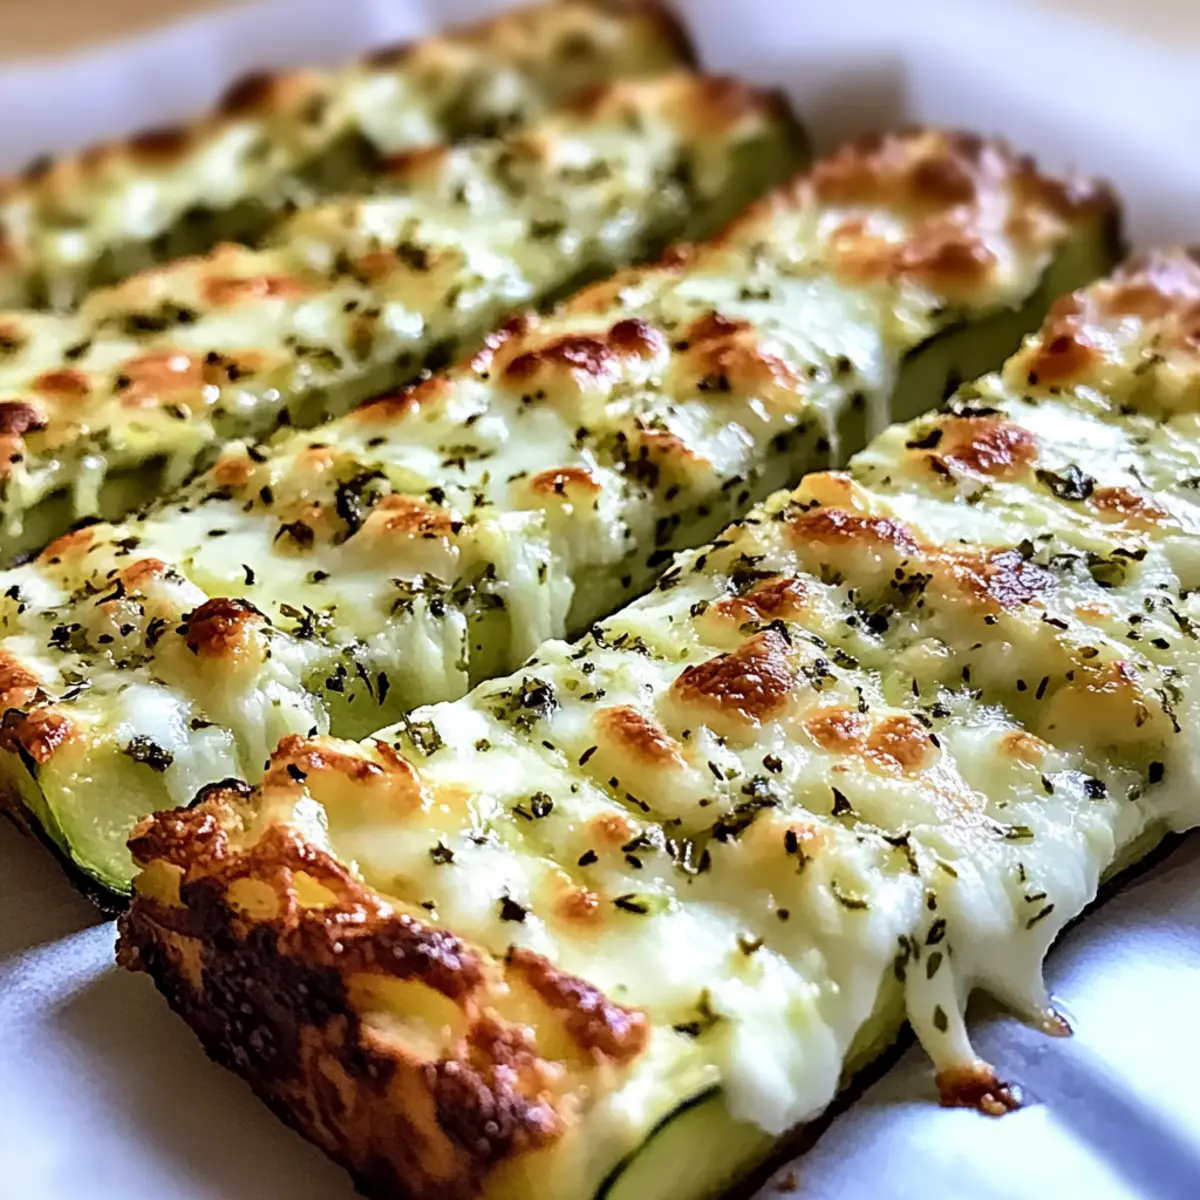
Transfer your delicious Cheesy Zucchini Breadsticks to a serving platter. For a delightful pairing, consider serving them with a creamy sauce or a zesty slaw on the side. These warm, cheesy sticks are perfect for sharing, making them an ideal appetizer for any gathering!
Make Ahead Options
These Cheesy Zucchini Breadsticks are perfect for busy weeknights! You can prep the zucchini base up to 24 hours in advance—simply follow the initial steps, baking the base, and allow it to cool completely. Once cooled, slice the breadsticks and store them in an airtight container in the refrigerator. For the best results, keep the cheese topping separate until you’re ready to serve. When it’s time to enjoy your Cheesy Zucchini Breadsticks, just add the cheese and broil them for 3-5 minutes until bubbly and golden. This way, you can savor a fresh, delicious appetizer with minimal effort!
What to Serve with Cheesy Zucchini Breadsticks
These crispy, cheesy bites are calling for delightful partners to create a deliciously memorable meal experience.
- Creamy Garlic Dip: The luscious, buttery dip provides a delightful contrast to the crunchy texture of breadsticks, enhancing every cheesy bite.
- Zesty Jalapeño Slaw: This fresh slaw adds a vibrant crunch and a spicy kick, perfectly balancing the richness of the cheese.
- Marinara Sauce: A classic choice! The tangy tomato sauce offers a delicious dipping option that pairs beautifully with melted cheese.
Elevate your appetizer game with these complementary sides. Think about serving a platter filled with dipping sauces and fresh veggies for an inviting touch that will have everyone diving in!
- Caesar Salad: Crisp romaine and creamy dressing add a refreshing bite, creating a perfect contrast to the warm, cheesy sticks.
- Stuffed Bell Peppers: These hearty, flavorful bites will fill your guests up while still allowing them to enjoy the cheesy goodness of the breadsticks.
- Sparkling Water with Lime: A refreshing drink that cleanses the palate beautifully after each indulgent mouthful of breadstick goodness.
Create a wonderful spread that invites everyone to savor their meal, ensuring all these flavors complement each other in a truly delightful way.
Storage Tips for Cheesy Zucchini Breadsticks
- Fridge: Store leftover Cheesy Zucchini Breadsticks in an airtight container for up to 3 days. Reheat in the oven at 350°F (175°C) for about 10 minutes to restore their crispiness.
- Freezer: For longer storage, freeze the baked sticks after they cool. Place them in a single layer on a baking sheet until frozen solid, then transfer to a freezer bag or airtight container. Enjoy within 2 months for the best texture.
- Reheating: Reheat directly from frozen at 375°F (190°C) for around 15-20 minutes, or until heated through and crispy. This way, you’ll savor that delightful cheesy goodness anytime!
Cheesy Zucchini Breadsticks Variations
Feel free to let your creativity shine by customizing these delightful breadsticks to suit your taste!
-
Vegan Option: Replace the eggs with flax eggs and use vegan cheese for a dairy-free treat. You still get the creamy texture and cheesy goodness!
-
Spicy Kick: Add red pepper flakes or chopped jalapeños to the mixture for a zesty twist that ignites the palate. It’s a great way to heat things up while keeping those flavors bold!
-
Herb Variations: Mix in fresh herbs like basil or thyme to infuse your breadsticks with aromatic freshness. The result is a tantalizing flavor profile that transports you to a garden feast.
-
Cheesy Blends: Swap out mozzarella for gouda or pepper jack cheese for a unique flavor experience. Each cheese brings its character while ensuring that cheesy goodness stays front and center!
-
Seasoned Additions: Incorporate smoked garlic powder or paprika into the mix for a smoky essence that adds depth. This little twist can transport your taste buds on a flavorful journey!
-
Gluten-Free: If you want to ensure gluten-free breadsticks, check that your cheese and seasonings are certified gluten-free. This way, everyone can enjoy the fun!
-
Loaded Breadsticks: Top with diced tomatoes, olives, or even cooked bacon bits before broiling for a snack that’s bursting with toppings and flavors, making every bite an adventure.
You might also love pairing these with a hearty sauce like the creamy peppercorn dip or try them alongside these Cheesy Steak and Rice Skillet for a full meal experience. Enjoy experimenting!
Expert Tips for Cheesy Zucchini Breadsticks
• Moisture Control: Ensuring you squeeze out excess moisture from the shredded zucchini is key to achieving a crispy texture. Don’t skip this step!
• Consistent Thickness: Spread the zucchini mixture evenly on the baking sheet; uneven thickness can lead to some breadsticks being soggy and others burnt.
• Keep an Eye While Broiling: Broiling can be quick; watch closely to avoid burning the cheese. You want it bubbly and golden!
• Resting Time Matters: Allowing your breadsticks to rest post-baking helps maintain their shape, making slicing easier without them falling apart.
• Flavor Variations: Feel free to experiment with different cheeses or add seasoning like red pepper flakes for a spicy twist in your Cheesy Zucchini Breadsticks!
Cheesy Zucchini Breadsticks Recipe FAQs
How do I select the best zucchini for this recipe?
Absolutely! Look for firm, glossy zucchinis without dark spots or blemishes. Smaller to medium-sized zucchinis tend to have a better flavor and a tender texture. If you can, choose organic zucchinis as they usually have fewer pesticides and more flavor.
How should I store leftover Cheesy Zucchini Breadsticks?
Store any leftovers in an airtight container in the refrigerator for up to 3 days. Make sure they are completely cooled before sealing them. To reheat, preheat your oven to 350°F (175°C) and bake for about 10 minutes until they’re heated through and regain their delightful crispiness.
Can I freeze Cheesy Zucchini Breadsticks?
Absolutely! To freeze, let the baked breadsticks cool completely. Once cooled, arrange them in a single layer on a baking sheet and place in the freezer until frozen solid. Transfer them to a freezer bag or airtight container and label; they can be stored for up to 2 months. When you’re ready to enjoy, no need to thaw—reheat directly from frozen at 375°F (190°C) for about 15-20 minutes or until hot and crispy.
What can I do if my breadsticks come out soggy?
Don’t worry, it happens! To avoid soggy breadsticks, make sure to squeeze out as much moisture as possible from the shredded zucchini before mixing. You can also bake the base for an extra few minutes before adding cheese. Additionally, ensure not to overcrowd the baking tray, as this can trap steam and result in a soggier texture.
Are Cheesy Zucchini Breadsticks suitable for different dietary needs?
Very! If you’re accommodating a gluten-free diet, simply replace standard cheeses with certified gluten-free options. For a vegan version, substitute the eggs with flax eggs (mix 1 tbsp ground flaxseed with 3 tbsp water and let it sit for 5 minutes) and use dairy-free cheese. This way, you can enjoy these Cheesy Zucchini Breadsticks guilt-free and deliciously!
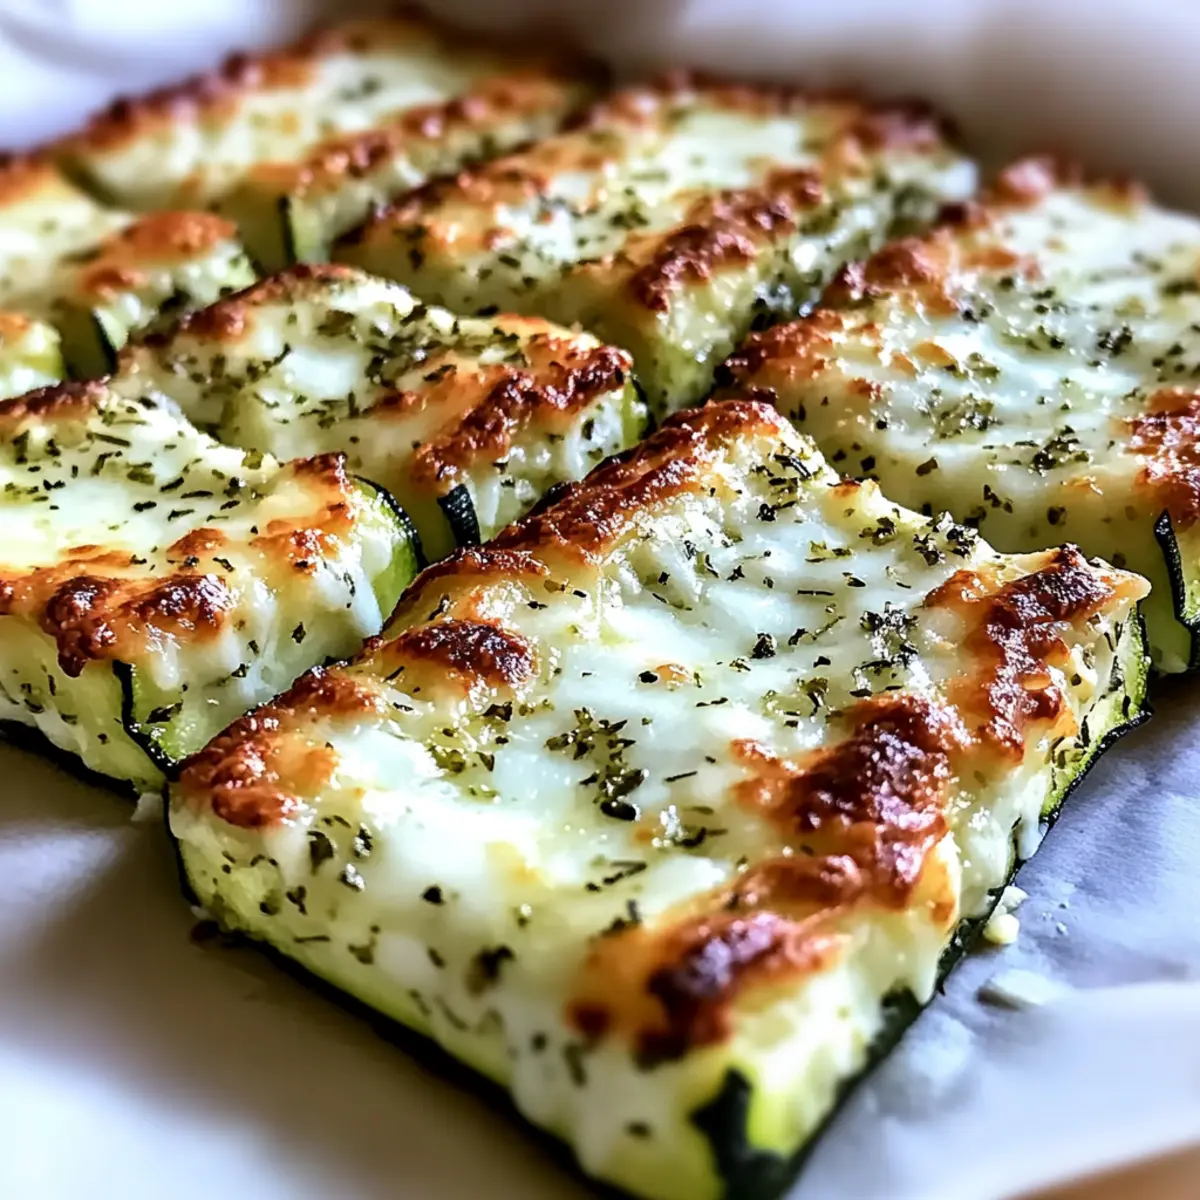
Cheesy Zucchini Breadsticks: Guilt-Free Crunchy Happiness
Ingredients
Equipment
Method
- Start by shredding 600g of green zucchini. Place in a colander, sprinkle with 1 tsp salt, and let sit for 10 minutes. Squeeze to remove excess liquid.
- In a large bowl, combine drained zucchini with 2 eggs, 1 tsp garlic powder, and ½ cup parmesan. Mix well.
- Preheat oven to 425°F (220°C). Spread the zucchini mixture on a lined baking sheet, forming a rectangle ½ inch thick. Bake for 15-20 minutes until golden brown.
- Remove from the oven, sprinkle with 1.5 cups mozzarella and reserved ¼ cup parmesan, followed by 1 tsp oregano. Broil for 3-5 minutes until bubbly.
- Let cool for 5 minutes, then slice into breadstick shapes.
- Transfer to a serving platter. Pair with creamy sauce or slaw.
Leave a Reply