
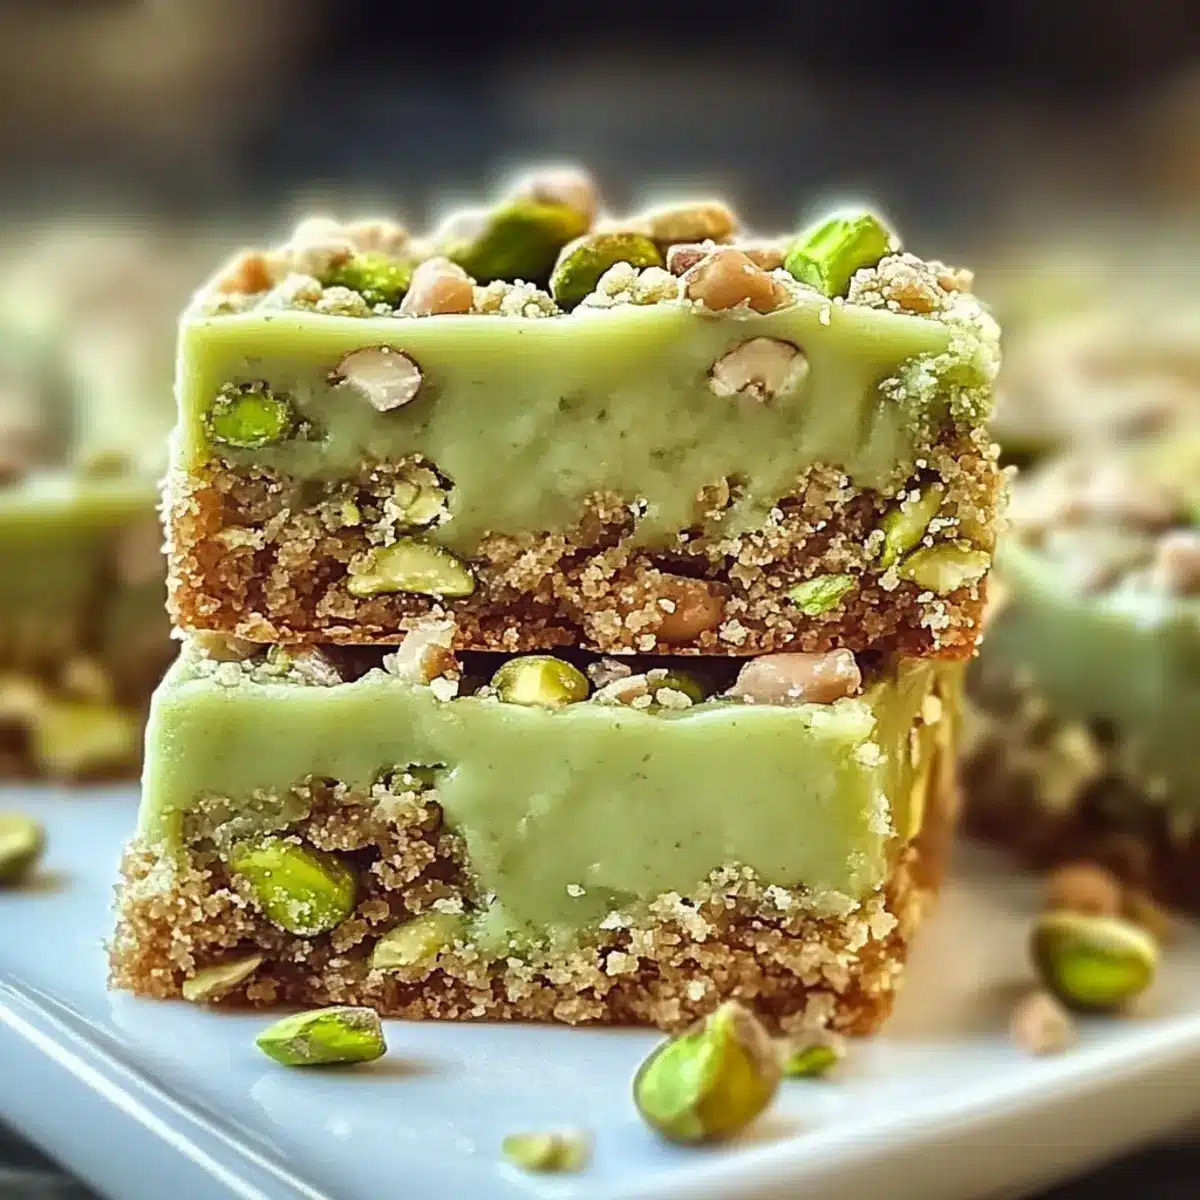
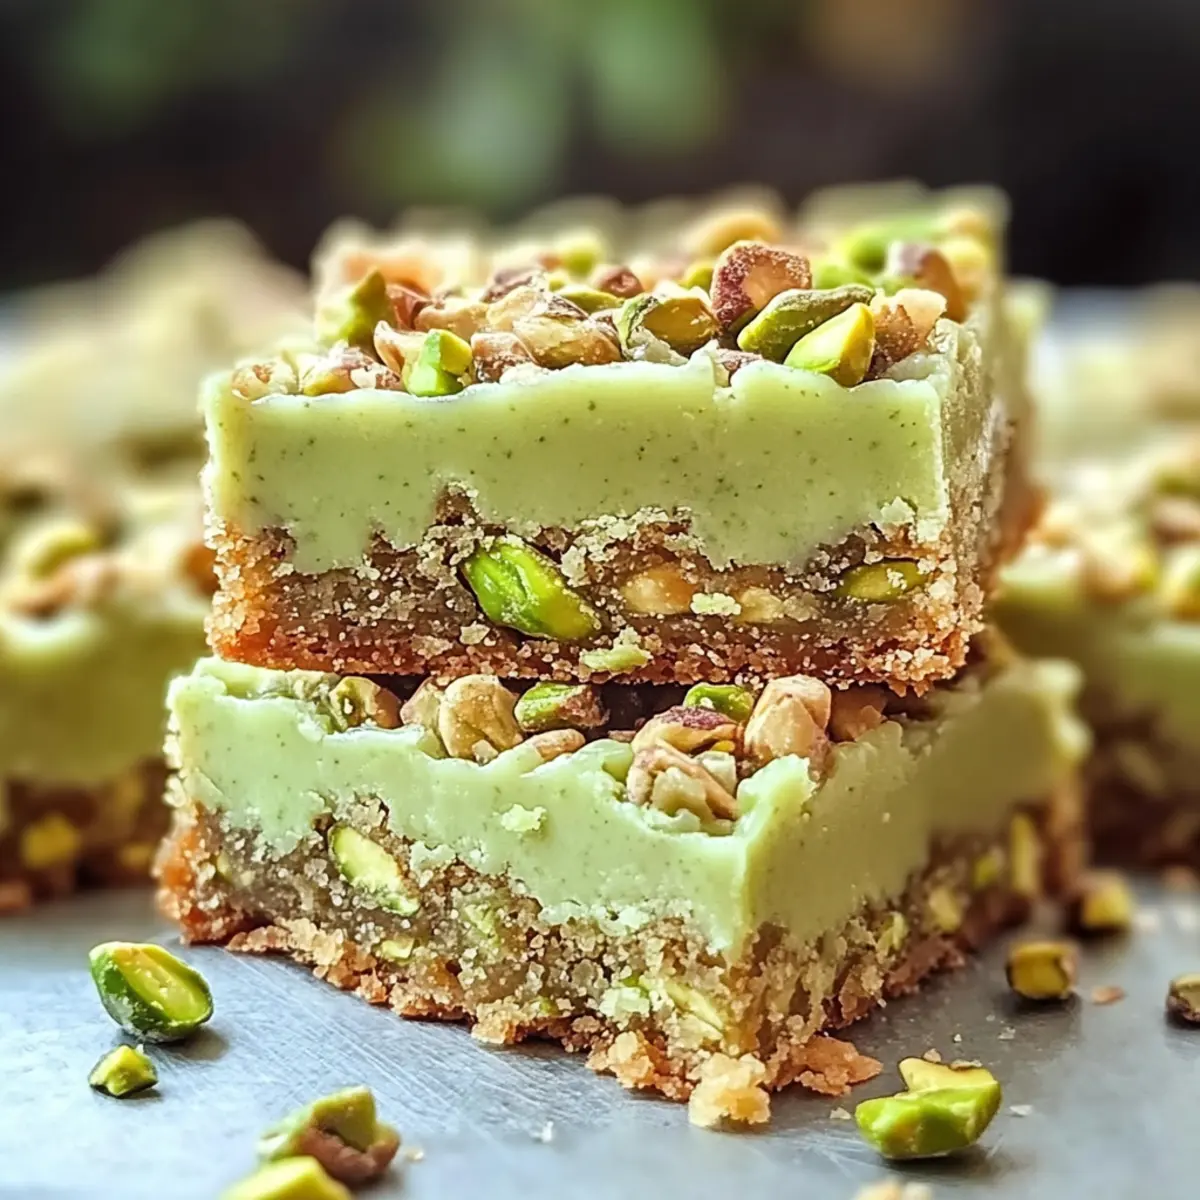
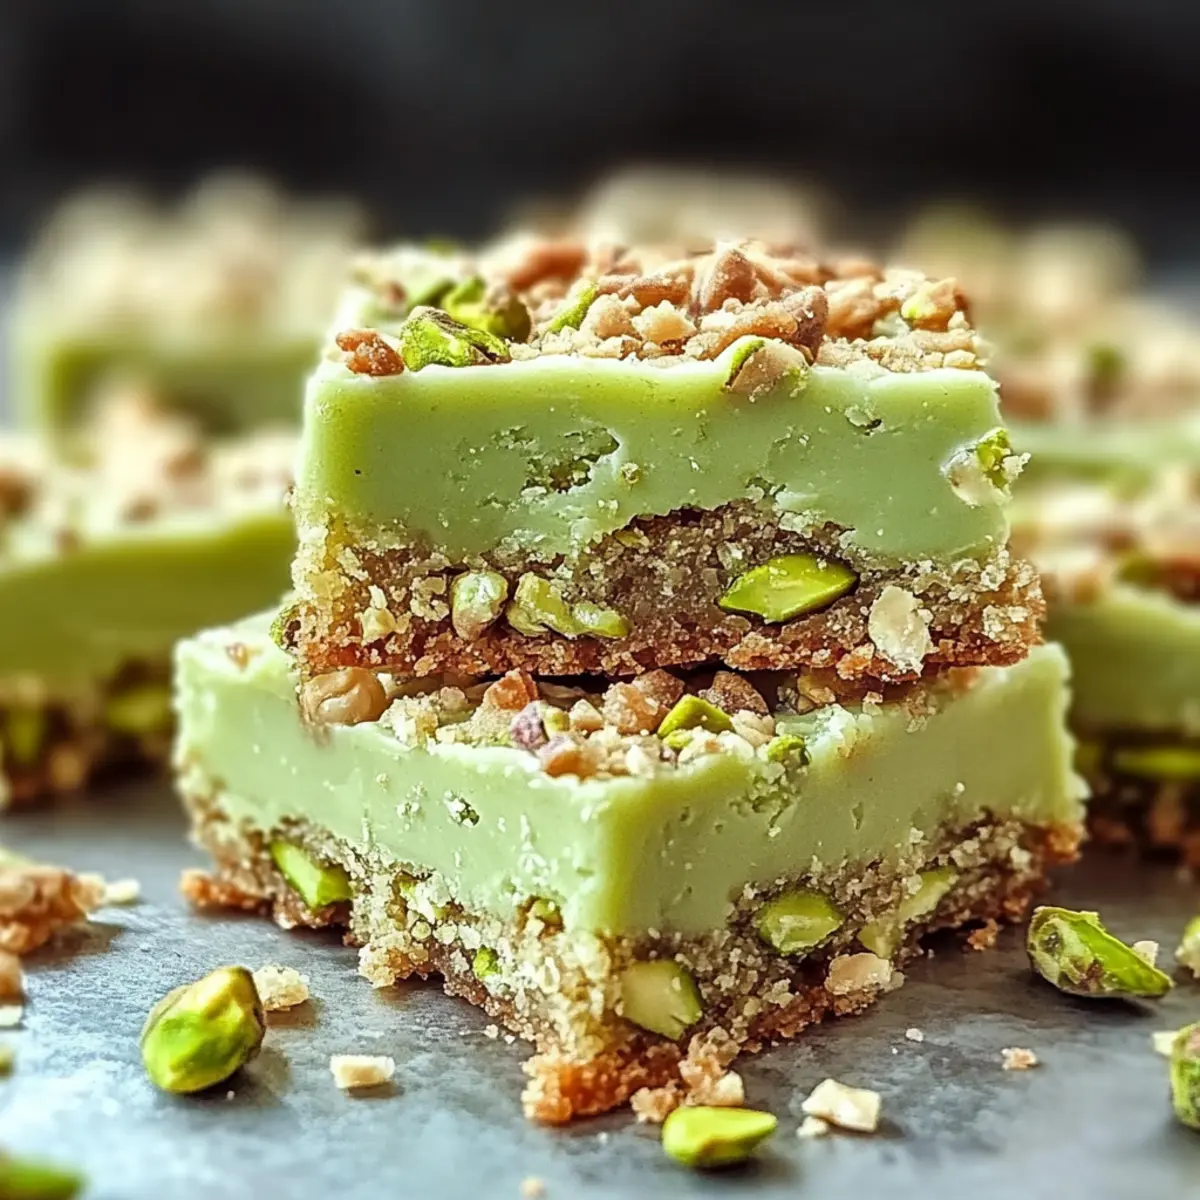
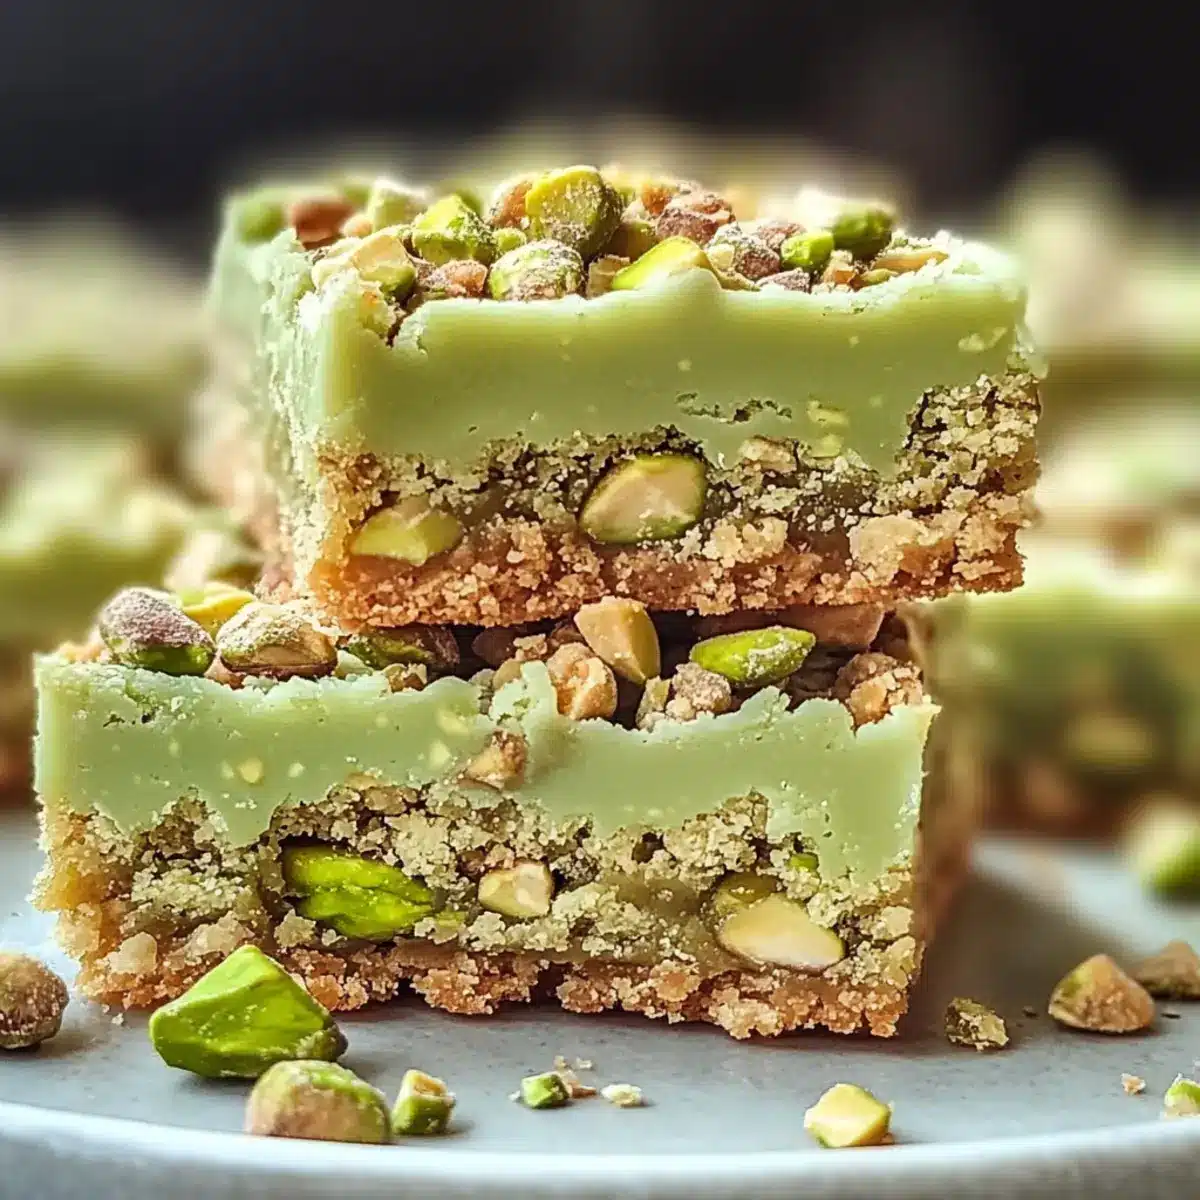
As I stood in my kitchen, the intoxicating aroma of sweet, buttery dough filled the air, instantly transporting me to sun-drenched summer picnics. That’s when I had my unforgettable encounter with these Pistachio Dream Cookie Bars. They’re not just a dessert; they’re a dazzling experience that delightfully marries texture and flavor. Easy to prepare and perfect for impressing a crowd, these chewy, vibrant bars shine with their soft, nutty goodness. Whether you’re hosting a gathering or treating yourself after a long day, they’ll make the perfect addition to your dessert table. Trust me, once you’ve tasted these colorful delights, you’ll be eager to share them with everyone you know! Ready to discover how to whip up this dreamy treat? Let’s dive in!
Why Are These Cookie Bars a Must-Try?
Irresistible Flavor: The combination of buttery cookie dough and nutty pistachio pudding creates an addictive flavor profile that satisfies any sweet tooth.
Effortless Preparation: With just a few simple steps, you’ll have a crowd-pleasing dessert that requires minimal time in the kitchen—perfect for busy days!
Vibrant Presentation: The lush green color makes these bars visually appealing, adding a pop of excitement to your dessert table, sure to impress family and friends.
Versatile Indulgence: Enjoy them as they are or dress them up with optional toppings like melted chocolate—there’s no wrong way to savor these dreamy treats!
Perfect for Any Occasion: From birthday parties to casual gatherings, these cookie bars are a delightful addition that everyone will love. If you enjoyed these, you might also want to check out my Cinnamon Roll Cookies for another crowd-favorite!
Pistachio Dream Cookie Bars Ingredients
For the Batter
- Unsalted Butter – Provides a rich, creamy flavor; consider using dairy-free butter for lactose-free options.
- Large Eggs – Essential for moisture and binding the dough together.
- Pistachio Instant Pudding Mix – Adds nutty flavor and vibrant green color; look for brands with natural flavors for the best results.
- Sugar Cookie Mix – Simplifies the preparation process while ensuring sweetness; a gluten-free mix can be used for dietary concerns.
For Greasing the Pan
- Cooking Spray or Butter – Ensure easy release of the bars from the baking sheet for perfect slices.
Step‑by‑Step Instructions for Pistachio Dream Cookie Bars
Step 1: Preheat the Oven
Begin by preheating your oven to 375°F (190°C). This ensures the oven is hot enough to create the perfect chewy texture for your Pistachio Dream Cookie Bars. While the oven warms up, gather your mixing bowl and other ingredients to streamline the process.
Step 2: Cream the Ingredients
In a large mixing bowl, combine softened unsalted butter, large eggs, and pistachio instant pudding mix. Use an electric mixer to cream these ingredients together until the mixture is smooth and well-blended, which should take about 2-3 minutes. The vibrant green color of the pudding should brighten your batter, making it inviting and delicious.
Step 3: Mix in the Cookie Dough
Gradually add the sugar cookie mix to your creamy mixture. Stir slowly with a spatula or wooden spoon until a sticky dough forms, which may take about 1-2 minutes. Make sure all the dry ingredients are fully incorporated without overmixing, ensuring your bars maintain that sought-after chewy texture.
Step 4: Prepare the Baking Sheet
Grease a 10 x 15-inch baking sheet with cooking spray or butter to facilitate easy release of your Pistachio Dream Cookie Bars. This step is crucial to ensure your bars come out cleanly and retain their beautiful shape. Spread a thin, even layer of the grease across the entire surface for best results.
Step 5: Press the Dough into the Pan
Take your sticky cookie dough and press it evenly into the prepared baking sheet. Use your hands or the back of a spatula to level the surface, ensuring every corner has the same thickness. This helps achieve uniform baking and that delightful chewy consistency throughout the bars.
Step 6: Bake to Perfection
Place the baking sheet in the preheated oven and bake the bars for 18-22 minutes. Keep an eye on them; they are ready when the edges are lightly golden, and a toothpick inserted in the center comes out clean. This is when you’ll start to smell the delightful aroma of baked cookies wafting through your kitchen.
Step 7: Cool and Slice
Once baked, remove the cookie bars from the oven and allow them to cool completely in the pan on a wire rack. This will take about 30 minutes. Cooling in the pan is important to prevent crumbling, ensuring your Pistachio Dream Cookie Bars are easy to slice into squares for serving.
Make Ahead Options
These Pistachio Dream Cookie Bars are perfect for meal prep enthusiasts! You can prepare the dough up to 24 hours in advance by following steps 1-3, then cover and refrigerate it. Additionally, you can bake the bars ahead of time and store them in an airtight container at room temperature for up to 5 days or refrigerate for up to 7 days. To maintain their delightful chewiness, let them cool completely before storing, and avoid cutting them until you’re ready to serve. When it’s time to enjoy, simply slice into squares, and you’ll have a delicious dessert ready to impress your guests with minimal effort!
Pistachio Dream Cookie Bars Variations
Feel free to unlock your creativity and customize these delightful bars with these fun variations!
- Nutty Crunch: Add ½ cup of chopped pistachios to the batter for extra crunch and a delicious nutty profile.
- Chocolate Lover’s Dream: Fold in ½ cup of white chocolate chips for a creamy burst that pairs beautifully with the pistachio flavor.
- Gluten-Free Option: Substitute the sugar cookie mix with a gluten-free cookie mix to make these bars suitable for gluten-sensitive friends.
- Flavor Twist: Swap the pistachio pudding mix for vanilla or chocolate pudding for a completely different, yet equally delicious, bar.
- Coconut Infusion: Incorporate ½ cup of shredded coconut into the dough for a tropical hint that brightens the whole treat.
- Zesty Citrus: Add 1 tablespoon of lemon or orange zest to the mixture to infuse a cheerful, citrusy flavor that enhances the sweetness.
- Spicy Kick: For those who love a bit of heat, a pinch of cayenne pepper can add an unexpected twist to the flavor profile.
- Drizzled Delight: Take them up a notch by drizzling melted chocolate or even caramel on top for an extra indulgent treat.
Once you’ve enjoyed your Pistachio Dream Cookie Bars, you might also love the rich taste of my Cannoli Cookies or the unique flavor of Pistachio Mushroom Cheesecake. Happy baking!
Storage Tips for Pistachio Dream Cookie Bars
Room Temperature: Store your cookie bars in an airtight container at room temperature for up to 5 days to keep them fresh and chewy.
Fridge: If you’d like to extend their shelf life, refrigerate the bars for up to 7 days. Just ensure they’re in a well-sealed container to prevent moisture.
Freezer: For long-term storage, wrap individual bars tightly in plastic wrap and freeze them for up to 3 months. Thaw them at room temperature or in the fridge as needed.
Reheating: Enjoy them warm by gently warming in the microwave for about 10-15 seconds. This will restore their delightful softness and enhance the nutty flavor of your Pistachio Dream Cookie Bars.
Expert Tips for Pistachio Dream Cookie Bars
Room Temperature Ingredients: Make sure your butter and eggs are at room temperature for a smoother, more homogeneous dough, enhancing the final texture of your bars.
Don’t Overmix: Stir the dough just until combined to prevent tough bars. A gentle hand is key to achieving that delightful chewiness.
Cool Completely: Ensure the bars cool completely in the pan before slicing. This step is crucial to avoid crumbling and helps maintain the beautiful shape of your Pistachio Dream Cookie Bars.
Use Parchment Paper: Consider lining your baking sheet with parchment paper before greasing. This allows for easier removal and cleanup!
Add Extra Crunch: For more texture, fold in some chopped pistachios or white chocolate chips into the dough before pressing it into the pan.
What to Serve with Pistachio Dream Cookie Bars
As you bask in the delightful warmth of your Pistachio Dream Cookie Bars, imagine rounding out your dessert table with these scrumptious pairings.
-
Vanilla Ice Cream: The creamy sweetness of ice cream beautifully balances the chewy texture, making each bite a luscious experience. Serve it alongside the bars for a classic, refreshing dessert combo.
-
Fresh Berries: Juicy strawberries, blueberries, or raspberries add a tart contrast that elevates the delightful sweetness of the bars. Their vibrant colors create an appealing presentation and freshness on your plate.
-
Chocolate Drizzle: A warm drizzle of rich chocolate over the bars enhances the nutty flavor, offering a decadent twist to each bite. This simple addition turns a delightful treat into an indulgent masterpiece!
-
Minty Whipped Cream: Light and airy whipped cream flavored with fresh mint gives a refreshing touch, rounding out the flavors perfectly. It’s an inviting garnish that adds sophistication to your dessert table.
-
Iced Tea or Lemonade: Cool and refreshing, a glass of iced tea or freshly squeezed lemonade complements the sweetness of the bars, leaving your taste buds satisfied and refreshed.
-
Fruit Salad: A medley of colorful fruits provides a light, refreshing contrast to the dense richness of the cookies. The seasonality of fresh fruit also brings a delightful burst of flavor.
-
Coffee: The rich, bold flavors of coffee contrast beautifully with the sweet and nutty notes of the cookie bars, making it the perfect drink pairing for coffee lovers.
-
Chocolate Chip Cookies: A nostalgic twist, combining these bars with classic chocolate chip cookies adds variety, appealing to different tastes while keeping dessert fun!
-
Nutty Granola: Crunchy nutty granola adds another layer of texture, complementing the softness of the bars while also making for a quick breakfast item if you can resist it for long!
Pistachio Dream Cookie Bars Recipe FAQs
How do I select the right pistachio pudding mix?
Absolutely! When choosing pistachio pudding mix, look for brands that feature natural flavors and colors. This not only ensures a delicious taste but also enhances the vibrant green color of the bars. Check the ingredient list to avoid artificial additives.
How can I store leftover cookie bars?
Very! Store your Pistachio Dream Cookie Bars in an airtight container at room temperature for up to 5 days. If you prefer a longer shelf life, refrigerate them for up to 7 days, ensuring they’re sealed properly to maintain moisture.
Can I freeze these cookie bars?
Of course! To freeze, wrap each bar tightly in plastic wrap and then place them in a freezer-safe bag or container. They can be frozen for up to 3 months. When you’re ready to enjoy them, simply thaw the bars in the fridge or at room temperature for a few hours.
What should I do if my dough is too sticky?
Don’t worry! If your dough feels overly sticky, try chilling it in the refrigerator for about 30 minutes. This will firm up the dough, making it easier to handle. Also, ensure you’re measuring your ingredients accurately; too much moisture could lead to stickiness.
Are there any dietary considerations for this recipe?
Great question! For those with gluten sensitivities, substitute the sugar cookie mix with a gluten-free version. If you’re looking for a lactose-free alternative, opt for dairy-free butter. Always check the label of the pudding mix for any potential allergens.
What’s the best way to serve these cookie bars?
You can serve your Pistachio Dream Cookie Bars warm alongside a scoop of vanilla ice cream for a delightful dessert experience. They also pair wonderfully with a fresh fruit salad, offering a refreshing contrast to the sweet, nutty flavors of the bars.
Pistachio Dream Cookie Bars: A Chewy Slice of Bliss
Ingredients
Equipment
Method
- Preheat your oven to 375°F (190°C).
- In a large mixing bowl, combine softened unsalted butter, large eggs, and pistachio instant pudding mix, then cream until smooth.
- Gradually add the sugar cookie mix to the creamy mixture and stir until a sticky dough forms.
- Grease a 10 x 15-inch baking sheet with cooking spray or butter.
- Press the sticky cookie dough evenly into the prepared baking sheet.
- Bake for 18-22 minutes until edges are golden and a toothpick comes out clean.
- Allow the bars to cool completely in the pan on a wire rack for about 30 minutes.
Leave a Reply