
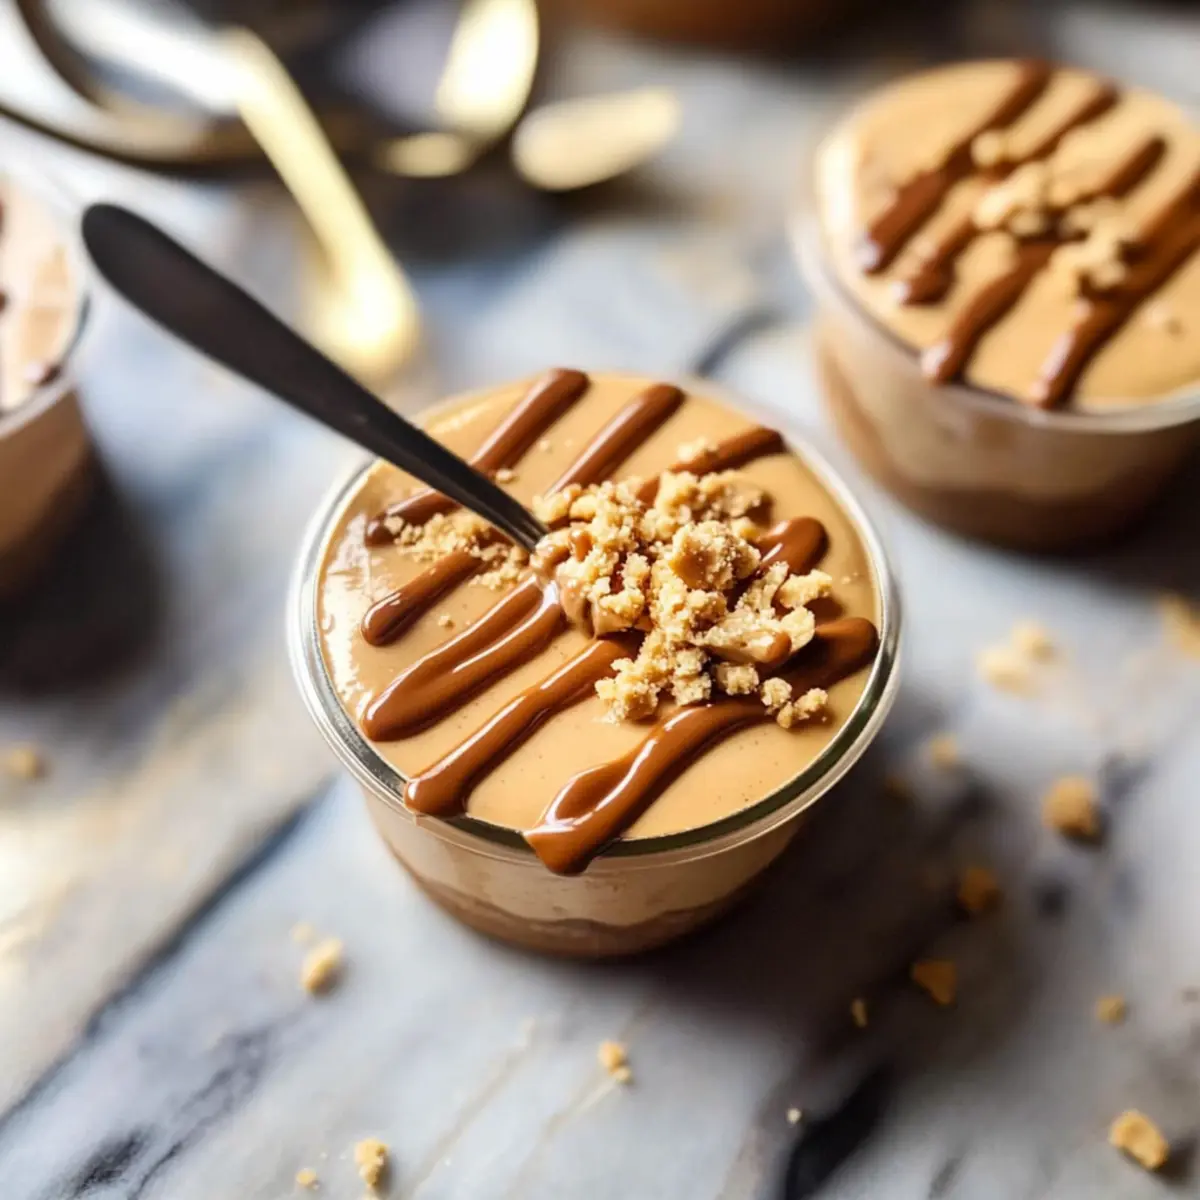
As I settled into the cozy warmth of my kitchen one afternoon, I found myself craving something sweet yet guilt-free. Enter the No-Bake Peanut Butter Cottage Cheese Cheesecake Cups—a delightful twist on a classic dessert that has become a staple in my home. With their creamy texture and the perfect balance of sweet and savory, these cups are not only a high-protein indulgence but also incredibly quick to whip up. They require no baking, making them an ideal solution for anyone who craves homemade goodness without the hassle. Imagine treating yourself to a creamy, satisfying dessert that’s as nourishing as it is delicious—now that’s a win! Curious to uncover the secrets behind these dreamy little cups? Let’s get started!
Why Choose Peanut Butter Cottage Cheese Cups?
Healthy Indulgence: These cups provide a deliciously creamy dessert without the guilt, featuring high-protein ingredients that satisfy cravings.
No-Bake Convenience: Skip the oven! Whip these up in no time, perfect for busy schedules.
Flavor Fusion: The blend of peanut butter and cottage cheese creates a unique, velvety treat that’s truly irresistible.
Versatile Delight: Customize with chocolate chips or nut toppings for an added crunch, or try using almond butter for a twist!
Perfect for Any Occasion: Whether it’s a casual snack or a party treat, these Peanut Butter Cottage Cheese Cheesecake Cups are sure to impress.
Peanut Butter Cottage Cheese Ingredients
-
For the Base
• Creamy Peanut Butter – Adds rich flavor and creaminess. Opt for crunchy if you enjoy texture!
• Full-Fat Cottage Cheese – A healthier cream cheese substitute that boosts protein and creates a thick, creamy base.
• Cream Cheese – Ensures a rich texture; remember to soften it for easy blending!
• Honey – Naturally sweetens and keeps the mixture smooth; feel free to substitute with maple syrup for a vegan version.
• Vanilla Extract – Enriches the flavor profile, providing a warm and comforting aroma. -
For the Crust
• Crushed Graham Crackers – Creates a crunchy base; gluten-free options are available for those with dietary restrictions. -
For the Topping
• Melted Peanut Butter – Use for drizzling, adding both flavor and visual appeal to your delightful cheesecake cups.
These Peanut Butter Cottage Cheese Cheesecake Cups are packed with protein and ready to enjoy in no time!
Step‑by‑Step Instructions for Peanut Butter Cottage Cheese Cheesecake Cups
Step 1: Blend the Base
In a high-speed blender, combine the full-fat cottage cheese, softened cream cheese, honey, and vanilla extract. Blend the mixture for 1-2 minutes, or until it becomes silky smooth and creamy—this will be the heart of your Peanut Butter Cottage Cheese Cheesecake Cups, so make sure there are no lumps.
Step 2: Mix in Peanut Butter
Transfer the blended mixture into a large mixing bowl and gently fold in the creamy peanut butter. Use a spatula to thoroughly combine them until the color is uniform and you no longer see streaks of peanut butter. This creamy filling should have a luscious texture, ready to bring joy to your dessert cups.
Step 3: Prepare Jars
Gather four small jars or dessert cups and place about 2 tablespoons of crushed graham crackers in the bottom of each one. Press the crumbs down gently with the back of a spoon to create a solid base; this crunchy layer adds a delightful contrast to the smooth filling of your Peanut Butter Cottage Cheese Cheesecake Cups.
Step 4: Fill Jars
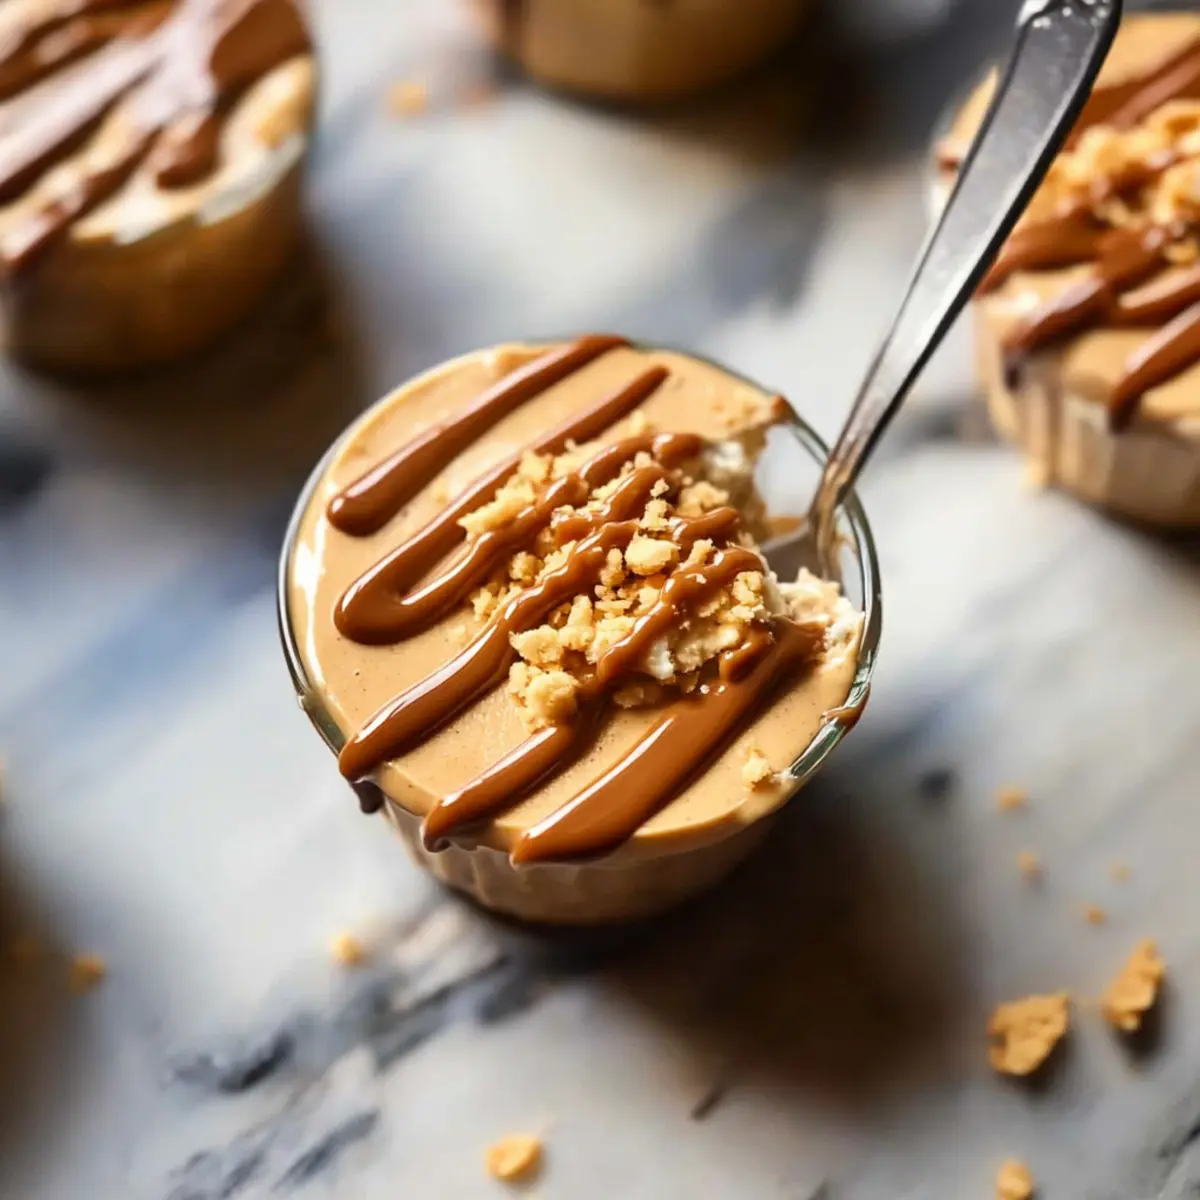
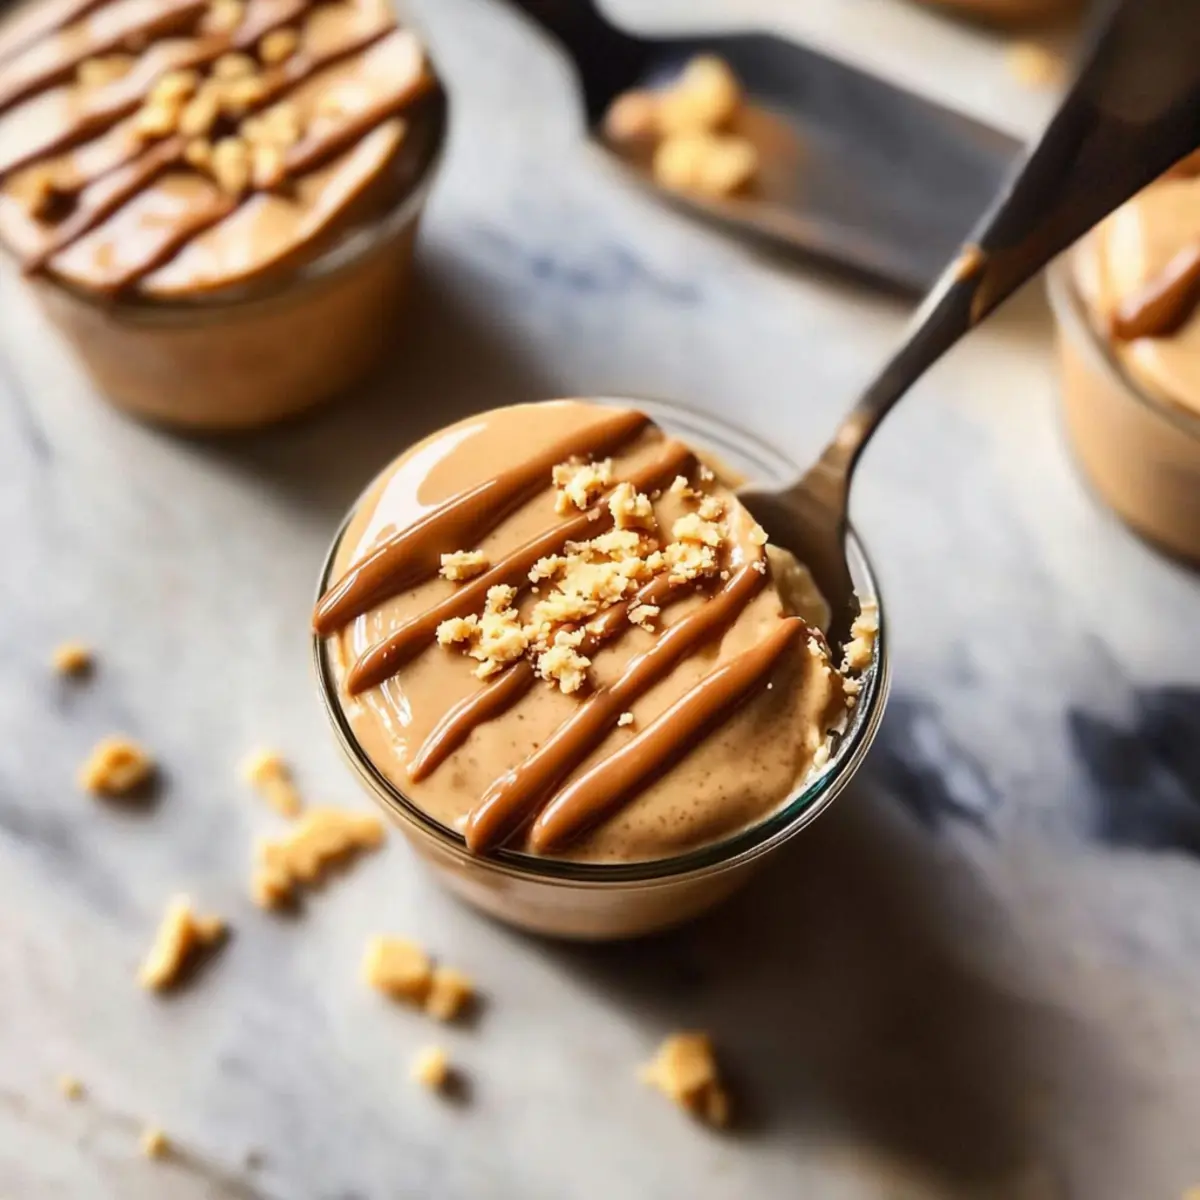
Evenly distribute the peanut butter cheesecake mixture into the prepared jars, using a spoon to gently smooth the tops. Aim for an even layer, filling each cup with the creamy goodness you just made. Each jar should look enticing and full of promise, setting the stage for a delightful treat.
Step 5: Add Topping
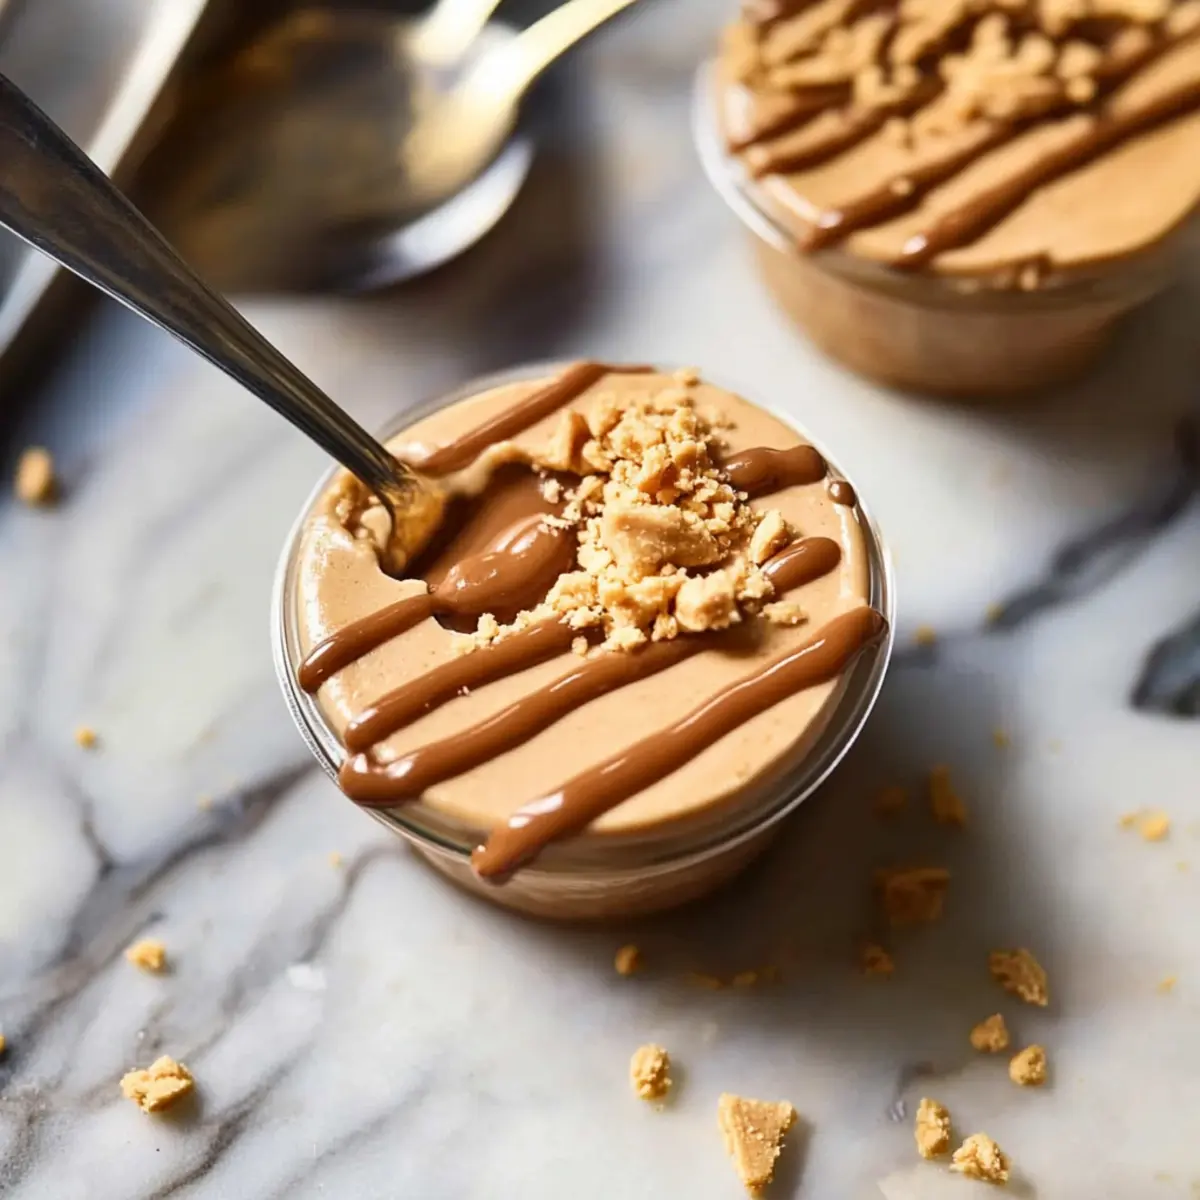
In a microwave-safe bowl, melt additional peanut butter for about 20-30 seconds, then stir until smooth. Carefully drizzle the melted peanut butter over the top of each cup, allowing it to create a beautiful swirl. This final touch not only enhances visual appeal but adds an extra layer of flavor.
Step 6: Chill
Cover the jars with lids or plastic wrap and refrigerate them for at least 1 hour to let the flavors meld and the mixture firm up. While you’re waiting, you can admire the delightful layers and plan how you’ll serve these delicious Peanut Butter Cottage Cheese Cheesecake Cups, knowing that your patience will lead to a tasty reward.
Storage Tips for Peanut Butter Cottage Cheese Cups
- Fridge: Store your Peanut Butter Cottage Cheese Cheesecake Cups covered in the refrigerator for up to 3 days. This keeps them fresh and maintains their creamy texture.
- Freezer: It’s best not to freeze these cups, as freezing may change the texture of the creamy filling, making it grainy once thawed.
- Serving: When ready to enjoy, simply take them out of the refrigerator and serve chilled. They make a delightful snack or dessert any time!
- Reheating: If you want to enjoy them a little warmer, let them sit at room temperature for about 15 minutes before serving; however, they’re best enjoyed cold.
Make Ahead Options
These No-Bake Peanut Butter Cottage Cheese Cheesecake Cups are a fantastic treat for meal prep enthusiasts! You can prepare the entire cheesecake cup up to 3 days in advance, ensuring you always have a delicious dessert on hand. Simply follow the initial steps of blending the base and preparing the jars. After filling each jar and drizzling the melted peanut butter on top, cover them tightly with lids or plastic wrap and refrigerate. This keeps the flavors fresh and prevents any browning or drying out. When you’re ready to serve, just take them out and enjoy! They’ll be just as creamy and satisfying as when you first made them, providing a quick and delightful indulgence with minimal effort.
Expert Tips for Peanut Butter Cottage Cheese Cups
- Smooth Blending: Make sure to blend the base thoroughly to eliminate any lumps; this creates a velvety texture that’s essential for your Peanut Butter Cottage Cheese Cheesecake Cups.
- Use Full-Fat: Opt for full-fat cream cheese and cottage cheese. Low-fat options may lead to a less creamy and satisfying end result.
- Chill Time is Key: Be patient and refrigerate for at least one hour. Giving the cups time to set ensures they maintain their structure and flavor.
- Graham Cracker Base: Press the crust down firmly in the jars to create a stable base. This prevents the creamy filling from mixing into the crust.
- Topping Ideas: Feel free to get creative with toppings! Consider adding a sprinkle of salt or drizzling chocolate for an exciting twist on your Peanut Butter Cottage Cheese Cups.
Peanut Butter Cottage Cheese Variations
Feel free to get creative and personalize these delightful cups to suit your taste buds!
- Almond Butter: Switch out peanut butter for almond butter for a nutty twist that delivers a new layer of flavor.
- Chocolate Delight: Fold in mini chocolate chips into the filling before chilling for a rich, dessert-style experience.
- Fruit Fusion: Add fruit puree, like strawberry or raspberry, to the mix for a fruity burst of flavor that brightens each bite.
- Vegan Version: Use coconut cream in place of cream cheese and maple syrup instead of honey for a vegan-friendly dessert. Let the creamy goodness shine!
- Nut Toppings: Sprinkle chopped nuts, like pecans or walnuts, on top for a crunchy contrast that enhances the creamy filling.
- Spiced Option: Mix in a pinch of cinnamon or nutmeg to the base for a warm spice that complements the peanut butter perfectly.
- Cookie Crust: Ditch the graham crackers and use crushed Oreo cookies for a chocolatey crust that takes these cups to a new level of indulgence.
- Savory Spin: For something different, try a savory twist by adding a pinch of sea salt and a handful of crushed pretzels on top instead of sweet toppings.
Looking for more delicious inspirations? You might also enjoy these Peanut Butter Spider cookies, or how about a slice of Chocolate Peanut Butter swirl pie? Experiment and find your favorite combination!
What to Serve with No-Bake Peanut Butter Cottage Cheese Cheesecake Cups?
Imagine a delightful spread that pairs perfectly with your creamy cheesecake cups, creating a feast for the senses.
- Fresh Berries: Juicy strawberries, blueberries, or raspberries add a burst of freshness that beautifully contrasts the rich, creamy texture of the cheesecake cups.
- Honey Drizzled Yogurt: A side of silky yogurt with a drizzle of honey provides a tart balance to the sweet, nutty flavors of peanut butter.
- Chocolate Dipped Pretzels: The salty crunch of pretzels dipped in chocolate creates a playful sweet and salty experience that enhances each bite.
- Grilled Peaches: Grilling brings out the natural sweetness of peaches, making them a warm, juicy companion that complements the cool cheesecake cups.
- Herbal Iced Tea: Serve with a vibrant herbal iced tea for a refreshing sip that cuts through the richness and cleanse the palate.
- Dark Chocolate Shavings: Garnish the cups with dark chocolate shavings for an elegant touch, adding depth and a hint of bitterness to the sweetness.
- Nutty Granola: A sprinkle of crunchy granola adds an inviting texture, making every spoonful more exciting while keeping it healthy.
- Coconut Whipped Cream: Light and fluffy coconut whipped cream elevates the dessert’s creaminess and adds a tropical flair that pairs beautifully.
Peanut Butter Cottage Cheese Cheesecake Cups Recipe FAQs
How do I choose the best cottage cheese for this recipe?
Absolutely! When selecting cottage cheese, look for full-fat options to ensure creaminess. You want a smooth texture without excess liquid, so avoid brands that appear too watery. If it’s lumpy, go for larger curds, which can still blend well for your Peanut Butter Cottage Cheese Cheesecake Cups.
What is the best way to store leftover cheesecake cups?
Very! Store your Peanut Butter Cottage Cheese Cheesecake Cups in the refrigerator, covered, for up to 3 days. To maintain freshness, make sure the jars are tightly sealed. This helps keep that rich, creamy texture intact and prevents any unwanted odors from seeping in!
Can I freeze the cheesecake cups?
Honestly, it’s best not to freeze these cups! Freezing can disrupt their creamy filling, causing it to become grainy once thawed. If you need to make them ahead, just store them in the fridge for up to 3 days, and they’ll be just as delicious!
What if my cheesecake mixture isn’t blending smoothly?
No worries! If your mixture isn’t blending to a smooth consistency, add a splash of milk or water to help it come together. Blend for another minute until you have a velvety filling. Using a powerful blender is key here; consider running the mixture in short bursts if you’re using a standard blender to avoid overheating.
Are these cheesecake cups suitable for those with allergies?
Great question! These Peanut Butter Cottage Cheese Cheesecake Cups contain dairy and nuts, so they may not be suitable for individuals with lactose intolerance or nut allergies. If you’re looking for alternatives, try using dairy-free cream cheese and almond butter substitutes while ensuring all other ingredients are allergy-friendly.
Creamy Peanut Butter Cottage Cheese Dessert Cups to Love
Ingredients
Equipment
Method
- In a high-speed blender, combine the full-fat cottage cheese, softened cream cheese, honey, and vanilla extract. Blend for 1-2 minutes until silky smooth.
- Transfer the blended mixture into a bowl and gently fold in the creamy peanut butter using a spatula until well combined.
- Gather four jars and place about 2 tablespoons of crushed graham crackers in the bottom of each, pressing down gently.
- Distribute the peanut butter cheesecake mixture into the jars, smoothing the tops evenly.
- Melt additional peanut butter in a microwave-safe bowl for 20-30 seconds and drizzle over each jar.
- Cover the jars and refrigerate for at least 1 hour to let the flavors meld.
Leave a Reply