
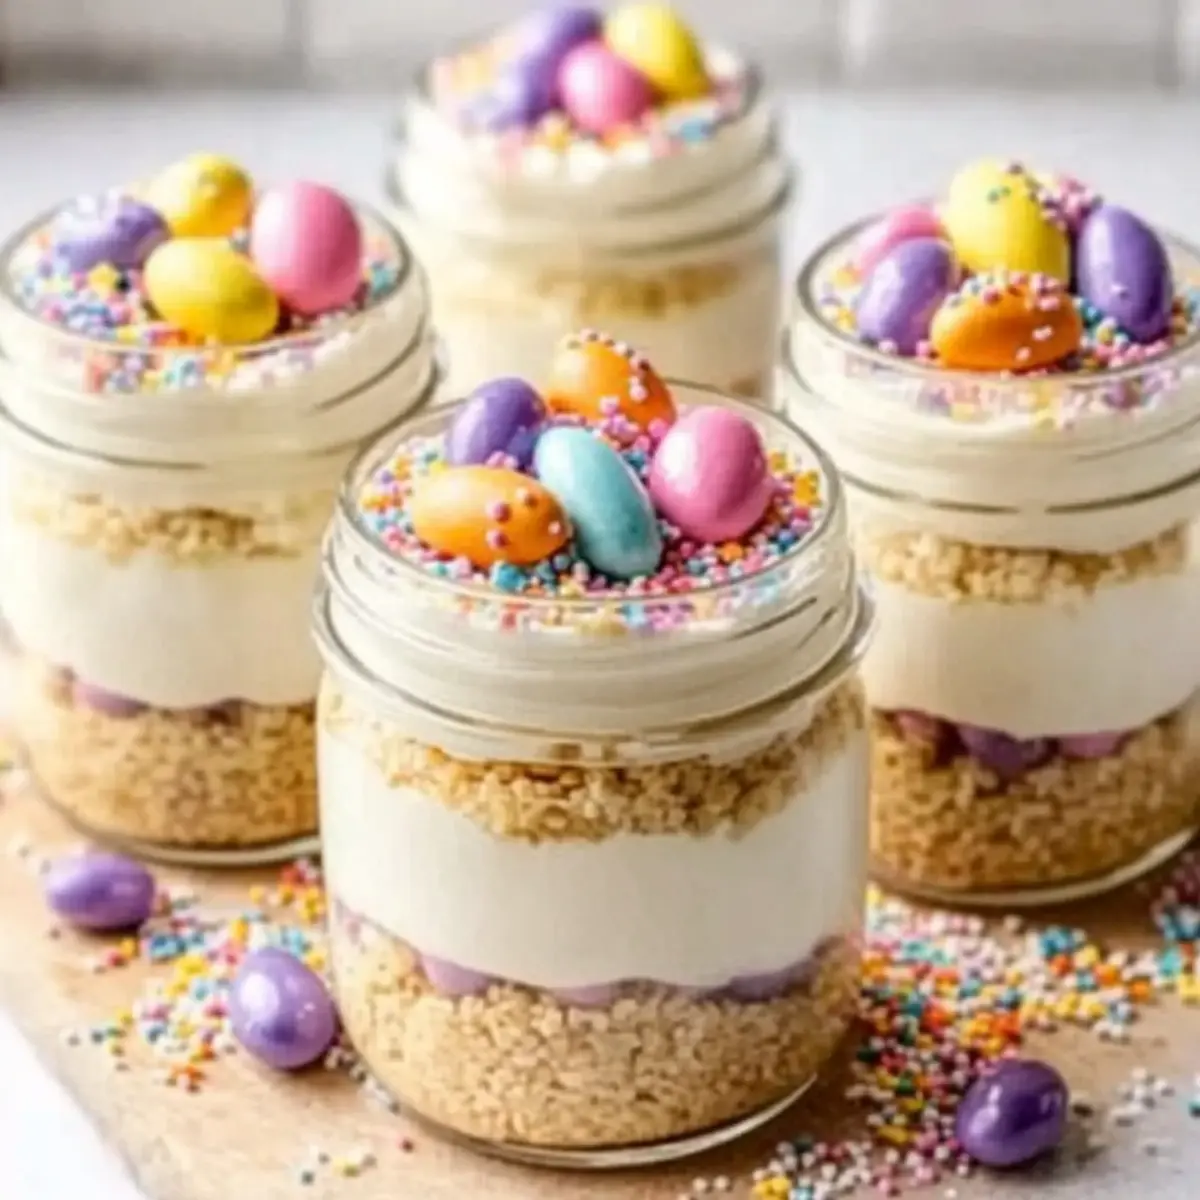
As I unwrapped the colorful foil around my first Easter chocolate egg this year, a wave of nostalgia washed over me—the delightful treats of my childhood spring celebrations. That moment sparked the idea for these No-Bake Mini Easter Cheesecake Jars, a playful dessert that combines creamy cheesecake and a buttery crust in a charming, portion-controlled jar. Perfect for gatherings or cozy weekends, this recipe offers the joy of make-ahead preparation, so you can enjoy more time with loved ones. Plus, with options for gluten-free crusts and fun toppings, it’s a festive way to cater to everyone’s tastes. Ready to dive into a season of sweet memories and creamy bliss?
Why are these cheesecake jars a must-try?
Delightful Presentation: Served in cute jars, these Mini Easter Cheesecake Jars are not just a treat for your taste buds, but also a feast for the eyes. Their vibrant colors and festive toppings make them perfect for any spring gathering!
No-Bake Convenience: Enjoy a hassle-free baking experience with this no-bake recipe! Simply layer the ingredients, chill, and you’re ready to impress without the oven stress.
Make-Ahead Magic: Prepare these jars in advance, allowing flavors to meld beautifully, making them ideal for busy hosts or family gatherings.
Customizable Fun: With options like gluten-free crusts and a variety of toppings, these jars let you cater to everyone’s preferences—from chocolate lovers to fruit enthusiasts!
For more delightful inspirations, check out these Pistachio Mushroom Cheesecake and Velvet Oreo Cheesecake recipes.
Mini Easter Cheesecake Jars Ingredients
-
For the Crust
-
Graham cracker crumbs – 1 1/2 cups, or swap for gluten-free cookies for a gluten-free option.
-
Unsalted butter – 5 tablespoons (melted), to bind the crust and add richness.
-
Sugar – 2 tablespoons, to enhance the sweetness of the crust.
-
Salt – Pinch, to balance the sweetness and enhance flavor.
-
For the Cheesecake Filling
-
Cream cheese – 12 oz (softened), the creamy base of the filling—ensure it’s just softened to avoid a runny consistency.
-
Powdered sugar – 1/2 cup, for sweetness and a smooth texture.
-
Vanilla extract – 1 teaspoon, to deepen flavor notes.
-
Lemon juice – 1 tablespoon, to brighten the cheesecake’s flavor profile.
-
Heavy whipping cream – 1 cup (cold), whipped to stiff peaks for lightness.
-
Gel food coloring (optional) – A few drops (in pastel shades), to tint the filling for a festive touch.
-
For the Toppings
-
Mini chocolate eggs – Adds a playful, festive decoration.
-
Jelly beans – For a pop of color and sweetness.
-
Pastel sprinkles – Perfect for that extra touch of cheer.
-
Shredded coconut (optional) – To mimic coconut “grass” for an Easter vibe.
Dive into the festive fun of creating these Mini Easter Cheesecake Jars, and let your creativity blossom!
Step‑by‑Step Instructions for Mini Easter Cheesecake Jars
Step 1: Make the crumb base
In a medium bowl, combine 1 1/2 cups of graham cracker crumbs, 2 tablespoons of sugar, and a pinch of salt. Pour in 5 tablespoons of melted unsalted butter and mix until it resembles wet sand. This mixture forms the foundation of your Mini Easter Cheesecake Jars, providing a sweet, crunchy base that balances the creamy filling.
Step 2: Pack the crust
Spoon 2-3 tablespoons of the crust mixture into each jar, pressing down firmly with the back of a spoon to create an even layer. This step is crucial for stability, as it allows the crust to hold its shape once chilled. Aim for a packed, compact layer to support the creamy filling to come.
Step 3: Whip the cream
In a chilled mixing bowl, pour 1 cup of heavy whipping cream. Using an electric mixer, whip the cream on medium-high speed until it reaches medium-stiff peaks, which should take about 3-5 minutes. Once ready, transfer the whipped cream to the refrigerator to chill further before incorporating it into the cheesecake filling.
Step 4: Beat the cream cheese
In another mixing bowl, combine 12 oz of softened cream cheese, 1/2 cup of powdered sugar, 1 teaspoon of vanilla extract, and 1 tablespoon of lemon juice. Beat the mixture with an electric mixer on medium speed for about 1-2 minutes until it’s smooth and fluffy. This creamy base will form the heart of your delicious Mini Easter Cheesecake Jars.
Step 5: Fold the cream
Gently incorporate the chilled whipped cream into the cream cheese mixture in two additions, using a spatula to fold carefully. Continue folding until there are no visible streaks, which should take about a minute. Be gentle to maintain the light, airy texture of the filling, key for the delightful cheesecake experience in your jars.
Step 6: Color the filling (optional)
If you wish to add a playful twist to your Mini Easter Cheesecake Jars, divide the creamy filling into smaller bowls and tint each with a few drops of gel food coloring in pastel shades. Gently fold the color into the filling until evenly distributed. This step brings a vibrant, festive look, perfect for spring celebrations.
Step 7: Fill the jars
Using a piping bag or a spoon, carefully fill each jar with the cheesecake mixture, ensuring you leave some space at the top for your decorative toppings. Aim for a smooth surface for a professional finish. This layered approach will beautifully showcase the crust and creamy filling as you prepare your Mini Easter Cheesecake Jars.
Step 8: Chill
Cover each jar with a lid or plastic wrap and place them in the refrigerator for at least 2 hours, or up to 24 hours for optimal flavor melding. Chilling not only helps the filling set but also enhances the deliciousness of your Mini Easter Cheesecake Jars, making them even more enjoyable.
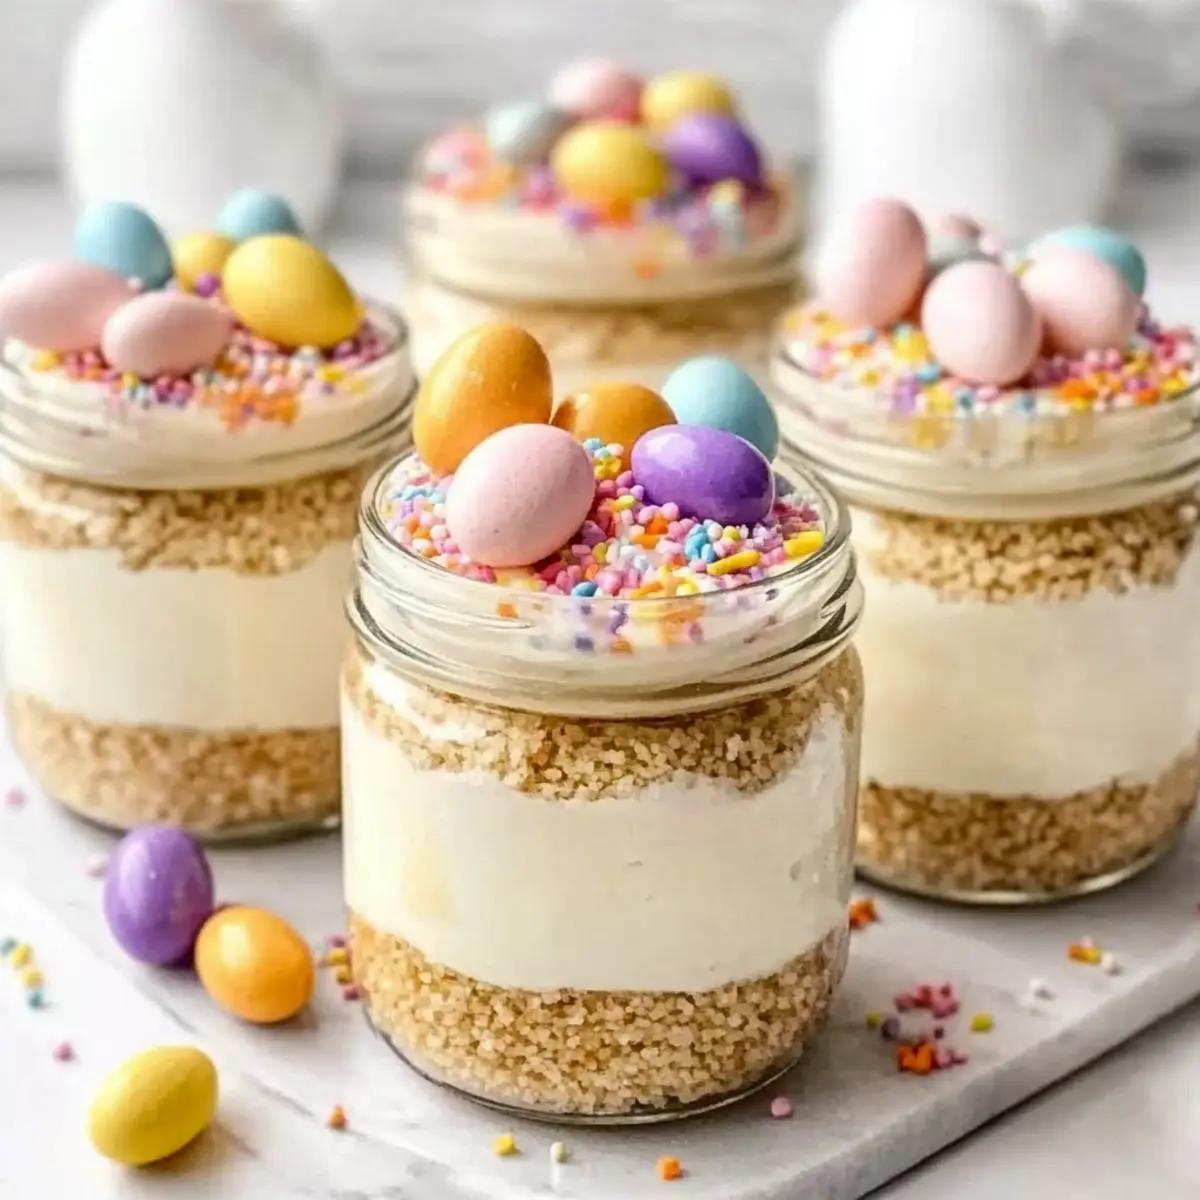
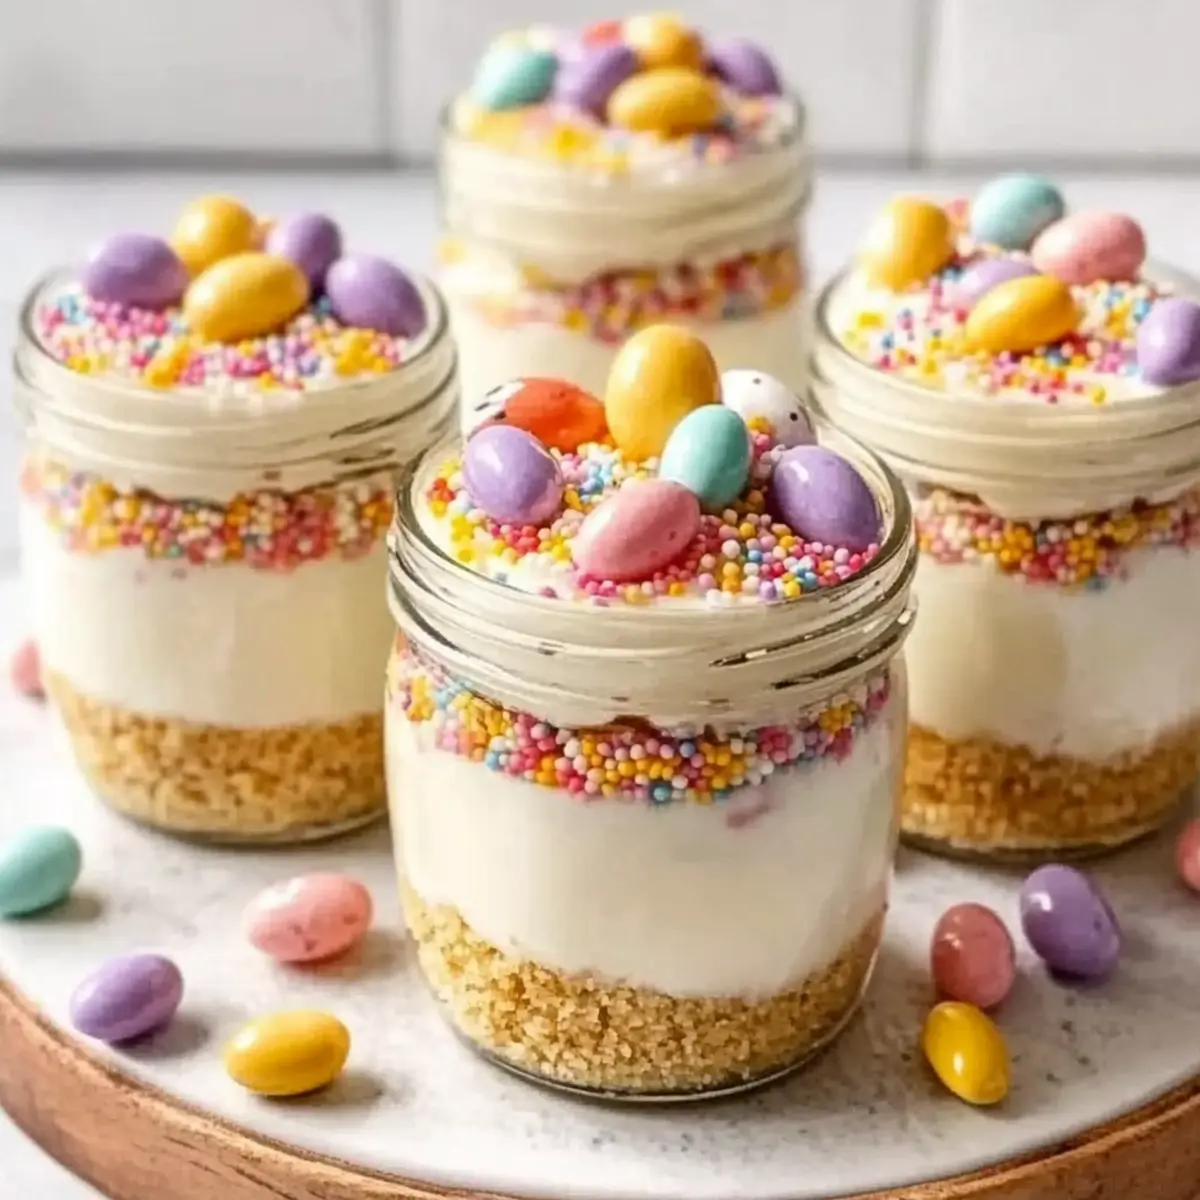
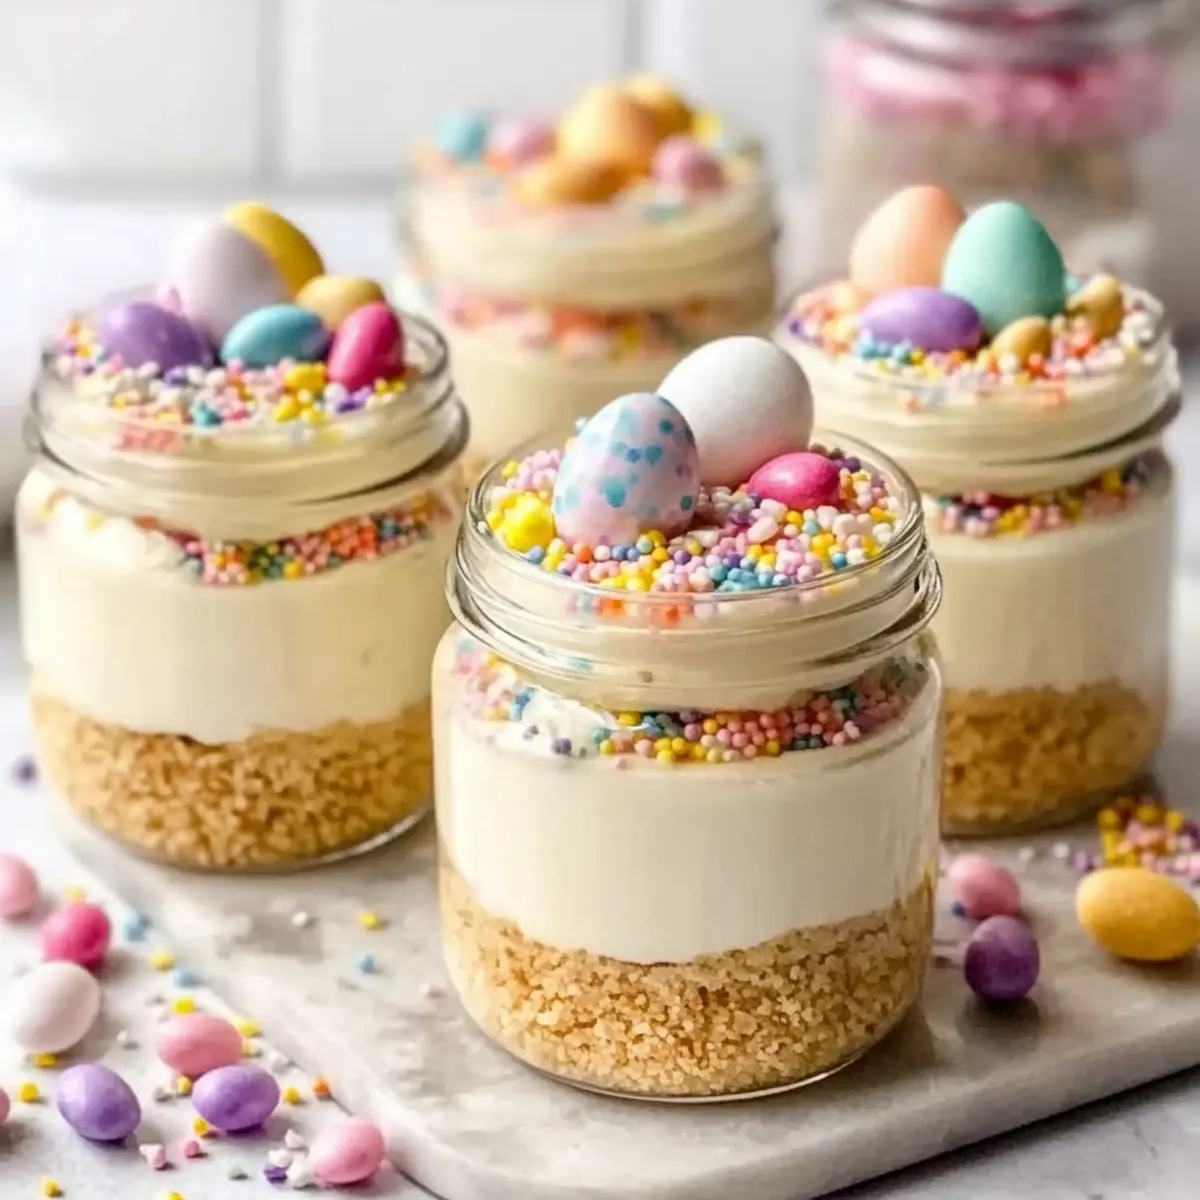
Step 9: Decorate
Just before serving, unleash your creativity by adding a layer of coconut “grass,” pastel sprinkles, and mini chocolate eggs to the top of each jar. This fun decoration brings a festive touch to the cheesecakes, transforming them into delightful mini creations that capture the joy of Easter.
Step 10: Serve cold
When you’re ready to serve, enjoy these Mini Easter Cheesecake Jars cold with small spoons. The contrast of the creamy filling and crunchy base creates a delicious treat perfect for any spring gathering, ensuring everyone will want to indulge in these delightful desserts!
Storage Tips for Mini Easter Cheesecake Jars
Fridge: Store covered jars in the refrigerator for up to 3 days. This keeps the cheesecake fresh and ensures the flavors remain vibrant.
Freezer: These jars can be frozen without toppings for up to 1 month. Make sure to wrap them tightly. Thaw in the fridge overnight before serving to retain their creamy texture.
Reheating: Since these Mini Easter Cheesecake Jars are served cold, there is no need for reheating. Simply enjoy them straight from the fridge for the best experience!
Presentation: For the prettiest results, add toppings like chocolate eggs or sprinkles just before serving to keep them looking bright and appealing.
What to Serve with Mini Easter Cheesecake Jars
These vibrant, no-bake delights are the perfect centerpiece for a festive spring meal, inviting friends and family to indulge in their creamy goodness.
-
Fresh Berry Salad: A mix of strawberries, blueberries, and raspberries brings a juicy burst of freshness that perfectly complements the rich cheesecake flavor.
-
Minted Lemonade: The refreshing taste of mint and zesty lemon creates a thirst-quenching drink that balances the sweetness of the dessert.
-
Chocolate-Covered Strawberries: These decadent treats add an indulgent touch, echoing the festive feel while contrasting beautifully with the creamy jars.
-
Spring Vegetable Platter: Crisp veggies like bell peppers, cucumbers, and radishes paired with a light dip offer a crunchy and colorful counterpart to the rich cheesecake.
-
Pistachio Cookies: These nutty, buttery delights not only add a delightful texture but also enhance the celebration of spring with their vibrant colors.
-
Mini Fruit Tarts: These colorful bites provide a tangy, fruity contrast to the cheesecakes, adding a visual and textural diversity to your dessert spread.
-
Coffee or Tea: A warm cup of coffee or herbal tea rounds out the meal beautifully, cleansing the palate and enhancing the dessert experience.
-
Carrot Cake Bites: Embrace the Easter spirit with these spiced, moist treats; their flavors harmonize delightfully with the cheesecake jars, making for a festive finish.
Mini Easter Cheesecake Jars Variations
Feel free to personalize these desserts and create your own unique twist to savor with friends and family!
-
Citrus Twist: Substitute lemon juice with lime juice for a refreshing zing that brightens each bite.
Revel in a fruity contrast that enhances the creamy filling and brings spring to life! -
Chocolate Indulgence: Use chocolate cookie crumbs instead of graham crackers to create a decadent chocolate crust.
Top with mini chocolate eggs for a rich, delightful treat that chocolate lovers will adore. -
Fruity Layer: Incorporate a layer of fruit compote, like strawberry or blueberry, between the crust and filling.
This sweet addition adds a burst of flavor and a lovely contrast to the creamy cheesecake. -
Nutty Delight: Mix chopped nuts, such as pecans or walnuts, into the crust for extra crunch and flavor.
Alternatively, fill with pistachio paste for a creamy, nutty experience that’s simply divine. -
Spicy Kick: Add a pinch of cinnamon or nutmeg to the cheesecake mixture for a warm, spicy undertone.
This subtle spice can elevate the flavors and provide a cozy, comforting vibe to your jars. -
Reduced Sugar: Swap out regular sugar for your favorite sugar substitute to make a lower-sugar version.
Enjoy the deliciousness with less guilt, perfect for those watching their sugar intake! -
Fruit Flavored Cream Cheese: Use flavored cream cheese, like strawberry or raspberry, to enhance the filling effortlessly.
This twist adds an extra fruity note that beautifully blends with the other flavors for a vibrant treat.
For more delightful inspirations, triumph in the kitchen with these amazing recipes for Pistachio Mushroom Cheesecake and Velvet Oreo Cheesecake!
Make Ahead Options
These Mini Easter Cheesecake Jars are perfect for busy home cooks looking to save time during festive gatherings! You can prepare the crust and cheesecake filling up to 24 hours in advance. Simply follow the recipe until the chilling step, and once filled, cover the jars tightly with plastic wrap and refrigerate. This ensures the flavors meld beautifully while maintaining the creamy texture. When you’re ready to serve, add the festive toppings—like coconut “grass” and mini chocolate eggs—just before presenting them. These make-ahead jars provide a delightful, low-stress dessert option, allowing you to enjoy more time with family and friends during the celebration!
Expert Tips for Mini Easter Cheesecake Jars
-
Room Temperature Cream Cheese: Make sure your cream cheese is softened completely but not warm, as overheating can lead to a runny filling.
-
Whipping Cream Precision: Whip heavy cream to medium-stiff peaks for a light texture. Avoid over-whipping as it can become grainy.
-
Gentle Folding: When combining whipped cream with the cream cheese, fold gently to keep the filling airy. This is key to achieving the perfect consistency in your Mini Easter Cheesecake Jars.
-
Decoration Timing: Add your colorful toppings just before serving. This ensures they maintain their texture and freshness, making your dessert look irresistibly delightful.
-
Flavor Enhancements: Experiment with your favorite flavors by adding extracts like almond or raspberry for unique twists on this classic recipe.
Mini Easter Cheesecake Jars Recipe FAQs
How do I choose ripe ingredients for this recipe?
Absolutely! When selecting cream cheese, ensure it’s fresh and not close to its expiration date for the best flavor and texture. For the lemon juice, fresh juice provides a brighter taste. If you’re using any fruits or toppings, make sure they are vibrant and firm, avoiding any that show dark spots or soft textures.
How should I store my Mini Easter Cheesecake Jars?
You can store your jars covered in the refrigerator for up to 3 days. Make sure they’re in an airtight container to keep them fresh and prevent any odors from affecting their wonderful flavor.
Can I freeze Mini Easter Cheesecake Jars?
Yes! You can freeze the jars without toppings for up to 1 month. To freeze, wrap each jar tight with plastic wrap or foil to prevent freezer burn. When you’re ready to enjoy them, simply transfer them to the fridge overnight to thaw. This keeps the creamy texture intact!
What should I do if my cheesecake filling is runny?
If you find your filling is runny, it might be due to overmixing or the cream cheese being too warm. To fix this, try chilling the filling for about 30 minutes before folding it with the whipped cream. If it’s still not thickening, you can add a bit more powdered sugar to help stabilize it.
Are Mini Easter Cheesecake Jars safe for pets?
It’s best to keep these jars away from pets, as ingredients like cream cheese and sugar can upset their stomachs. Always ensure to store your delicious creations safely out of reach from your furry friends!
Can I make this recipe gluten-free?
Absolutely! Simply substitute regular graham cracker crumbs with gluten-free cookies or crushed gluten-free graham crackers for the crust. This way, everyone can enjoy the delightful flavors of these Mini Easter Cheesecake Jars without compromising on their dietary needs!
Mini Easter Cheesecake Jars for a Festive Spring Treat
Ingredients
Equipment
Method
- Combine graham cracker crumbs, sugar, and salt, then add melted butter and mix until it resembles wet sand.
- Spoon 2-3 tablespoons of the crust mixture into each jar, pressing down firmly to create an even layer.
- Whip heavy whipping cream in a chilled bowl until it reaches medium-stiff peaks.
- Beat softened cream cheese, powdered sugar, vanilla extract, and lemon juice until smooth and fluffy.
- Gently fold whipped cream into cream cheese mixture until no visible streaks remain.
- Tint filling with gel food coloring by dividing into bowls and folding in color.
- Fill jars with cheesecake mixture using a piping bag or spoon, leaving space for toppings.
- Cover and chill jars for at least 2 hours to set.
- Decorate with toppings just before serving.
- Serve cold and enjoy!
Leave a Reply