
As I stood in the kitchen, flour dust swirling around like a cozy cloud, I realized that homemade comfort food is just a few simple steps away. Today, I’m thrilled to share my go-to recipe for No-Knead Sandwich Rolls, a genuine crowd-pleaser that will elevate your meals without the fuss of traditional bread-making. With just four ingredients, this recipe is not only quick and beginner-friendly but also completely oil-free, making it a healthy choice for family dinners or delightful lunches. Whether you’re crafting classic sandwiches or whipping up a snack for unexpected guests, these rolls deliver a crispy exterior and fluffy interior that rivals any bakery’s offerings. Ready to trade store-bought bread for a homemade delight? Let’s dive into this effortless baking adventure together!
Why Is This Yeast Bread So Easy?
Simplicity at its finest: With just four ingredients, these rolls require no complex techniques, making them perfect for beginners and busy cooks alike.
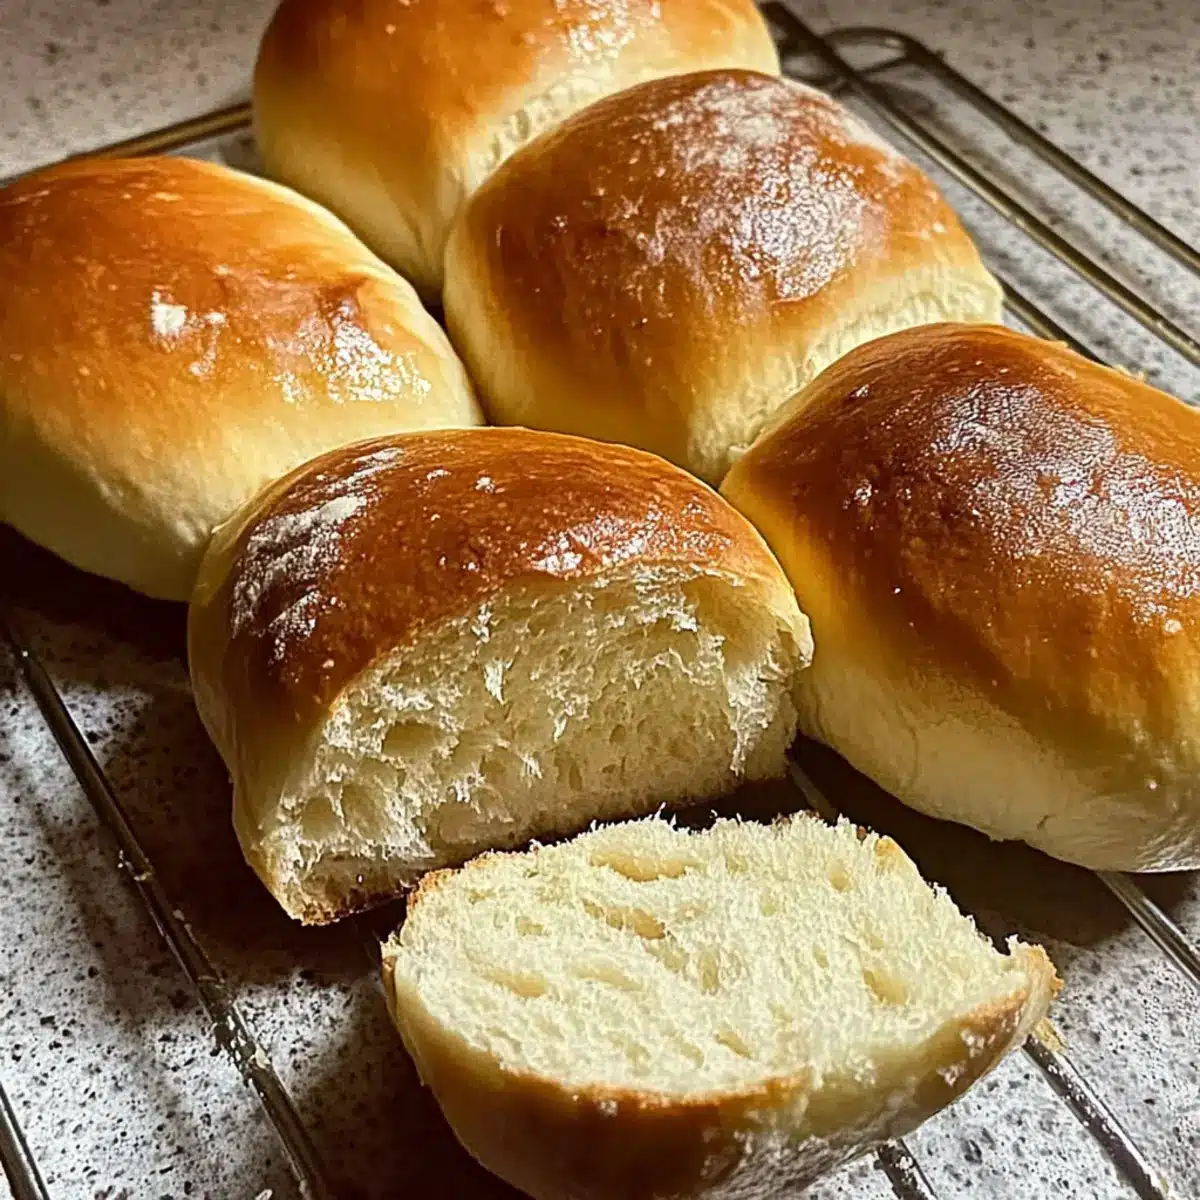
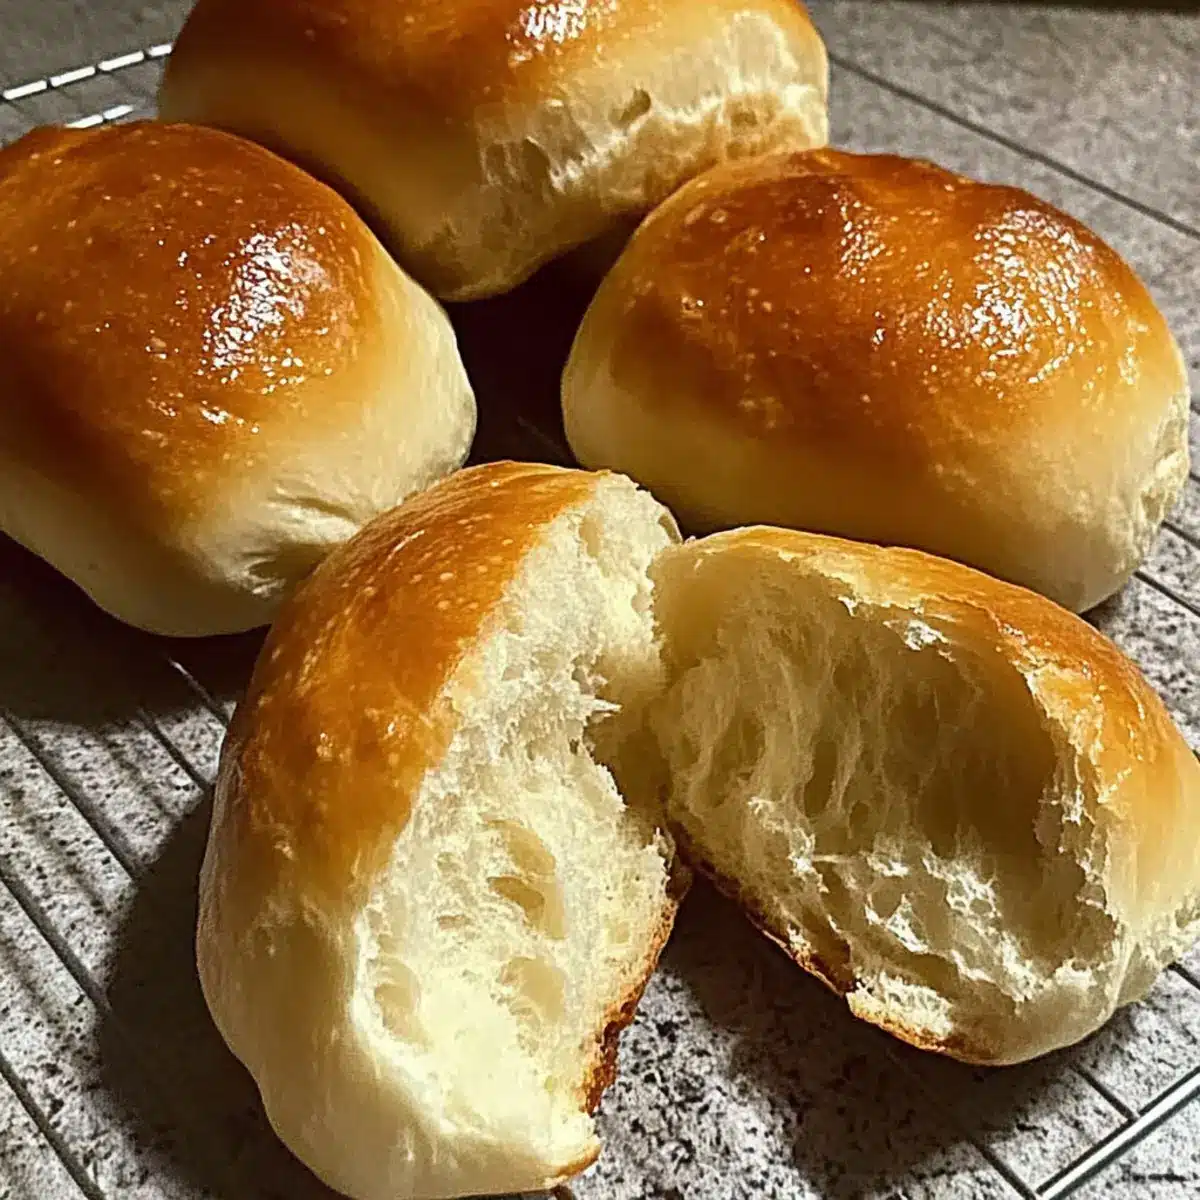
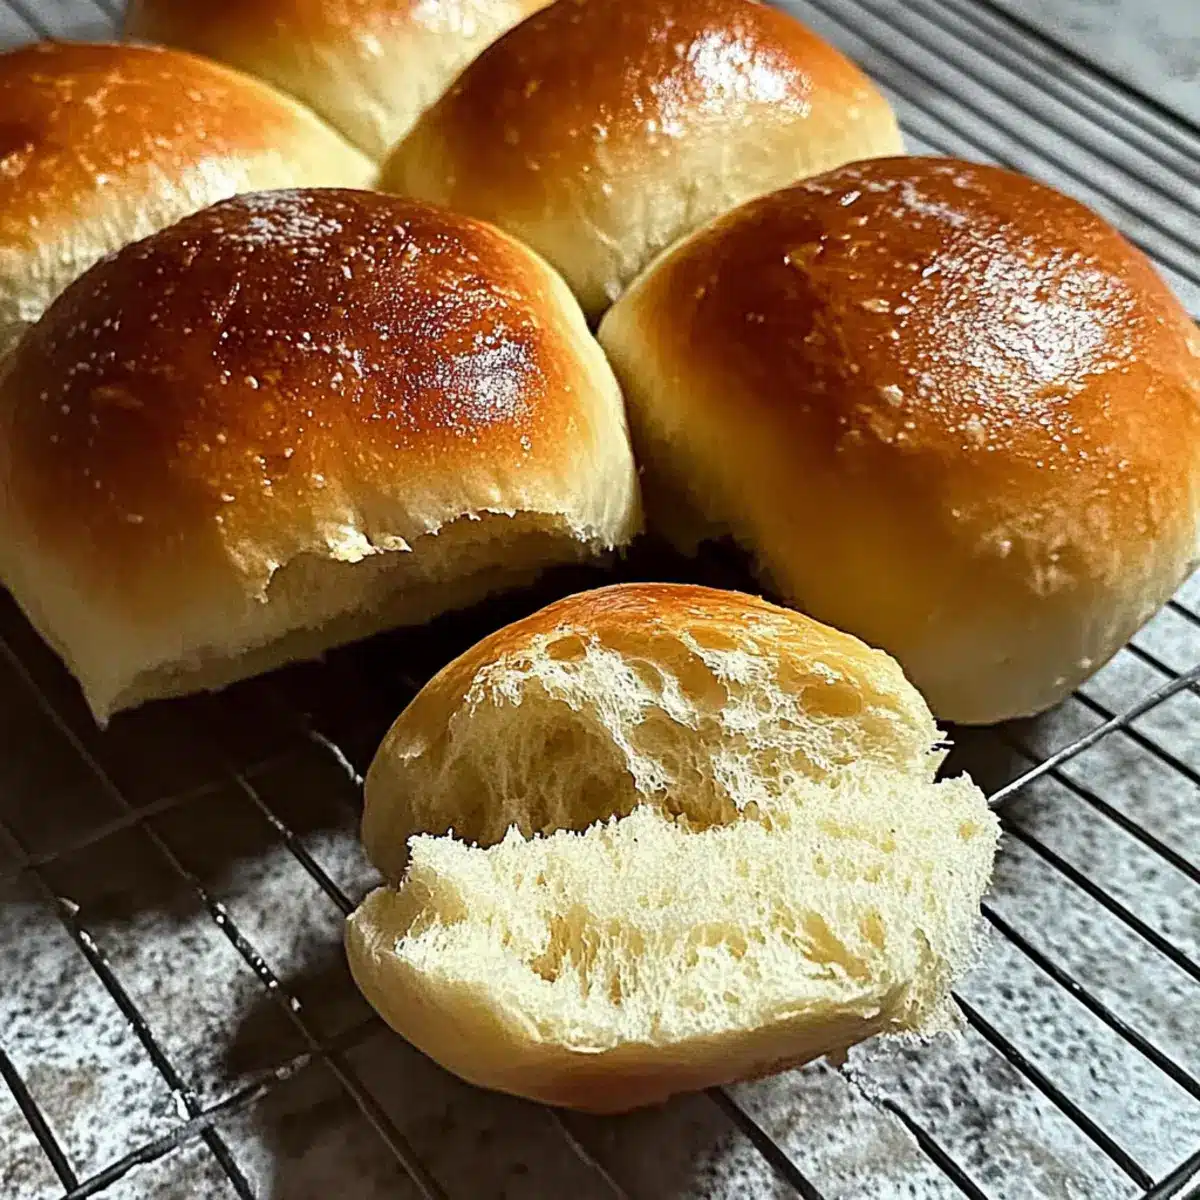
Flavorful crust and airy interior: Experience that delightful contrast between the golden surface and the soft, fluffy crumb inside each roll.
Quick and hassle-free: In under two hours, you can bake a batch that’s far superior to store-bought options.
Versatile companion: Perfect for sandwiches, sliders, or as a side for soups and salads. You can even experiment by adding herbs or cheese for a unique twist!
Health-conscious option: Oil-free and wholesome, these rolls fit into any healthy eating plan without sacrificing taste. If you love the idea of fresh bread but dread the kneading process, this recipe is your new best friend!
World’s Easiest Yeast Bread Ingredients
For the Dough
- Bread Flour – Provides the necessary structure and chewiness; if needed, all-purpose flour can be a perfect substitute.
- Warm Water (35-40 degrees) – Activates the yeast for fermentation; always use a thermometer to ensure accuracy for the best results.
- Instant or Quick Yeast – Leavens the dough efficiently without kneading; if unavailable, feel free to swap in active dry yeast.
- Sugar – Supports yeast fermentation and adds a gentle sweetness; while optional, I recommend it for enhancing flavor.
- Salt – Essential for enhancing flavor and controlling yeast activity during rising.
These simple ingredients come together to create the world’s easiest yeast bread that you’ll love turning to time and time again!
Step‑by‑Step Instructions for World’s Easiest Yeast Bread
Step 1: Prepare Dough
In a medium bowl, mix together warm water (between 35-40 degrees) and sugar, then add in the instant or quick yeast. Allow the mixture to sit for about 2-3 minutes until it bubbles slightly, indicating that the yeast is activated. In another bowl, combine the bread flour and salt, mixing well to ensure the salt is evenly distributed.
Step 2: Combine Ingredients
Pour the yeast mixture into the bowl containing the flour and salt. Stir the mixture with a wooden spoon or spatula until the dough comes together, ensuring no dry flour remains. The dough will be a bit sticky, but that’s perfectly fine; this is what makes the No-Knead Sandwich Rolls so easy to make!
Step 3: First Fermentation
Cover the bowl with a clean kitchen towel or plastic wrap and place it in a warm area of your kitchen. Let the dough rise for about 50 minutes, or until it has doubled in size. You’ll know it’s ready when the surface looks bubbly and has increased in volume, creating an irresistible promise of fluffy rolls to come.
Step 4: Shape Rolls
Once the dough has risen, gently deflate it by pressing down in the center with your fingers. Turn the dough out onto a floured surface and divide it into 8 equal pieces. For each piece, shape it into a round roll by tucking the edges underneath to create a smooth top, ensuring each roll is uniform in size for even baking.
Step 5: Second Fermentation
Arrange the shaped rolls on a baking tray lined with parchment paper, leaving space between each one. Cover the rolls again with a towel and let them rest for about 30 minutes, allowing them to rise and puff up. This second fermentation will create that lovely lightness in the No-Knead Sandwich Rolls.
Step 6: Bake
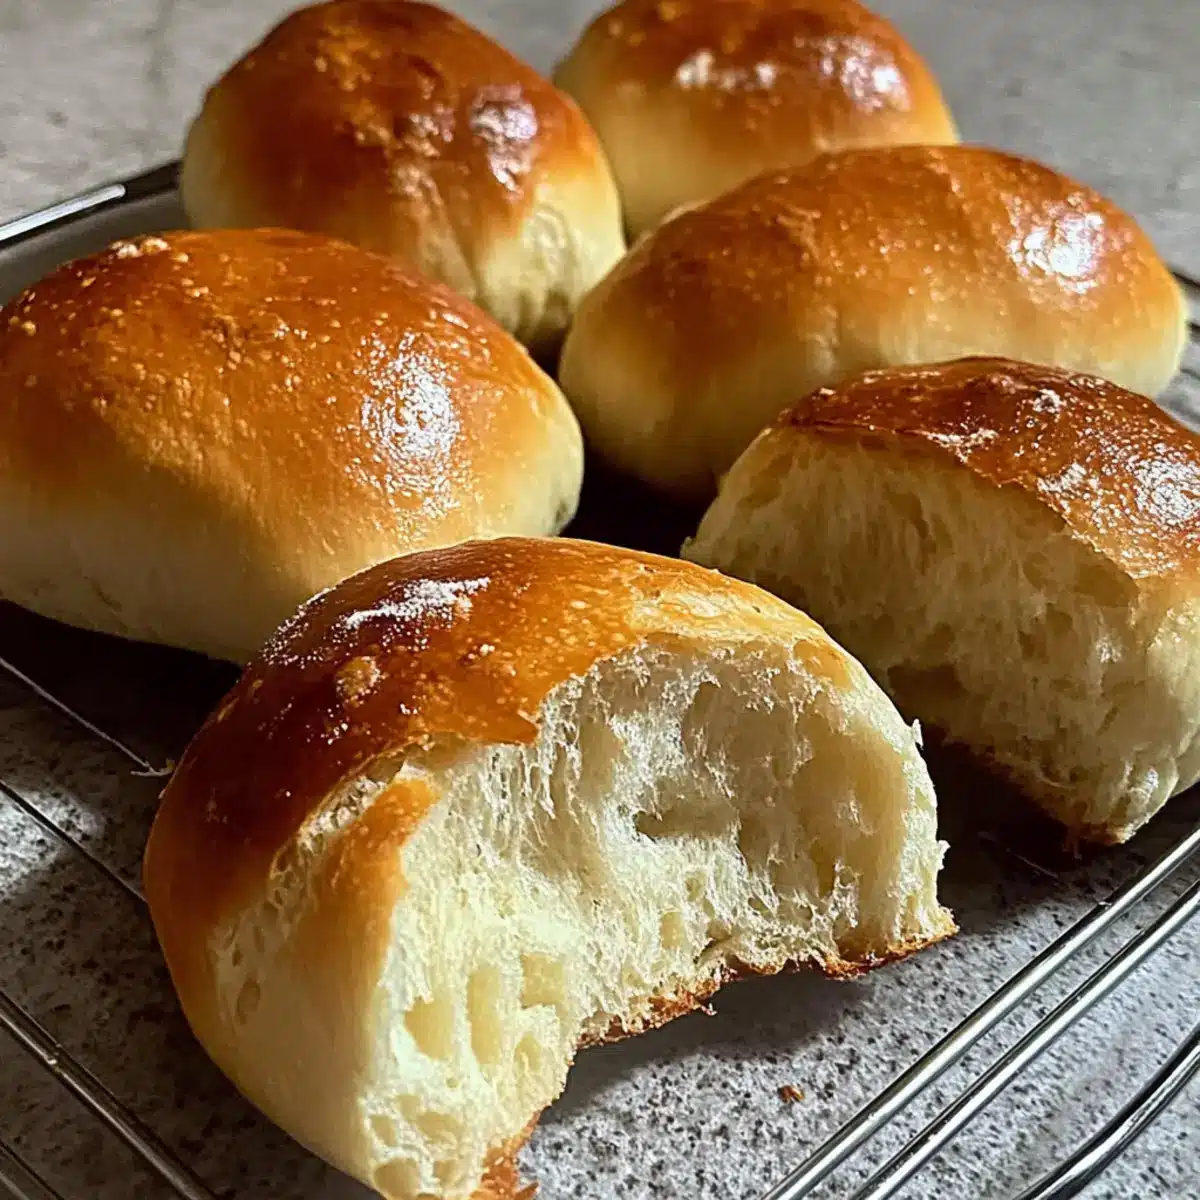
Preheat your oven to 400°F (200°C) while the rolls complete their rise. Once heated, place a cup of water on the bottom rack of the oven to create steam for a crispy crust. Carefully transfer the baking tray with the rolls to the center rack and bake for 30 minutes, or until the rolls turn a beautiful golden brown. Enjoy the amazing aroma that fills your kitchen!
Variations & Substitutions for World’s Easiest Yeast Bread
Feel free to let your creativity shine and customize these rolls to suit your taste!
-
Gluten-Free: Substitute bread flour with a gluten-free flour blend to enjoy a gluten-free version of these tasty rolls. Just make sure the blend contains xanthan gum.
-
Herb-Infused: Mix fresh or dried herbs like rosemary, thyme, or basil directly into the dough to give your rolls a fragrant twist. The aroma will transport you to a sunny herb garden!
-
Cheesy Delight: Fold in shredded cheese like cheddar or mozzarella for a delightful, savory flavor twist. Trust me, gooey cheese oozing from your rolls will be a crowd favorite.
-
Sweeten the Deal: Add a tablespoon of honey or maple syrup to the warm water for subtly sweet rolls that pair perfectly with breakfast spreads or jams. This delightful option elevates breakfast to a whole new level!
-
Spicy Kick: Introduce heat by tossing in red pepper flakes or diced jalapeños. This spicy touch is perfect for sandwiches that crave an extra zing. Your taste buds are in for a thrill!
-
Seed-Topped: Before baking, sprinkle the tops with sesame seeds, poppy seeds, or flaxseeds for added crunch and flavor. Not only do they look beautiful, but they also offer a delightful texture contrast!
-
Vegan Option: Replace sugar with agave nectar or maple syrup and use dairy-free cheese to keep these rolls completely plant-based. Deliciousness knows no bounds!
For more flavor insights, you can explore adding a hint of garlic with some of your favorite seasoned butter spreads. By customizing your rolls, you’ll ensure every baking adventure is uniquely satisfying!
What to Serve with No-Knead Sandwich Rolls?
Enjoy these delightful rolls as you explore endless pairing options that enhance their warm, inviting freshness.
-
Creamy Soup: A velvety tomato or butternut squash soup complements the soft, airy texture of the rolls while adding comforting warmth.
-
Fresh Salad: Tossed greens drizzled with a light vinaigrette provide a refreshing contrast, making for a balanced plate that welcomes your No-Knead Sandwich Rolls.
-
Roasted Vegetables: Herb-roasted seasonal veggies bring a burst of flavor and crunchy texture, perfectly pairing with the comforting bread for a satisfying meal.
-
Savory Sandwiches: Layer with your favorite fillings like turkey, avocado, or hummus to create mouthwatering sandwiches that showcase the rolls’ amazing versatility.
-
Cheese Platter: Offer a variety of cheeses alongside fruits and nuts for a delightful appetizer, letting the chewy texture of the rolls hold up against each flavorful bite.
-
Homemade Jam: A spread of apple or berry jam brightens the rolls with sweetness, creating a lovely breakfast or snack option that feels indulgent yet wholesome.
Pair your No-Knead Sandwich Rolls with these delicious accompaniments, and you’re sure to create unforgettable moments around the table!
Expert Tips for No-Knead Sandwich Rolls
-
Temperature Matters: Always ensure your warm water is between 35-40 degrees Fahrenheit. Too hot can kill the yeast, while too cold won’t activate it.
-
Humidity Check: If the weather is humid, reduce the water slightly to avoid a sticky dough. This ensures you have the right consistency for the world’s easiest yeast bread.
-
Flour Dusting: Always dust your hands and surfaces with flour while shaping to prevent sticking. This makes the shaping process smoother and cleaner.
-
Don’t Rush the Rises: Allow adequate time for both the first and second fermentation. Skipping this step can result in denser rolls than desired.
-
Uniform Size: Aim for evenly shaped rolls to ensure they bake at the same rate. This guarantees a better texture for each roll.
How to Store and Freeze No-Knead Sandwich Rolls
Room Temperature: Keep the rolls in an airtight container at room temperature for up to 3 days to maintain their freshness and avoid drying out.
Fridge: If storing longer, place them in the fridge for up to a week; however, this may make the crust slightly softer.
Freezer: For longer storage, freeze the rolls wrapped tightly in plastic wrap and then in aluminum foil. They’ll stay fresh for up to 3 months; just thaw and reheat when ready to enjoy.
Reheating: Warm frozen rolls in a preheated 350°F (175°C) oven for about 10-15 minutes to restore that wonderful crispy exterior and fluffy interior just like the world’s easiest yeast bread!
Make Ahead Options
These No-Knead Sandwich Rolls are perfect for meal prep, allowing you to enjoy delicious homemade bread without the last-minute rush. You can prepare the dough up to 24 hours in advance; simply follow the recipe up to the first fermentation step. After the dough has risen, cover it tightly and refrigerate to slow the fermentation, which enhances the flavor. When you’re ready to bake, remove the dough from the fridge, shape the rolls, and let them rise at room temperature for about 30 minutes before baking. Just remember to keep the rolls covered to maintain their moisture, ensuring they are just as delightful as fresh-baked!
No-Knead Healthy Sandwich Rolls Recipe FAQs
How do I select the best bread flour for this recipe?
Absolutely! When selecting bread flour, look for a high protein content (between 12-14%). This helps create the chewy texture that makes these rolls so delightful. You can also use all-purpose flour if bread flour isn’t available—just know that the rolls may be slightly less chewy.
How should I store leftover No-Knead Sandwich Rolls?
To keep your rolls fresh, store them in an airtight container at room temperature for up to 3 days. If you live in a more humid environment, the fridge is an option for up to a week, though this can make the crust a bit soft.
Can I freeze these sandwich rolls?
Absolutely! To freeze, wrap the cooled rolls tightly in plastic wrap and then again in aluminum foil. They can freeze beautifully for up to 3 months. When you’re ready to enjoy, thaw them at room temperature, then reheat in a preheated 350°F (175°C) oven for 10-15 minutes to restore their delightful texture.
What if my dough doesn’t rise properly?
If you notice your dough hasn’t risen much after the first fermentation, check the temperature of your warm water; it should be between 35-40 degrees Fahrenheit. If it was too hot, the yeast could have died. You can also try moving the bowl to a warmer area of your kitchen. In cooler climates, sometimes placing it near a slightly warm oven works wonders!
Are these rolls safe for people with allergies?
Keep in mind that this recipe contains gluten from the bread flour, which isn’t suitable for those with celiac disease or gluten sensitivities. You could explore gluten-free flours but know that it may change the texture and rise of the rolls. Always double-check for any other specific allergies related to yeast or added ingredients.
Can I make variations, like adding herbs or cheese?
Very! You can add dried herbs like rosemary or thyme into the dry ingredients for a flavor boost. If you’re a cheese lover, folding in shredded cheese just before shaping the rolls works wonderfully too! Get creative—there are endless possibilities with this already simple and adaptable recipe!
World’s Easiest Yeast Bread: Fluffy Rolls in Just Minutes
Ingredients
Equipment
Method
- In a medium bowl, mix together warm water (between 35-40 degrees) and sugar, then add in the instant or quick yeast. Allow the mixture to sit for about 2-3 minutes until it bubbles slightly, indicating that the yeast is activated.
- Pour the yeast mixture into the bowl containing the flour and salt. Stir the mixture with a wooden spoon or spatula until the dough comes together, ensuring no dry flour remains.
- Cover the bowl with a clean kitchen towel or plastic wrap and place it in a warm area of your kitchen. Let the dough rise for about 50 minutes, or until it has doubled in size.
- Once the dough has risen, gently deflate it by pressing down in the center with your fingers. Turn the dough out onto a floured surface and divide it into 8 equal pieces.
- Arrange the shaped rolls on a baking tray lined with parchment paper, leaving space between each one. Cover the rolls again with a towel and let them rest for about 30 minutes.
- Preheat your oven to 400°F (200°C) while the rolls complete their rise. Once heated, place a cup of water on the bottom rack of the oven to create steam for a crispy crust. Carefully transfer the baking tray with the rolls to the center rack and bake for 30 minutes.
Leave a Reply