
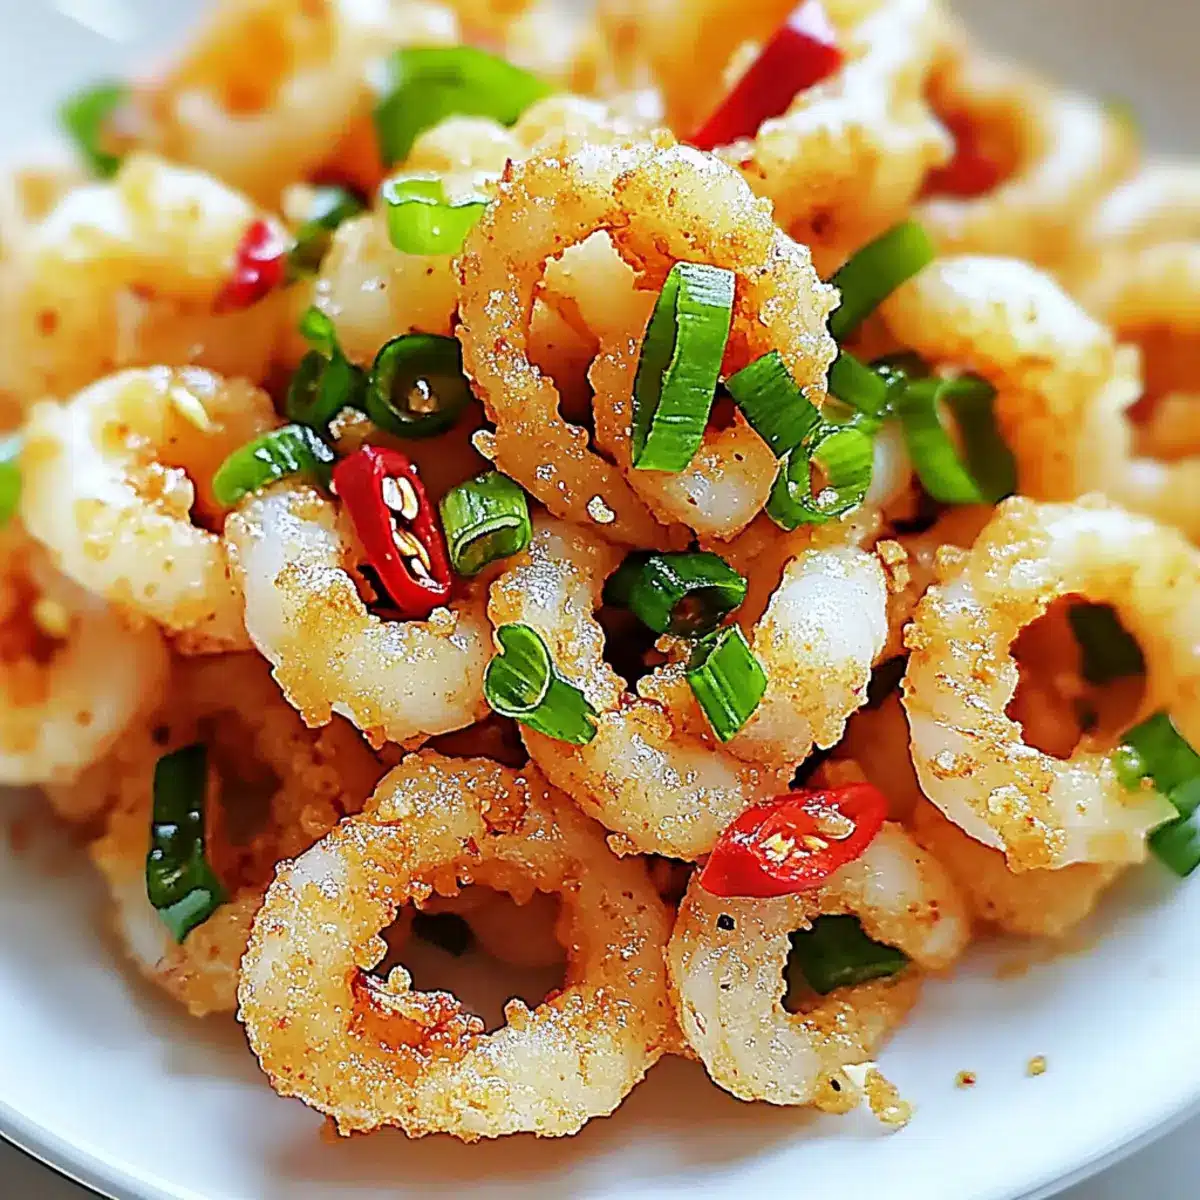
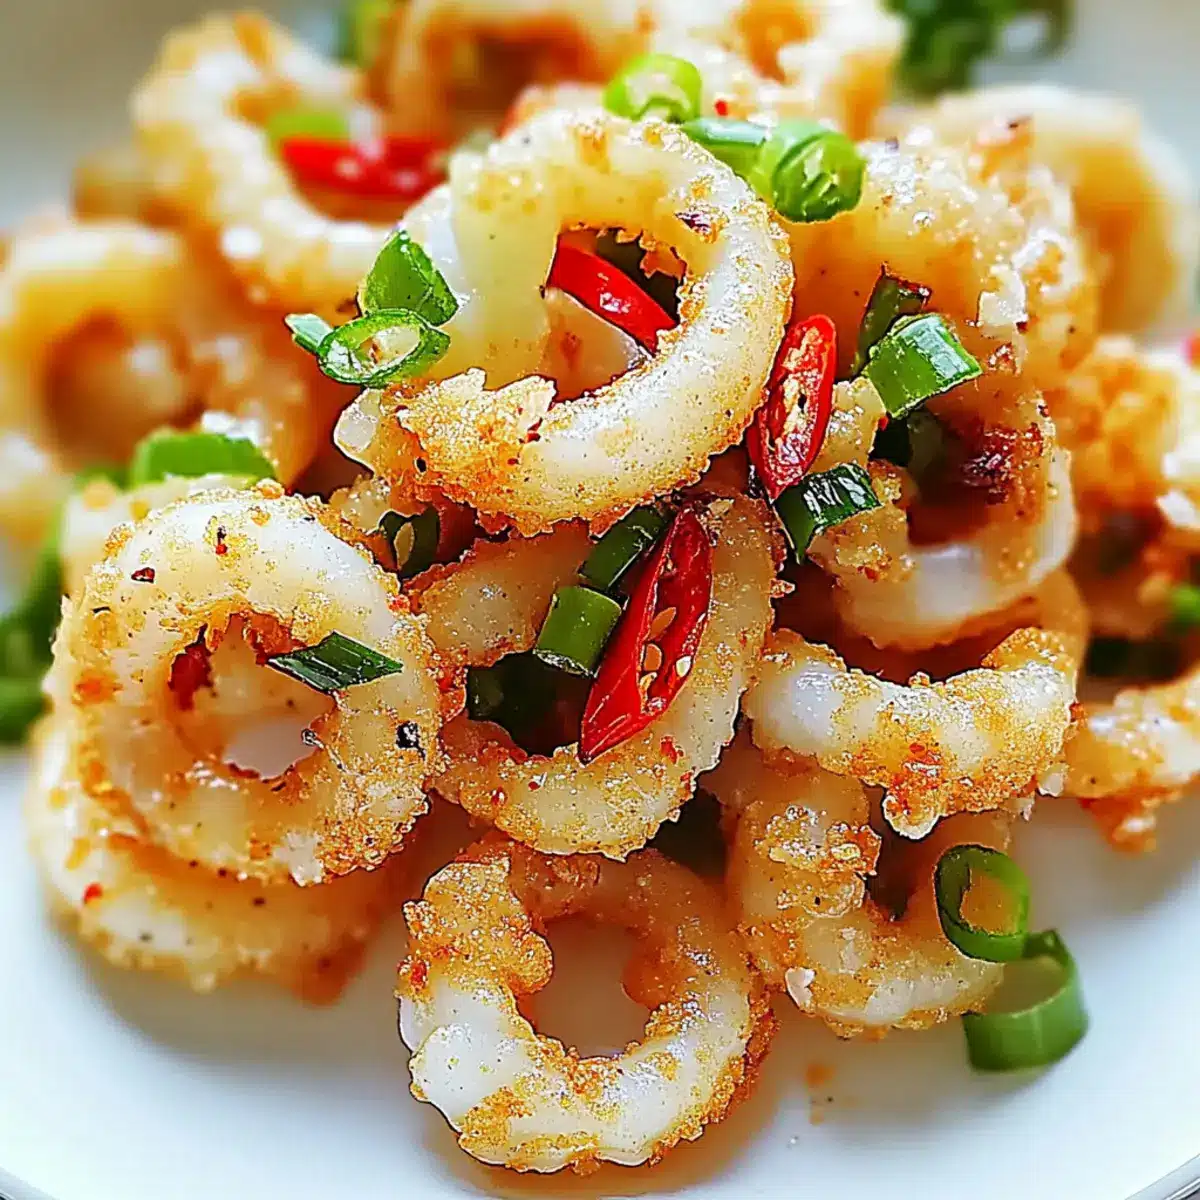
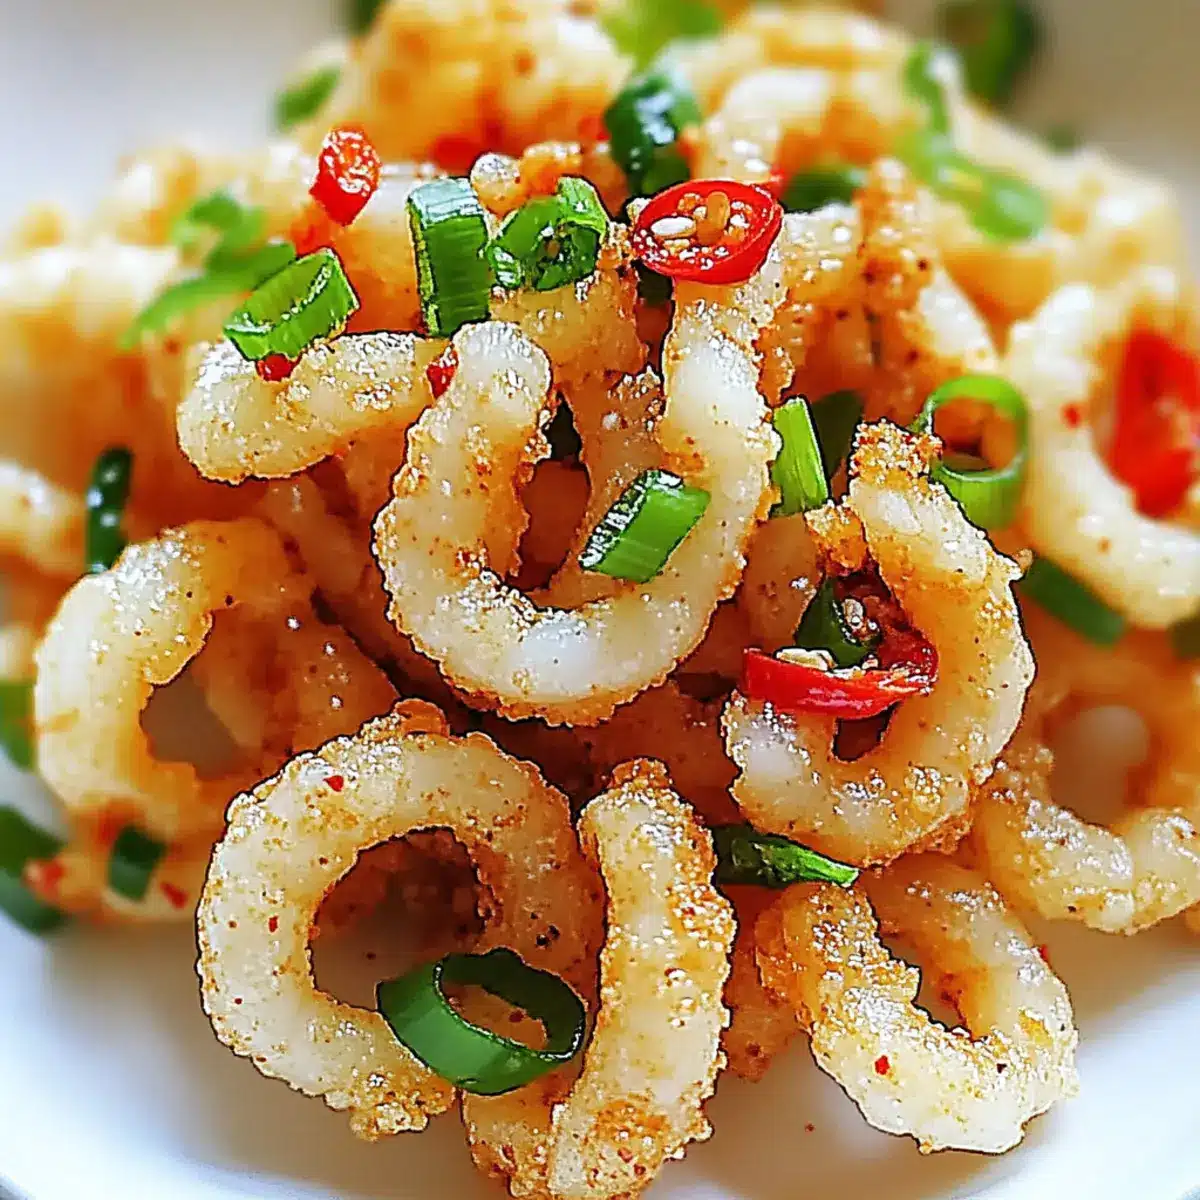
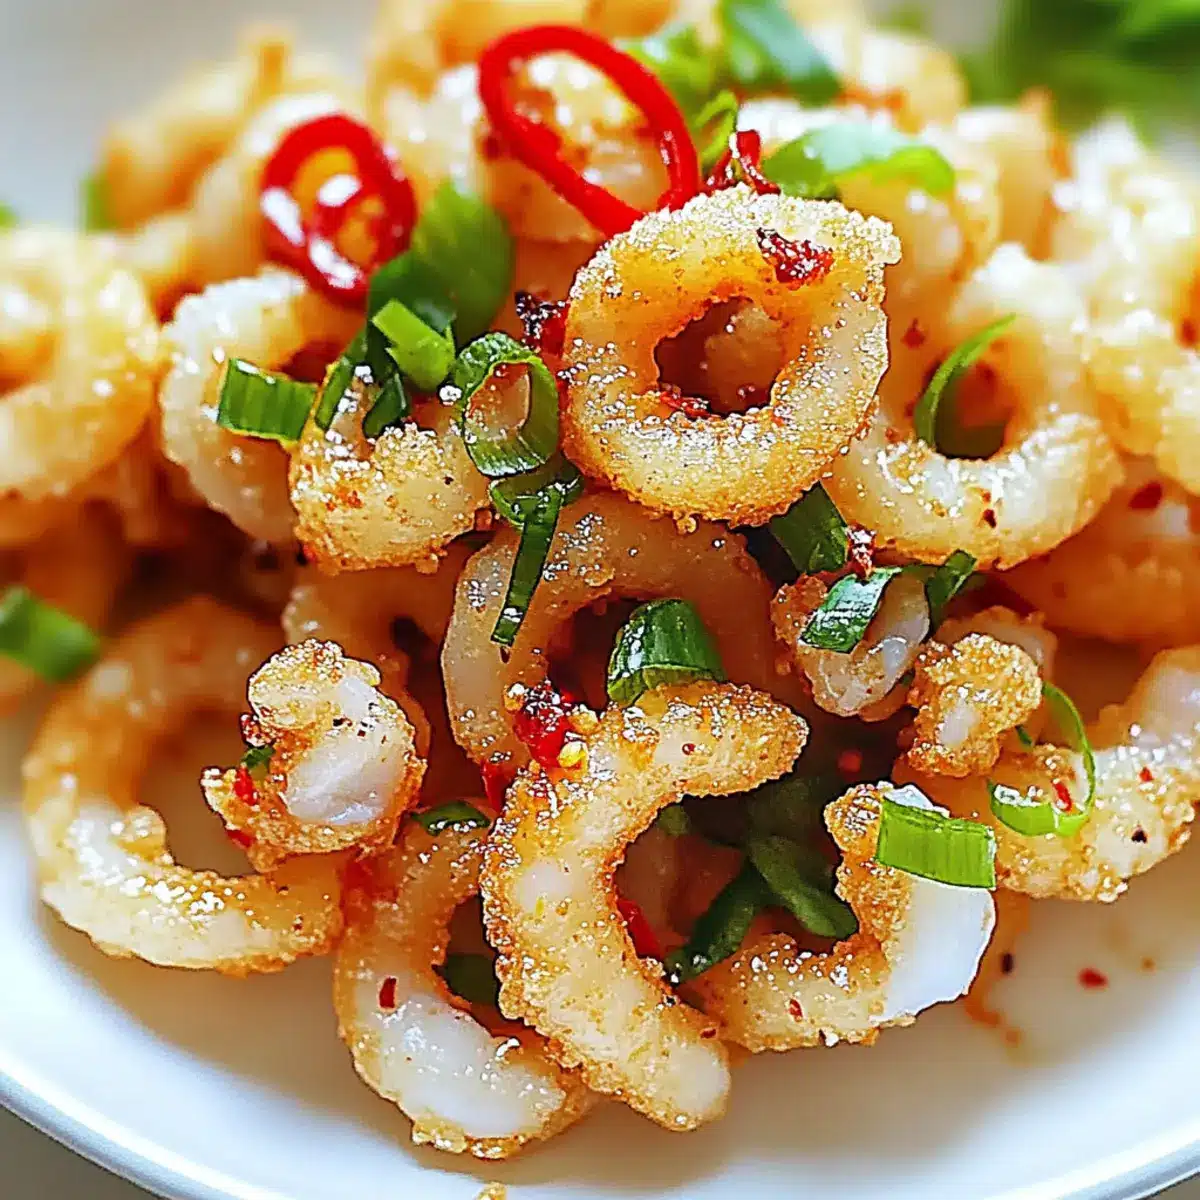
As the sun sets and the scents of summer waft through the air, I find myself dreaming of crispy appetizers that beckon warm memories of beachside feasts. This Crispy Salt and Pepper Squid captures that spirit beautifully, offering a delightful contrast of tender squid enveloped in a light, crunchy batter. It’s incredibly easy to whip up, making it perfect for laid-back weeknight dinners or casual gatherings with friends. Plus, it’s gluten-free and paleo-friendly, meaning you can savor this Asian-inspired gem without a trace of guilt. Whether paired with a zesty dipping sauce or enjoyed straight from the frying pan, this dish is certain to impress. Are you ready to discover the secrets to achieving that irresistible crispiness at home?
Why is Salt and Pepper Squid a Must-Try?
Irresistible flavor: This dish bridges the gap between simplicity and taste, delivering a satisfying crunch with each bite.
Quick to prepare: Ready in under 30 minutes, perfect for those busy weeknights or last-minute gatherings.
Gluten-free & paleo: Enjoy guilt-free without compromising on taste—suitable for diverse dietary needs!
Crowd-pleaser: Whether hosting a dinner party or enjoying a casual night in, everyone loves crispy seafood delights.
Versatile: Great as an appetizer, snack, or paired with sides like garlic noodles or fresh salad for a complete meal. This Salt and Pepper Squid is sure to become a cherished recipe in your culinary repertoire!
Salt and Pepper Squid Ingredients
-
For the Batter
• All-purpose flour – Creates a light batter for frying; essential for crispiness.
• Corn starch – Contributes to a crispy coating; can be replaced with potato starch if desired.
• Baking soda – Helps achieve a light texture; avoid if gluten-sensitive.
• Egg white – Acts as a binder for the batter; swap with aquafaba for a vegan option.
• Water – Adjusts batter consistency; broth can be used to enhance flavor.
• Pinch of salt – Used in the batter for seasoning. -
For the Squid
• Squid tubes – The star ingredient providing tender texture; fresh is best!
• Oil – Necessary for deep frying; ensure it’s heated to 350°F (175°C) for perfect crispiness.
• Ground white pepper – Adds aromatic spiciness; black pepper is a good substitute if needed.
• Salt – Enhances flavor; about 1/2 teaspoon is recommended for the whole dish. -
For the Garnish
• Scallions – Adds a mild onion flavor; slice thinly for a fresh touch.
• Red chilies – Provides a spicy kick; adjust quantity for your preferred heat level.
This Salt and Pepper Squid is a delightful treat that anyone can enjoy, making your homemade seafood evenings truly special!
Step‑by‑Step Instructions for Salt and Pepper Squid
Step 1: Prepare the Squid
Start by rinsing fresh squid tubes under cold water to remove any debris and sand. Pat them dry thoroughly with paper towels to ensure the batter adheres well during frying. After drying, slice the squid into rings about ½-inch thick, ensuring they are uniform for even cooking. Set aside as you prepare the batter for your Salt and Pepper Squid.
Step 2: Mix the Batter
In a mixing bowl, combine all the batter ingredients: all-purpose flour, corn starch, baking soda, egg white, water, and a pinch of salt. Whisk them together until you reach a smooth, lump-free consistency. This batter should be thick enough to coat the squid but still pourable. Set the batter aside to rest for a few moments while you preheat the oil.
Step 3: Heat the Oil
In a frying pan or wok, pour in about 2-3 inches of oil and heat it to 350°F (175°C). You can use a thermometer for accuracy; the oil should shimmer but not smoke. Once it reaches the right temperature, it’s time to coat the squid. A well-heated oil will ensure your Salt and Pepper Squid gets that perfect crispy texture.
Step 4: Coat the Squid
Take the squid rings and dip them into the prepared batter, making sure each piece is evenly coated. Let any excess batter drip off before proceeding to the next step. This ensures a light coating that will become wonderfully crispy when fried. Take care not to crowd your squid, as this can lead to uneven cooking in your final dish.
Step 5: Fry the Squid
Gently drop the coated squid into the hot oil using a spatula, ensuring they don’t clump together. Fry for about 2-3 minutes, turning them occasionally until they turn golden brown and crispy. You’ll notice the batter becomes puffy and crunchy; this visual cue indicates they’re almost done. Use a slotted spoon to remove the squid once they reach the desired color.
Step 6: Drain Excess Oil
Place the fried squid on a plate lined with paper towels to drain any excess oil. This step is crucial for achieving that remarkable crispiness in your Salt and Pepper Squid. Allow the squid to rest for a moment while you prepare the garnishing, ensuring they retain their crunch and don’t become soggy.
Step 7: Stir-Fry the Garnish
In a skillet, heat ½ tablespoon of oil over medium heat. Add the sliced scallions and red chilies, stirring them briefly until they become fragrant—about 30 seconds. This step infuses the oil with flavor, adding an aromatic touch to your Salt and Pepper Squid. Once heated, return the fried squid to the skillet and toss everything together.
Step 8: Season and Serve
Sprinkle salt and ground white pepper over the fried squid and toss to coat evenly, enhancing its flavor. Once mixed, transfer the Salt and Pepper Squid to a serving platter. It’s best enjoyed hot, alongside your choice of dipping sauce or a vibrant salad. Enjoy this delightful seafood treat that captures the essence of a savory Asian-inspired dish!
Salt and Pepper Squid Variations
Feel free to experiment and create your own delightful twists on this classic dish with these fun variations!
-
Spicy Kick: Add more red chilies to the batter for an intense heat that will tantalize your taste buds. If you love heat, try using sichuan peppercorns for a unique flavor profile that elevates the dish.
-
Garlic Lover’s Delight: Substitute scallions with minced garlic in your garnish for a robust flavor enhancement. The aroma of sautéed garlic combined with the squid is simply heavenly!
-
Crispy Sea Sensation: Experiment with other types of seafood such as shrimp or calamari for a delightful seafood medley. Each seafood variant brings its own unique texture and taste, making your dish even more exciting.
-
Herb-Infused Batter: Add chopped fresh herbs like cilantro or Thai basil to the batter for a burst of freshness that complements the savory squid beautifully. This twist not only adds color but also elevates the dish with aromatic qualities.
-
Coconut Flour Alternative: For a gluten-free twist, replace all-purpose flour with coconut flour to create a unique flavor profile. The subtle sweetness adds an interesting layer to the crispy coating.
-
Zesty Citrus Flavor: Incorporate zested lemon or lime into the batter for a refreshing citrus touch that enhances the flavor of the squid wonderfully. Serve it with a squeeze of lime for that extra zing!
-
Ground Spices Boost: Add ground spices such as cumin or paprika to the batter for an exciting flavor twist that pairs delightfully with the squid’s natural sweetness. This can transport your taste buds on an adventurous journey!
Want more irresistible seafood dishes? Try pairing this with Cajun Shrimp Salmon or serve alongside garlic noodles for a complete meal experience that your family will adore!
Expert Tips for Salt and Pepper Squid
- Fresh is Best: Using fresh squid rather than frozen enhances taste and ensures better texture; frozen squid can work if thawed properly.
- Temperature Matters: Maintain oil temperature at 350°F (175°C). If it’s too low, you’ll get soggy squid; too high alters flavor.
- Don’t Overcrowd: Fry in small batches to promote even cooking and avoid steaming the squid; this guarantees that beautiful crispy finish.
- Steer Clear of Sogginess: Drain the fried squid on paper towels immediately after removing from oil to keep that delightful crunch intact.
- Serve Promptly: Enjoy your Salt and Pepper Squid right after frying; they taste best served hot, preserving the signature crispy texture.
Make Ahead Options
These Crispy Salt and Pepper Squid are a fantastic choice for meal prep! You can clean and slice the squid up to 24 hours in advance; simply store them in a covered container in the refrigerator to maintain freshness. Additionally, you can prepare the batter ahead of time by mixing all dry ingredients with the egg white and water, then refrigerate it separately for up to 3 days. When ready to enjoy, just reheat your oil to 350°F (175°C) and coat the squid with the batter before frying for 2-3 minutes until they’re perfectly golden. This approach ensures your squid are just as delicious and crispy as if you made them fresh!
How to Store and Freeze Salt and Pepper Squid
Fridge: Store leftover Salt and Pepper Squid in an airtight container for up to 3 days. To maintain its texture, avoid stacking the squid; layer with parchment paper if necessary.
Freezer: For longer storage, freeze the fried squid in a single layer on a baking sheet until firm, then transfer to a freezer-safe bag. It can be frozen for up to 2 months.
Reheating: To revive the crispness, reheat frozen squid in an air fryer at 350°F (175°C) for about 5-7 minutes until heated through. Avoid microwaving, as this will make them soggy.
Make-Ahead Tips: Prepare the batter and clean the squid ahead of time! Store them separately in the fridge and fry just before serving for optimal freshness.
What to Serve with Crispy Salt and Pepper Squid?
Dive into a delightful seafood feast that awakens the senses and brings a burst of flavor to your table!
- Light Asian Salad: A crisp salad with vibrant greens and a tangy dressing beautifully complements the rich flavors of the squid.
- Garlic Noodles: These buttery, garlicky noodles provide a homey touch, perfect for soaking up any delicious dipping sauce.
- Sweet Chili Sauce: A zesty dip that enhances the squid’s flavors while adding a touch of sweetness and spice.
- Steamed Jasmine Rice: Fluffy rice balances the crispy squid and makes every bite satisfying, perfect for soaking in the sauce.
- Roasted Vegetables: A medley of seasonal vegetables adds nutrition and earthiness, creating a balanced plate filled with colors and textures.
- Coconut Water or Lemonade: Refreshing beverages that cut through the richness of the dish, adding a touch of tropical sweetness.
- Spicy Dipping Sauce: Combine soy sauce, vinegar, and sliced chilies for a bold dip that emphasizes the squid’s seasoning.
Pair these delightful options with your Crispy Salt and Pepper Squid for an unforgettable meal that feels just like a seaside escape!
Salt and Pepper Squid Recipe FAQs
How do I choose the best squid for this recipe?
Absolutely! When selecting squid, fresh is always preferable. Look for firm, glossy squid tubes without any dark spots or a fishy odor. If you can only find frozen squid, make sure to thaw it completely in the refrigerator before using—it should feel firm to the touch.
How should I store leftover Salt and Pepper Squid?
Very simple! Place any leftover squid in an airtight container in the fridge where it will stay fresh for up to 3 days. To maintain its crispy texture, avoid stacking the squid. Instead, layer them with parchment paper to keep them separated.
Can I freeze Salt and Pepper Squid?
Yes, you can! To freeze, first arrange the fried squid in a single layer on a baking sheet and place it in the freezer until the squid is firm. After about 1-2 hours, transfer them to a freezer-safe bag or container. This method helps prevent them from sticking together, and they can last up to 2 months in the freezer.
What’s the best way to reheat frozen Salt and Pepper Squid?
Sure thing! For reheating, the air fryer is your best friend. Set it to 350°F (175°C) and heat the frozen squid for about 5-7 minutes until they’re warmed through and crisped up again. Avoid the microwave, as it can make them soggy and lose that delightful crunch!
Are there any dietary considerations with this recipe?
Yes, indeed! This Salt and Pepper Squid is versatile and gluten-free as long as you stick with gluten-free flour and ensure your baking soda is free of gluten. If you’re cooking for vegans, you can swap the egg white for aquafaba, making a delicious plant-based batter. Always check for any allergies, especially with seafood, and enjoy this dish with peace of mind!
What should I do if my batter isn’t sticking to the squid?
No worries at all! If your batter isn’t sticking properly, it could be due to excess moisture on the squid. Ensure you’re patting them dry thoroughly before coating. If the batter appears too thin, you can add a little more flour and corn starch to thicken it up. This way, you’ll achieve that beautifully crispy coating every time!
Irresistible Salt and Pepper Squid: Crispy Seafood Bliss
Ingredients
Equipment
Method
- Start by rinsing fresh squid tubes under cold water to remove any debris and sand. Pat them dry thoroughly with paper towels.
- Slice the squid into rings about ½-inch thick and set aside.
- In a mixing bowl, combine all the batter ingredients and whisk until smooth.
- Heat oil to 350°F (175°C) in a frying pan or wok.
- Dip squid rings into the batter ensuring they are evenly coated.
- Fry coated squid for about 2-3 minutes until golden brown and crispy.
- Remove squid and drain on paper towels to retain crispiness.
- In a skillet, heat oil and stir-fry scallions and red chilies for 30 seconds.
- Return the fried squid to the skillet, sprinkle with salt and pepper, and toss to coat.
- Transfer to a serving platter and enjoy hot with your choice of dipping sauce.
Leave a Reply