
The smell of freshly baked cookies wafting through the air is enough to evoke childhood memories of summer celebrations. I can’t help but feel a rush of excitement whenever I prepare these vibrant Red White and Blue Pinwheel Cookies. Perfectly soft and buttery, they’re not just eye-catching, but also super easy to make, bringing a touch of festive flair to your 4th of July gatherings. Imagine serving these colorful treats at your next summer BBQ and watching your guests marvel at their beauty! With minimal effort and no intricate decorating skills required, you’ll impress your friends and family while saving time for all the fun summer activities. Ready to bake a batch that’s sure to become a new tradition? Let’s dive into this deliciously patriotic recipe!
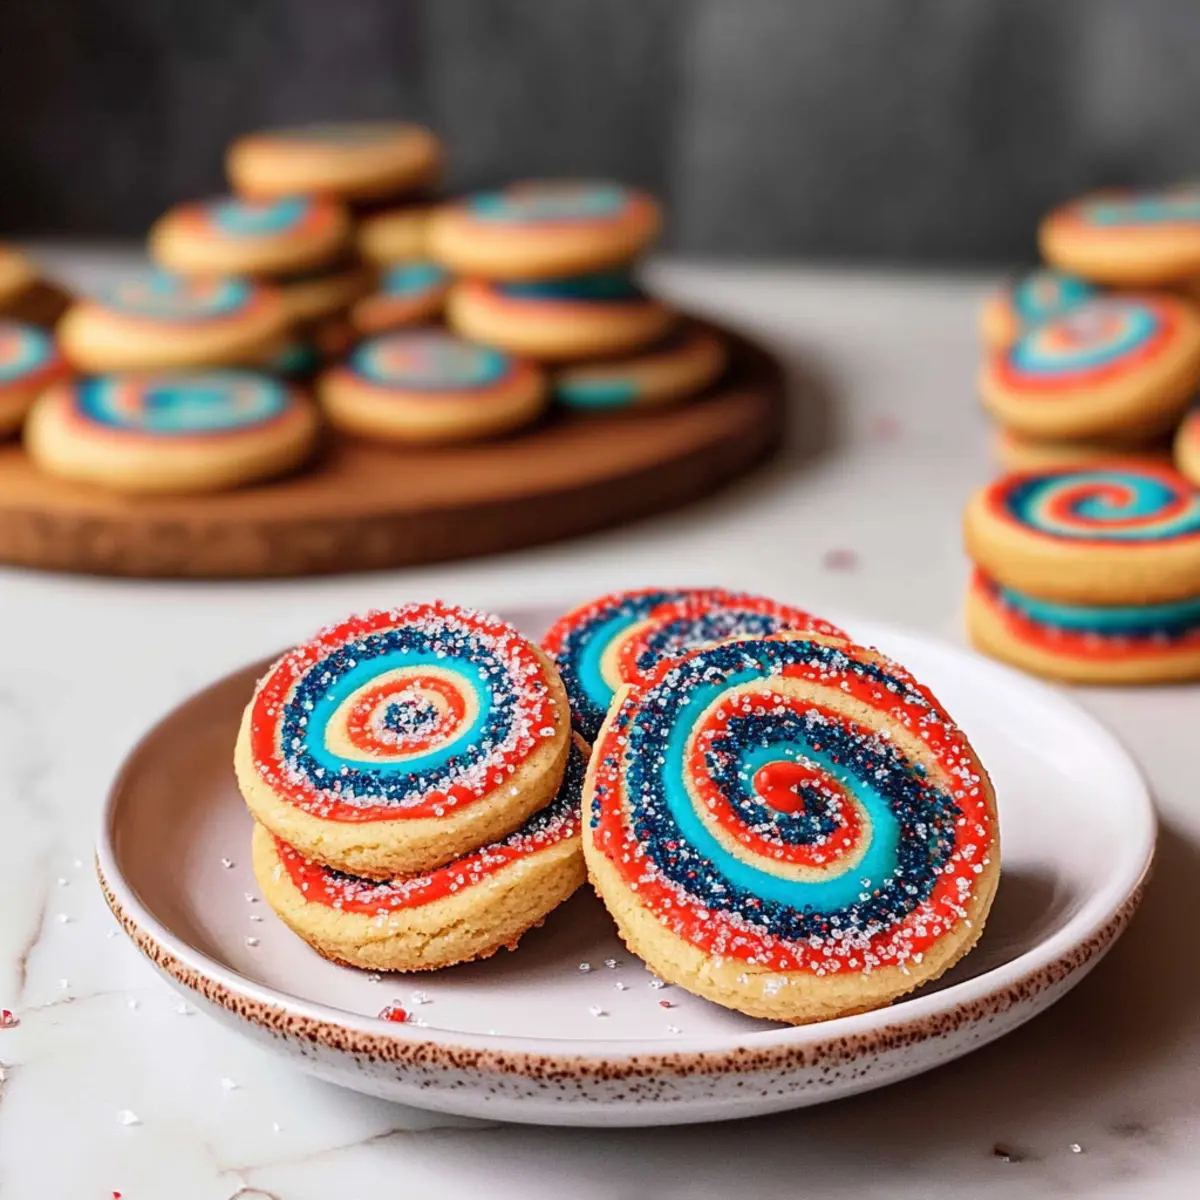
Why Are These Cookies a Must-Bake?
Festive Appeal: These Red White and Blue Cookies are bursting with vibrant colors, making them perfect for any summer celebration, especially the 4th of July.
Beginner-friendly: Even novice bakers will feel accomplished with this easy recipe, ensuring everyone can join in on the fun.
Time Saver: With minimal decorating skills required, you can whip up a batch in no time, leaving you more time to enjoy summer activities.
Impressive Presentation: The stunning pinwheel design not only delights the eyes but also adds a special touch to your dessert table.
Crowd Pleaser: These cookies are soft, buttery, and delicious, making them a hit with guests of all ages! You might also want to check out these delightful Cinnamon Roll Cookies for another festive treat.
Red White and Blue Cookies Ingredients
• For the Dough
- All-Purpose Flour – Provides structure for cookies; no substitutes recommended.
- Baking Powder – Leavens the cookies for a light texture; ensure it’s fresh for best results.
- Salt – Enhances flavor and balances sweetness in these delightful Red White and Blue Cookies.
- Unsalted Butter – Adds creaminess and flavor; use room temperature for easy mixing.
- Granulated Sugar – Sweetens and contributes to tenderness; can replace with a granulated sugar substitute, though sweetness will vary.
- Large Eggs – Binds ingredients and adds moisture; essential for texture; substitutes like flax eggs may affect consistency.
- Vanilla Extract – Infuses warm, sweet flavor; can swap with almond extract for a unique taste.
• For the Colors
- Red Gel Food Coloring – Gives vibrant red color to one portion of the dough; gel is preferred to avoid altering texture.
- Blue Gel Food Coloring – Provides vibrant blue color to another portion of the dough.
• For Rolling (Optional)
- Coarse Sugar/Sprinkles – Ideal for rolling edges, adding texture and visual appeal; can be omitted for a simpler look.
Step‑by‑Step Instructions for Red White and Blue Cookies
Step 1: Whisk Dry Ingredients
In a medium bowl, combine 2 cups of all-purpose flour, 1 teaspoon of baking powder, and ¼ teaspoon of salt. Whisk these dry ingredients together until well-blended, ensuring there are no lumps. This mixture will provide the necessary structure for your Red White and Blue Cookies. Set the bowl aside while you prepare the wet ingredients.
Step 2: Cream Butter and Sugar
In a large mixing bowl, beat 1 cup of room temperature unsalted butter with an electric mixer on medium speed for 1 minute until smooth. Gradually add 1 cup of granulated sugar and mix for another 2-3 minutes until the mixture is light and fluffy. This creaming process adds air to the dough, ensuring your cookies come out soft and tender.
Step 3: Add Eggs and Vanilla
Next, crack in 2 large eggs, one at a time, mixing well after each addition until fully incorporated. Then, stir in 1 teaspoon of vanilla extract to the butter-sugar mixture. This will add a delightful sweetness and flavor, setting the base for your delicious Red White and Blue Cookies.
Step 4: Combine Wet and Dry Ingredients
Gradually add the flour mixture to the wet ingredients, mixing on low speed until just combined. Avoid over-mixing, as this can lead to tougher cookies. The dough should be soft and slightly sticky at this point. You’re nearing the colorful transformation of your cookies!
Step 5: Divide and Color the Dough
Divide the dough into three equal portions. Leave one portion plain, then add red gel food coloring to the second portion and blue gel food coloring to the third, mixing thoroughly to achieve vibrant colors. Use a spatula or your hands for even distribution. The colorful dough will create the festive pinwheel effect in your cookies.
Step 6: Shape and Chill the Dough
On a clean surface, shape each colored dough portion into rectangles, about ½ inch thick. Wrap each rectangle in plastic wrap and refrigerate for at least 30 minutes. Chilling the dough will make it easier to roll and help maintain the pinwheel shape during baking.
Step 7: Roll the Dough
After chilling, lightly flour your work surface and roll each portion out into equal-sized rectangles, about 1/4 inch thick. Stack the colored rectangles on top of each other, ensuring they are well-aligned, then press them gently together. This will create a layered effect that will shine in your Red White and Blue Cookies.
Step 8: Roll into a Log
Starting from one short side, carefully roll the dough tightly into a log shape. Once fully rolled, wrap the log in plastic wrap and refrigerate for at least 2 hours or overnight. Chilling the log helps to solidify it, allowing for clean slicing later on and ensuring those lovely swirls.
Step 9: Preheat and Prepare
Preheat your oven to 375°F (190°C). While the oven warms, line baking sheets with parchment paper for easy cleanup. This step is essential as it prepares the cooking space for the delightful cookies you’re about to bake.
Step 10: Slice and Decorate
Remove the chilled log from the refrigerator. Using a sharp knife, slice the log into ¼-inch rounds. Optionally, roll the edges in coarse sugar or sprinkles for added texture. Place sliced cookies onto the prepared baking sheets, leaving space between each cookie to allow for spreading.
Step 11: Bake the Cookies
Place the baking sheets in the preheated oven and bake for 8 to 10 minutes. The edges should look set while the centers remain soft. Keep an eye on them, as the vibrant colors will brighten as they bake, giving your Red White and Blue Cookies a beautiful finish.
Step 12: Cool and Serve
Once baked, remove the cookies from the oven and let them cool on the baking sheet for about 5 minutes. Afterward, transfer them to a wire rack to cool completely. Enjoy these festive treats at your summer celebrations and delight in the cheerful pinwheels they create!
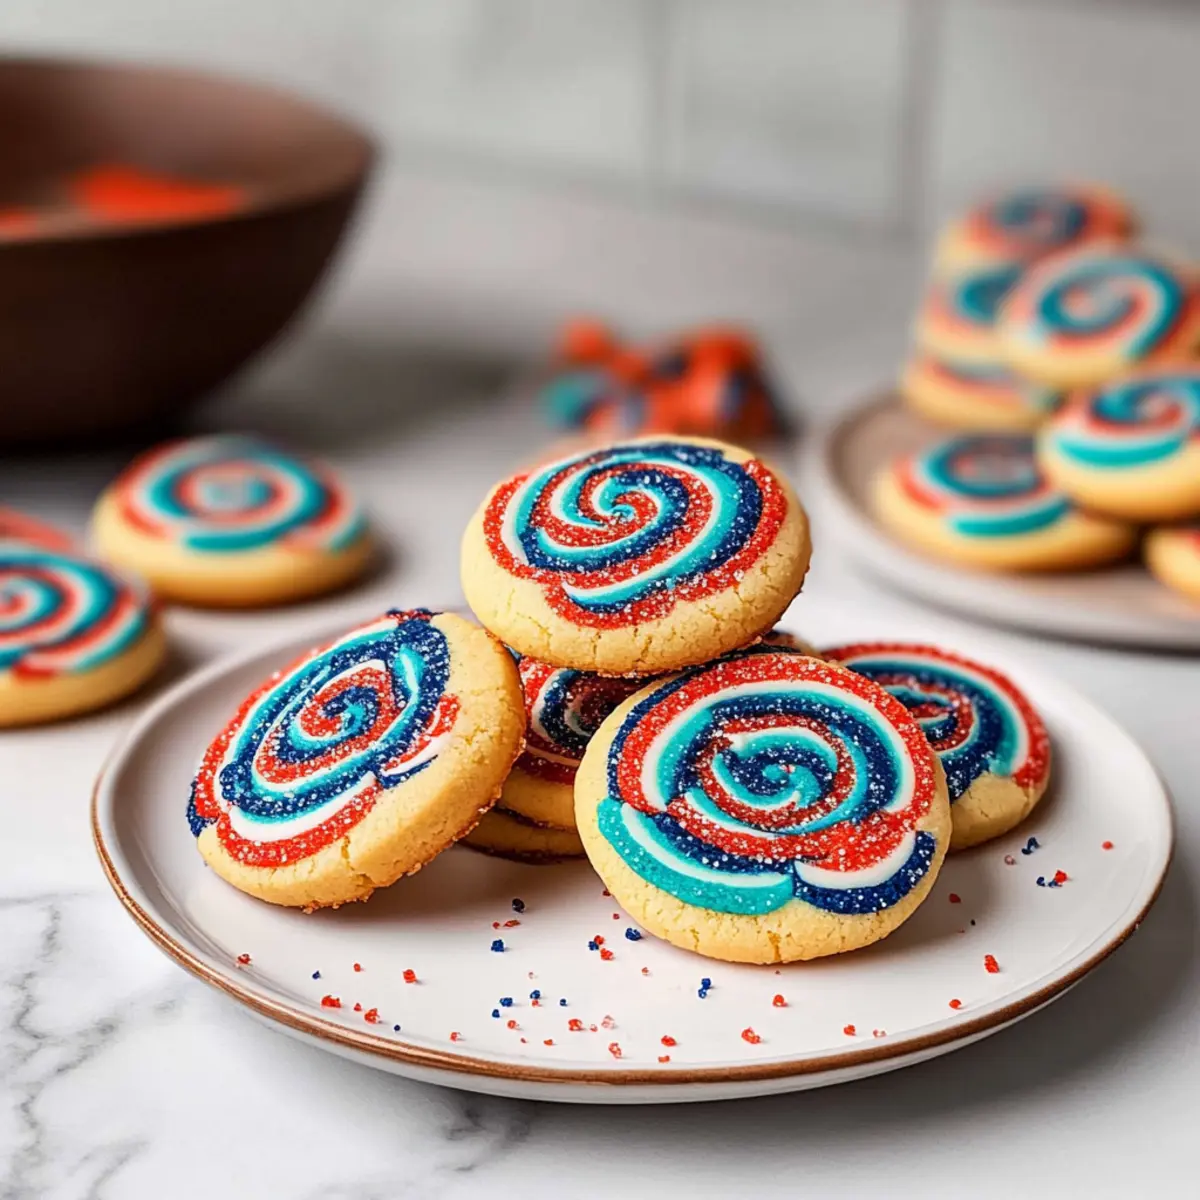
Expert Tips for Red White and Blue Cookies
• Chill Thoroughly: Ensure the dough is well chilled before slicing to maintain the beautiful pinwheel shape during baking.
• Use Gel Coloring: Opt for gel food coloring instead of liquid; it provides vibrant hues without altering the dough’s texture for your Red White and Blue Cookies.
• Slice Carefully: Use a sharp knife to slice the chilled log to prevent squishing and keep the colorful swirls intact.
• Watch the Bake Time: Keep an eye on your cookies as they bake; remove them when the edges are set but the centers look soft for a perfect chewy texture.
• Stored Safely: Store cooled cookies in an airtight container at room temperature to keep them fresh for up to 4 days, making them the ideal treat for summer gatherings!
Make Ahead Options
These Red White and Blue Pinwheel Cookies are perfect for meal prep enthusiasts! You can prepare the dough up to 24 hours in advance and simply refrigerate it until you’re ready to bake. After shaping the colored dough into rectangles, wrap each in plastic wrap and chill for at least 30 minutes to maintain their vibrant colors. For longer storage, you can freeze the rolled log for up to 2 months. When you’re ready to enjoy these festive cookies, just thaw the log in the fridge overnight and slice it into rounds before baking. This way, you’ll have delicious, perfectly formed cookies with minimal effort and maximum impact, saving you time for all those summer celebrations!
How to Store and Freeze Red White and Blue Cookies
Room Temperature: Keep these delightful cookies in an airtight container at room temperature for up to 4 days to maintain their soft and buttery texture.
Freezer: Unbaked cookie logs can be frozen for up to 2 months. Wrap them tightly in plastic wrap and place them in a freezer-safe bag for best results.
Reheating: For best results, allow frozen cookie logs to thaw in the refrigerator overnight before slicing and baking. This helps preserve the pinwheel design!
Storage Reminder: When fully cooled, store leftover cookies in an airtight container to keep the colorful swirls of your Red White and Blue Cookies fresh and delicious!
What to Serve with Red White and Blue Pinwheel Cookies
The perfect summer gathering deserves delicious accompaniments to enhance your festive atmosphere.
- Creamy Milkshakes: These rich and indulgent shakes provide a cool contrast to the buttery cookies, making every bite a treat.
- Refreshing Lemonade: A zesty, chilled drink counteracts sweetness beautifully, ensuring guests stay refreshed in the summer heat.
- Fruit Salad: Bright, juicy fruits add a fresh element that complements the colorful cookies while bringing vibrant flavors to the table.
- Red White and Blue Cheesecake Dip: This creamy dip echoes the cookie’s festive colors and adds a delightful creaminess perfect for dipping.
- Chocolate Dipped Strawberries: The sweet chocolate enhances the fruity flavors, creating a delectable combination that will be the star of the dessert table.
- Iced Tea: A classic, chilled beverage balancing the sweetness, offering a pleasing complement to the cookies.
- Whipped Cream Topping: Serve alongside for those who enjoy an extra creamy treat with their cookies, elevating the indulgence factor.
- Summer Sangria: Infused with vibrant fruits, this refreshing drink brings a festive toast to your summer celebration.
Red White and Blue Cookies Variations
Customize your delicious Red White and Blue Cookies with these fun and festive ideas to delight everyone at your summer gatherings.
-
Sprinkle Surprise: Add colorful sprinkles throughout the dough for extra festive flair. These little bursts of joy create a playful look and a delightful crunch!
-
Almond Twist: Swap the vanilla extract for almond extract for a unique flavor. The nutty aroma adds a charming depth, making these cookies truly memorable.
-
Chocolate Drizzle: Drizzle melted chocolate on top for an indulgent touch. This will not only elevate the flavor but also provide a beautiful contrast against the vibrant colors below.
-
Spicy Kick: Incorporate a pinch of cayenne pepper to the dough for a surprising heat. This unexpected twist will make your cookies a conversation starter at any gathering!
-
Fruit Infusion: Add finely chopped berries to the dough for fresh bursts of flavor. Strawberries or blueberries can enhance the fruity essence while complementing the festive colors.
-
Holiday Colors: Experiment with different food color combinations for other holidays, like green and red for Christmas or pastels for Easter. This simple swap keeps the spirit alive no matter the season!
-
Layered Rainbow: Instead of red and blue, create a rainbow by using multiple gel food colors. Each slice will reveal a stunning arrangement, turning heads as you serve!
These variations not only personalize your Red White and Blue Cookies but also keep your baking exciting. For another delightful treat, you might enjoy checking out these wonderful Cinnamon Roll Cookies or elevate your dessert game with a rich Seared Steak Blue that pairs perfectly with a summer meal!
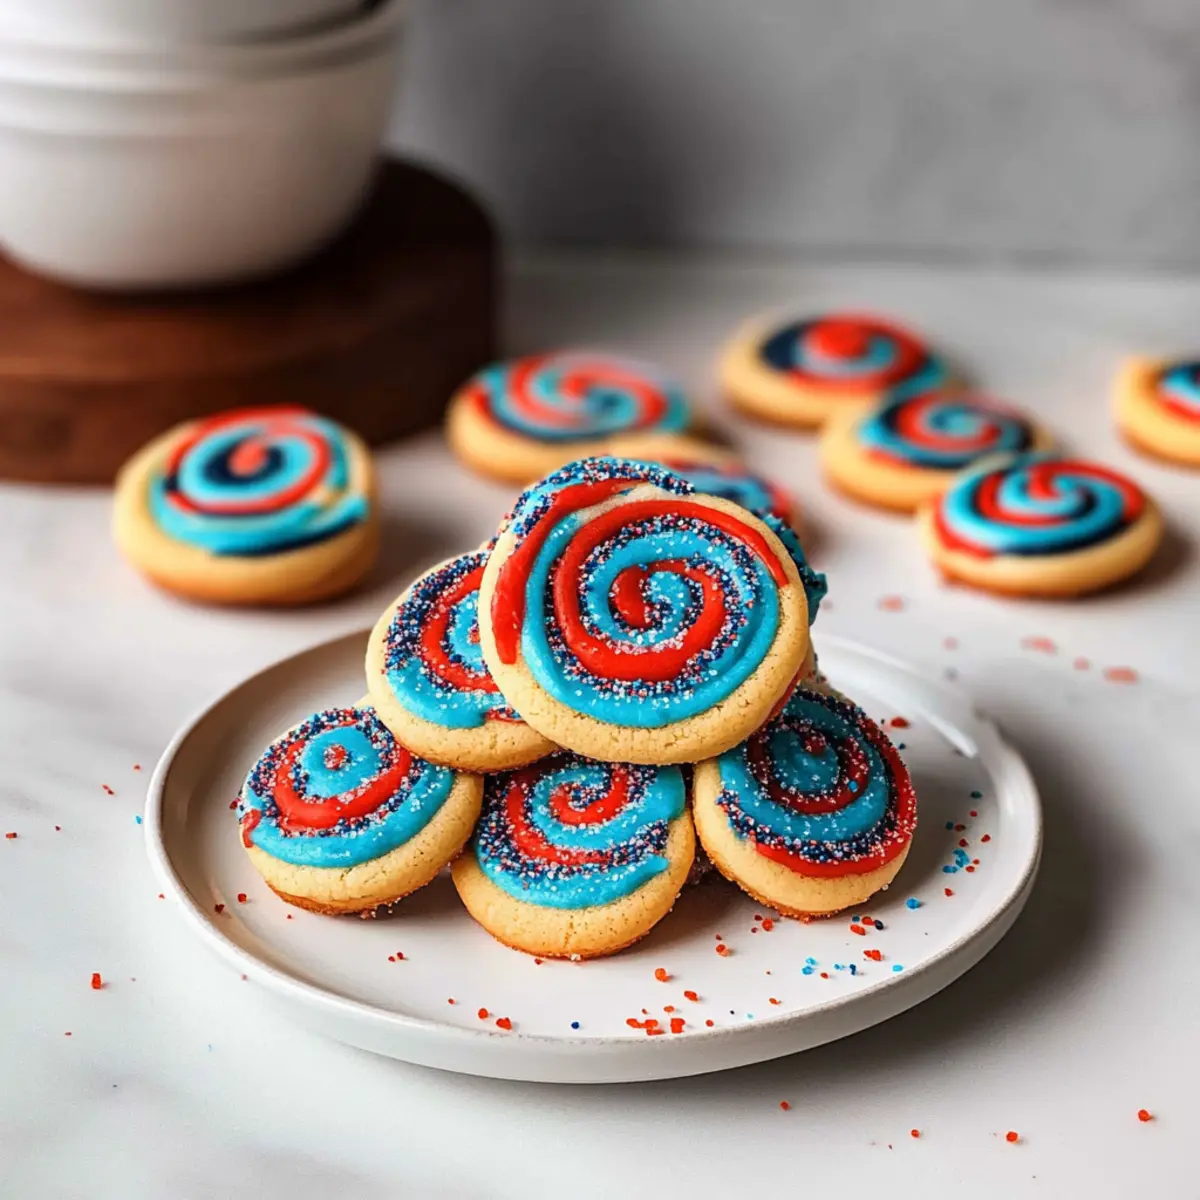
Red White and Blue Pinwheel Cookies Recipe FAQs
What is the best way to select ripe ingredients for these cookies?
Absolutely! When choosing your ingredients, look for butter that is fresh and has a creamy texture, and ensure your eggs are large and free from cracks. For the flour, opt for a type that is unbleached and finely milled to ensure your cookies have the best possible texture. Always check your baking powder’s expiration date to guarantee the cookies rise properly.
How should I store my Red White and Blue Cookies?
Very! Store these delightful cookies in an airtight container at room temperature to keep them fresh and soft for up to 4 days. To save some for later, make sure to layer them with parchment paper to prevent sticking and maintain their beautiful swirls.
Can I freeze the cookie dough? What’s the best method?
Certainly! Unbaked cookie logs can be frozen for up to 2 months. Here’s a simple step-by-step: first, wrap the log tightly in plastic wrap, then place it inside a freezer-safe bag, removing excess air. When you’re ready to enjoy them, thaw the log overnight in the refrigerator before slicing and baking. This method keeps the vibrant patterns intact!
What if my cookies spread too much while baking?
Don’t worry; this is a common hiccup! If your cookie dough is too soft, it might lead to spreading during baking. Ensure your dough is well chilled before slicing into rounds. If you find that your cookies are spreading despite this, you can try adding a little extra flour (about 1 tablespoon) next time to create a sturdier dough.
Are there any dietary considerations I need to keep in mind?
Absolutely! Keep in mind that the Red White and Blue Cookies contain gluten from the all-purpose flour and dairy from the butter and eggs. If you’re baking for someone with gluten intolerance, consider using a gluten-free flour blend. For vegan adaptations, flax eggs can be substituted, but it may require some experimental adjustments to maintain the delightful texture.
Can I use liquid food coloring instead of gel?
While you can use liquid food coloring, I recommend sticking with gel food coloring for the best results. Gel dyes provide a more vibrant color without altering the dough’s consistency. If you decide to go with liquid, start with a small amount and adjust, keeping an eye on the dough’s texture!
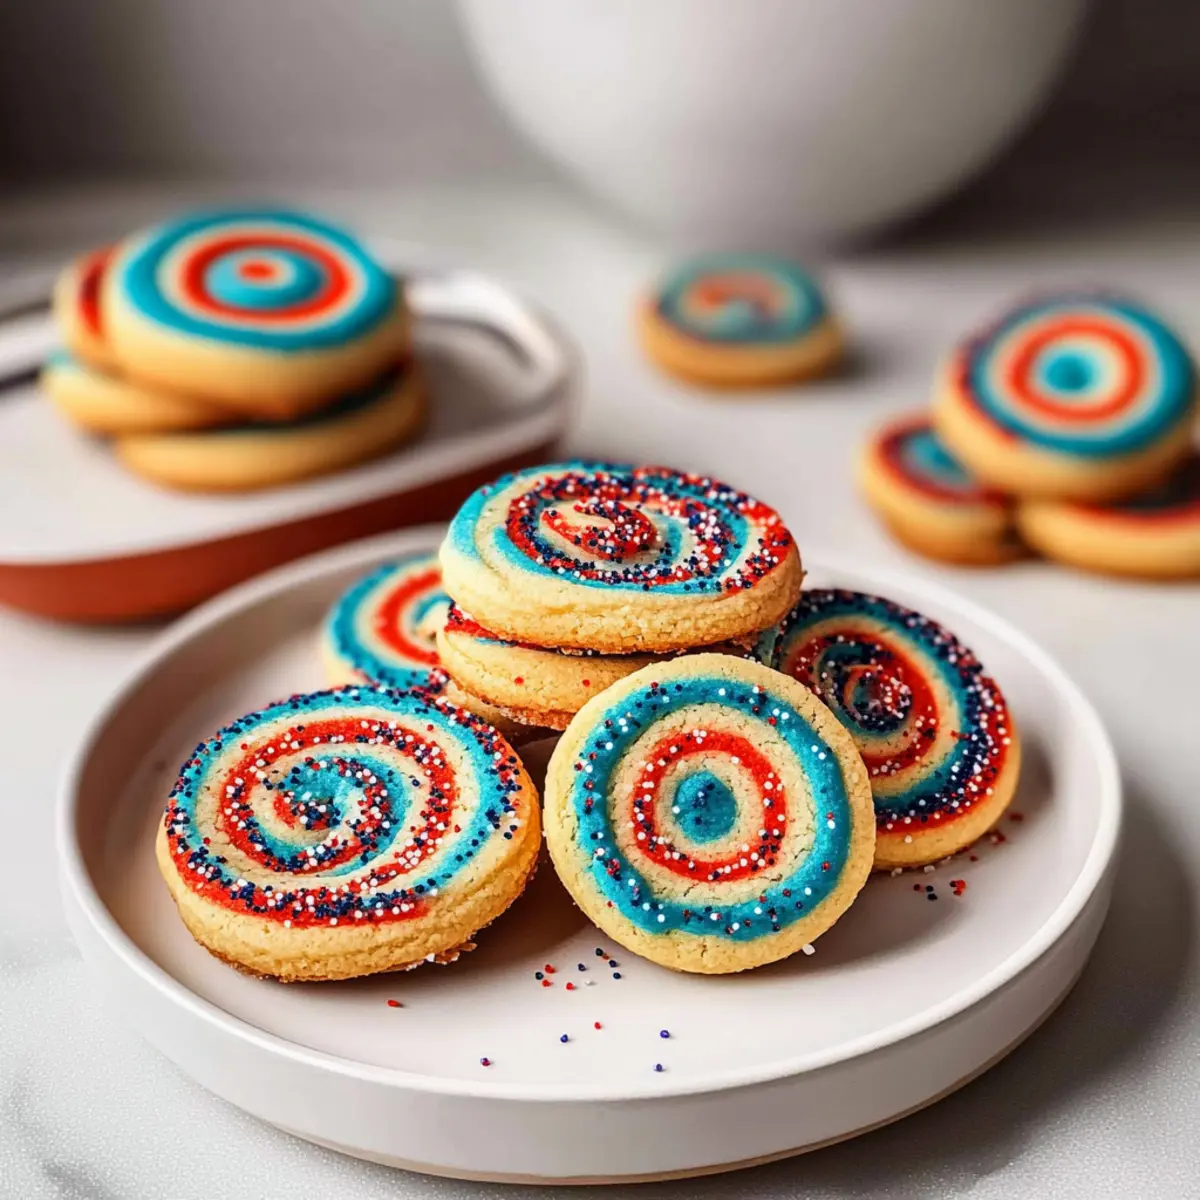
Delicious Red White and Blue Cookies for Summer Celebrations
Ingredients
Equipment
Method
- In a medium bowl, combine the flour, baking powder, and salt. Whisk until well-blended.
- In a large bowl, beat the butter until smooth. Gradually add the sugar and mix until fluffy.
- Add the eggs one at a time, mixing well after each addition. Stir in the vanilla extract.
- Gradually combine the flour mixture with the wet ingredients, mixing on low speed until just combined.
- Divide the dough into three portions, color one red and one blue, leaving one plain.
- Shape each colored dough into rectangles and wrap in plastic wrap. Refrigerate for at least 30 minutes.
- Roll each portion out into rectangles, stack them, and press gently together.
- Roll the dough tightly into a log shape. Wrap and refrigerate for at least 2 hours.
- Preheat your oven to 375°F (190°C) and line baking sheets with parchment paper.
- Slice the log into 1/4-inch rounds. Optionally roll edges in sugar or sprinkles.
- Bake for 8 to 10 minutes until the edges are set and the centers are soft.
- Cool cookies on the baking sheet for 5 minutes, then transfer to a wire rack to cool completely.
Leave a Reply