
Stirring the pot, I couldn’t help but overhear my friend ranting about her sweet cravings that just wouldn’t quit. And honestly, who hasn’t been there? That’s where these Easy No-Bake Chocolate Peanut Butter Protein Cups swoop in like a culinary superhero! Not only do they whip up in a flash, but they also serve as a nutritious alternative to those sugary snacks we all sometimes reach for. Packed with protein and made without any baking, these delightful treats are a dream for busy home chefs looking to satisfy their chocolate fix while keeping things healthy. Whether you’re prepping for a post-workout boost or seeking the perfect make-ahead dessert for those “just because” moments, these little cups of joy have got you covered. Curious about how to make them? Let’s dive right in!
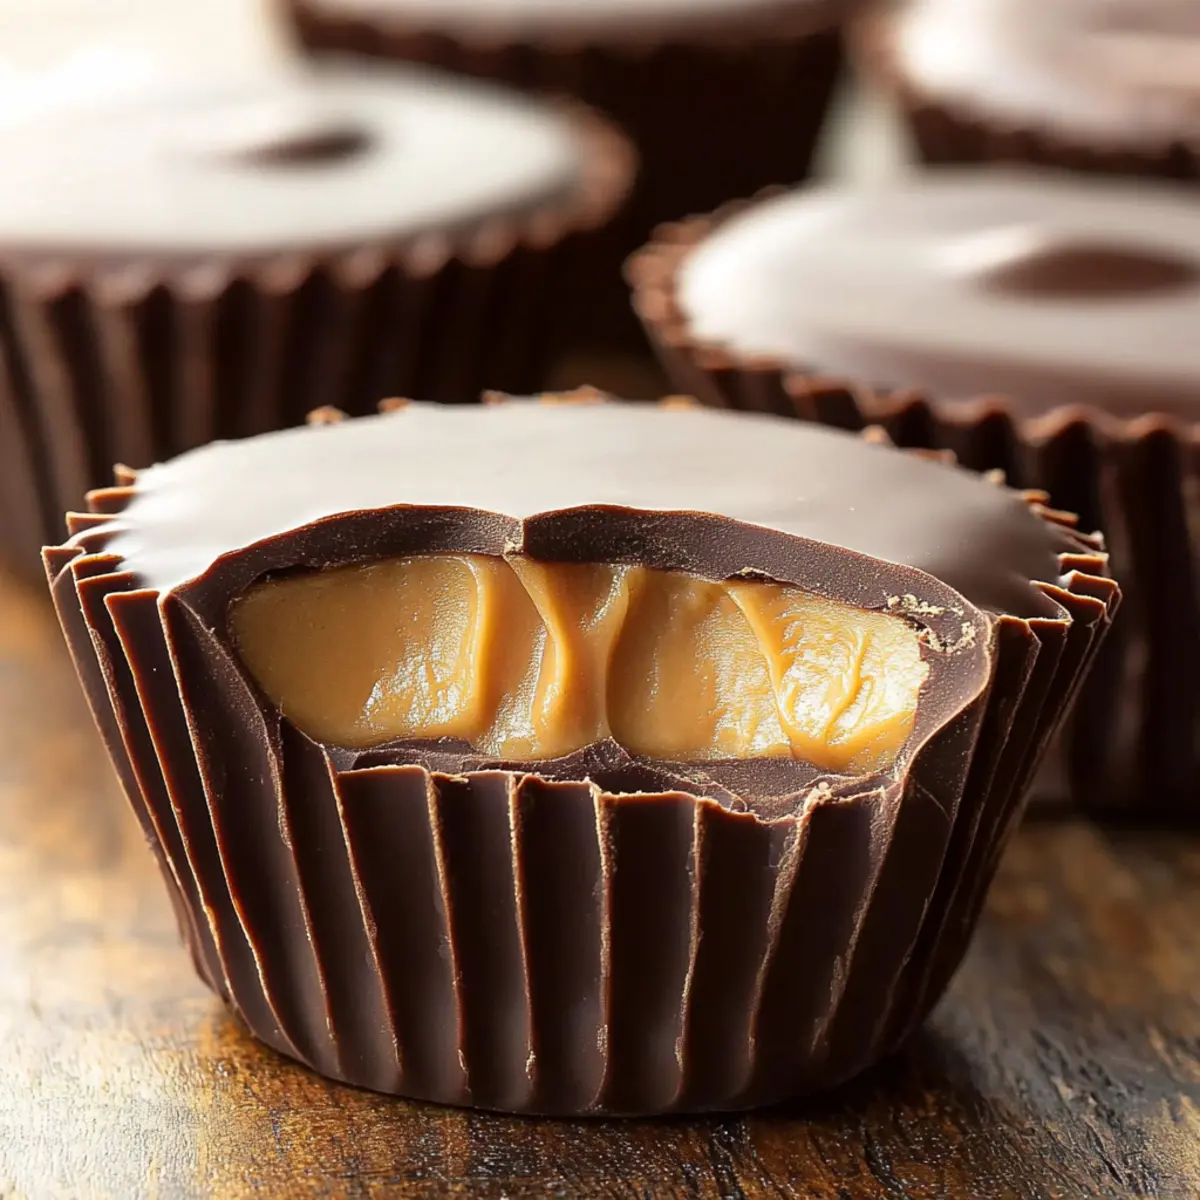
Why make No-Bake Chocolate Peanut Butter Cups?
**Deliciously ** satisfying: Each bite features a rich chocolate exterior paired with a creamy peanut butter center that hits the sweet spot without sacrificing health.
**Quick and **easy: This recipe takes mere minutes to prepare, making it perfect for even the busiest schedules.
**Nutritious **snacking: Packed with protein and healthy fats, these cups boost your energy and keep you full longer.
**Versatility **at its best: Swap out peanut butter for almond or cashew butter for a unique twist, or toss in your favorite nuts or seeds for added crunch, just like my Peanut Butter Spider recipe.
**Make-ahead **friendly: Ideal for prepping in advance, these cups can be stored in the fridge or freezer for a quick treat anytime.
Discover the joy of enjoying healthy snacks with these delightful protein-packed cups, perfect for any occasion!
No-Bake Chocolate Peanut Butter Protein Cups
Ingredients
• For the Chocolate Coating
- Chocolate Chips – Use high-quality chocolate for a smooth and creamy coating that elevates your No-Bake Chocolate Peanut Butter Protein Cups.
• For the Filling
- Peanut Butter – This base ingredient brings creaminess and a nutty flavor; feel free to substitute it with almond butter for a different taste.
- Protein Powder – Boosts health benefits by adding protein; choose your favorite flavor to enhance the deliciousness.
- Honey or Maple Syrup – Adds natural sweetness and binds the mixture together; opt for maple syrup to keep it vegan.
Step‑by‑Step Instructions for No-Bake Chocolate Peanut Butter Protein Cups
Step 1: Melt the Chocolate
Begin by placing high-quality chocolate chips into a microwave-safe bowl. Microwave the chocolate in 30-second intervals, stirring in between, until it’s smooth and shiny—this should take about 1 to 2 minutes. Be careful not to overheat, as the chocolate can seize. Once melted, set it aside to cool slightly while you prepare the filling.
Step 2: Prepare the Peanut Butter Mixture
In a separate bowl, combine creamy peanut butter, your choice of protein powder, and honey or maple syrup. Use a spatula to mix well until the ingredients are fully blended and smooth, about 1 to 2 minutes. This no-bake chocolate peanut butter protein filling should be thick yet pliable, making it easy to scoop into the cups.
Step 3: Combine Chocolate and Filling
Next, take half of the cooled melted chocolate and gently fold it into the peanut butter mixture. Stir well until everything is combined, creating a delicious, chocolate-infused peanut butter filling. This step ensures that your No-Bake Chocolate Peanut Butter Protein Cups have an extra layer of flavor that enhances each bite.
Step 4: Assemble the Cups
Line a muffin tin with paper liners to prevent sticking. Using a spoon or small cookie scoop, fill each cup halfway with the peanut butter mixture. Aim for an even distribution, so each cup offers the same delightful taste and texture. Smooth the tops with the back of your spoon to create a neat finish.
Step 5: Top with Chocolate
Pour the remaining melted chocolate over the filled peanut butter cups, making sure to cover them completely. This chocolate layer adds a rich crust that complements the filling perfectly. If desired, gently tap the muffin tin on the counter to settle the chocolate and eliminate any air bubbles for a smooth finish.
Step 6: Chill to Set
Refrigerate the assembled No-Bake Chocolate Peanut Butter Protein Cups for about 30 minutes, or until the chocolate is fully set and firm to the touch. This chilling period ensures the cups hold their shape and have that satisfying snap when bitten into.
Step 7: Serve and Enjoy
Once set, carefully remove the cups from the muffin tin by lifting the paper liners. These no-bake delights can be enjoyed immediately or stored in an airtight container in the refrigerator for up to a week. Their rich flavors and protein-packed goodness make them perfect for a quick snack or a post-workout treat.
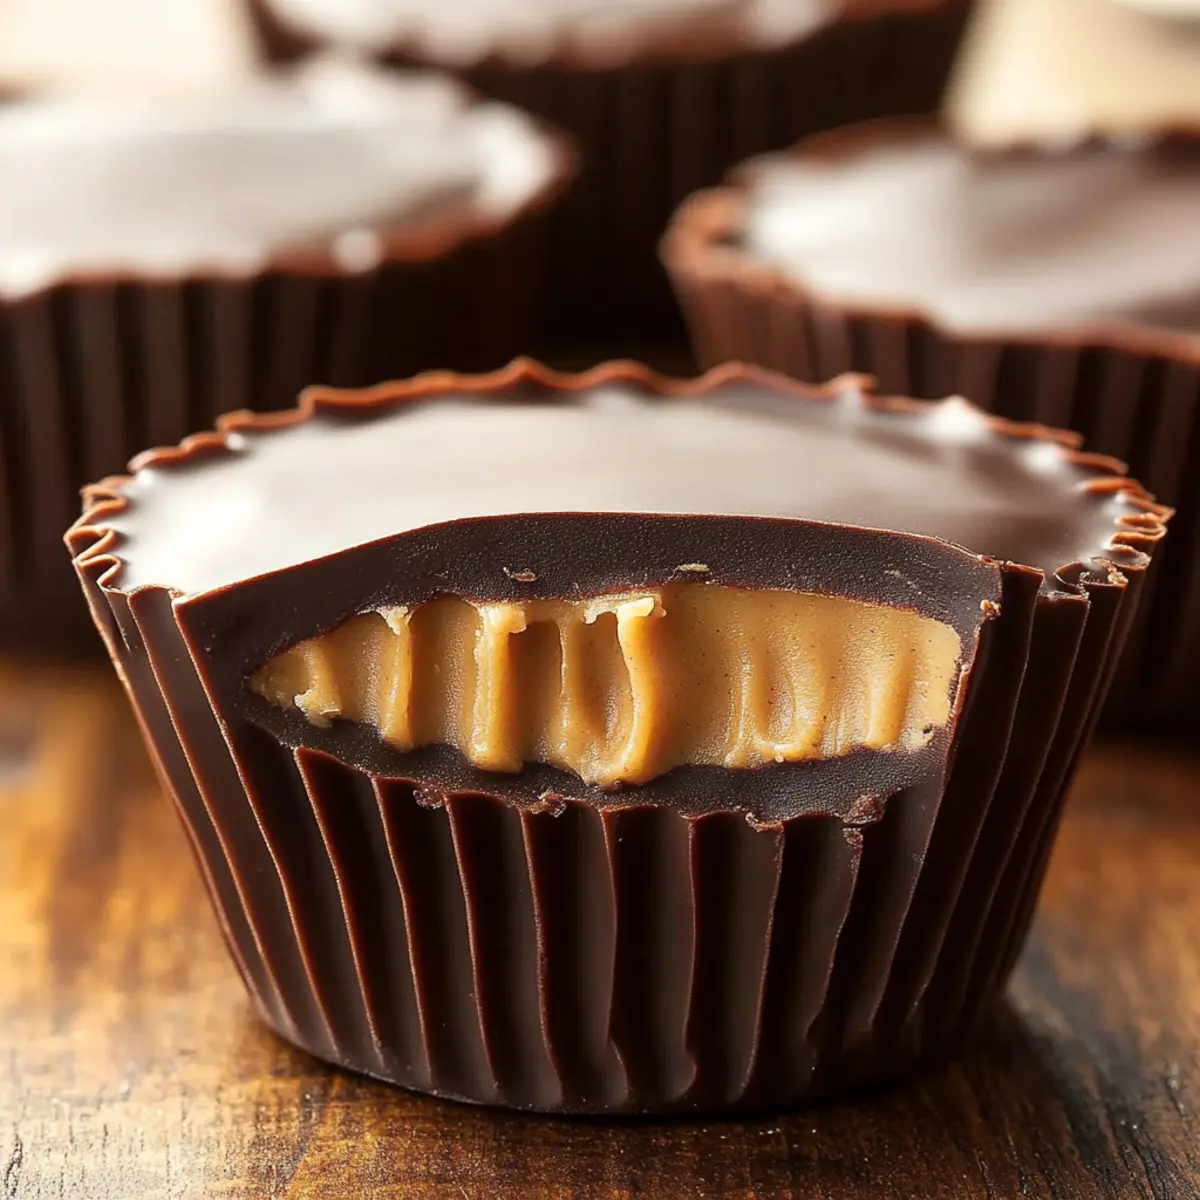
Make Ahead Options
These Easy No-Bake Chocolate Peanut Butter Protein Cups are superb for meal prep! You can prepare the peanut butter mixture and melt the chocolate up to 24 hours in advance, keeping them in separate airtight containers in the refrigerator. To maintain quality and prevent the chocolate from seizing, avoid contamination with water or moisture. When you’re ready to assemble, simply mix the melted chocolate with the peanut butter mixture, fill the muffin tins, and top with chocolate as per the original recipe. This way, you’ll have delicious, ready-to-eat snacks at your fingertips, perfect for those busy days when cravings strike!
What to Serve with Easy No-Bake Chocolate Peanut Butter Protein Cups
Elevate your snack game by pairing these delightful treats with simple accompaniments that offer balanced flavors and textures.
-
Fresh Berries: The tartness of strawberries or raspberries adds a delightful contrast to the sweet, creamy cups, enhancing your taste experience.
-
Greek Yogurt: A dollop of creamy Greek yogurt can provide a refreshing and protein-packed side, perfect to balance the sweetness of the protein cups.
-
Nut and Seed Mix: A crunchy blend of almonds, walnuts, and seeds adds texture, while providing healthy fats and an additional protein boost.
-
Banana Slices: Soft, sweet banana slices complement the chocolate and peanut butter flavor, bringing a fresh and fruity element to your treat.
-
Smoothie: Blend a quick banana, spinach, and Greek yogurt smoothie for a nutritious drink that pairs perfectly with the protein cups, satisfying both hunger and sweet cravings.
-
Dark Chocolate Drizzle: For an extra indulgent touch, add a drizzle of melted dark chocolate over fresh fruit or yogurt, enhancing the chocolate experience without overpowering it.
-
Herbal Tea: A cup of soothing herbal tea offers a warm, calming backdrop to the sweet protein cups, making them perfect for a cozy afternoon snack.
Enjoy creating a sweet snack spread that harmonizes beautifully with your Easy No-Bake Chocolate Peanut Butter Protein Cups!
No-Bake Chocolate Peanut Butter Protein Cups Variations
Feel free to get creative with these delicious protein cups and explore new flavors that make your taste buds sing!
-
Nutty Blend: Substitute peanut butter for almond or cashew butter to give a delightful twist to the filling. Each nut butter adds its unique charm and flavor profile!
-
Coconut Crunch: Toss in 1/4 cup of shredded coconut to the peanut butter mixture for a tropical feel. It not only enhances the texture but also offers a delicious hint of coconut.
-
Chocolate Medley: Use a mix of dark and milk chocolate for the coating to introduce depth in flavor. The balance of sweetness from milk chocolate pairs beautifully with the richness of dark chocolate!
-
Spicy Kick: Add a pinch of cayenne pepper to the filling for a surprising heat that complements the sweetness. This subtle kick will have your friends wondering what that secret ingredient is!
-
Fruit Fusion: Mix in dried fruits like cranberries or raisins to the peanut butter mixture for an unexpected burst of sweetness and texture. It adds a lovely chew and a pop of flavor with every bite!
-
Super Seed Boost: Stir in chia seeds or flaxseeds into the peanut butter blend for an extra nutrient kick. Not only do they enhance the health benefits, but they also provide a satisfying crunch.
-
Nut Butter Swirl: For a marble effect, alternate layers of peanut butter and almond or cashew butter in the cups. It creates an eye-catching presentation and a fun surprise for anyone taking a bite.
-
Protein Flavor Upgrade: Replace your standard protein powder with a flavored version like vanilla or chocolate brownie for an extra tastiness boost in each cup. Your no-bake treats will be as flavorful as they are nutritious!
As you navigate your culinary creations, consider pairing these delightful cups with a fresh smoothie or adding them to your post-workout snack routine for a well-rounded treat, similar to my delightful Bake Chocolate Oatmeal Cookies.
How to Store and Freeze No-Bake Chocolate Peanut Butter Protein Cups
Fridge: Keep your No-Bake Chocolate Peanut Butter Protein Cups in an airtight container in the refrigerator for up to 1 week. This ensures they stay fresh and delicious for your snacking pleasure.
Freezer: For longer storage, freeze the cups in an airtight container for up to 1 month. Be sure to separate layers with parchment paper to prevent sticking.
Thawing: When ready to enjoy, simply transfer them to the fridge for a couple of hours to thaw before indulging in these tasty treats.
Reheating: There’s no need to reheat these protein cups; they are best enjoyed chilled straight from the fridge or freezer!
Expert Tips for No-Bake Chocolate Peanut Butter Protein Cups
-
Quality Matters: Use high-quality chocolate chips for the coating; it makes all the difference in taste and texture, ensuring your No-Bake Chocolate Peanut Butter Protein Cups are indulgent.
-
Mix Well: When blending peanut butter with protein powder and sweetener, make sure to mix until completely smooth. This ensures a consistent flavor in each bite.
-
Don’t Overheat: Melt chocolate on low heat in short intervals to avoid scorching. If chocolate seizes, simply stir in a touch of vegetable oil to restore smoothness.
-
Customize Your Cups: Feel free to swap peanut butter for almond or cashew butter for a twist. Adding mix-ins like chia seeds or chopped nuts can elevate your protein cups even further.
-
Storage Tips: Keep your No-Bake Chocolate Peanut Butter Protein Cups in an airtight container. They’ll last in the fridge for up to a week or can be frozen for up to a month—ideal for make-ahead snacks!
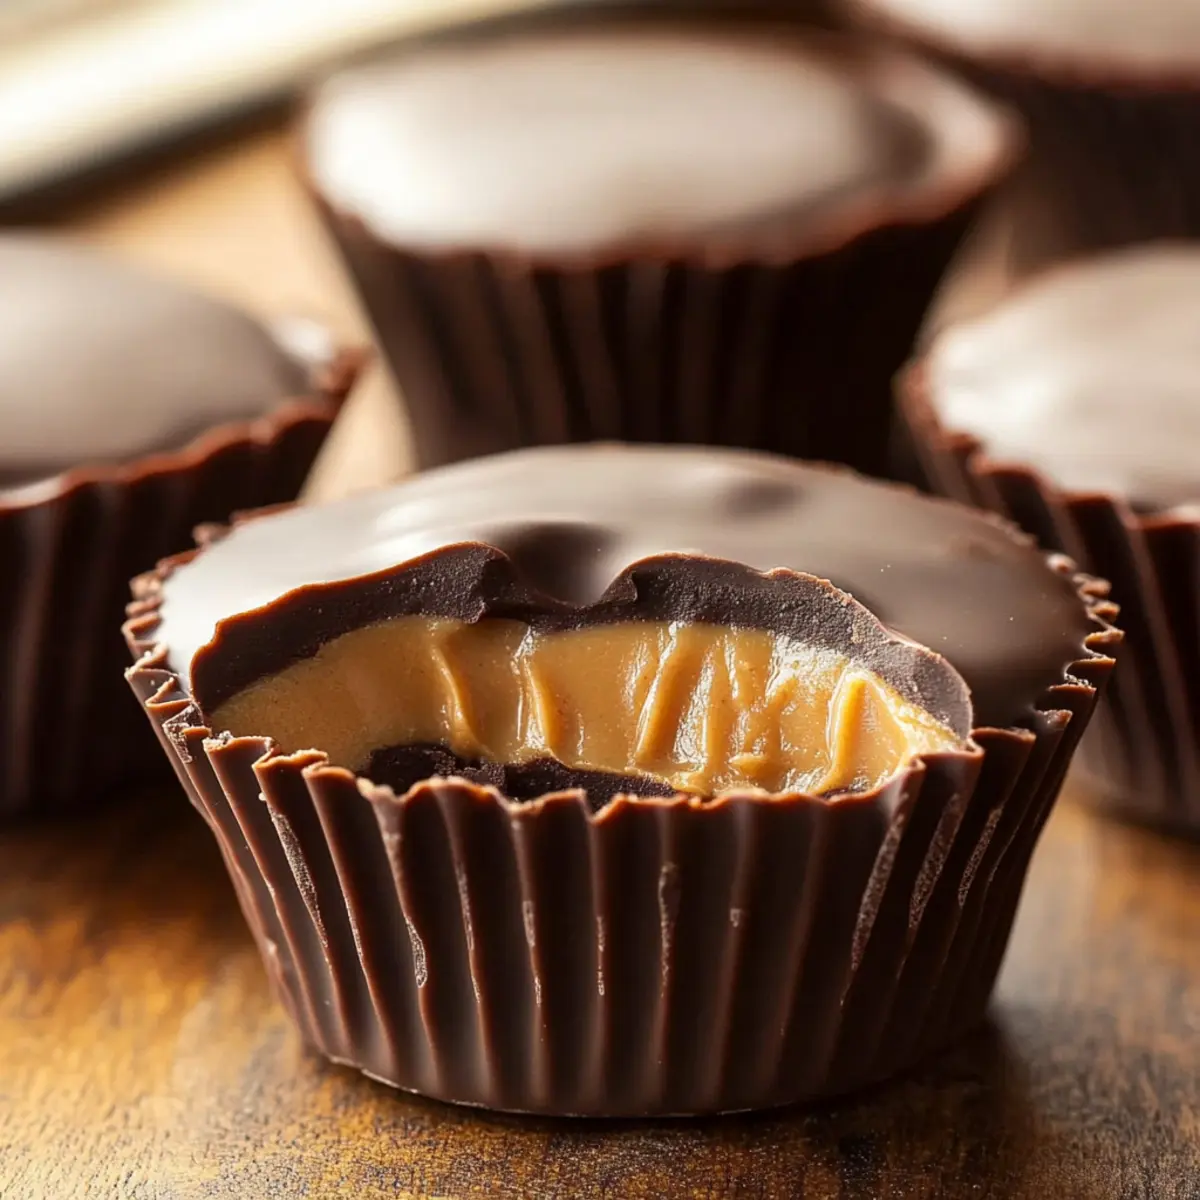
No-Bake Chocolate Peanut Butter Protein Cups Recipe FAQs
How do I select ripe ingredients for this recipe?
Absolutely! When selecting peanut butter, choose a creamy variety with no added sugars or oils for the healthiest option. If using chocolate chips, go for high-quality dark or semi-sweet chocolate for the best flavor. Always check the packaging for freshness dates to ensure maximum taste.
How should I store the No-Bake Chocolate Peanut Butter Protein Cups?
These delightful treats can be stored in an airtight container in the refrigerator for up to 1 week. To maintain their freshness, place parchment paper between layers if stacking.
Can I freeze No-Bake Chocolate Peanut Butter Protein Cups?
Very! For longer storage, these protein cups can be frozen for up to 1 month. Place them in an airtight container or a freezer-safe bag, separating layers with parchment paper to prevent sticking. To thaw, simply move them to the fridge for about 2 hours before enjoying.
What should I do if my chocolate seizes while melting?
No worries! If your chocolate seizes, immediately add a teaspoon of vegetable oil and stir until it becomes smooth again. Make sure you’re melting the chocolate at a low temperature, using short intervals in the microwave, typically 30 seconds at a time, gives you the best results.
Are there any dietary considerations for these protein cups?
Of course! If you or someone you’re serving has nut allergies, consider using sunflower seed butter as an alternative to peanut or almond butter. Additionally, for those on a vegan diet, opt for maple syrup instead of honey and ensure your chocolate chips are dairy-free.
What mix-ins can I add to customize the recipe?
The more, the merrier! You can add shredded coconut, chia seeds, or even finely chopped nuts to the peanut butter mixture to give your No-Bake Chocolate Peanut Butter Protein Cups an extra crunch and nutritional boost. Just remember to adjust the amount of peanut butter and protein powder slightly to accommodate any additional ingredients.
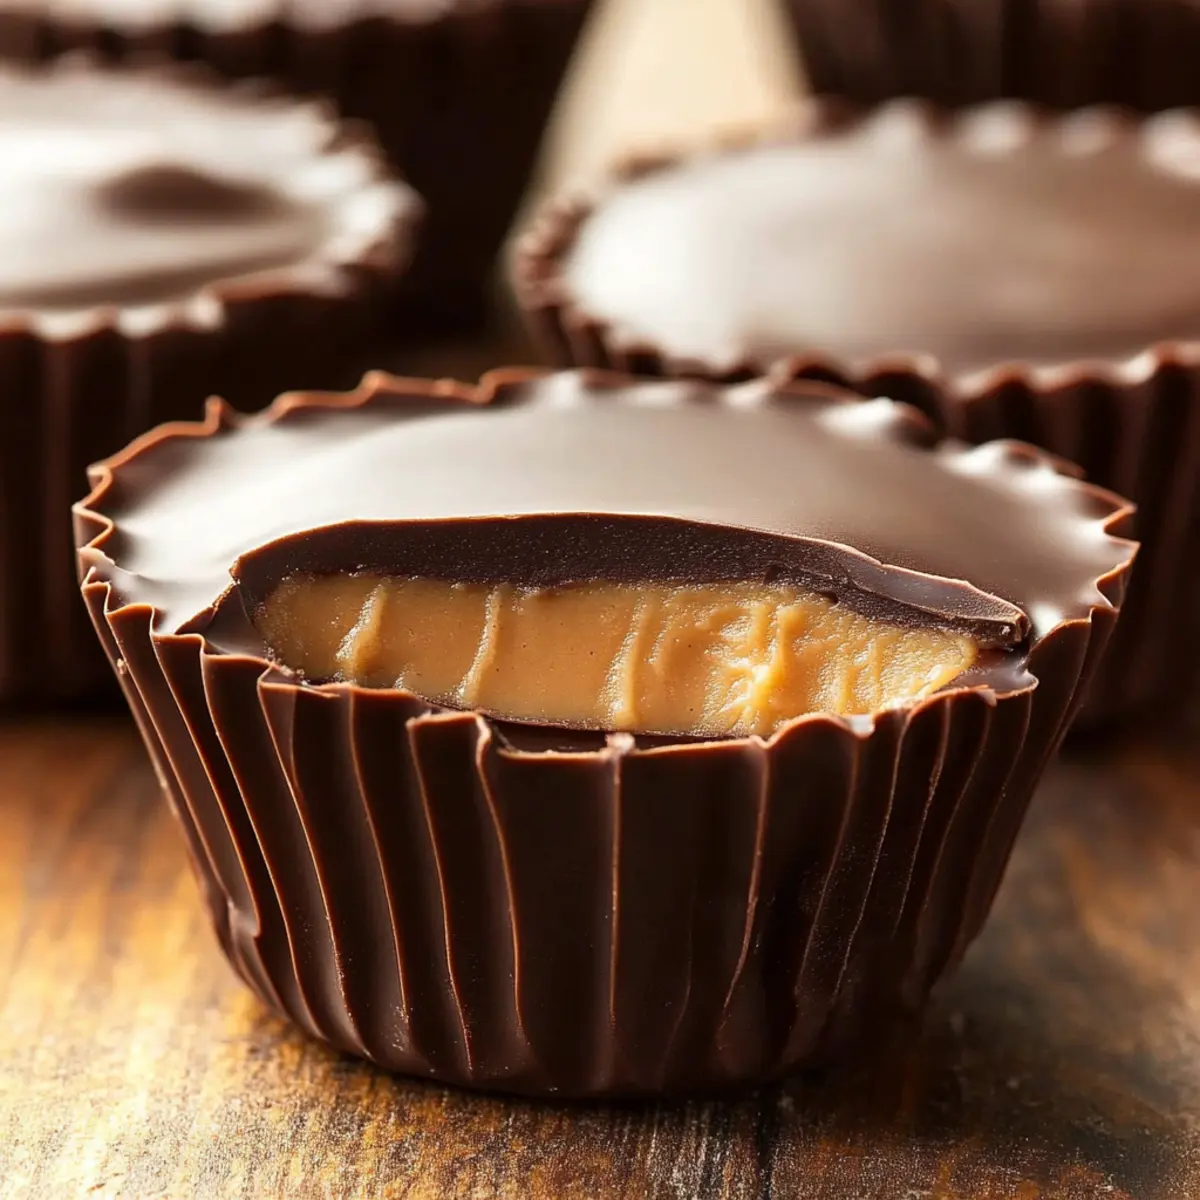
Irresistible No-Bake Chocolate Peanut Butter Protein Cups
Ingredients
Equipment
Method
- Melt the Chocolate: Microwave chocolate chips in a bowl in 30-second intervals until smooth.
- Prepare the Peanut Butter Mixture: Combine peanut butter, protein powder, and honey/maple syrup. Mix until smooth.
- Combine Chocolate and Filling: Fold half the melted chocolate into the peanut butter mixture until well combined.
- Assemble the Cups: Fill muffin tin liners halfway with the peanut butter mixture and smooth the tops.
- Top with Chocolate: Cover the filled cups with the remaining melted chocolate.
- Chill to Set: Refrigerate for about 30 minutes until chocolate is firm.
- Serve and Enjoy: Remove from muffin tin and enjoy or store in an airtight container.
Leave a Reply