
There’s something magical about the aroma of freshly baked cookies wafting through the kitchen—especially when they’re homemade Kingston Biscuits. These delightful Australian treats combine the hearty texture of oats and chewy desiccated coconut, sandwiched together with a rich layer of milk chocolate. What I love most about these cookies is how easy they are to make; in just 30 minutes, you’ll have a batch ready to share (or enjoy all by yourself!). Plus, they make for a charming gift or the perfect addition to any picnic spread. Have you ever experienced the joy of dunking a cookie into your tea as it begins to soften? Trust me, you’ll want to try this recipe and discover the cozy nostalgia it brings!
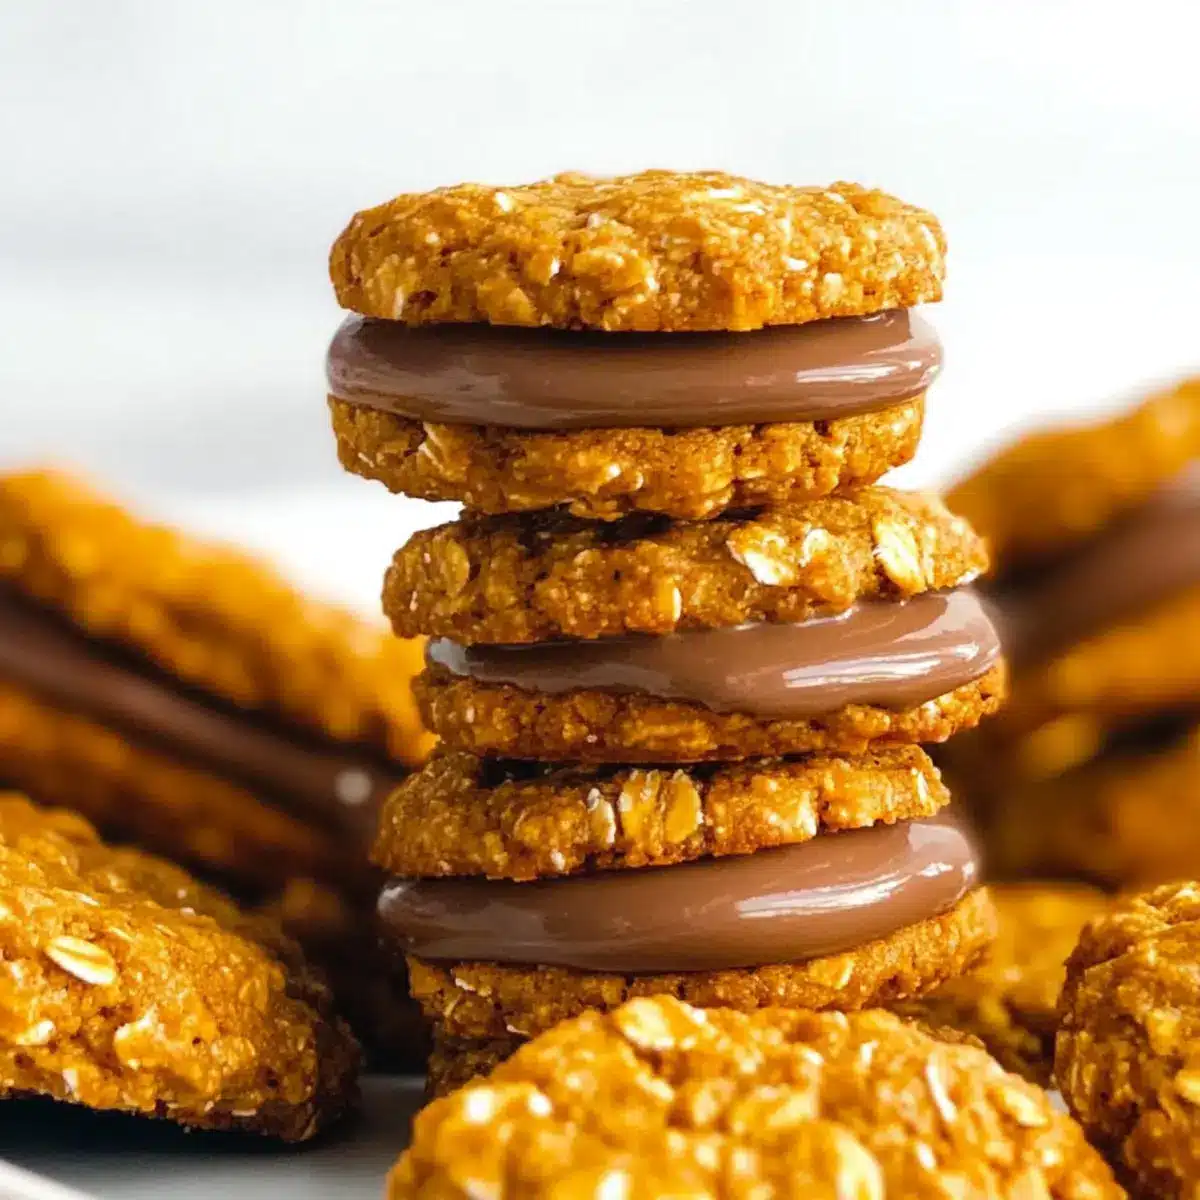
Why Make Homemade Kingston Biscuits?
Irresistible, fresh from the oven! The aroma of these cookies will fill your kitchen with warmth and nostalgia, making every bite a heartwarming experience.
Quick & Easy: With just 30 minutes of your time, you’ll have these delightful treats ready—no special equipment required!
Customizable: Feel free to play with flavors and chocolate types; dark or white chocolate can elevate the taste to your preference!
Perfect for Sharing: These appealing cookies make great gifts or something special to bring to gatherings.
Incredibly Delicious: The contrast of chewy oats, coconut, and rich chocolate is simply heavenly! Whether enjoyed with a cup of tea or a cozy evening snack, these cookies are sure to become a cherished recipe in your collection. If you love classic treats, be sure to check out our tips for perfecting your Kingston Biscuits!
Homemade Kingston Biscuits Ingredients
For the Cookies
- Plain Flour (All-Purpose Flour) – Provides structure to the cookies; can be substituted with spelt flour for a nuttier flavor.
- White Granulated Sugar – Adds sweetness and helps achieve a crisp texture; caster sugar can be used as a fine alternative.
- Salt – Enhances the flavor of the cookies; essential for balanced taste.
- Quick Oats – Contributes chewiness and texture; regular rolled oats can be processed for a similar effect.
- Desiccated Coconut – Adds chewiness and unique flavor; finely chopped nuts may be used in place of coconut for those with allergies.
- Golden Syrup – Provides moisture and a distinct flavor; maple syrup or honey can serve as substitutes, though flavors will differ.
- Unsalted Butter – Adds richness and contributes to texture; can be replaced with margarine or a vegan butter substitute.
- Baking Soda – Leavening agent that helps cookies rise; ensure it is fresh for best results.
- Water – Used to dissolve baking soda before combining ingredients; can be omitted if the mixture is adequately moist.
For the Filling
- Milk Chocolate – Used for filling between cookie halves; dark chocolate can provide a richer taste for your homemade Kingston Biscuits.
Feel free to gather these ingredients and get ready to create a delectable treat that’s sure to bring joy to your kitchen!
Step‑by‑Step Instructions for Homemade Kingston Biscuits
Step 1: Preheat Your Oven
Start by preheating your oven to 180°C (350°F). This ensures that it reaches the optimal temperature for baking your Homemade Kingston Biscuits to perfection. As the oven warms up, you can gather your ingredients and greasing or lining your baking sheets with parchment paper will help prevent sticking.
Step 2: Combine Dry Ingredients
In a large mixing bowl, whisk together 1 cup of plain flour, 3/4 cup of white granulated sugar, 1/4 cup of desiccated coconut, and 1 cup of quick oats, along with a pinch of salt. This blend provides the foundation for your cookies, ensuring they have just the right texture. Mix well until all dry ingredients are evenly distributed.
Step 3: Melt Wet Ingredients
In a saucepan over low heat, melt 125g of unsalted butter with 1/3 cup of golden syrup, stirring gently until combined. Once melted, add 1 tablespoon of water and mix in 1 teaspoon of baking soda until dissolved. This mixture should be smooth and slightly warm, creating a rich base for your cookies.
Step 4: Mix the Wet and Dry Ingredients
Pour your warm butter mixture into the bowl of dry ingredients, and using a spatula, mix thoroughly until just combined. The dough should be soft but hold together. Be careful not to overmix; a little bit of texture will enhance the chewiness of your Homemade Kingston Biscuits.
Step 5: Shape the Cookies
Allow the dough to rest for 5-10 minutes to firm up slightly. Using a mini cookie scoop, portion out 2 teaspoons of dough and roll it into balls. Place them on your prepared baking sheet, spaced well apart, and flatten each slightly. This will give them room to spread while baking, resulting in beautifully shaped cookies.
Step 6: Bake to Golden Perfection
Bake your Kingston Biscuits in the preheated oven for about 12-14 minutes, until the edges are golden and crisp. Keep an eye on them as they bake; they should look slightly puffy and not too dark. Once done, remove them from the oven and let them cool on the baking sheet for 5 minutes before transferring them to a wire rack.
Step 7: Assemble with Chocolate
Once your cookies have cooled completely, melt your milk chocolate in a microwave or with a double boiler until smooth. Spread a generous amount of melted chocolate onto the flat side of one cookie and top it with another, creating a delicious sandwich. Allow the chocolate to set before enjoying your Homemade Kingston Biscuits!
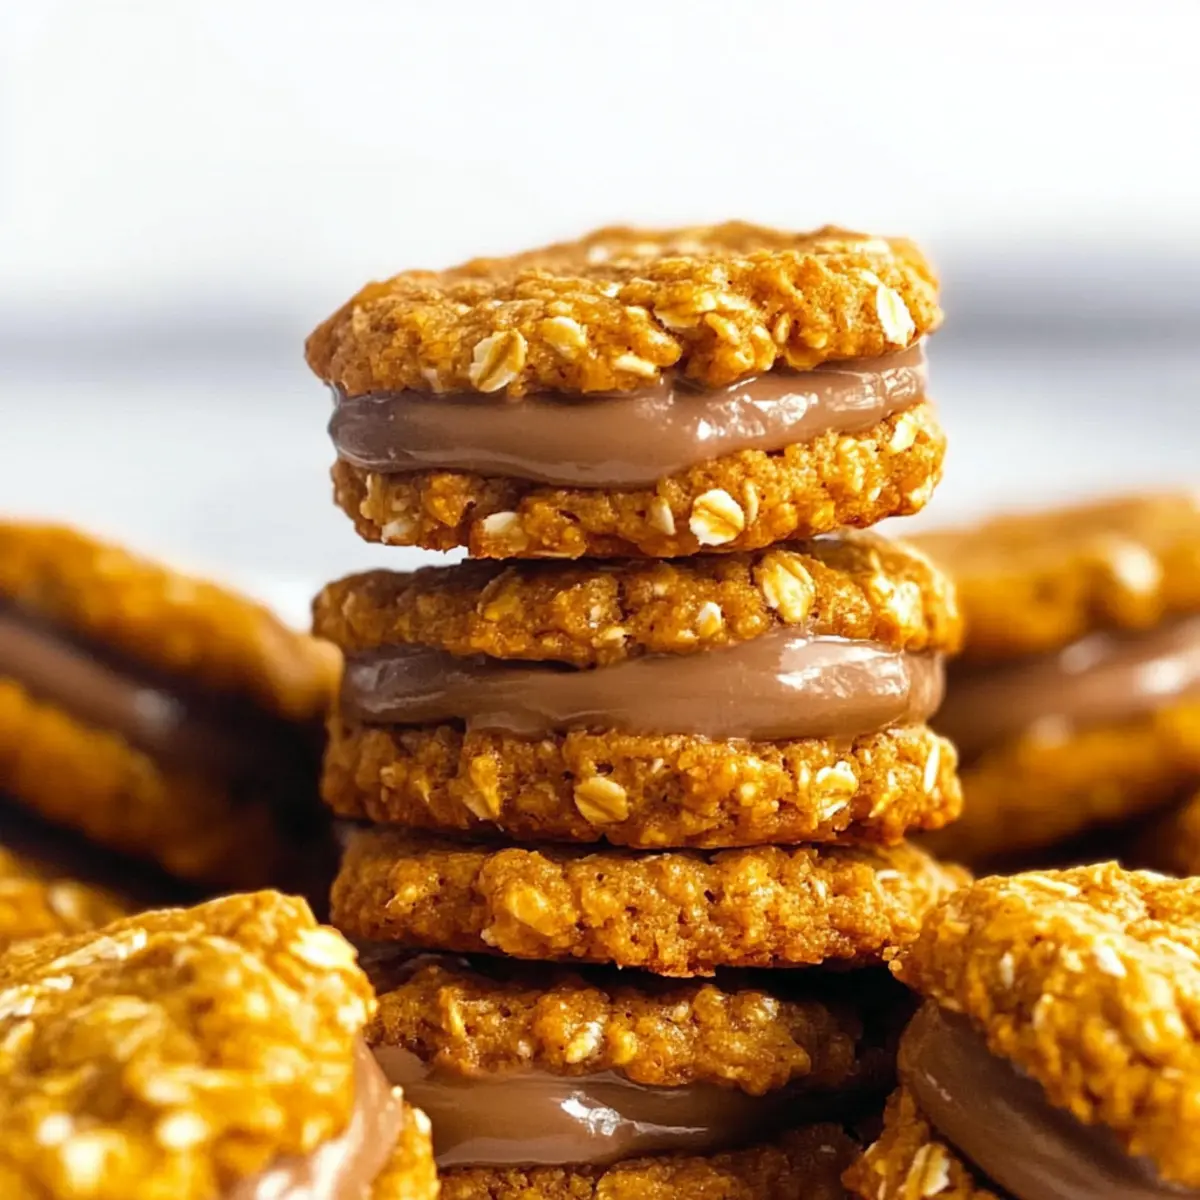
Helpful Tricks for Homemade Kingston Biscuits
-
Use Fresh Ingredients: Always check that your baking soda and butter are fresh. Old baking soda can lead to flat cookies, while butter that’s too soft alters the texture negatively.
-
Proper Measuring: Ensure you measure flour correctly by spooning it into the cup and leveling it off. Too much flour can make your homemade Kingston Biscuits dry and crumbly.
-
Dough Temperature: Allow the dough to rest for a few minutes before shaping. This helps the cookies maintain their thickness during baking, preventing them from spreading too thin.
-
Cooling Time: Don’t skip the cooling steps! Letting the cookies cool on the baking sheet for 5 minutes ensures they firm up nicely before moving them to a wire rack.
-
Chocolate Melting Tip: When melting chocolate, do it gently to avoid burning. Stir frequently and use the microwave in short bursts or a double boiler for the best results.
How to Store and Freeze Kingston Biscuits
Room Temperature: Store your homemade Kingston Biscuits in an airtight container at room temperature for up to 5-6 days to maintain freshness and flavor.
Fridge: Although not necessary, if you live in a humid climate, you can refrigerate the cookies for additional protection, allowing them to stay fresh for up to a week.
Freezer: For long-term storage, freeze the cookies individually wrapped in plastic wrap and placed in a zip-lock bag for up to 2-3 months. Thaw at room temperature before serving.
Reheating: If you enjoy warm cookies, pop them in a preheated oven at 170°C (340°F) for about 5-7 minutes to refresh their delightful texture before indulging in your Kingston Biscuits.
What to Serve with Easy Kingston Biscuits?
Pair your freshly baked Kingston Biscuits with delightful accompaniments that truly enhance their charming flavors and textures.
- Sipping Tea: The buttery, crunchy cookies blend beautifully with a warm cup of Earl Grey or English Breakfast, creating a cozy afternoon delight.
- Rich Coffee: Delight in the contrast of flavors as the deep, bold notes of a well-brewed coffee complement the sweetness of the biscuits.
- Fresh Fruit Platter: Serve vibrant seasonal fruits like strawberries and orange slices for a refreshing, juicy contrast to the cookies’ texture.
- Creamy Vanilla Ice Cream: Treat yourself by pairing these biscuits with a scoop of vanilla ice cream, allowing the chocolate and coconut flavors to shine.
- Sweet Dessert Wine: A glass of Muscat or a late-harvest Riesling will enhance the sweet coconut notes, making for a sophisticated pairing.
- Nutty Granola Yogurt: Swap out plain yogurt for a tangy twist, adding crunchy granola on top for an enjoyable, textured snack.
Indulge in these combinations to create a delightful, memorable experience that embraces the simple joys of life and the scrumptious taste of your homemade Kingston Biscuits!
Homemade Kingston Biscuits Variations
Embrace your creativity in the kitchen and make these delightful cookies truly your own!
-
Gluten-Free: Use a gluten-free flour blend and ensure your oats are certified gluten-free for a safe alternative.
-
Nutty Twist: Incorporate finely chopped almonds or walnuts into the dough to add a delightful crunch and flavor.
-
Sweetener Swap: Replace granulated sugar with coconut sugar for a richer, caramel-like flavor in your Kingston Biscuits.
-
Coconut Variations: Substitute some of the coconut with finely grated lemon zest for a refreshing, citrusy burst in each bite.
Don’t forget, if you’re a fan of bold flavors, you might want to experiment with my spiced oat cookies. They would pair beautifully with this variation!
-
Optional Fillings: Instead of chocolate, try using peanut butter or Nutella for a fun and delicious filling.
-
Flavor Infusion: A splash of rum or coconut extract adds an extra layer of flavor that brings a tropical vibe to your baking.
Whatever choices you make, remember that each bite of your homemade Kingston Biscuits can transport you to a sun-kissed afternoon, whether you enjoy them alone or share them with friends.
Make Ahead Options
These easy Kingston Biscuits are perfect for meal prep enthusiasts looking to save time! You can prepare the cookie dough up to 24 hours in advance by mixing all the ingredients and refrigerating it in an airtight container. This prevents the dough from drying out and keeps it fresh. Alternatively, if you want to extend storage, portion the dough into balls and freeze them for up to 2-3 months. When you’re ready to bake, simply thaw the dough at room temperature and follow the baking instructions—this way, you’ll enjoy the same delicious flavor without the last-minute stress of preparation!
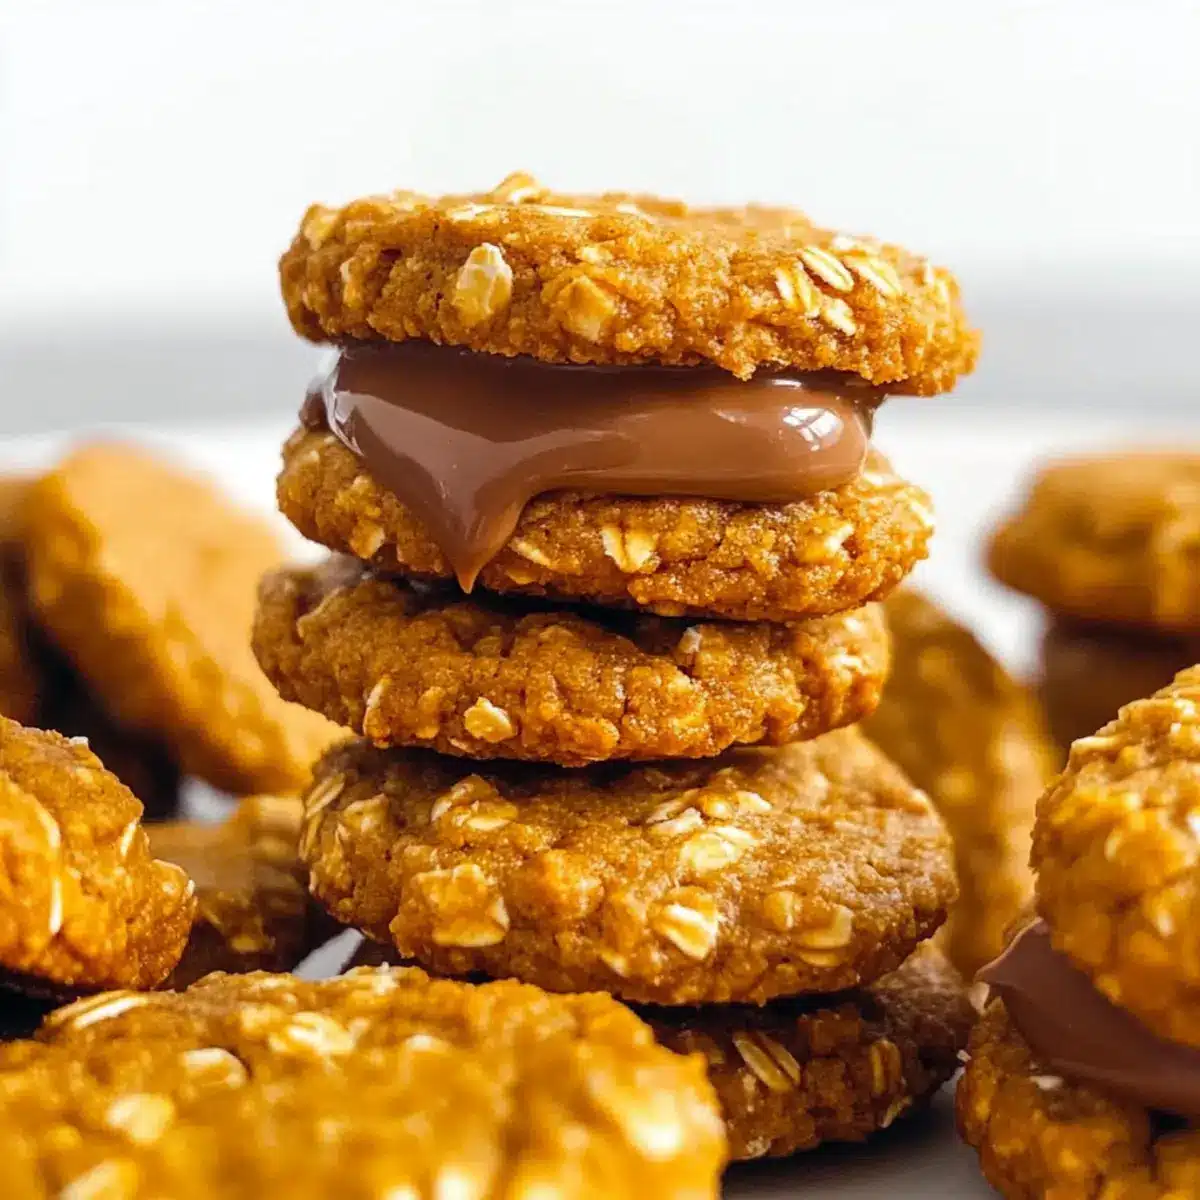
Kingston Biscuits Recipe FAQs
What type of oats should I use for Kingston Biscuits?
Quick oats are best for achieving the desired chewy texture, but you can use regular rolled oats if you pulse them in a food processor to mimic the consistency.
How should I store homemade Kingston Biscuits?
Store your Kingston Biscuits in an airtight container at room temperature for up to 5-6 days. If you live in a humid area, consider refrigerating them for added freshness, where they can last for up to a week.
Can I freeze Kingston Biscuits?
Absolutely! To freeze your Kingston Biscuits, first let them cool completely. Then, wrap each cookie individually in plastic wrap, place them in a zip-lock bag, and freeze for up to 2-3 months. When you’re ready to enjoy them, simply thaw at room temperature.
What should I do if my cookie dough is too dry?
If your dough appears too dry, try adding a tiny splash of water or melted butter, one teaspoon at a time. Mix gently and check the consistency; the dough should hold together without being overly sticky.
Are Kingston Biscuits suitable for those with allergies?
For those with nut allergies, carefully substitute the desiccated coconut with finely chopped seeds or omit it entirely. Also, make sure to use gluten-free oats and flour if needed, as standard recipes contain both.
Can I make substitutions in the ingredients?
Definitely! You can substitute plain flour with spelt or gluten-free flour for different flavors and dietary needs. Additionally, golden syrup can be replaced with honey or maple syrup, though the flavor profiles will differ.
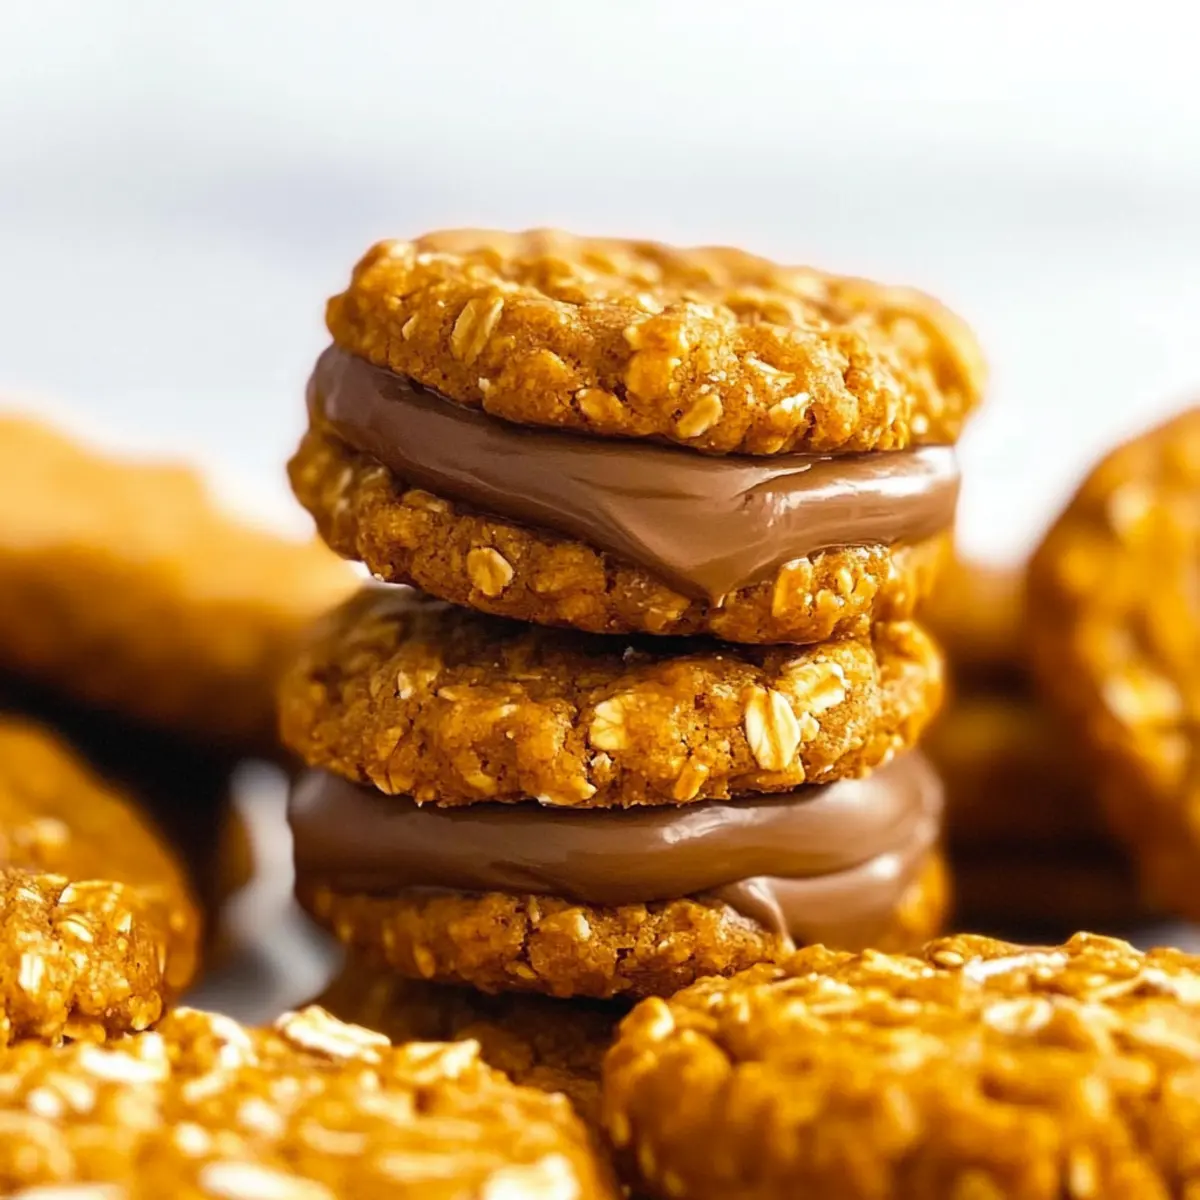
Irresistible Homemade Kingston Biscuits: A Treat to Cherish
Ingredients
Equipment
Method
- Preheat your oven to 180°C (350°F). Grease or line baking sheets with parchment paper.
- In a large mixing bowl, whisk together flour, sugar, coconut, oats, and salt.
- Melt butter with golden syrup over low heat. Add water and baking soda until dissolved.
- Pour the warm butter mixture into the dry ingredients and mix until just combined.
- Let the dough rest for 5-10 minutes. Shape into balls and flatten slightly on the baking sheet.
- Bake for 12-14 minutes until golden. Cool on the baking sheet for 5 minutes.
- Melt chocolate and sandwich between two cooled cookies.
Leave a Reply