
As the sun sets on a warm summer evening, there’s a certain magic that draws us to sweet nostalgia. Remember those carefree days of toasting marshmallows by the fire? My “Gooey Frozen S’mores Sandwich” brings the essence of those evenings right to your home, with none of the campfire fuss. This easy, no-bake dessert combines a crispy graham cracker crust, velvety chocolate layers, and fluffy marshmallow—all ready to impress your friends at any summer gathering. Not only is this recipe a showstopper, but it’s also customizable, allowing you to cater to dietary preferences like dairy-free options, making it perfect for everyone at the table. Who wouldn’t want a slice of this creamy delight? Get ready to dive into a slice of your new favorite summer indulgence!
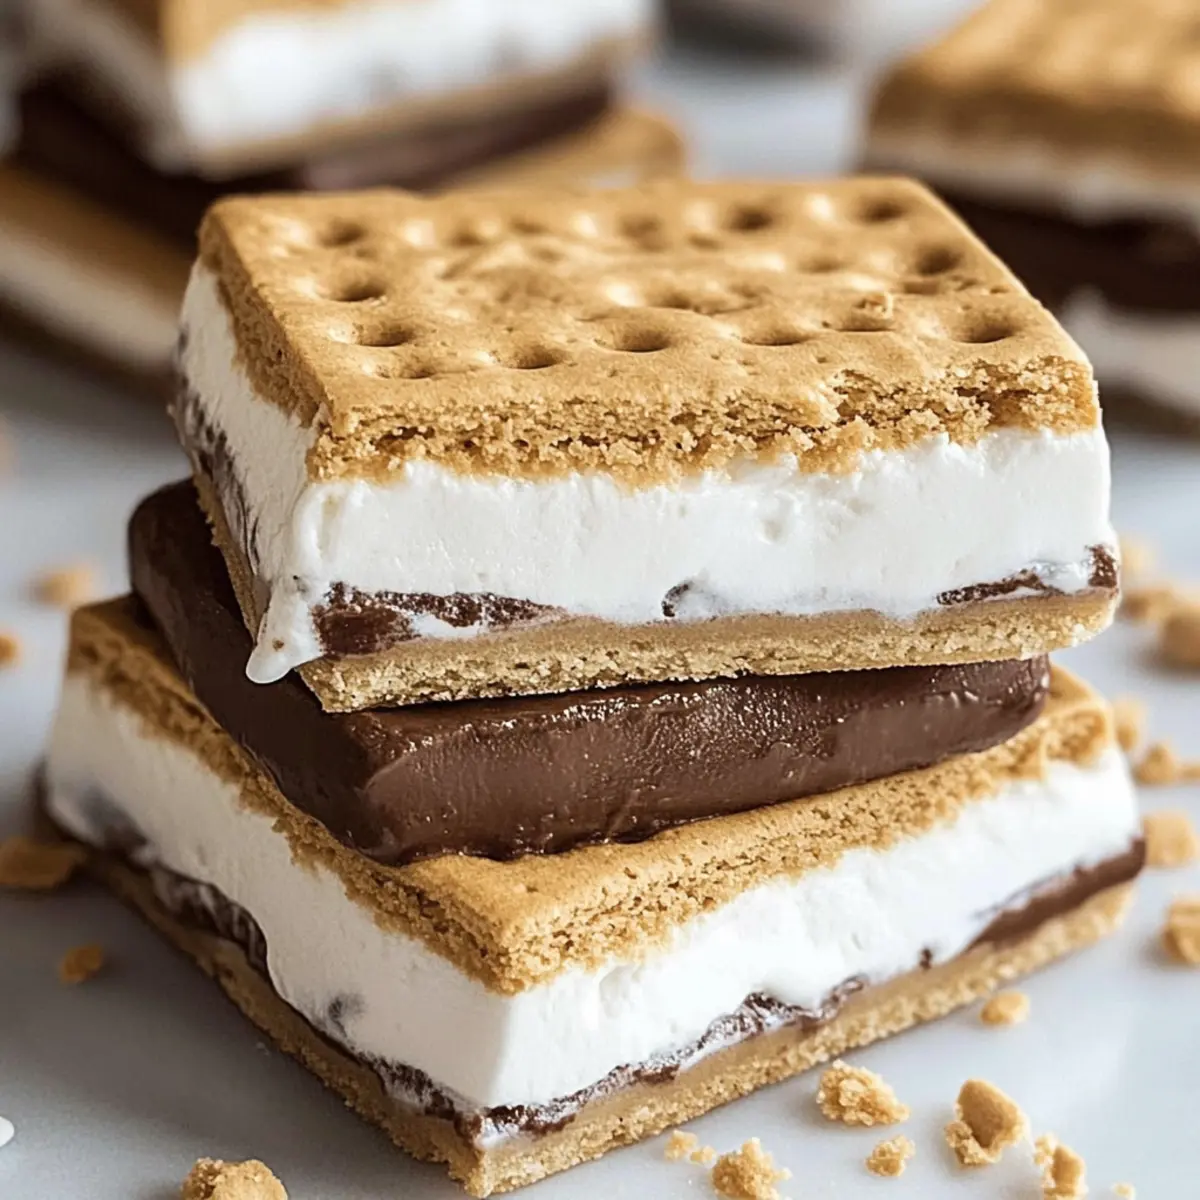
Why are Frozen S’mores a Summer Essential?
Simplicity: These no-bake gooey frozen s’mores require minimal prep time, making them a stress-free addition to any summer gathering.
Ultimate Customization: Tailor this dessert to fit any dietary needs with dairy-free options, ensuring everyone can indulge happily!
Nostalgic Flavor: Each bite is a delicious tribute to the classic campfire treat, evoking cherished memories of summer nights.
Crowd-Pleasing Treat: Perfect for parties, they’re a guaranteed hit with both kids and adults alike—who can resist that gooey goodness?
Versatile Serving: Pair with your favorite ice cream, or set up a DIY s’mores bar for a fun twist! If you’re looking for more creative sandwich options, check out this delicious Avocado Melt Sandwich or these flavor-packed creations like Flavor Packed Sandwich.
Gooey Frozen S’mores Ingredients
For the Base
- Graham Crackers – The classic s’mores foundation providing a sweet, crispy base. Substitution: Gluten-free graham crackers can be used for gluten-sensitive diets.
- Mini Marshmallows – Contributes gooey sweetness and texture. Preparation Note: Toast mini marshmallows under the broiler for an enhanced flavor.
For the Chocolate Layer
- Chocolate Pudding Mix – Creates a rich, velvety chocolate layer that enhances the dessert’s flavor. Substitution: Use dark chocolate pudding for a more intense chocolate experience.
- Cold Milk – Activates the pudding mix for creamy consistency. Substitution: Non-dairy milk (almond, oat, or coconut) for lactose-intolerant or vegan options.
- Whipped Topping (e.g., Cool Whip) – Adds a light, airy texture. Substitution: Non-dairy whipped topping is available for plant-based adaptations.
For the Final Touch
- Chocolate Syrup – Enhances flavor and presentation. Optional enhancement for serving.
- Vanilla Extract – Deepens flavor complexity with aromatic warmth. Optional enhancement for additional flavor.
- Mini Chocolate Chips – Optional for added chocolatey goodness and visual appeal.
Step‑by‑Step Instructions for Gooey Frozen S’mores Sandwich
Step 1: Pudding Preparation
In a medium bowl, whisk together the chocolate pudding mix and cold milk until the mixture is smooth and velvety, with no lumps remaining. This step should take about 2 minutes. You’ll know it’s ready when it has thickened slightly and you can see a glossy finish.
Step 2: Creamy Fusion
Gently fold in the whipped topping into the prepared pudding mixture using a spatula. This should create a light, airy texture, enhancing the overall creaminess of your gooey frozen s’mores sandwich. Aim for a consistent blend of chocolate and whipped topping with minimal deflation, which will take about 1-2 minutes.
Step 3: Foundation Layer
Grab a rectangular baking dish and arrange a single layer of graham crackers at the bottom. Ensure they are snugly packed without any gaps. This crunchy base forms the foundation of your gooey frozen s’mores sandwich, promoting crisp texture and stability.
Step 4: Chocolate Infusion
Spread the chocolate pudding and whipped topping mixture evenly over the graham cracker layer in your baking dish. Use a spatula to smooth it out, creating an even surface. Make sure to cover all crackers well, ensuring every bite of the gooey frozen s’mores sandwich is rich with flavor.
Step 5: Marshmallow Elegance
Take your mini marshmallows and swirl them across the chocolate pudding layer. For extra flavor, consider toasting the marshmallows under your broiler for about 30 seconds until they are lightly golden and bubbly. This step adds both sweetness and a delightful texture to your gooey frozen s’mores sandwich.
Step 6: Structural Assembly
Top the marshmallow layer with a second layer of graham crackers, pressing them down gently to create a stable structure. This assembly is crucial for maintaining shape during freezing, ensuring that your gooey frozen s’mores sandwich holds together when you cut into it later.
Step 7: Chocolate Finale
Drizzle melted chocolate syrup over the top layer of graham crackers for added richness and visual appeal. Use a spoon or squeeze bottle to create an attractive pattern. This not only enhances the taste but also gives your gooey frozen s’mores sandwich a beautiful glossy finish.
Step 8: Freezing and Setting
Cover the baking dish with plastic wrap and place it in the freezer for at least 4-6 hours, allowing it to set firmly. You’ll know it’s ready when the layers feel solid and hold their shape when the dish is moved. Patience is key for achieving that perfect frozen bite!
Step 9: Serving Preparation
Once frozen, remove the dish from the freezer and let it sit at room temperature for about 5-10 minutes. This will make cutting into squares easier and more manageable. Slice the gooey frozen s’mores sandwich into your desired portions before serving, and enjoy this delightful summer treat!
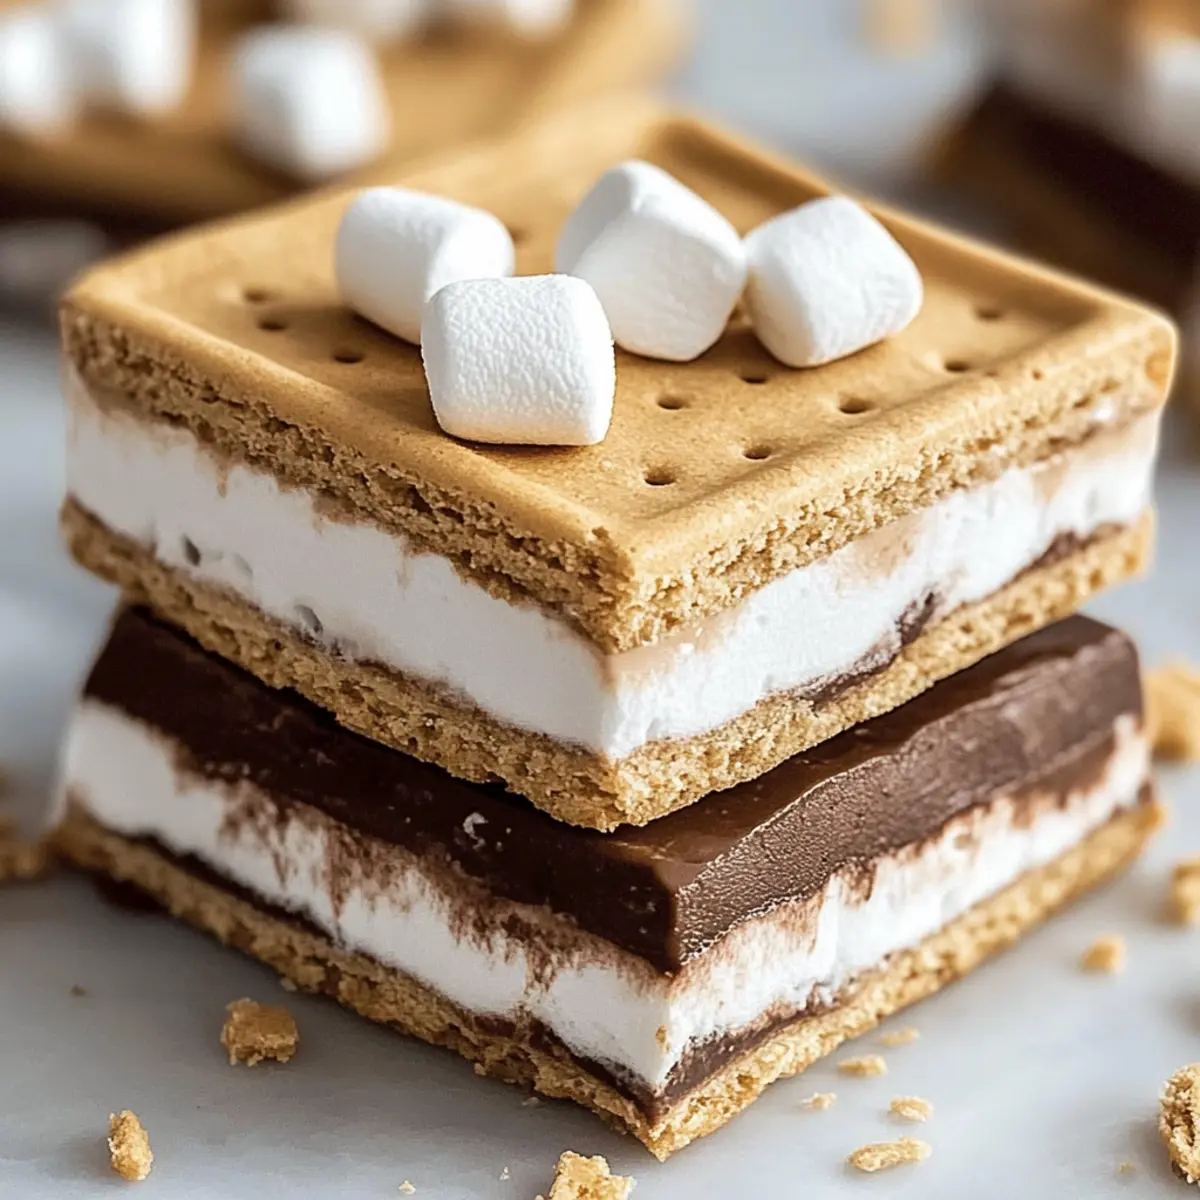
Gooey Frozen S’mores Variations
Feel free to take your delicious gooey frozen s’mores to the next level with these fun and adaptable options!
- Dairy-Free: Substitute non-dairy milk and whipped topping for a creamy vegan-friendly dessert. Everyone deserves a sweet slice!
- Flavored Pudding: Try using flavored pudding mixes like chocolate mint or cookies and cream for an exciting twist that surprises your taste buds.
- Texture Boost: Add crushed nuts or chocolate shavings between layers for an extra crunch, enhancing the overall experience delightfully.
- Marshmallow Charm: For added depth, toast your marshmallows before layering; the caramelization adds a unique flavor that’s simply irresistible.
- S’mores Bar: Create a DIY frozen s’mores bar with toppings like mini chocolate chips, crushed pretzels, and sprinkles for a fun gathering twist, reminiscent of summer fairs.
- Warm Drizzle: Serve warm chocolate syrup on the side for drizzling just before taking a bite; it makes each indulgence even more decadent.
- Chilly Bites: For a frosty treat, freeze smaller squares or popsicles for easy snacking on hot days—perfect for kids and adults alike!
- Serving Suggestions: Pair these frozen delights with vanilla ice cream or a glass of cold milk, complementing the creamy, sweet goodness beautifully.
Consider exploring this delightful No-Bake Chocolate Oat Bars recipe for a tasty treat alongside your s’mores!
Make Ahead Options
These gooey frozen s’mores sandwiches are ideal for meal prep enthusiasts looking to save time on busy days! You can prepare the chocolate pudding and whipped topping mix up to 24 hours in advance and refrigerate it until you’re ready to assemble. The graham cracker and marshmallow layers can also be arranged ahead of time; simply layer them in the baking dish, cover tightly with plastic wrap, and freeze for up to 3 days. When you’re ready to enjoy these treats, simply drizzle with melted chocolate, freeze for about 4-6 hours until firm, and allow to thaw slightly before cutting. This ensures that each slice is just as delicious and gooey as when freshly made!
How to Store and Freeze Gooey Frozen S’mores Sandwich
Fridge: Store leftovers in an airtight container in the fridge for up to 3 days for the best flavor and texture.
Freezer: For long-term storage, keep the gooey frozen s’mores sandwich tightly wrapped in plastic wrap or in an airtight freezer-safe container for up to 2 weeks.
Thawing: To enjoy, let the container sit at room temperature for about 5-10 minutes before slicing, as this will help regain its creamy texture.
Reheating: There’s no need to reheat these frozen treats; they are best enjoyed cool and refreshing straight from the freezer!
What to Serve with Gooey Frozen S’mores Sandwich
As you gather friends and family around for a delightful treat, elevate your summer dessert experience with these perfect pairings.
-
Creamy Vanilla Ice Cream: A classic counterpart, its rich creaminess balances the chocolate and adds a refreshing touch to the dessert.
-
Fresh Berries: Strawberries or raspberries will bring a pop of tartness, complementing the sweetness of the s’mores and adding a touch of freshness.
-
Chilled Milkshake: A chocolate or vanilla milkshake brings nostalgic vibes while enhancing the creaminess of your dessert.
-
Crispy Potato Chips: Their salty crunch plays beautifully against the sweetness, offering a delightful texture contrast that makes each bite interesting.
-
Gourmet Hot Chocolate: A warm, rich drink rounds out the cold treat beautifully, perfect for those who love the classic s’mores flavor.
-
Fruit Skewers: Assemble colorful fruit skewers for a fun, fresh side that adds a healthy crunch and bright flavors, making your gathering vibrant and appealing.
-
Nutty Trail Mix: Offering a mix of textures and a hint of salt, trail mix provides an unexpected twist alongside the sweet s’mores, enhancing a playful snack atmosphere.
Expert Tips for Gooey Frozen S’mores
- Smooth Pudding: Whisk the pudding mix and cold milk thoroughly to prevent lumps; a smooth mixture is essential for the best gooey frozen s’mores.
- Layering Precision: Ensure all graham crackers are snugly packed without gaps for stability—this helps maintain the structure of your delicious sandwich.
- Toast for Flavor: Lightly toasting the mini marshmallows under the broiler enhances their flavor and adds an enticing golden color—don’t skip this step!
- Freezing Time: Allow the gooey frozen s’mores to freeze for a full 4-6 hours—insufficient freezing might lead to a messy serving.
- Cutting Technique: Let the dessert soften for 5-10 minutes at room temperature before cutting—it makes slicing much easier and cleaner!
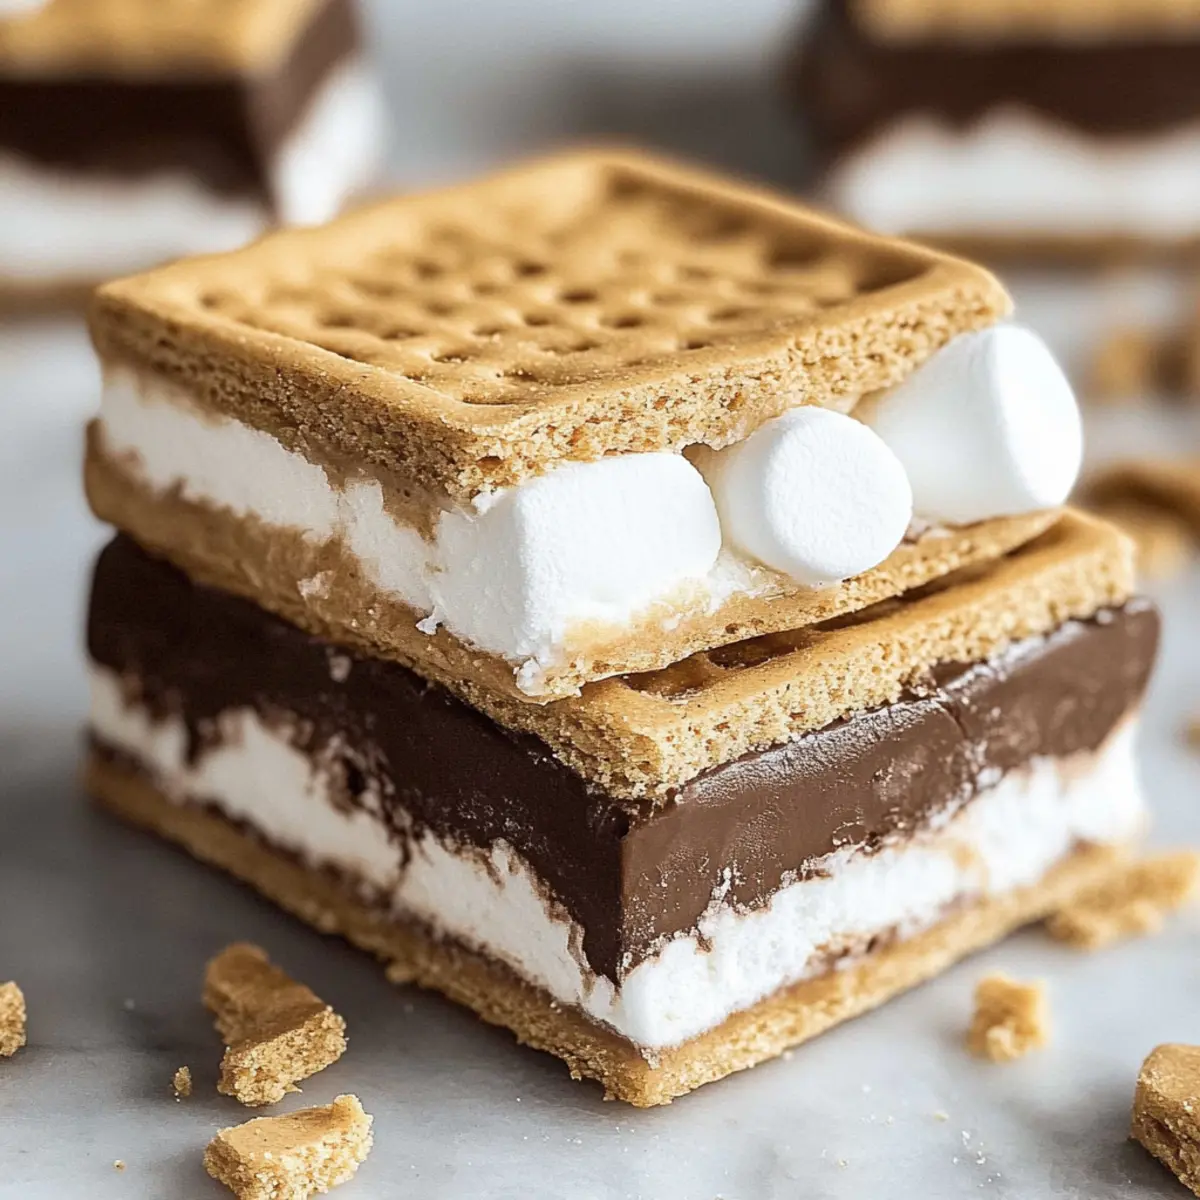
Gooey Frozen S’mores Sandwich Recipe FAQs
What type of graham crackers should I use?
Absolutely! Classic graham crackers are the traditional choice, providing that sweet, crispy base. If you’re gluten-sensitive, I recommend using gluten-free graham crackers for just as much crunch and flavor.
How should I store leftover Gooey Frozen S’mores Sandwich?
You can store any leftovers in the fridge for up to 3 days in an airtight container for retainment of flavor and texture. If you prefer longer preservation, keep it in the freezer wrapped tightly in plastic wrap or in an airtight freezer-safe container for up to 2 weeks.
Can I freeze Gooey Frozen S’mores Sandwich? If so, how?
Yes! To freeze, make sure your assembled dessert is covered with plastic wrap or stored in a freezer-safe container. Freeze it for 4-6 hours until it’s firm. When you’re ready to enjoy, let it sit at room temperature for about 5-10 minutes before slicing for easy servings.
What if my pudding mixture is lumpy?
Oh no! If you find lumps in your pudding mixture, simply whisk it a bit longer until it’s smooth. Using cold milk and whisking in a steady motion for about 2 minutes usually does the trick. If it’s still lumpy after that, consider straining the mixture through a fine mesh sieve for a velvety texture!
Can I make this Gooey Frozen S’mores Sandwich dairy-free?
Very much so! To make it dairy-free, substitute regular cow’s milk with non-dairy alternatives like almond, oat, or coconut milk. Additionally, opt for non-dairy whipped topping, and you can still enjoy this delightful treat without any dairy!
How long can I keep these in the freezer before it affects the taste?
I recommend consuming your gooey frozen s’mores sandwich within 2 weeks for the best flavor and texture. After that, you might notice slight texture changes or a loss of richness, but they are still safe to eat!
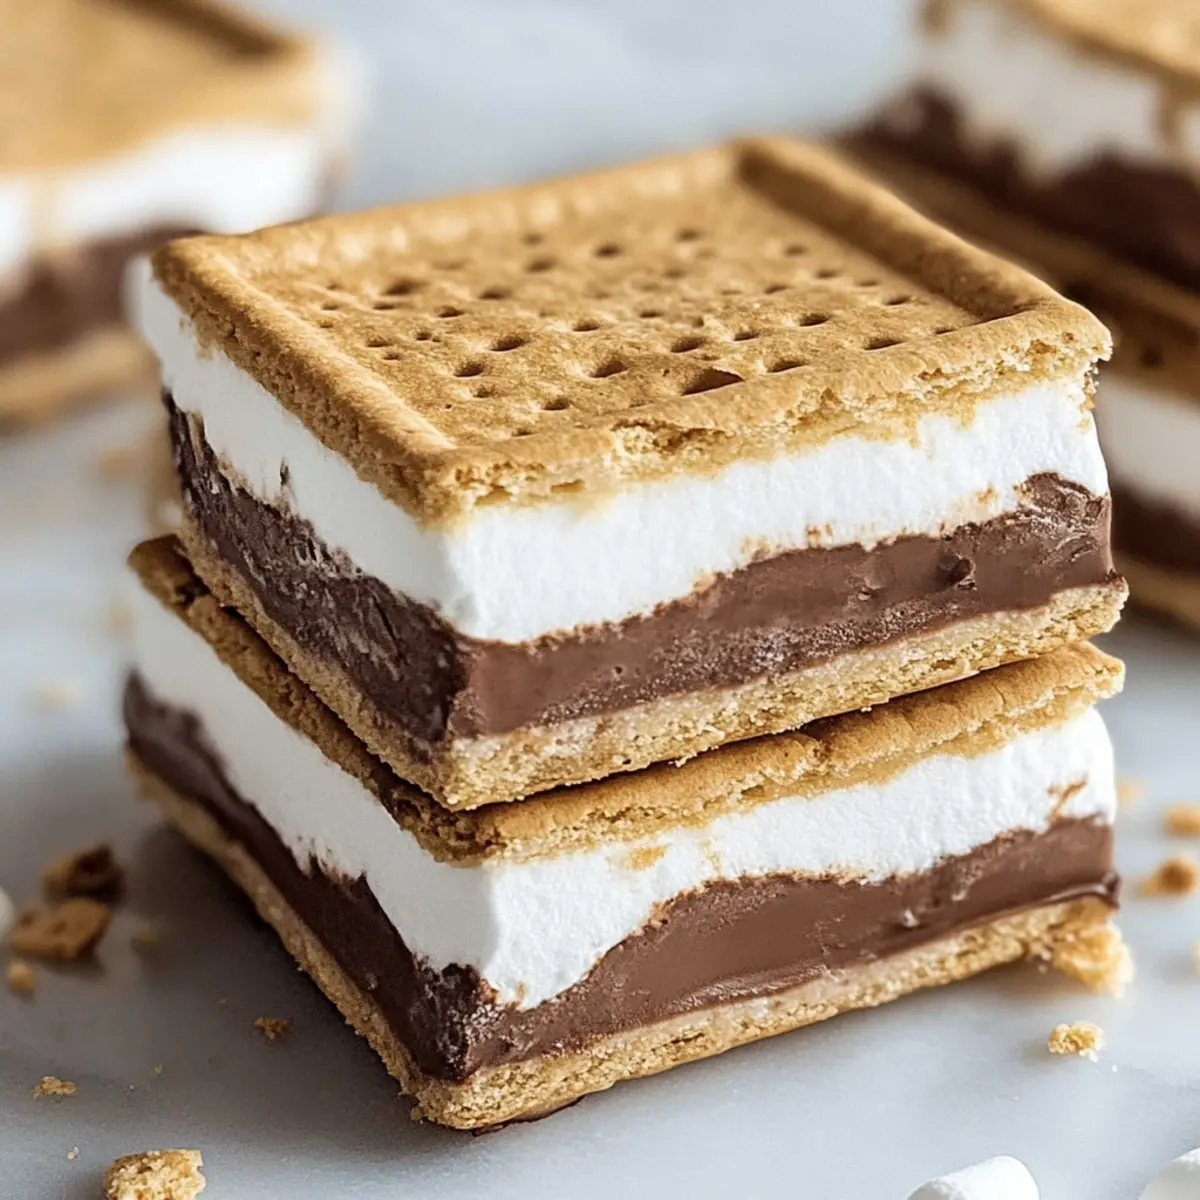
Gooey Frozen S’mores Sandwich
Ingredients
Equipment
Method
- In a medium bowl, whisk together the chocolate pudding mix and cold milk until smooth and velvety.
- Gently fold in the whipped topping into the prepared pudding mixture using a spatula.
- Arrange a single layer of graham crackers at the bottom of a rectangular baking dish.
- Spread the chocolate pudding and whipped topping mixture evenly over the graham cracker layer.
- Swirl mini marshmallows across the chocolate pudding layer, optionally toasting them for enhanced flavor.
- Top with a second layer of graham crackers, pressing them down gently for stability.
- Drizzle melted chocolate syrup over the top layer of graham crackers.
- Cover with plastic wrap and freeze for at least 4-6 hours to set.
- Remove from the freezer and let sit at room temperature for 5-10 minutes before slicing.
Leave a Reply