
As I pulled the warm, golden garlic knots from the oven, the intoxicating aroma filled my kitchen, transporting me back to those cozy family dinners where laughter mingled with the smell of freshly baked bread. These Quick Garlic Knots are a game-changer, taking just 27 minutes to prepare without any rising time, making them perfect for a spontaneous dinner or a last-minute gathering. Imagine soft, fluffy bites slathered in garlic butter, with an optional cheesy surprise melting in every knot. They’re not just quick; they’re a delightful addition to any meal, whether you’re pairing them with pasta or simply enjoying them on their own. Are you ready to roll your sleeves up and indulge in this homemade treat?
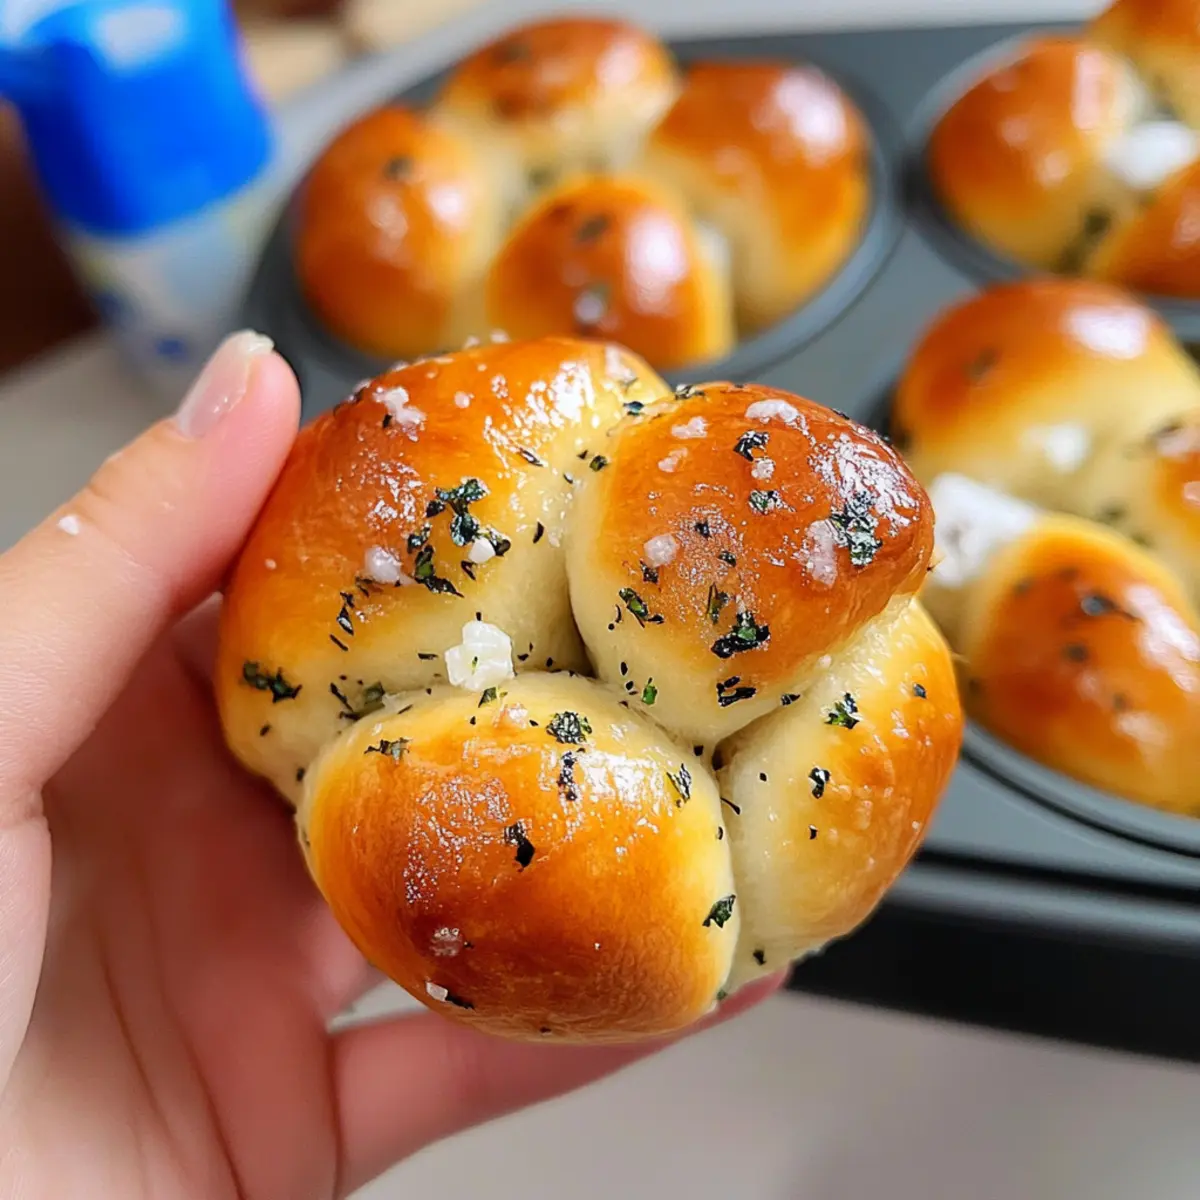
Why are these garlic knots so irresistible?
Fluffy Texture: These garlic knots are incredibly soft and maintain a delightful fluffiness that will have you reaching for seconds.
Time-Saving Delight: Ready in just 27 minutes, they’re perfect for spontaneous meals or unexpected guests.
Customizable Flavor: Whether you opt for cheesy garlic knots or add extra herbs, there’s a flavor for everyone. Try drizzling them with a bit of your favorite Garlic Parmesan Chicken sauce for a savory twist!
Crowd Pleaser: Your family and friends won’t be able to resist these buttery bites, making them a guaranteed hit at gatherings.
Simplicity Done Right: With no rising time and straightforward steps, whipping up these treats is easier than you think!
Garlic Knots Ingredients
Get ready to indulge in the magic of homemade garlic knots with these essential ingredients!
For the Dough
- Instant Yeast – Leavens the dough quickly; can substitute with active dry yeast but requires proofing first.
- Warm Water – Activates the yeast; ensure it’s between 105-115°F to avoid killing the yeast.
- Vegetable Oil – Adds moisture and tenderness; melted butter can be used as an alternative.
- Maple Syrup – Provides sweetness and enhances browning; plain sugar can also work.
- Eggs – One for the dough structure and one for a golden egg wash.
- All-Purpose Flour – Forms the dough base; adjust up to 3½ cups based on stickiness.
- Salt – Essential for flavor; don’t skip it!
For Baking
- Butter (for greasing muffin tin) – Prevents sticking, ensuring your knots come out perfectly.
Optional Add-ins
- Shredded Cheese – Adds extra meltiness and flavor at the bottom of the knots; mozzarella or cheddar works great.
- Fresh Diced Garlic – Rich, bold flavor; substitute with garlic powder in a pinch.
- Fresh Parsley (or dried) – Adds a fresh herby touch to the garlic butter.
For the Garlic Butter
- Melted Butter – A delicious base for the aromatic garlic sauce.
Step‑by‑Step Instructions for Garlic Knots
Step 1: Prepare the Dough
In a large bowl, combine 2 tablespoons of instant yeast with 1 cup of warm water—ensure the water is between 105-115°F to activate the yeast. Add in ⅓ cup of vegetable oil, 2 tablespoons of maple syrup, and 1 egg. Stir the mixture until smoothly combined, creating the base for your delicious garlic knots.
Step 2: Form the Dough
Gradually mix in 3 cups of all-purpose flour and 1 teaspoon of salt, stirring until a shaggy dough starts to form. Turn the dough out onto a lightly floured surface and knead for about 3-5 minutes until it becomes smooth and elastic. You’re now building the texture that will make these garlic knots irresistible!
Step 3: Prepare the Muffin Tin
Generously butter a 12-cup muffin tin to prevent sticking. For an added cheesy surprise, optionally place 2 teaspoons of shredded cheese, like mozzarella or cheddar, into the bottom of each muffin cup. This will provide a delightful melted layer beneath your garlic knots as they bake.
Step 4: Shape the Knots
Divide the dough into 12 equal pieces. Roll each piece into a rope about 8-10 inches long, then tie it into a knot, tucking the ends underneath. Place each knot into the prepared muffin tin, ensuring they’re nestled securely, ready to rise and bake into soft, fluffy garlic knots.
Step 5: Egg Wash and Rest
Brush each knot gently with a beaten egg wash for a beautiful golden finish once baked. Allow the knots to rest for about 5-10 minutes while you preheat the oven to 425°F, giving them a chance to puff up slightly and prepare for baking.
Step 6: Make the Garlic Butter
In a separate bowl, mix together melted butter with diced fresh garlic and chopped parsley. This aromatic garlic butter will be brushed over the garlic knots right after baking, infusing them with rich flavor that complements their soft texture beautifully.
Step 7: Bake the Knots
Once the oven has preheated, bake the knots for 10-12 minutes, until they are golden brown. Keep an eye on them as they bake; they should be puffed and lightly browned, filling your kitchen with an irresistible aroma before you take them out.
Step 8: Brush with Garlic Butter
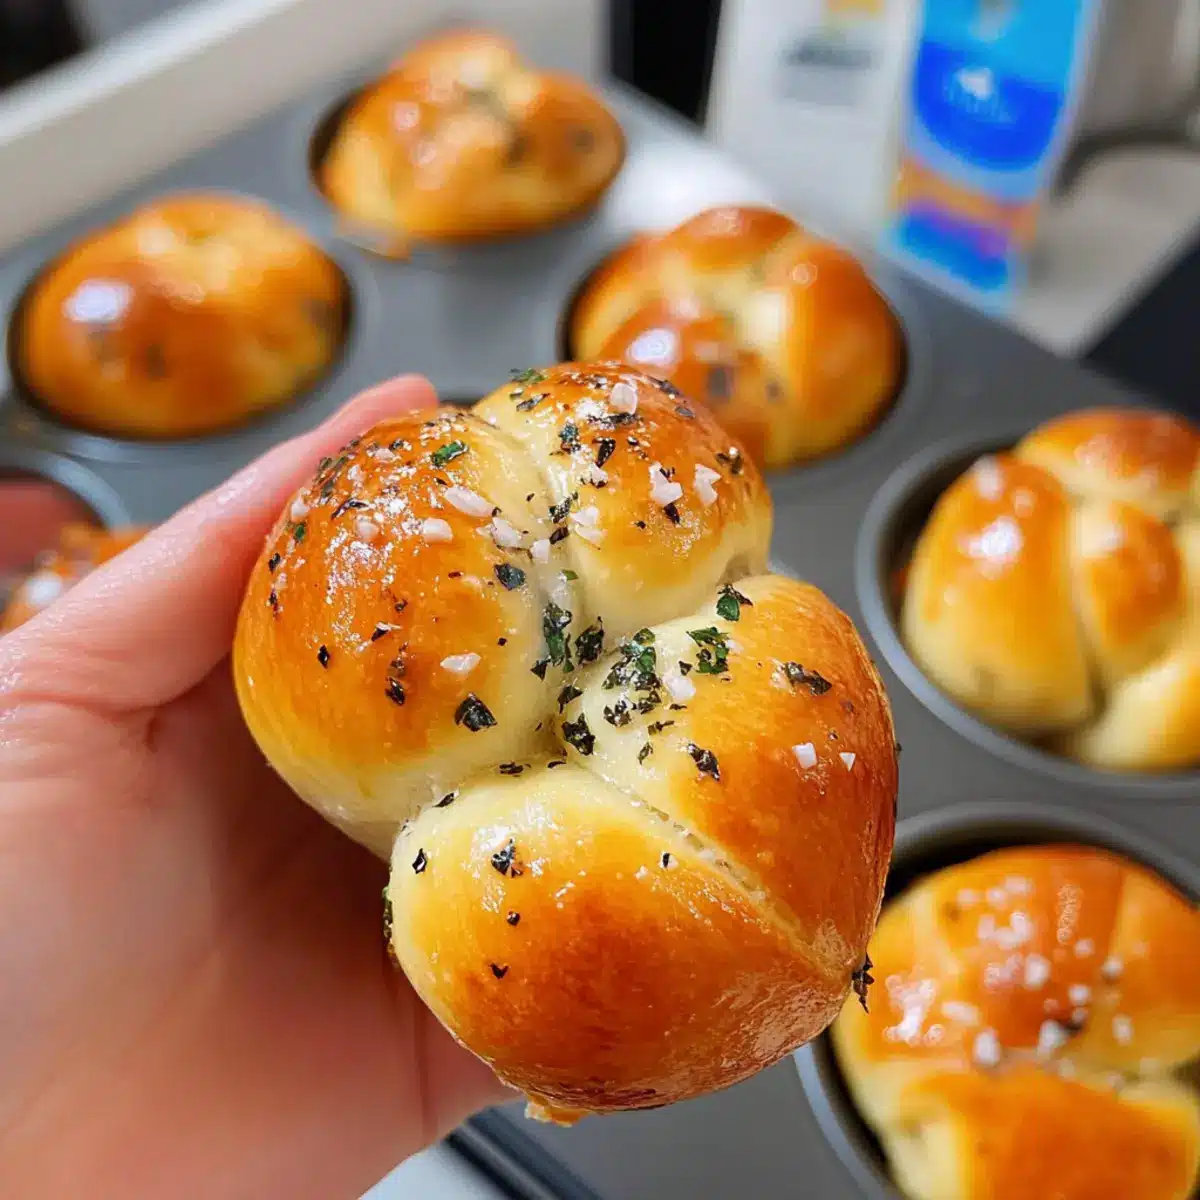
Remove the garlic knots from the oven and immediately brush them with the prepared garlic butter mixture. The melted butter will soak into the knots, creating a deliciously buttery exterior. Allow the knots to cool in the tin for 2-3 minutes before transferring them to a serving plate to enjoy warm.
Storage Tips for Garlic Knots
Room Temperature: Store leftover garlic knots in an airtight container at room temperature for up to 2 days to maintain their softness.
Fridge: Keep garlic knots in the fridge for up to 4 days. Wrap them tightly to prevent drying out and losing their delectable flavor.
Freezer: For longer storage, freeze garlic knots in a single layer on a baking sheet until firm, then transfer to an airtight container for up to 3 months.
Reheating: To enjoy your garlic knots again, reheat in a 350°F oven for about 10-15 minutes, ensuring they stay warm and delicious!
Make Ahead Options
These Quick Garlic Knots are perfect for meal prep enthusiasts looking to save time on busy weeknights! You can prepare the dough up to 24 hours in advance by mixing and shaping the knots, then placing them in the greased muffin tin. Cover tightly with plastic wrap and refrigerate. When you’re ready to bake, simply let them sit at room temperature for 30 minutes to take the chill off, brush with egg wash, and bake as directed. To maintain quality, avoid over-kneading and ensure the knots are well-buttered in the muffin tin. With these make-ahead steps, you can enjoy soft, buttery garlic knots without the last-minute rush!
Garlic Knots Variations & Substitutions
Feel free to get creative and customize these delicious garlic knots to suit your taste!
-
Cheesy Garlic Knots: Add grated Parmesan cheese directly into the dough before kneading for an extra cheesy flavor. Imagine that delightful cheesy pull with each bite!
-
Herby Garlic Knots: Mix in dried Italian seasoning or fresh rosemary for a fragrant twist. This addition will elevate the flavor profile beautifully, making every knot a burst of herby joy.
-
Spicy Garlic Knots: Incorporate red pepper flakes into the garlic butter for a spicy kick. This zest will tantalize your taste buds and provide a perfect contrast to the buttery knots.
-
Sweet Cinnamon Knots: Omit the garlic butter entirely and brush the knots with cinnamon-sugar butter for a sweet treat. It’s a fun way to transform the recipe into something dessert-like!
-
Everything Bagel Garlic Knots: After brushing with garlic butter, sprinkle with everything bagel seasoning for a unique flavor burst. These knots will be a hit at brunch or as a snack!
-
Vegan Garlic Knots: Substitute the egg with a flax egg and use a plant-based butter instead. Now, everyone can enjoy these scrumptious knots without missing out on flavor!
-
Gluten-Free Garlic Knots: Use a gluten-free all-purpose flour blend and ensure your baking powder is gluten-free. Everyone deserves to enjoy fluffy garlic knots!
-
Garlic-Infused Olive Oil: Instead of melted butter, use garlic-infused olive oil for a delightful twist. This variation enhances the garlic flavor without compromising on rich taste.
These variations will not only add delightful twists to your garlic knots but also keep things exciting in the kitchen! You might even want to try pairing them with a dipping sauce or drizzling over some of your favorite Garlic Parmesan Chicken sauce for added flavor.
Expert Tips for Garlic Knots
-
Butter the Tin Generously: Ensure to generously butter the muffin tin before placing the knots; this prevents sticking and ensures those golden, fluffy delicacies come out effortlessly.
-
Perfect Kneading: Don’t rush the kneading process; it’s essential for creating the gluten structure that gives your garlic knots their soft, chewable texture.
-
Mind the Cooling: Allow your garlic knots to cool for a couple of minutes in the tin before serving; cutting them too soon can lead to a gummy texture.
-
Use Warm Water: Make sure your warm water is at the correct temperature (105-115°F) to activate the instant yeast properly; too hot can kill it, while too cold can halt activation.
-
Adjust Flour Gradually: Add your all-purpose flour gradually until achieving a smooth, non-sticky dough; this will help ensure your garlic knots are light and fluffy, not dense.
-
Experiment with Flavors: Feel free to get creative with your garlic knots by experimenting with various cheeses or herbs; customization can elevate this dish from everyday to extraordinary!
What to Serve with 27-Minute Garlic Knots
With the aroma of freshly baked garlic knots wafting through your home, it’s impossible not to imagine the perfect companions that will complete your meal.
-
Creamy Tomato Soup: The rich, velvety texture and tangy flavors complement the garlic knots splendidly, creating a warm and comforting pairing. A dip in the soup makes every bite even more irresistible.
-
Caesar Salad: Crisp romaine and creamy dressing bring a refreshing crunch that balances the garlic butter richness, turning your meal into a delightful experience.
-
Marinara Sauce: This classic pairing is perfect for those who love a bit of zest. The tangy sauce not only adds flavor but also makes for a fun, interactive side.
-
Pasta Primavera: A medley of fresh vegetables and pasta tossed in olive oil or a light sauce creates vibrant colors and flavors that harmonize beautifully.
-
Garlic Butter Shrimp: If you can’t get enough of garlic, this dish enhances the flavors even further. The succulent shrimp and garlic knots form a dreamy duo.
-
Mixed Vegetable Stir-Fry: A hint of sweetness from the veggies offers a lovely contrast to the savory knots. The colorful mix adds both nutrition and visual appeal to your meal.
-
Wine Pairing: A crisp Sauvignon Blanc cuts through the buttery richness, enhancing your dining experience with its refreshing acidity.
-
Chocolate Lava Cake: End your meal on a sweet note; the gooey center and rich chocolate flavor provide a delightful contrast to the garlicky knots, making it a match made in heaven.
Quick Garlic Knots Recipe FAQs
How should I select my ingredients for the garlic knots?
Absolutely! For the best flavor, choose fresh ingredients. Look for instant yeast that is not expired; it should smell slightly yeasty when opened. The warm water must be between 105-115°F—use a thermometer for accuracy. You want your garlic fresh and aromatic, and for the butter, choose unsalted for better control over the saltiness in your knots!
How should I store leftover garlic knots?
Your garlic knots can be stored at room temperature in an airtight container for up to 2 days. If keeping them longer, pop them in the fridge where they’ll last up to 4 days. For optimal freshness, embrace the freezer! Wrap them tightly and store in an airtight container for up to 3 months. Just remember, to reheat, place them in a 350°F oven for 10-15 minutes!
Can I freeze the garlic knots?
Certainly! To freeze your garlic knots, first let them cool completely. Next, arrange them in a single layer on a baking sheet and freeze until solid. Once frozen, transfer them into an airtight container or freezer bag, storing them for up to 3 months. To reheat, preheat your oven to 350°F and bake them for 10-15 minutes until warmed through. They’ll taste just as delightful!
What if my knots turn out dense instead of fluffy?
It happens! If your garlic knots are dense, it could be that the dough was over-kneaded or not enough warm water was used to activate the yeast properly. Always allow the dough to rest for a few minutes before shaping; this helps develop the gluten without too much elasticity. If you’re using active dry yeast instead of instant, remember to proof it before adding—this helps ensure fluffy results!
Are there any dietary considerations for the garlic knots?
Very important! If you’re concerned about gluten, consider using a gluten-free flour blend to replace the all-purpose flour (check for suitable substitutions). For dairy-free versions, simply omit the melted butter and cheese or use plant-based alternatives. If you’re cooking for pets, the garlic can be harmful to dogs, so be cautious and keep these delicious treats out of their reach!
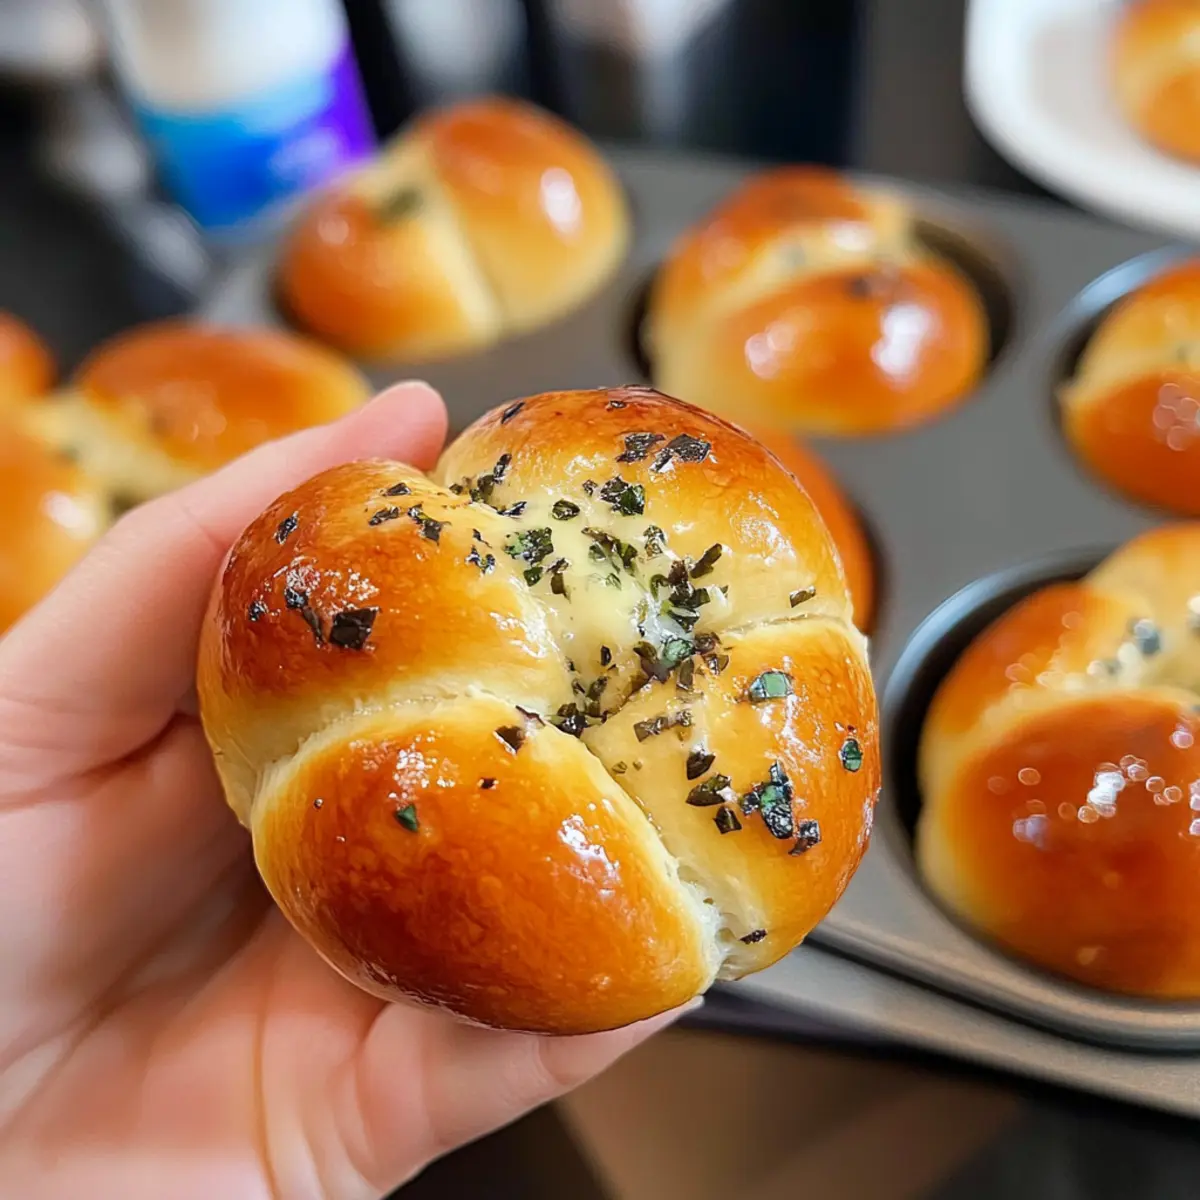
Garlic Knots That Melt in Your Mouth in Just 27 Minutes
Ingredients
Equipment
Method
- In a large bowl, combine 2 tablespoons of instant yeast with 1 cup of warm water. Add in ⅓ cup of vegetable oil, 2 tablespoons of maple syrup, and 1 egg.
- Gradually mix in 3 cups of all-purpose flour and 1 teaspoon of salt, stirring until a shaggy dough starts to form.
- Generously butter a 12-cup muffin tin. Optionally place 2 teaspoons of shredded cheese into the bottom of each muffin cup.
- Divide the dough into 12 equal pieces. Roll each piece into a rope about 8-10 inches long, then tie it into a knot.
- Brush each knot gently with a beaten egg wash. Allow the knots to rest for about 5-10 minutes while you preheat the oven to 425°F.
- In a separate bowl, mix together melted butter with diced fresh garlic and chopped parsley.
- Bake the knots for 10-12 minutes, until they are golden brown.
- Remove the garlic knots from the oven and immediately brush them with the prepared garlic butter mixture.
Leave a Reply