
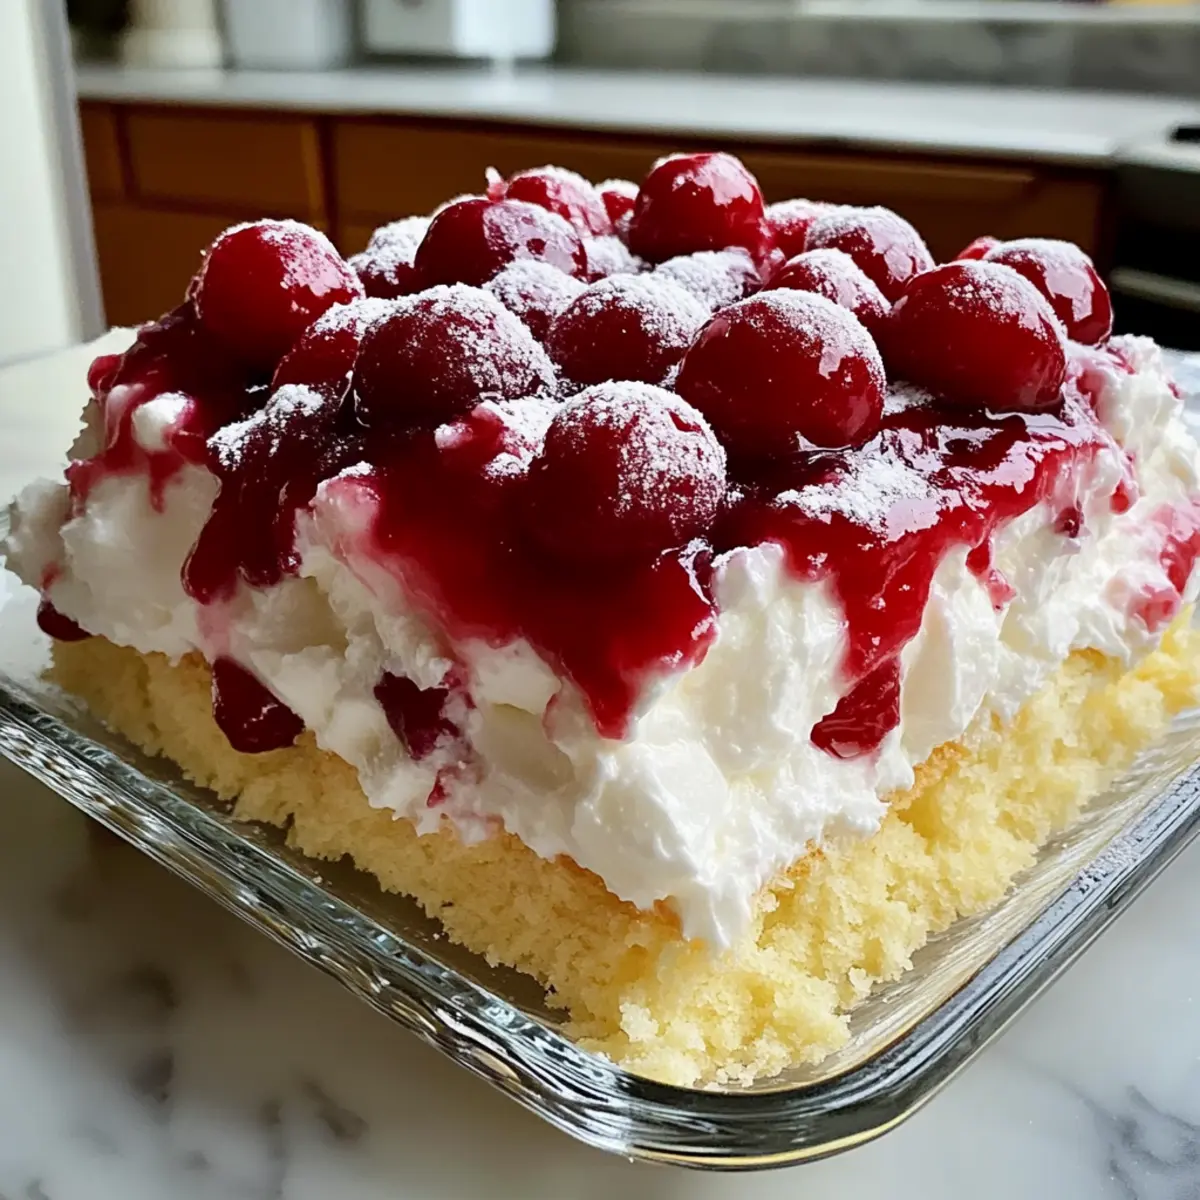
As I stood in my kitchen one sunny afternoon, the vibrant colors of cherries caught my eye, sparking an idea for a treat that would be the star of any gathering: my Divine Layered Cherry Dream. This no-bake dessert harmonizes the airy texture of angel food cake with creamy vanilla pudding and a luscious cherry pie filling, making it not only visually stunning but also a delight to share. Whether you’re hosting a backyard barbecue or attending a potluck, this dessert is a guaranteed crowd-pleaser that comes together in a breeze. Plus, the layers of fluffy goodness and fruity brightness create a perfect balance that will leave everyone craving more. Ready to whip up this heavenly delight? Let’s dive into how to create this incredibly special dessert that’s sure to impress!
Why is This Cake a Must-Try?
Light, Refreshing Flavor: The airy angel food cake paired with creamy vanilla pudding creates a delightful contrast that dances on your palate.
No-Bake Simplicity: This dessert comes together effortlessly, making it a perfect choice for busy days or last-minute gatherings.
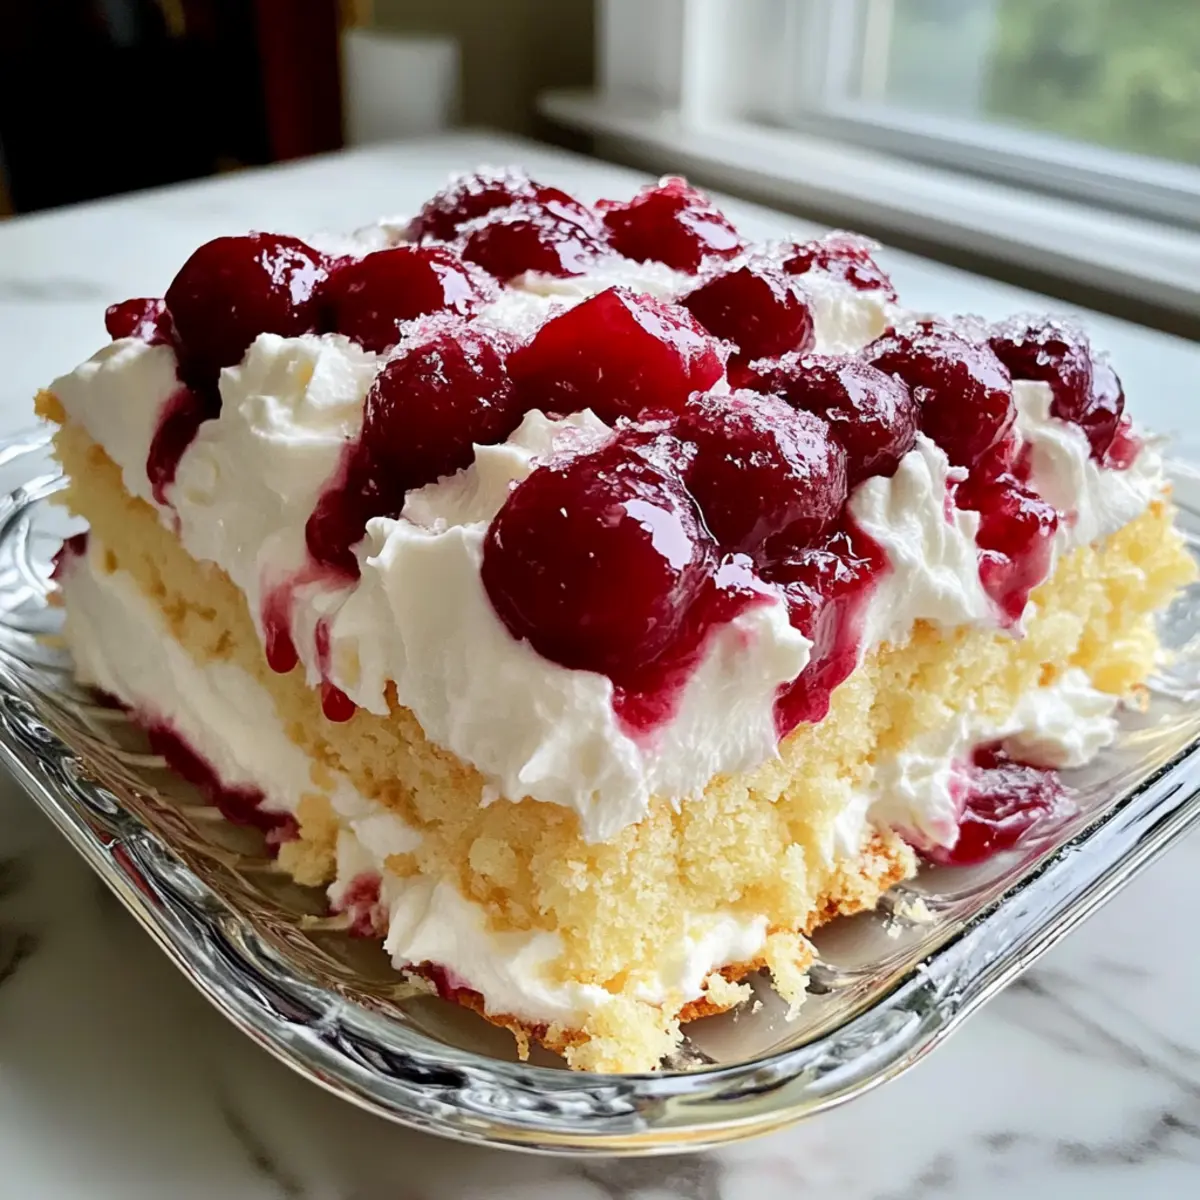
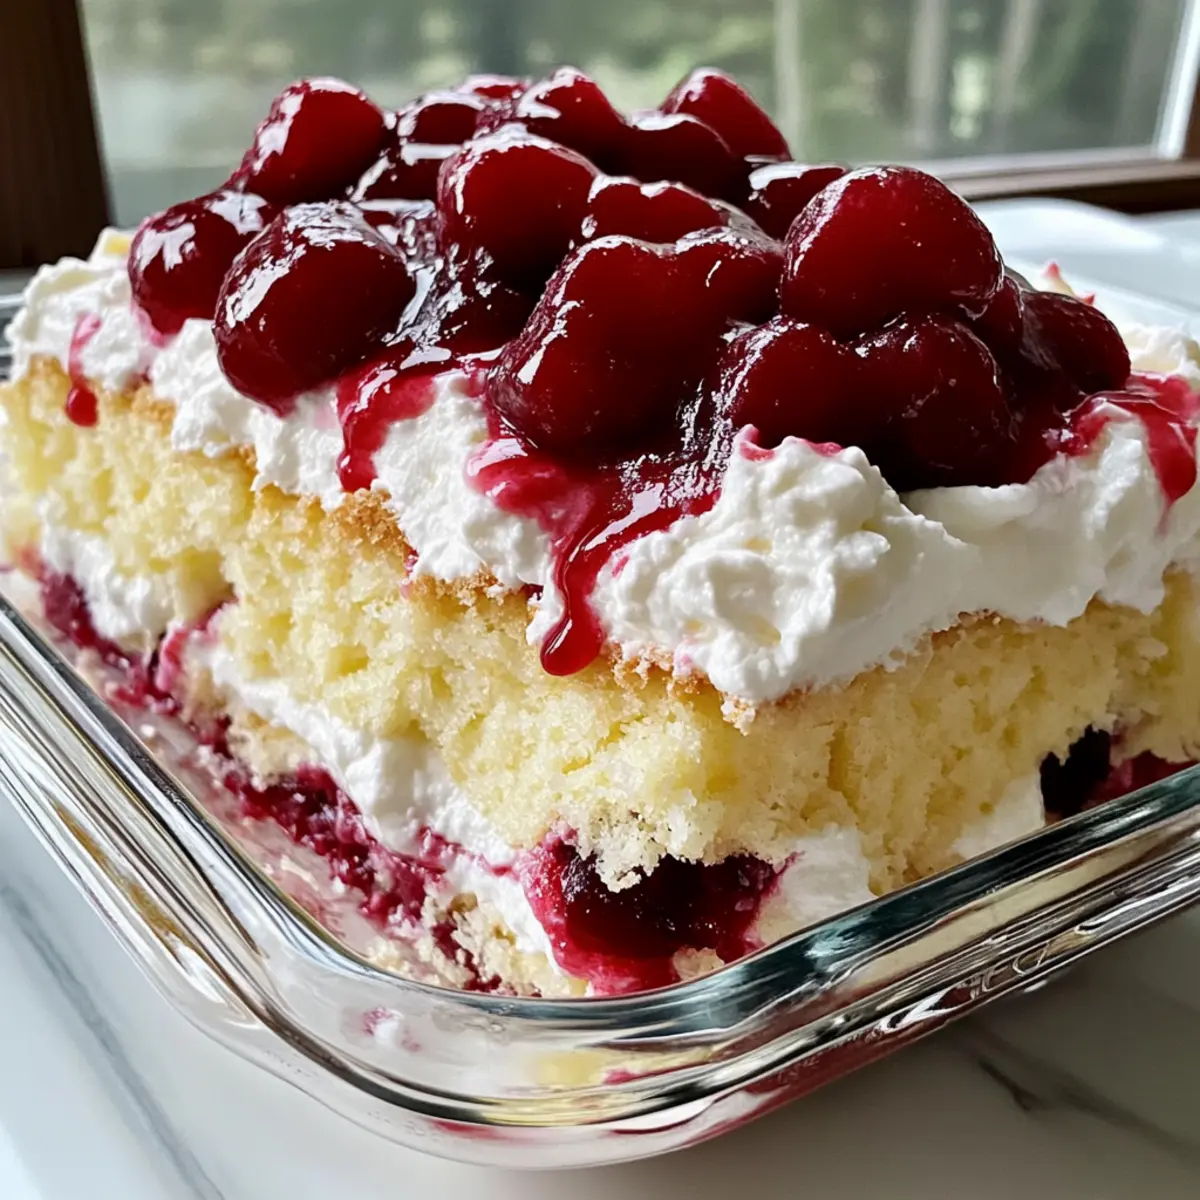
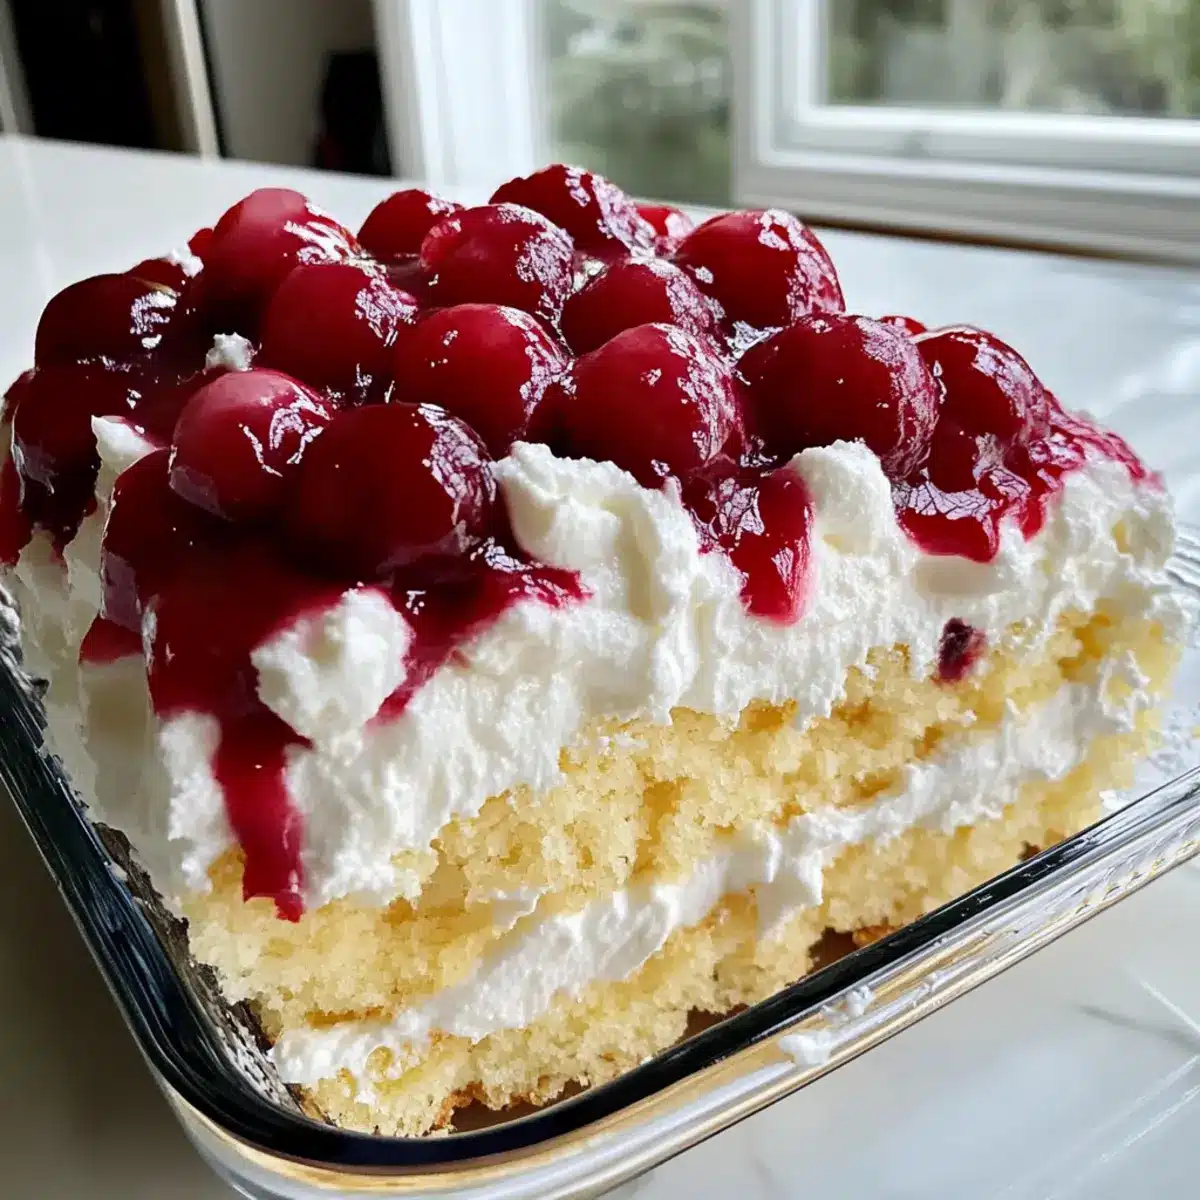
Visually Stunning: Layers of vivid cherries and whipped topping make it a showstopper at any event, ensuring you’ll be the star of the potluck!
Adaptable to Your Taste: Feel free to swap the cherry pie filling for other fruits like blueberries or strawberries for a personal twist, just like with my Decadent Chocolate Peanut dessert.
Time-Saving Delight: With minimal prep and no baking, you can spend more time enjoying the company over rich BBQ fare or creamy pasta.
Crowd Appeal: This treat is perfect for all ages, allowing everyone to indulge in something sweet without the fuss!
Divine Layered Cherry Dream Ingredients
For the Cake Base
- Angel Food Cake – Use a 10-inch cake torn into 1-inch cubes for optimal pudding absorption and a fluffy texture.
For the Pudding Layer
- Instant Vanilla Pudding Mix – This creamy layer acts as the dessert’s “glue” and saves time with its instant preparation.
- Cold Whole Milk – Ensures a rich pudding consistency; using skim milk may yield a thinner texture.
- Sour Cream – Adds a hint of tanginess and helps thicken the pudding; Greek yogurt makes a great healthier substitute.
For the Cherry Layer
- Cherry Pie Filling – Provides the essential fruity layer with vibrant color and flavor; this is a must for the Divine Layered Cherry Dream!
For the Topping
- Whipped Topping – Creates a light, fluffy finish on the cake; opt for stabilized whipped cream for the best results.
- Toasted Slivered Almonds – Adds delightful crunch and elevates the presentation with a nice contrast in texture.
Step‑by‑Step Instructions for Divine Layered Cherry Dream
Step 1: Prepare the Cake Base
Start by tearing the angel food cake into 1-inch cubes and arrange half of them in a 9×13 inch glass dish. Gently press the cake down to create an even base, allowing it to absorb the flavors of the subsequent layers. This step is crucial for achieving the heavenly texture of your Divine Layered Cherry Dream.
Step 2: Layer the Cherries
Spoon half of the cherry pie filling evenly over the layer of angel food cake cubes, ensuring each piece is delightfully coated. The glossy cherries add a beautiful, vibrant color to your dessert while enhancing the sweetness. Be generous but careful to maintain a nice layer of cake underneath.
Step 3: Prepare the Pudding Layer
In a mixing bowl, whisk together the instant vanilla pudding mix, cold whole milk, and sour cream until the mixture thickens, which should take about 2 minutes. The mixture will become creamy and smooth, properly binding the cake and cherries together. Pour this velvety pudding layer over the cherries, ensuring even coverage.
Step 4: Add More Cake
Layer the remaining angel food cake cubes atop the pudding, creating a delightful, fluffy layer. Gently press down to help this layer adhere to the pudding beneath it. This structure is essential for your Divine Layered Cherry Dream, as it will support the toppings and ensure every bite has a blend of flavors.
Step 5: Top with Whipped Topping
Spread the whipped topping evenly over the cake layer, creating a light and airy finish. Use a spatula to smooth the surface and give it a lovely appearance. Then, dollop the remaining cherry pie filling on top and gently swirl it with a knife for a beautiful marbled effect that enhances the visual appeal.
Step 6: Final Touches and Chill
Sprinkle toasted slivered almonds on top to add a delightful crunch and extra texture to your Divine Layered Cherry Dream. Cover the dish with plastic wrap and refrigerate for at least 4 hours, allowing the flavors to meld and the cake to become beautifully soft. This chilling time is crucial for delivering a refreshing dessert.
Divine Layered Cherry Dream Variations
Feel free to explore your culinary creativity and make this dessert your own!
-
Berry Blast: Swap cherry pie filling with blueberry, strawberry, or raspberry for a vibrant twist that your guests will love.
-
Chocolate Lovers: Drizzle chocolate syrup over the whipped topping or add chocolate shavings for a rich, decadent flavor complement.
-
Nutty Twist: Use pecans or walnuts instead of almonds for an entirely new texture and flavor experience. Toast them for added depth!
-
Zesty Citrus: Mix in citrus zest—like lemon or orange—into the vanilla pudding for a refreshing, zesty kick that brightens each bite.
-
Lighter Layers: Make a lighter version by substituting Greek yogurt for sour cream and using reduced-fat whipped topping. You’ll enjoy the same creamy texture with fewer calories!
-
Spiced Dream: Add a sprinkle of cinnamon or nutmeg to the pudding mix to warm up the flavor and create a cozy vibe that’s perfect for fall.
-
Homemade Goodness: For a homemade touch, bake your angel food cake from scratch instead of using the store-bought version—it elevates the experience.
-
Heat It Up: Ready for a spicy adventure? Mix a pinch of cayenne pepper into the cherry filling for an unexpected kick that dazzles the taste buds.
With these variations, you’re sure to keep things exciting! And if you’re looking for more dessert inspiration, check out my Decadent Chocolate Peanut dessert for a chocolatey conclusion to any meal. Let your creativity shine!
Storage Tips for Divine Layered Cherry Dream
Fridge: Store covered with plastic wrap in the refrigerator for up to 3-4 days to maintain freshness and prevent drying out.
Freezer: Avoid freezing this dessert, as it can negatively impact the texture of the pudding layer and angel food cake, leading to an undesirable consistency.
Reheating: This no-bake dessert is best served cold; simply keep it in the fridge until ready to serve for optimal enjoyment.
Expert Tips for Divine Layered Cherry Dream
• Tear, Don’t Cut: When preparing the angel food cake, tear it into cubes instead of cutting to maximize moisture absorption for a delightful texture.
• Smooth Pudding: Make sure to whisk the pudding until completely smooth to avoid lumps. This ensures a beautiful, creamy layer in your Divine Layered Cherry Dream.
• Chill Time Matters: Let your dessert chill for a minimum of 4 hours. This crucial step helps flavors meld and the cake softens for that heavenly texture.
• Layer Generously: When adding the cherry pie filling, be generous but don’t overwhelm the cake layers. Each bite should have a harmonious balance of cake and cherries.
• Use Stabilized Whipped Cream: For best results, opt for stabilized whipped cream as it holds its shape better and adds a lovely texture to the topping.
• Toast Your Almonds: Don’t skip toasting the almonds! It transforms their flavor and adds a delightful crunch that elevates the overall experience of this dessert.
Make Ahead Options
These Divine Layered Cherry Dream desserts are perfect for meal prep enthusiasts! You can prepare the angel food cake and the pudding layer up to 24 hours in advance without sacrificing flavor or texture. Simply tear the cake and store it in an airtight container at room temperature, while the pudding mixture can be refrigerated until you’re ready to assemble. To maintain quality, keep the cherry pie filling separate until assembly, as it adds moisture that can make the cake soggy. When it’s time to serve, layer everything together, add the whipped topping, and sprinkle with toasted almonds for that delightful finishing touch. Enjoy a stunning dessert with minimal last-minute effort!
What to Serve with Heavenly No-Bake Cherry Layer Cake
Elevate your dessert experience by pairing this dreamy treat with delightful accompaniments that enhance its deliciousness.
-
Creamy Vanilla Ice Cream: The rich creaminess contrasts perfectly with the fruitiness of the cake, creating a delightful taste experience. Scoop generously on the side to ensure everyone can indulge.
-
Fresh Berry Salad: A medley of strawberries, blueberries, and raspberries introduces a pop of freshness and acidity that complements the sweet layers beautifully. Toss with a hint of mint for extra flavor!
-
Toasty Almond Biscotti: The crunchy texture offers a satisfying contrast with the cake’s smooth layers, making it a perfect nibble to enjoy alongside your slice. Dip it in coffee or tea for a complete treat.
-
Mint-Infused Lemonade: This refreshing drink cuts through the sweetness and pairs exceptionally well with the dessert. The zing of lemon paired with fresh mint is revitalizing, making your gatherings more enjoyable.
-
Chocolate Drizzle: A simple drizzle of melted chocolate on top adds decadence and an extra layer of flavor. It invites a rich contrast to the light cherry cake while creating an eye-catching presentation.
-
Whipped Cream Topping: For those who love an extra indulgence, serve with additional whipped cream to make each bite even creamier. It enhances the already light and fluffy texture of the dessert.
Let your gatherings shine with these delightful pairings that enhance the experience of your Heavenly No-Bake Cherry Layer Cake!
Divine Layered Cherry Dream Recipe FAQs
What type of angel food cake should I use?
I recommend using a 10-inch angel food cake, as it provides the ideal texture for this dessert. Torn into 1-inch cubes, it maximizes moisture absorption, resulting in a delightful final product. Freshly baked cakes are perfect, but store-bought works well too!
How long can I store the Divine Layered Cherry Dream in the fridge?
Your cake can be stored tightly covered with plastic wrap in the refrigerator for up to 3-4 days. This keeps it fresh while allowing the flavors to meld. Just be sure to consume it within this timeframe for the best taste!
Can I freeze this dessert?
It’s best to avoid freezing the Divine Layered Cherry Dream. Freezing can negatively affect the texture of the pudding layer and angel food cake, leaving it with an unpleasant consistency when thawed. Instead, make it fresh and enjoy its fluffy delight!
What if my pudding layer is lumpy?
If you notice lumps in your pudding layer, don’t panic! Simply whisk it more vigorously to smooth it out. If it’s still stubborn, you can pass it through a fine mesh sieve to remove any lumps completely. A smooth pudding ensures that every bite of your dessert remains creamy and pleasant.
Are there any allergens in this recipe?
Yes, this recipe contains allergens such as wheat (from the cake), dairy (in the pudding and whipped topping), and nuts (if you choose to include almonds). If you’re catering to someone with allergies, feel free to substitute with gluten-free cake options, dairy-free pudding mix, or omit the nuts for a nut-free version. Always check your ingredient labels to ensure safety!
Divine Layered Cherry Dream: A No-Bake Delight for Everyone
Ingredients
Equipment
Method
- Tear the angel food cake into 1-inch cubes and arrange half in a glass dish, gently pressing down to create an even base.
- Spoon half of the cherry pie filling evenly over the cake cubes.
- Whisk together the instant pudding mix, cold milk, and sour cream in a mixing bowl until thickened. Pour this over the cherries.
- Layer the remaining angel food cake cubes atop the pudding, gently pressing down.
- Spread whipped topping evenly over the cake layer, then dollop with cherry pie filling and swirl for a marbled effect.
- Sprinkle toasted slivered almonds on top, cover with plastic wrap and refrigerate for at least 4 hours.
Leave a Reply