
The smell of golden, cheesy goodness wafts through the kitchen like a warm hug, and you can’t help but feel a rush of excitement. When I created these Crispy Cheesy Zucchini Breadsticks, my goal was to give a healthier twist to our favorite snack while keeping all the comfort and nostalgia intact. Not only are they shockingly easy to whip up, making them perfect for busy weeknights, but they’re also a fantastic way to sneak in more veggies without sacrificing flavor. Ideal for dipping into marinara sauce or simply enjoying on their own, these breadsticks are bound to impress your friends and family—and even yourself! Curious about how to make this delightful snack and elevate your homemade cooking game? Let’s dive in!
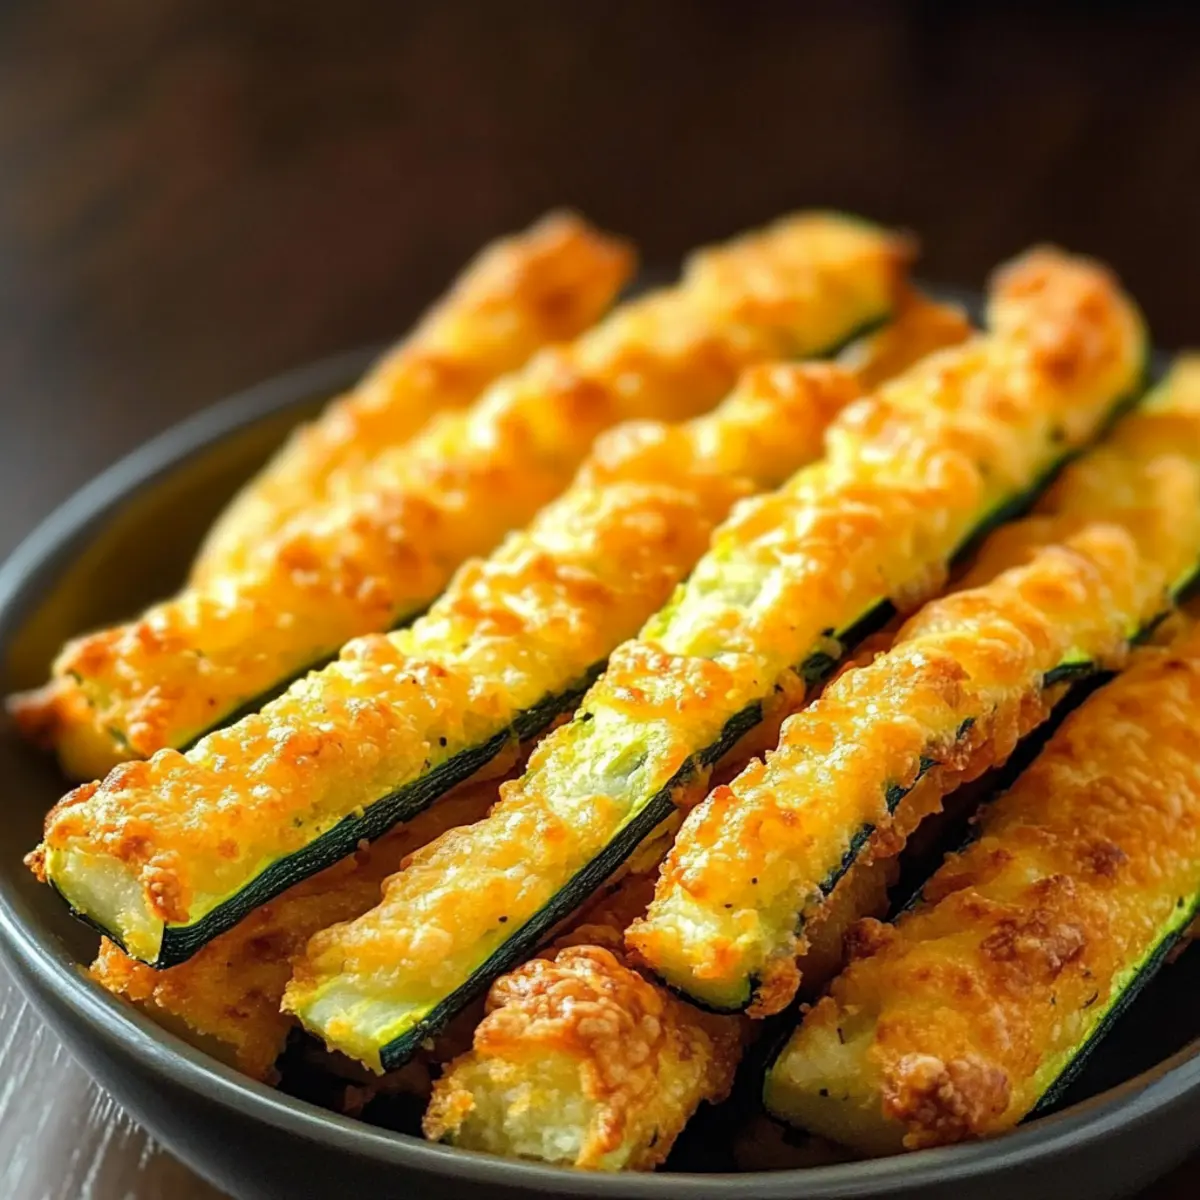
Why Are These Breadsticks So Irresistible?
Crispy Texture: These breadsticks boast a perfectly crunchy exterior, ensuring each bite is satisfying.
Cheesy Goodness: The generous melt of cheese oozes flavor, bringing nostalgia of classic cheesy snacks.
Easy to Prepare: With minimal effort, you can whip up a batch that’s ready in under 30 minutes!
Versatile Dipping: Pair them with marinara sauce or try them alongside your favorite sauces for added fun.
Healthy Twist: Sneak in those veggies and enjoy a lighter version of traditional snacks without missing out on taste! If you love cheesy indulgence, you might also enjoy Bang Bang Salmon for a delicious combo at your next gathering.
Crispy Cheesy Zucchini Breadsticks Ingredients
Note: Get ready to indulge in homemade goodness with these crispy cheesy zucchini breadsticks that wow your tastebuds!
For the Breadsticks
• Zucchini – Provides moisture and texture; remember to squeeze out excess moisture to keep them crispy.
• Cheese (e.g., mozzarella) – Adds a delightful creaminess; feel free to use your favorite cheese for a personal twist.
• Flour – Gives structure to the breadsticks; gluten-free flour works wonderfully for those looking for a low-carb option.
• Egg – Binds everything together; you can substitute with flaxseed meal mixed with water for a vegan alternative.
• Seasonings (e.g., garlic powder, Italian herbs) – Enhance the flavor profile; don’t hesitate to customize to suit your taste preference.
Step‑by‑Step Instructions for Crispy Cheesy Zucchini Breadsticks
Step 1: Prepare the Zucchini
Start by grating 2 medium zucchinis using a box grater. Once grated, transfer the zucchini into a clean kitchen towel or cheesecloth and twist it to squeeze out the excess moisture. This crucial step ensures your Crispy Cheesy Zucchini Breadsticks won’t turn out soggy, allowing them to achieve that delightful crunch when baked.
Step 2: Mix Ingredients
In a large mixing bowl, combine the squeezed zucchini with 1 cup of shredded cheese, 1/2 cup of flour, 1 beaten egg, and your seasonings of choice, such as garlic powder and Italian herbs. Mix until everything is well incorporated, and the mixture holds together. This flavorful blend is the foundation of your cheesy breadsticks, so give it a good stir!
Step 3: Shape the Dough
Preheat your oven to 375°F (190°C) and line a baking sheet with parchment paper. Using your hands, scoop out portions of the mixture and shape them into breadsticks—about 1/2 inch thick and 4-5 inches long. Place them evenly spaced on the prepared baking sheet, ensuring they’re not overcrowded to allow for even cooking and crispiness.
Step 4: Bake
Slide the baking sheet into the preheated oven and bake your Crispy Cheesy Zucchini Breadsticks for 10-12 minutes or until they are golden brown and the edges are crispy. Keep an eye on them as baking times may vary, looking for a deliciously browning appearance that indicates they’re ready to be taken out.
Step 5: Cool and Serve
Once baked, remove the breadsticks from the oven and let them cool for about 5 minutes on the baking sheet. This short resting time allows the cheese to set slightly. Serve warm with a side of marinara sauce for dipping or enjoy them straight from the tray. Dive into the melt-in-your-mouth cheesy goodness of these Crispy Cheesy Zucchini Breadsticks!
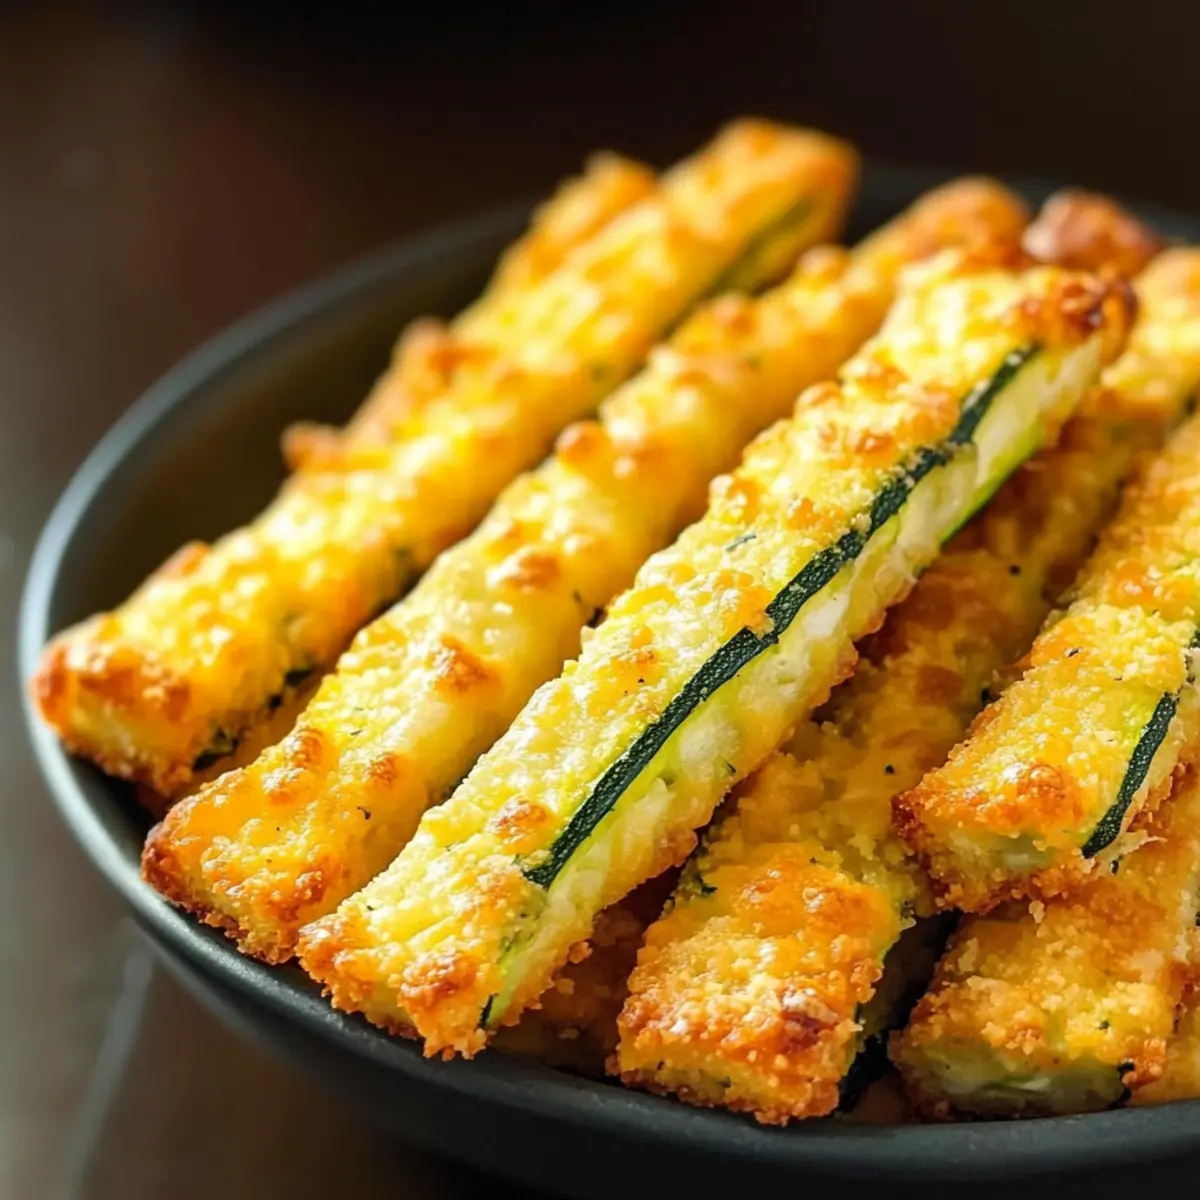
Make Ahead Options
These Crispy Cheesy Zucchini Breadsticks are perfect for meal prep, saving you valuable time on busy weeknights! You can prepare the dough up to 24 hours in advance and store it in an airtight container in the refrigerator; this allows the flavors to meld beautifully. Before serving, simply shape the stored mixture into breadsticks and bake them as directed. If you want to enjoy them later, consider baking the breadsticks ahead of time; they can be stored in the fridge for up to 3 days or frozen for 2 months. Just reheat them in a 350°F (175°C) oven for about 10-15 minutes before serving to keep them crispy and delicious!
Expert Tips for Crispy Cheesy Zucchini Breadsticks
• Squeeze Properly: Ensure to thoroughly squeeze out the moisture from zucchini to avoid soggy breadsticks; this is crucial for the crispy texture.
• Use Parchment Paper: Line your baking sheet with parchment paper to prevent sticking and to aid in achieving golden, crispy edges on your breadsticks.
• Experiment with Cheese: Try different types of cheese like cheddar or pepper jack for a unique flavor twist while still enjoying those delicious Crispy Cheesy Zucchini Breadsticks.
• Don’t Overcrowd: Space the shaped breadsticks evenly on the baking sheet; this allows hot air to circulate, ensuring each one is baked to perfection.
• Keep an Eye on Baking: Ovens can vary. Check your breadsticks as they bake and adjust the time as needed to achieve the ideal crispy golden brown finish.
How to Store and Freeze Crispy Cheesy Zucchini Breadsticks
Fridge: Store leftovers in an airtight container for up to 3 days. Be sure to let them cool completely before sealing to maintain their crunch.
Freezer: Baked breadsticks can be frozen for up to 2 months. Arrange them in a single layer on a baking sheet before freezing, then transfer to a zip-top bag.
Reheating: To enjoy your Crispy Cheesy Zucchini Breadsticks again, preheat your oven to 350°F (175°C) and reheat for 10-15 minutes until warm and crispy.
Make-Ahead: Prepare the dough up to 24 hours in advance and store it in the fridge. Bake when you’re ready for a fresh, cheesy snack!
What to Serve with Crispy Cheesy Zucchini Breadsticks
The delightful crunch and cheesy flavor of these breadsticks make them perfect for pairing with a variety of dishes that elevate your dining experience.
- Marinara Sauce: A classic choice for dipping, its rich tomato flavor perfectly complements the cheesy goodness.
- Garlic Aioli: Creamy and zesty, this dip adds a gourmet touch that enhances each crunchy bite.
- Caesar Salad: Crisp greens with a tangy dressing create a refreshing contrast to the warm, cheesy breadsticks.
- Roasted Vegetables: A medley of roasted seasonal veggies adds earthiness and nutritional balance to your meal.
- Italian Wedding Soup: The heartiness of this soup pairs wonderfully, making for a comforting and satisfying meal.
For a perfect combination, enjoy these breadsticks as an appetizer before diving into a savory dinner or as a fun snack alongside your favorite movie.
- Sparkling Water or Lemonade: A bubbly drink cleanses the palate and adds a refreshing flair, enhancing your culinary experience.
Crispy Cheesy Zucchini Breadsticks Variations
Feel free to get creative and tailor these breadsticks to suit your taste buds!
-
Yellow Squash: Swap zucchini for yellow squash for a brighter flavor and a stunning presentation.
-
Cheese Variety: Experiment with different cheeses, such as cheddar, pepper jack, or feta, for unique flavor twists. The wonderful versatility of cheese can transform the whole dish!
-
Gluten-Free: Use almond flour or a gluten-free flour blend to create a delicious gluten-free version without compromising on texture.
-
Herb Infusion: Add fresh herbs, like basil or parsley, into the mix for an aromatic kick that will elevate your crispy breadsticks.
-
Spicy Kick: Incorporate red pepper flakes or a dash of cayenne pepper for an added heat that tantalizes your palate. Feel free to adjust the spice levels to your liking!
-
Cheesy Marinara: Mix in a tablespoon of parmesan cheese to the dough for an extra cheesy flavor. Pair it with marinara sauce for dipping, just like a pizzeria classic!
For more cheesy inspiration, check out my Cheesy Beef Enchilada recipe that’s perfect for a cozy evening or my Cheesy Steak Rice dish that pairs well with these delightful breadsticks. Enjoy exploring your options!
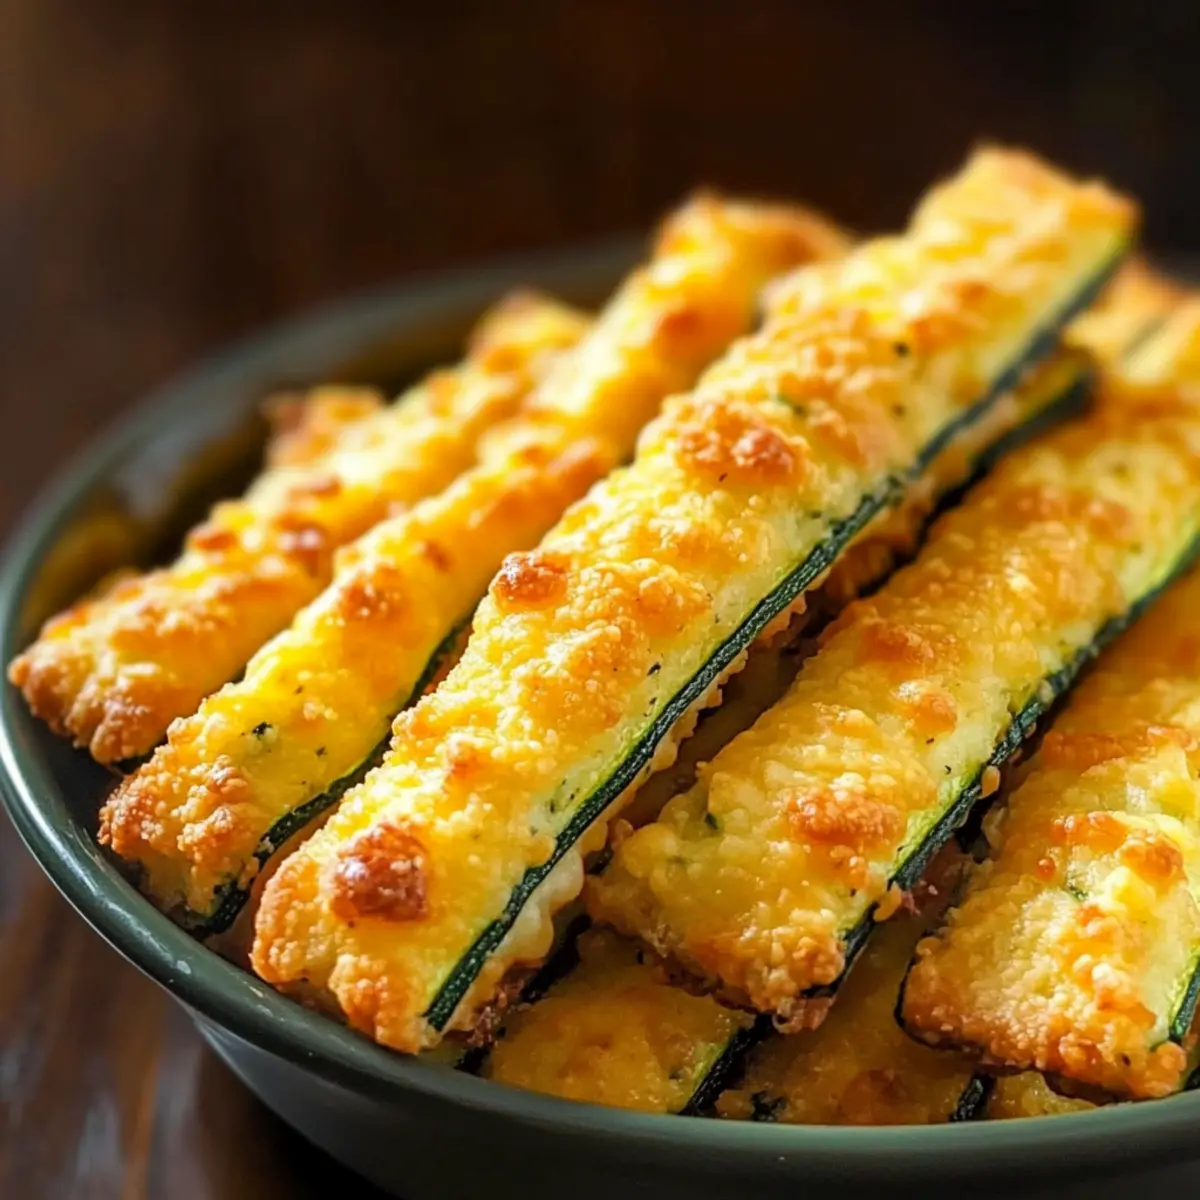
Crispy Cheesy Zucchini Breadsticks Recipe FAQs
How do I pick the best zucchini for this recipe?
When selecting zucchini, look for firm, unblemished ones that are shiny and have a vibrant green color. Avoid any that have dark spots or are overly soft, as they may contain excess moisture, which can lead to soggy breadsticks.
How should I store leftover Crispy Cheesy Zucchini Breadsticks?
Store your leftover breadsticks in an airtight container in the fridge for up to 3 days. Make sure they are completely cooled before sealing to maintain their crispy texture. When you’re ready to enjoy them again, simply reheat them in the oven for the best results!
Can I freeze Crispy Cheesy Zucchini Breadsticks, and if so, how?
Absolutely! To freeze, arrange the baked breadsticks in a single layer on a baking sheet and freeze them for about 1-2 hours until solid. After that, transfer them to a zip-top bag and store them for up to 2 months. When you’re ready to enjoy, reheat them at 350°F (175°C) for 10-15 minutes until they’re warm and crispy again.
What should I do if my dough seems too wet?
If your dough is too wet, it’s likely that excess moisture was not fully squeezed from the zucchini. To fix this, you can add a little more flour, a tablespoon at a time, until it achieves a manageable consistency. This will help create the perfect, crispy texture when baked.
Are these Crispy Cheesy Zucchini Breadsticks suitable for gluten-free diets?
Yes, they can be! Simply substitute the all-purpose flour with a gluten-free flour blend. I often use almond flour for a low-carb option, which not only works well but also adds a unique flavor to the breadsticks.
Can I make these breadsticks dairy-free?
Certainly! To make these Crispy Cheesy Zucchini Breadsticks dairy-free, you can substitute the cheese with a dairy-free cheese alternative. Look for options that melt well to recreate that delightful cheesy experience. Enjoy experimenting with different brands!
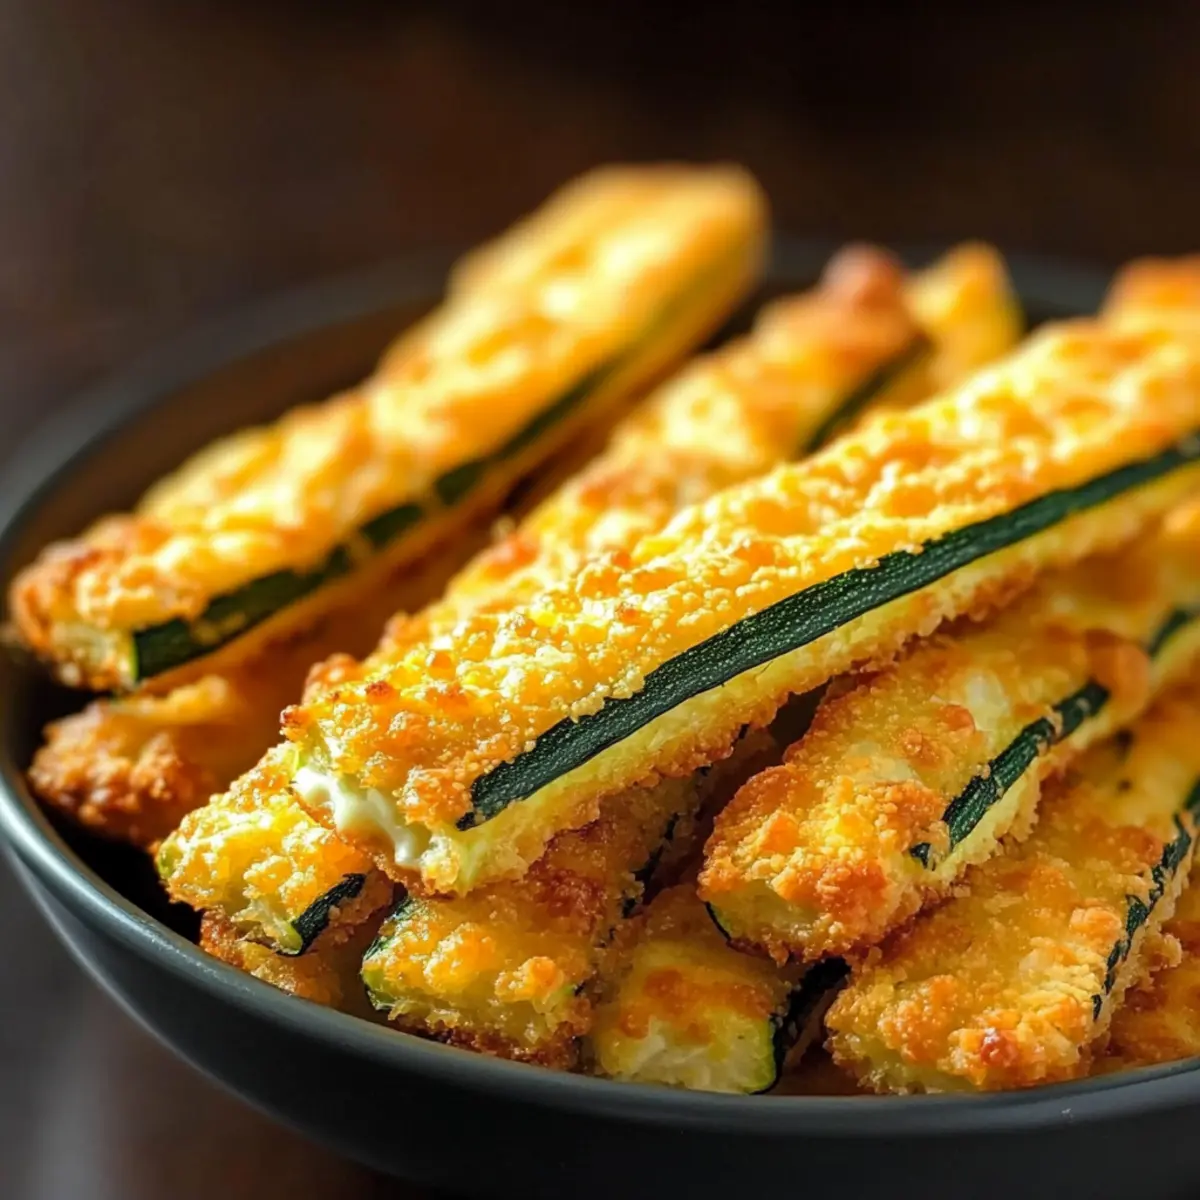
Crispy Cheesy Zucchini Breadsticks That Wow Your Tastebuds
Ingredients
Equipment
Method
- Start by grating the zucchini using a box grater. Squeeze out excess moisture using a clean towel.
- In a large bowl, combine zucchini, shredded cheese, flour, beaten egg, and seasonings. Mix until well incorporated.
- Preheat oven to 375°F (190°C). Shape mixture into breadsticks, approximately 1/2 inch thick and 4-5 inches long.
- Place breadsticks on a baking sheet lined with parchment paper. Bake for 10-12 minutes until golden brown.
- Allow breadsticks to cool for about 5 minutes before serving warm with marinara sauce.
Leave a Reply