
One afternoon, while snacking on yet another bag of store-bought chips, I realized just how much I missed the satisfaction of crafting something from scratch. Enter my incredibly easy Baked Chickpea Chips! These delightful little snacks are not only crispy and flavorful but also gluten-free and vegan, making them perfect for everyone at the table. Whipping up a batch takes just a few minutes, allowing you to indulge guilt-free while customizing with your favorite herbs and spices. Whether you enjoy them solo or paired with a delicious dip, these chickpea chips bring a healthy twist to your snacking routine. Curious about how to make these scrumptious bites? Let’s dive into the recipe!
Why Are Chickpea Chips So Irresistible?
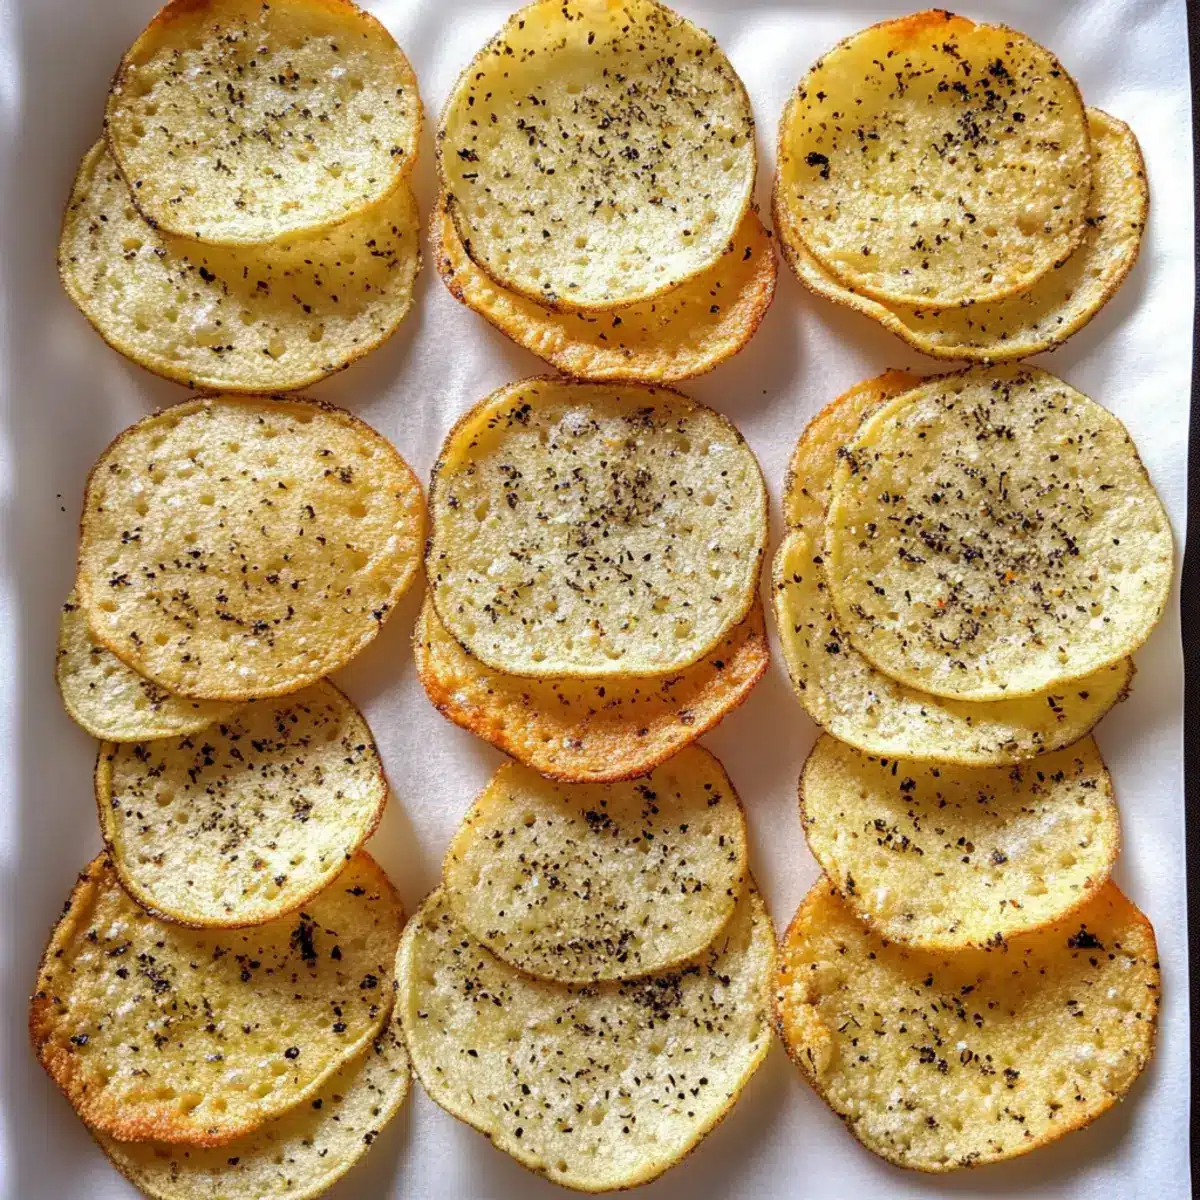
Flavorful, Snackable Goodness: These Baked Chickpea Chips offer a delightful crunch that rivals traditional chips, minus the guilt!
Quick and Easy: With just a few ingredients and minimal prep time, you can enjoy a homemade snack in no time.
Customizable Delight: Tailor the flavor to your mood! Add your favorite herbs and spices for a unique twist every time.
Health-Conscious Choice: Packed with plant-based protein and fiber, these chips make for a nutritious alternative to store-bought snacks.
Versatile Serving Options: Perfect for dipping in hummus, guacamole, or enjoying on their own—the options are endless!
Transform your snacking habits with these delicious chips; they’re a perfect addition to your healthy snack repertoire!
Chickpea Chips Ingredients
• Get ready for a crunchy delight!
For the Base
- Chickpea Flour – The key ingredient that creates the perfect chip texture; feel free to mix in some rice flour for added crunch!
- Water – Hydrates the flour, allowing you to achieve that ideal batter consistency; adjust to make it smoother or thicker as desired.
- Salt – Enhances the flavors; remember, you can always elevate the taste with flavored salts for a fun twist!
For Seasoning
- Herbs/Spices – Customize these chickpea chips to your taste! Rosemary, garlic powder, or smoked paprika are excellent choices to experiment with.
Dive into these scrumptious chickpea chips and let your creativity shine in the kitchen!
Step‑by‑Step Instructions for Crunchy Baked Chickpea Chips
Step 1: Prepare Batter
In a mixing bowl, whisk together chickpea flour, water, and a pinch of salt until smooth and lump-free. Keep whisking for about 2–3 minutes to achieve a silky batter; it should have a pourable consistency similar to pancake batter. This is the base for your delicious chickpea chips!
Step 2: Line Baking Sheet
Preheat your oven to 350°F (175°C) and prepare two baking sheets by lining them with parchment paper. This step is crucial to prevent sticking and to ensure the chips come out crisp. Make sure to press down the parchment so it adheres well to the surface while you prepare the chips.
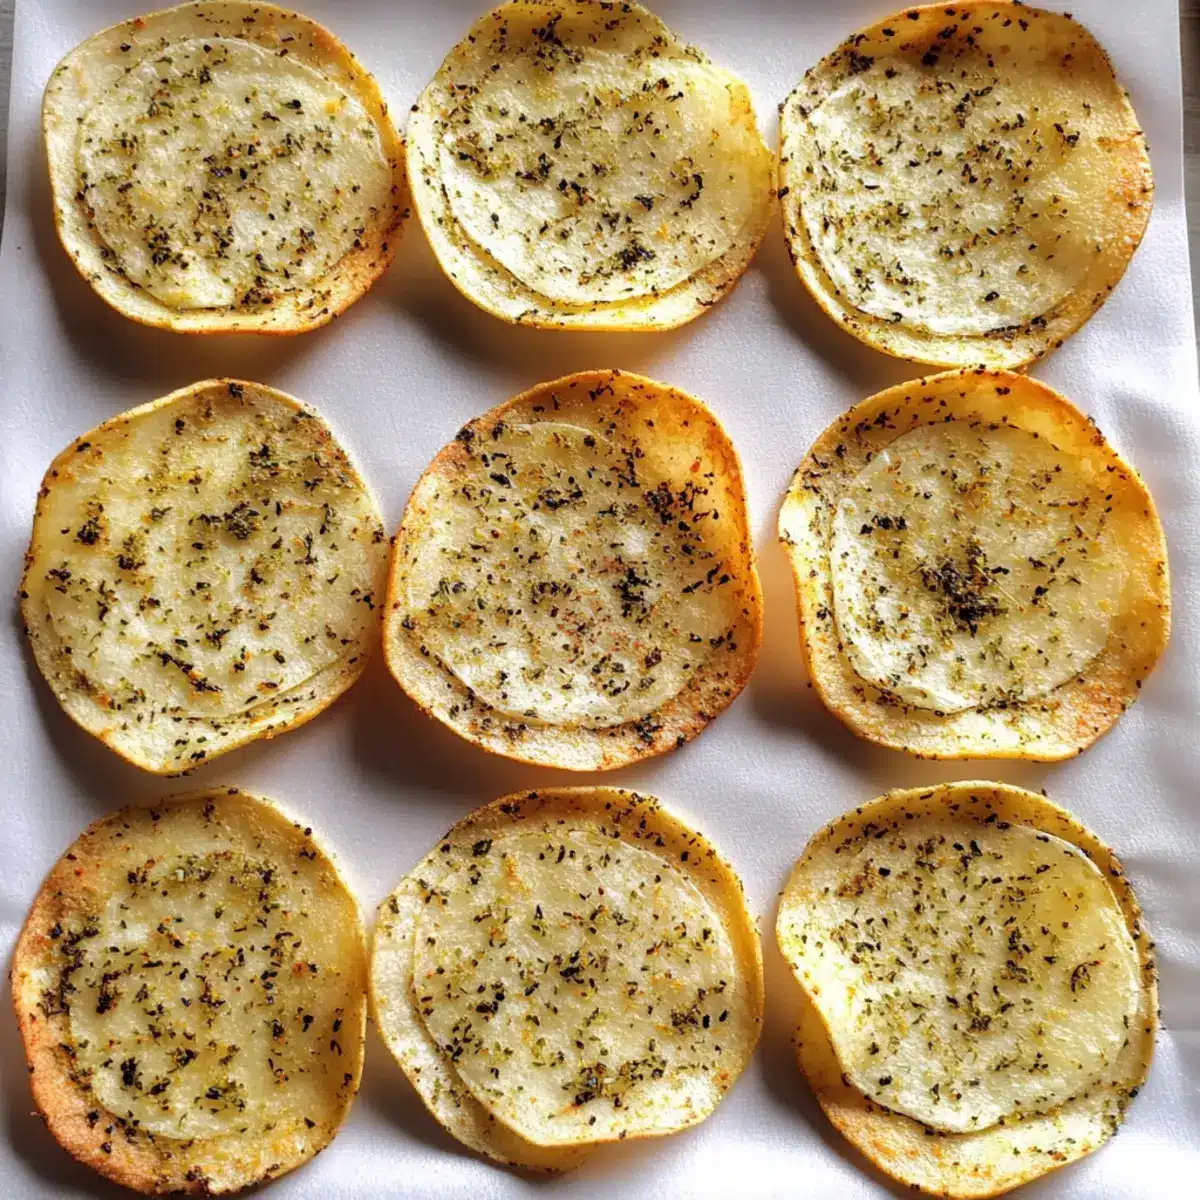
Step 3: Shape Chips
Using a spoon, scoop a portion of the batter and pour it onto the lined baking sheet. Quickly spread the batter into thin circles, aiming for a diameter of about 2–3 inches. A thinner layer will yield crispier chickpea chips, so take care to keep them uniform in thickness for even baking!
Step 4: Add Seasoning
Once all the batter is spread, sprinkle your desired herbs and spices over the circles. Whether you choose rosemary, garlic powder, or smoked paprika, this is where you can personalize the flavor of your chickpea chips. Aim for an even distribution to ensure every chip is packed with taste!
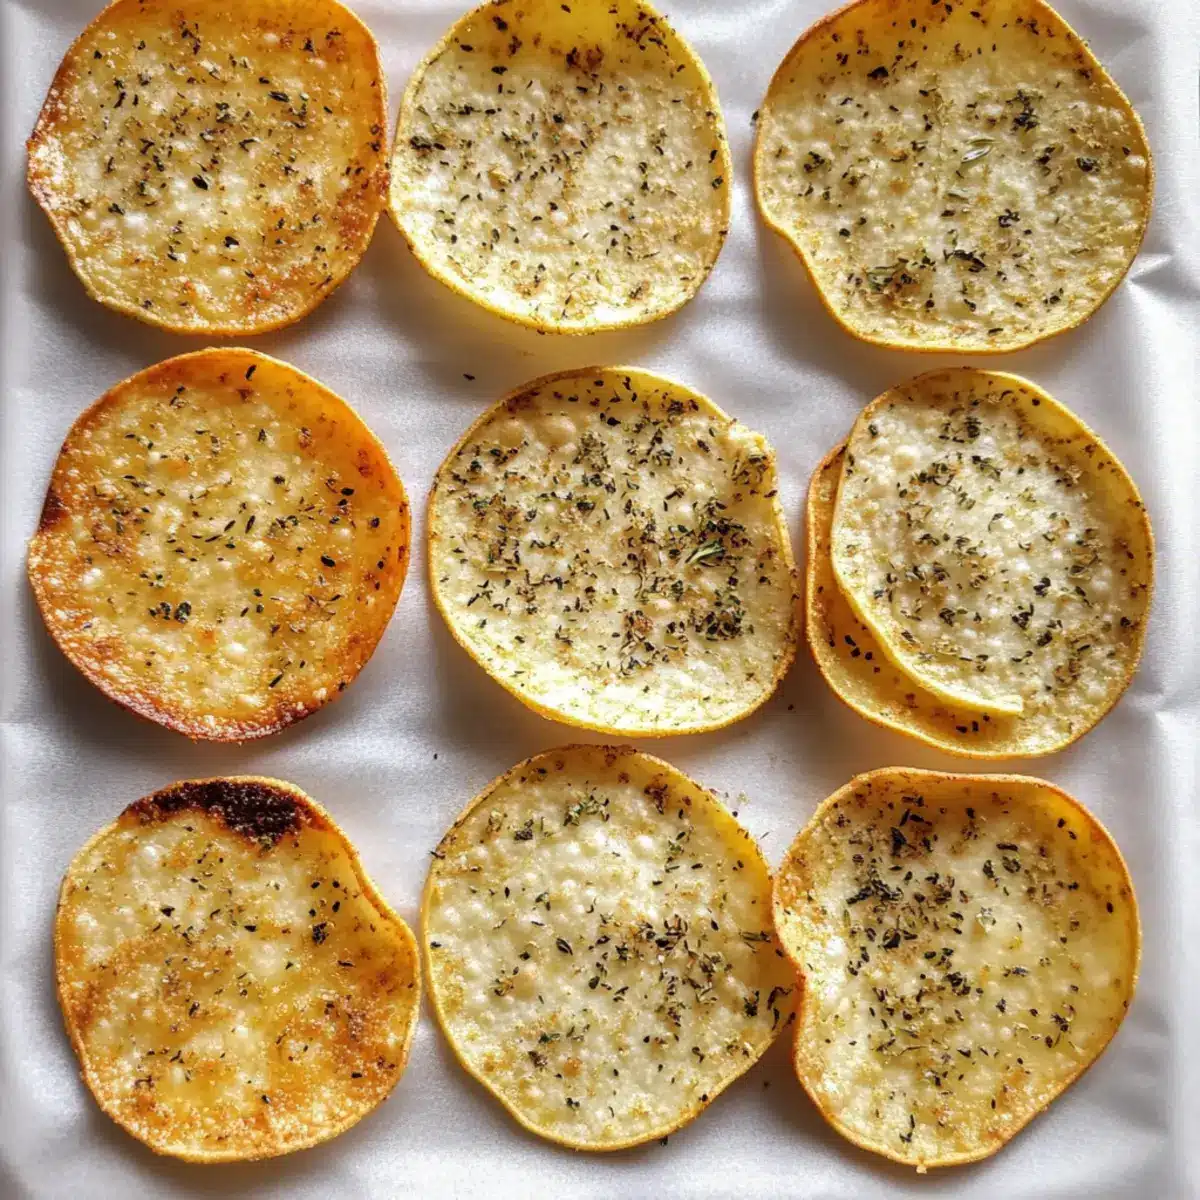
Step 5: Bake
Carefully place the baking sheets in the preheated oven and bake for about 10-12 minutes, or until the edges of the chips turn golden brown. Keep a close eye during the last couple of minutes to prevent burning. The aroma of baking chickpea chips will fill your kitchen with anticipation!
Step 6: Cool
Remove the baking sheets from the oven and let the chips cool for 15-20 minutes. This cooling time is essential as it allows the chickpea chips to further crisp up. Resist the urge to touch them immediately, as they will become more delicate and crunchy as they cool down.
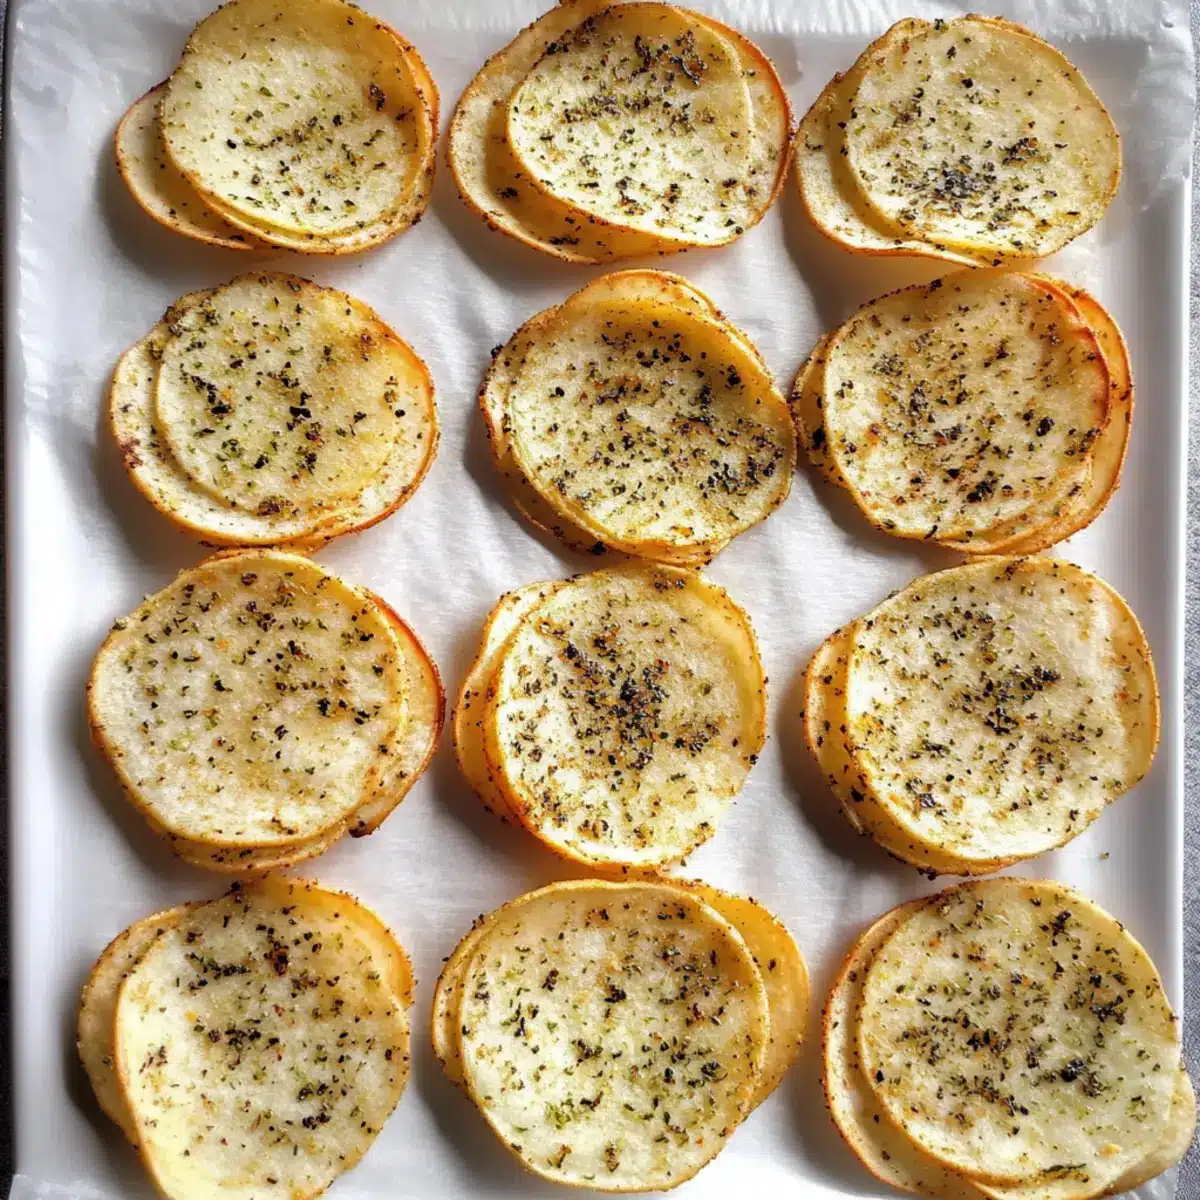
Step 7: Serve and Store
Once cooled, carefully lift the chickpea chips from the parchment paper and serve them alongside your favorite dip, like hummus or guacamole. If you have any leftovers, store them in an airtight container at room temperature for up to 4 days. Re-crisp in the oven if they lose their crunch!
How to Store and Freeze Chickpea Chips
Room Temperature: Store your chickpea chips in an airtight container at room temperature for up to 4 days to maintain freshness and crunchiness.
Reheating: If your chips lose some crunch, place them in a preheated oven at 350°F (175°C) for about 3-5 minutes to revive their delightful crispiness.
Freezer: For longer storage, freeze the baked chickpea chips in a single layer on a baking sheet before transferring them to a freezer-safe bag. They can last up to 2 weeks in the freezer.
Thawing: To enjoy frozen chickpea chips, simply reheat them in the oven at 350°F (175°C) without thawing for the best texture.
Expert Tips for Crunchy Chickpea Chips
• Whisk Thoroughly: Ensure your chickpea flour batter is lump-free for even baking; a smooth batter leads to perfectly crispy chips.
• Spreading Technique: For the crispiest results, spread the batter into thin circles. Thinner chips bake faster and become crunchier!
• Cooling Matters: Allow the chickpea chips to cool completely before lifting them from the parchment. They’ll crisp up nicely during this time.
• Flavor Boost: Feel free to experiment with herbs and spices! Using a variety of seasonings can turn your chickpea chips into a gourmet snack.
• Storage Savvy: Keep your chips in an airtight container for up to 4 days; reheat in the oven briefly to regain their delightful crunch.
Make Ahead Options
These Crunchy Baked Chickpea Chips are a fantastic option for meal prep, making it easier to whip up healthy snacks throughout the week! You can prepare the chickpea batter up to 24 hours in advance and refrigerate it in an airtight container. When you’re ready to bake, simply follow the shaping and baking steps. Additionally, you can shape the chips and season them up to 3 days ahead; just cover them with a damp paper towel to maintain moisture before baking. This ensures that your chips are just as delicious and crispy when it’s time to serve. So, save time on busy days and enjoy freshly made chickpea chips with your favorite dips!
Chickpea Chips Variations & Substitutions
Let your imagination run wild with these delightful twists to your chickpea chips! Each variation brings a unique flavor and texture to elevate your snacking experience.
-
Spicy Twist: Add chili flakes and cumin to the batter for a zesty kick. Feel that heat while enjoying the satisfying crunch of your chips!
-
Cheesy Flavor: Sprinkle nutritional yeast on top before baking for a cheesy taste without the dairy. This creates a rich, savory note that’s simply irresistible.
-
Herbal Infusion: Use fresh or dried herbs like thyme or oregano. These aromatic touches will bring an earthy dimension to your baked goodies.
-
Sweet & Savory: For a fun twist, sprinkle a little cinnamon and sugar on some chips before baking. It’s a delectable flavor contrast that’s perfect for snacking!
-
Texture Boost: Mix in some ground flaxseeds or chia seeds for added crunch and nutrition. They not only enhance texture but also pack more fiber into every bite.
-
Smoky Delight: Infuse a touch of liquid smoke into the batter for a smoky chip that’s reminiscent of barbecue favorites. A bite of this will transport your taste buds!
-
Vegan Ranch: Blend in some dried ranch seasoning for a zesty flavor bomb. It’s like having your favorite dip baked right into each chip!
-
Lentil Swap: Try swapping out some chickpea flour for red lentil flour for a different yet equally delicious flavor profile. This variation will add a subtle nuttiness to your chips.
Feel free to explore these ideas as you craft your perfect batch, and don’t forget to check out Moroccan Carrot Chickpea for a fresh side or dip it in some Roasted Chickpeas Veggie for a complete, satisfying snack!
What to Serve with Crunchy Baked Chickpea Chips
Elevate your snack game with flavorful pairings that bring out the deliciousness of your crispy chickpea chips!
- Creamy Hummus: A classic companion, this creamy dip adds a rich contrast to the crispy texture, making every bite indulgent.
- Zesty Guacamole: The cool, creamy avocado mix perfectly balances the crunch of the chickpea chips, enhancing flavors that beckon for more!
- Fresh Salsa: Vibrant and tangy, fresh salsa provides a zippy punch that complements the nutty flavor of the chickpea chips beautifully.
- Nutty Tahini Sauce: Drizzle this nutty, sesame-based sauce over your chips for a delightful Mediterranean twist that’s utterly irresistible.
- Crisp Salad: Crumble the chickpea chips over a fresh garden salad for a delightful crunch that elevates your healthy meal.
- Charred Veggies: Roasted or grilled vegetables on the side bring both color and nutrition, offering a rustic harmony to your chickpea chips.
- Chilled Soup: Pair with a refreshing gazpacho or cucumber soup, allowing the crunchy chips to add texture to the smooth experience.
- Sparkling Water or Iced Tea: Refresh your palate with a light drink that won’t overpower the snack, creating a harmonious snacking atmosphere.
- Dark Chocolate Squares: For a sweet finish, pairing with dark chocolate can offer a delightful contrast, mixing savory and sweet in an unexpected way!
- Fruit Platter: A side of seasonal fruits adds a touch of sweetness that perfectly balances the savory flavors, making for a well-rounded snack.
Crunchy Baked Chickpea Chips Recipe FAQs
How do I choose the right chickpea flour?
Absolutely! When selecting chickpea flour, look for a fine, light texture without yellow or dark spots, which can indicate age or inferior quality. Brands like Bob’s Red Mill or any organic options are typically reliable. If you’re feeling adventurous, you can also try mixing it with rice flour for an even crunchier chip!
How should I store my chickpea chips, and how long do they last?
For optimal freshness, store your chickpea chips in an airtight container at room temperature. They will stay delicious for up to 4 days. To maintain their crunch, avoid exposing them to moisture, and keep them away from heat sources.
Can I freeze baked chickpea chips?
Yes, you can! Allow your chickpea chips to cool completely, then arrange them in a single layer on a baking sheet and freeze until firm. Once frozen, transfer them to a freezer-safe bag, where they can last up to 2 weeks. For the best texture, reheat them directly from the freezer in a preheated oven at 350°F (175°C) for a few minutes.
What should I do if my chickpea chips aren’t crispy enough?
It’s a common issue! If your baked chickpea chips aren’t as crispy as you hoped, ensure the batter is spread thinly on the baking sheet. Thin chips bake faster and yield a crunchier outcome. Additionally, be patient during the cooling period, as they will crisp up further once allowed to rest.
Are these chickpea chips suitable for pets or those with allergies?
While chickpea flour is generally safe, be cautious! Always consult your veterinarian before sharing homemade snacks with pets. For allergenic concerns, these chips are gluten-free and vegan, but verify other ingredients against allergies, especially if using flavored salts or spices.
Crunchy Chickpea Chips for a Guilt-Free Snack Attack
Ingredients
Equipment
Method
- In a mixing bowl, whisk together chickpea flour, water, and a pinch of salt until smooth and lump-free. Keep whisking for about 2–3 minutes to achieve a silky batter.

- Preheat your oven to 350°F (175°C) and prepare two baking sheets by lining them with parchment paper.
- Using a spoon, scoop a portion of the batter and pour it onto the lined baking sheet. Spread the batter into thin circles, aiming for a diameter of about 2–3 inches.
- Once all the batter is spread, sprinkle your desired herbs and spices over the circles for personalized flavor.
- Carefully place the baking sheets in the preheated oven and bake for about 10-12 minutes, or until edges turn golden brown.
- Remove the baking sheets from the oven and let the chips cool for 15-20 minutes to further crisp up.
- Once cooled, lift the chickpea chips from the parchment paper and serve alongside your favorite dip.
Leave a Reply