
In a world where snacking often falls into the trap of unhealthy choices, I stumbled upon a gem that reignited my passion for crunchy delights: Cheesy Onion Crisps. Imagine biting into a perfectly crispy edge of savory cheese, giving way to the sweet, caramelized goodness of onions. This recipe is not only a satisfying crunch for any snack attack—you’ll also love knowing it fits neatly into your keto and low-carb lifestyle. With just a few simple ingredients, including fresh onions and rich cheddar, you can whip up a batch in no time. Plus, they’re gluten-free, making them perfect for everyone at your table. So, are you ready to indulge in gourmet snacking right from your own kitchen? Let’s get those ovens preheating!
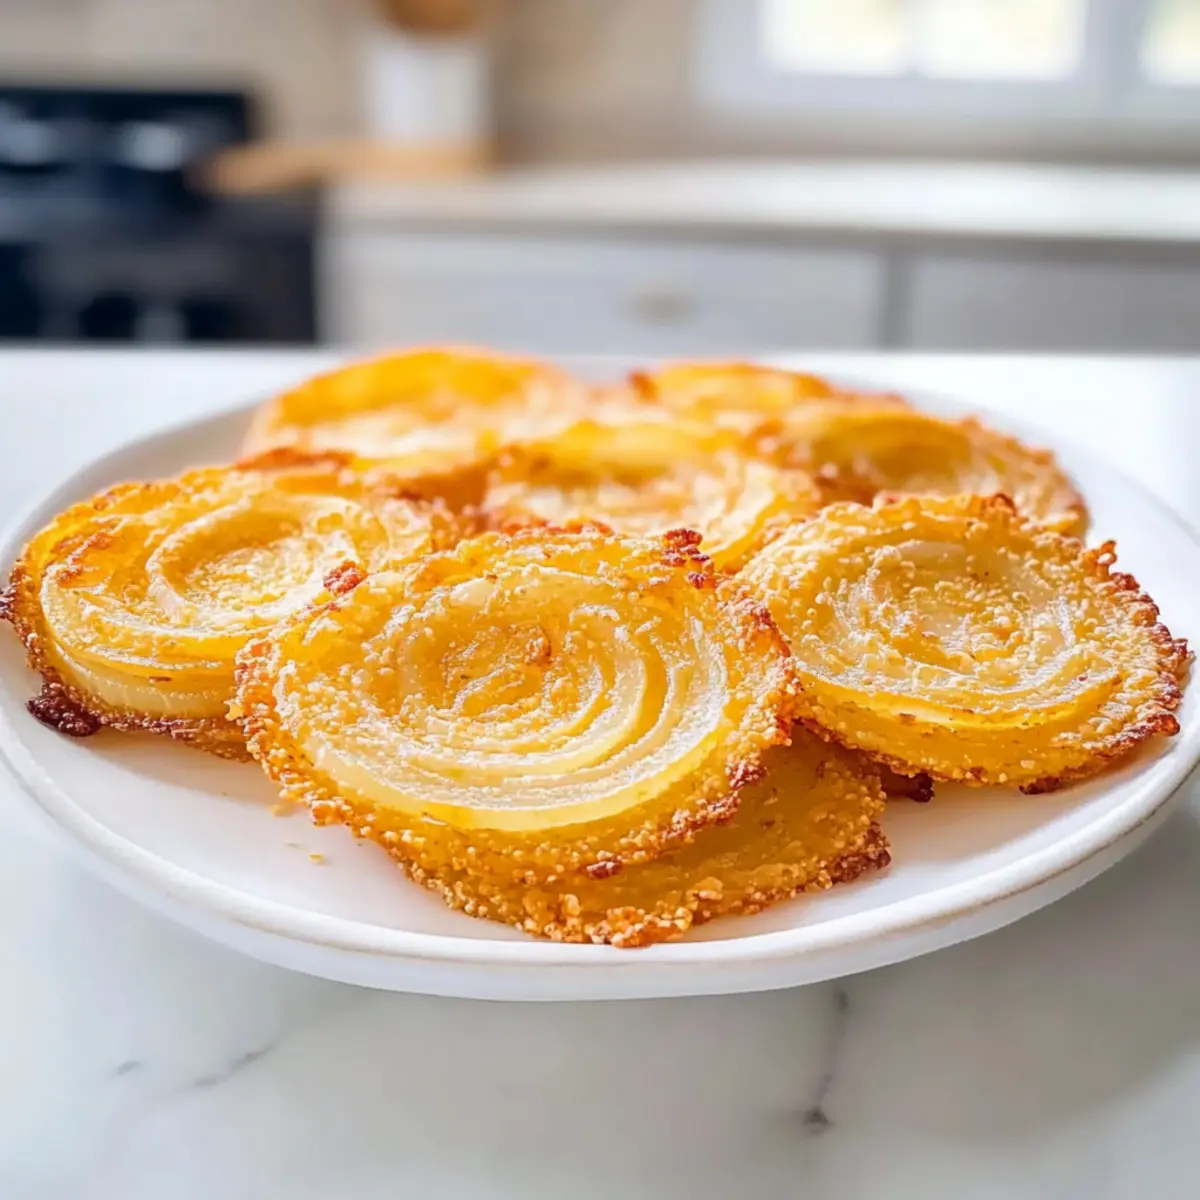
Why Are Cheesy Onion Crisps So Irresistible?
Crispy Perfection: These Cheesy Onion Crisps deliver an irresistible crunch that satisfies your snack cravings without the carbs. Salty-Sweet Delight: The rich, caramelized onions complement the savory cheese, creating a flavor explosion with every bite. Quick and Easy: With just a few ingredients and minimal prep time, you can enjoy gourmet snacking at home. Versatile Pairing: Serve them with your favorite dipping sauce, like spicy sriracha mayo, or offer them as gluten-free crackers on a charcuterie board. Health-Conscious Appeal: Low-carb and keto-friendly, these crisps are perfect for those looking to indulge without the guilt—just like my Cheesy French Onion or Cheesy Beef Enchilada recipes!
Cheesy Onion Crisps Ingredients
• Get ready to make these delightfully crunchy snacks!
For the Crisps
- Large sweet onions – Choose Vidalia or Walla Walla for their natural sweetness and perfect caramelization.
- Cheddar cheese, shredded – Freshly grated block cheddar melts smoothly and gives that irresistible frico edge.
- Ranch seasoning – This adds a zesty touch; feel free to swap with Cajun spice or red pepper flakes for a spicy kick.
For Dipping
- Ranch or marinara sauce – Perfect complements to the crisps, but sriracha mayo offers a bolder flavor if you’re feeling adventurous!
Step‑by‑Step Instructions for Cheesy Onion Crisps
Step 1: Preheat the Oven
Begin by preheating your oven to 375°F (190°C). While it heats, prepare two baking sheets by lining them with greased parchment paper, ensuring the crisps won’t stick. This step is vital for achieving that perfect crunchy texture for your Cheesy Onion Crisps.
Step 2: Prepare the Onions
Peel and slice your sweet onions into thin rounds, about 1/8-inch thick to ensure even cooking. Pat them dry with a paper towel to remove excess moisture, which helps prevent steaming and enhances the crispiness. This preparation will allow the natural sweetness of the onions to shine through when baked.
Step 3: Assemble the Crisps
On each prepared baking sheet, create piles of shredded cheddar cheese, approximately 8 per sheet, spaced apart to allow for melting and spreading. Place an onion round on top of each cheese pile, dust lightly with cornstarch and smoked paprika, and sprinkle a dash of ranch seasoning. This assembly is key to the flavor profile of your Cheesy Onion Crisps.
Step 4: Bake the Crisps
Place the baking sheets in the preheated oven and bake for 11-13 minutes, keeping a close eye on them. You’ll know they’re ready when the cheese is bubbly and the edges turn a golden brown. This is when the magic happens, transforming the simple ingredients into crispy delights!
Step 5: Cool the Crisps
Once baked, remove the sheets from the oven and let them cool for 5-7 minutes on the baking sheet. This cooling time allows the Cheesy Onion Crisps to harden and develop their desired brittle texture, making them perfect for snacking.
Step 6: Serve and Enjoy
After cooling, serve your Cheesy Onion Crisps immediately for the best crunch. Pair them with your favorite dipping sauce, like ranch or marinara, to enhance the flavors. These crispy treats make for a satisfying and guilt-free snack that everyone will love!
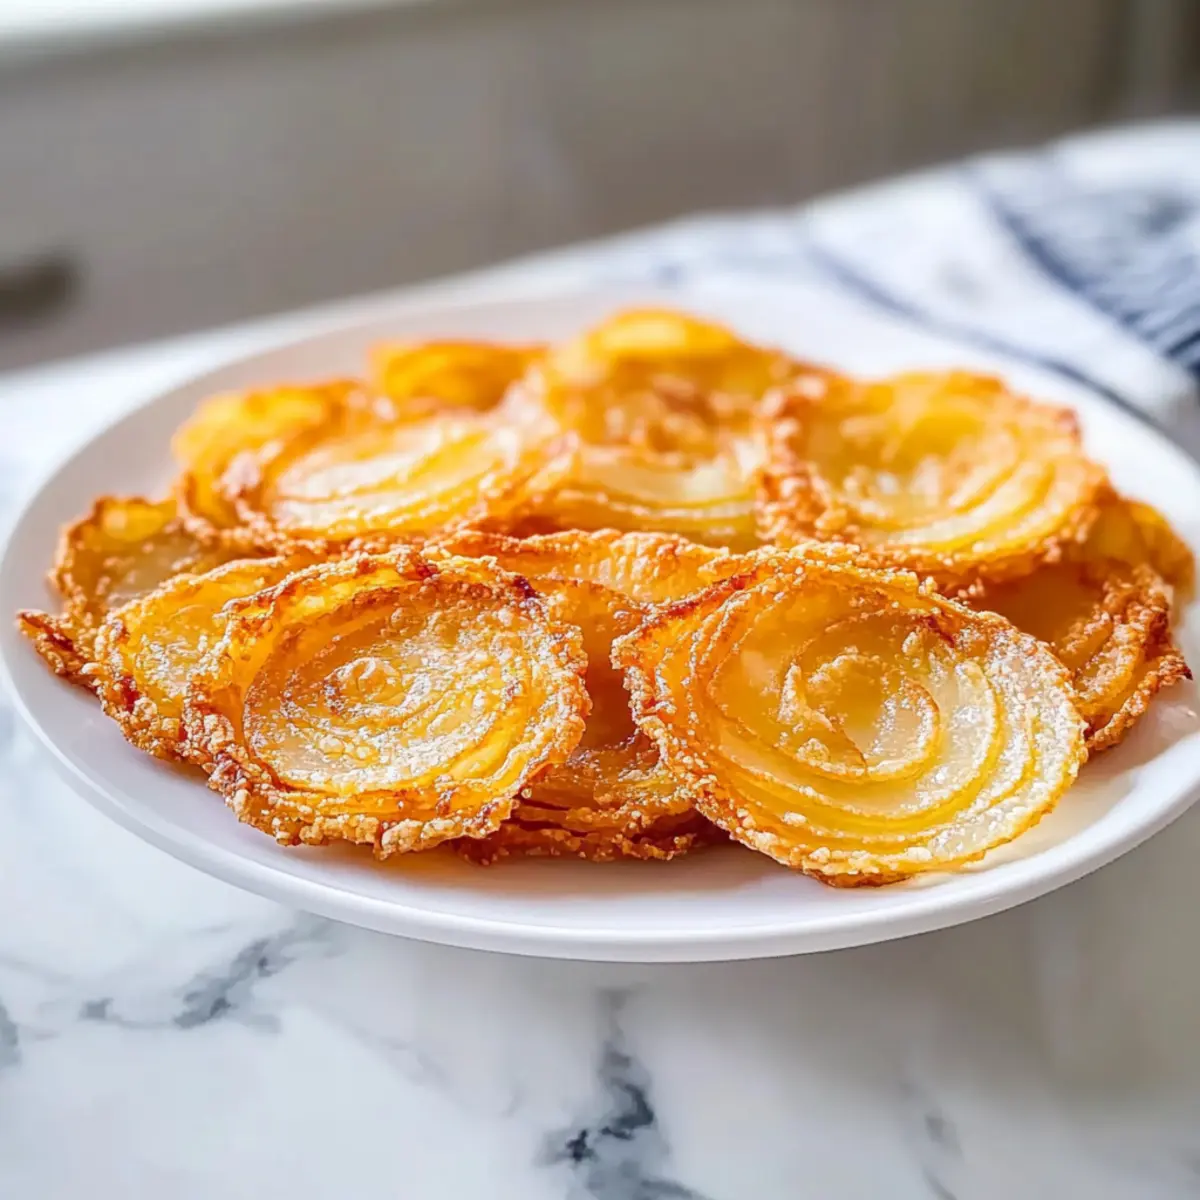
What to Serve with Cheesy Onion Crisps
Elevate your snacking experience by pairing these crispy bites with delightful accompaniments that enhance their flavor and appeal.
- Creamy Avocado Dip: Smooth, rich, and flavorful, avocado dip adds a refreshing element to your crispy treats, balancing savory and creamy textures.
- Charcuterie Board: Arrange alongside cured meats, olives, and cheeses for an impressive spread perfect for gatherings—these crisps serve as delectable gluten-free crackers.
- Zesty Salsa: A bright, tangy salsa provides a burst of freshness that complements the savory notes of cheesy onion crisps while adding a delightful crunch.
- Garlic Aioli: This creamy, garlicky dip brings an intense burst of flavor while enhancing the savory experience of each crispy bite. A perfect match!
- Crisp Salad: Serve with a simple side salad, incorporating vibrant greens and a zestful dressing for a refreshing counterpoint to your crunchy snacks.
- Chilled White Wine: A crisp, chilled Sauvignon Blanc or Pinot Grigio pairs beautifully, balancing the rich flavors and making your snack feel gourmet.
- Dark Chocolate Treats: End on a sweet note with a piece of dark chocolate—its bittersweetness complements the salty crispiness of the onion crisps in a sophisticated way.
How to Store and Freeze Cheesy Onion Crisps
Room Temperature: Store cooled crisps in an airtight container at room temperature for up to 3 days to maintain the best flavor and texture.
Fridge: If storing longer, place in the fridge for up to a week, but note that they may lose some crunchiness.
Freezer: For freezing, layer crisps between sheets of parchment paper in an airtight container. They can be frozen for up to 1 month.
Reheating: To revive the crunch, reheat frozen or refrigerated Cheesy Onion Crisps in a 300°F oven for about 2 minutes until warm and crispy again.
Make Ahead Options
These Cheesy Onion Crisps are perfect for meal prep enthusiasts looking to save time during busy weeknights! You can slice the onions and prep the cheese piles up to 24 hours in advance, storing them in an airtight container in the refrigerator. To prevent the onions from browning, pat them dry and cover them with plastic wrap. When you’re ready to enjoy, simply assemble the crisps and bake them as directed for that delicious, crispy result. This make-ahead option not only streamlines your cooking process but ensures you have a crunchy, savory snack ready in no time!
Expert Tips for Cheesy Onion Crisps
-
Onion Drying: Patting onion rounds dry is crucial: This step prevents steaming, ensuring your Cheesy Onion Crisps achieve that delightful, crisp texture.
-
Slicing Technique: Use a mandoline slicer for uniform slices: This ensures even cooking, preventing some crisps from being undercooked while others burn.
-
Cheese Choice: Opt for freshly grated cheese: Pre-shredded cheese often contains anti-caking agents that can hinder the desired crispness of your snacks.
-
Baking Watch: Keep a close eye while baking: Crisps can go from perfectly golden to burnt quickly; monitor them closely around the 11-minute mark.
-
Reviving Leftovers: To restore crunch, reheat in a 300°F oven for 2 minutes: This quick fix can bring back the texture of your Cheesy Onion Crisps for another delicious snack.
Cheesy Onion Crisps Variations & Substitutions
Feel free to put your own twist on these tasty treats and experiment with flavors!
-
Dairy-Free: Substitute dairy cheese with a plant-based cheese alternative for a lactose-free option. The flavor and texture may vary, so choose a brand you love!
-
Spicy Kick: Add a sprinkle of cayenne pepper or dust with chili powder for an extra layer of heat, awakening your taste buds with every bite!
-
Herb-Infused: Mix in fresh herbs like rosemary or thyme with the cheese for an aromatic burst that elevates the overall flavor experience. Aromatic herbs blend beautifully with caramelized onion sweetness!
-
Nutty Crunch: Top with crushed nuts like almonds or pecans before baking for a delightful crunch and a nutritious boost that pairs wonderfully with the cheesy texture.
-
Garlic Lovers: Incorporate garlic powder into the ranch seasoning to create a mouthwatering blend that enhances the savory nature of the crisps—perfect for garlic aficionados!
-
Savory Parmesan: Substitute aged Parmesan for cheddar to enjoy a sharper cheese experience, giving your Cheesy Onion Crisps a whole new delicious profile.
-
Seasonal Veggie: Try adding thinly sliced zucchini or bell peppers to the top of the cheese for a colorful and healthful twist that adds fiber and freshness.
-
Saucy Pairing: Serve with a zesty yogurt sauce or homemade ranch for dipping, introducing layers of flavor—you’ll love how each dip brings out a new element in your snacks!
With these variations, your Cheesy Onion Crisps will always be special! If you’re in the mood for more cheesy delights, check out my Cheesy Steak Rice or Cheesy Beef Enchilada recipes for even more inspiration!
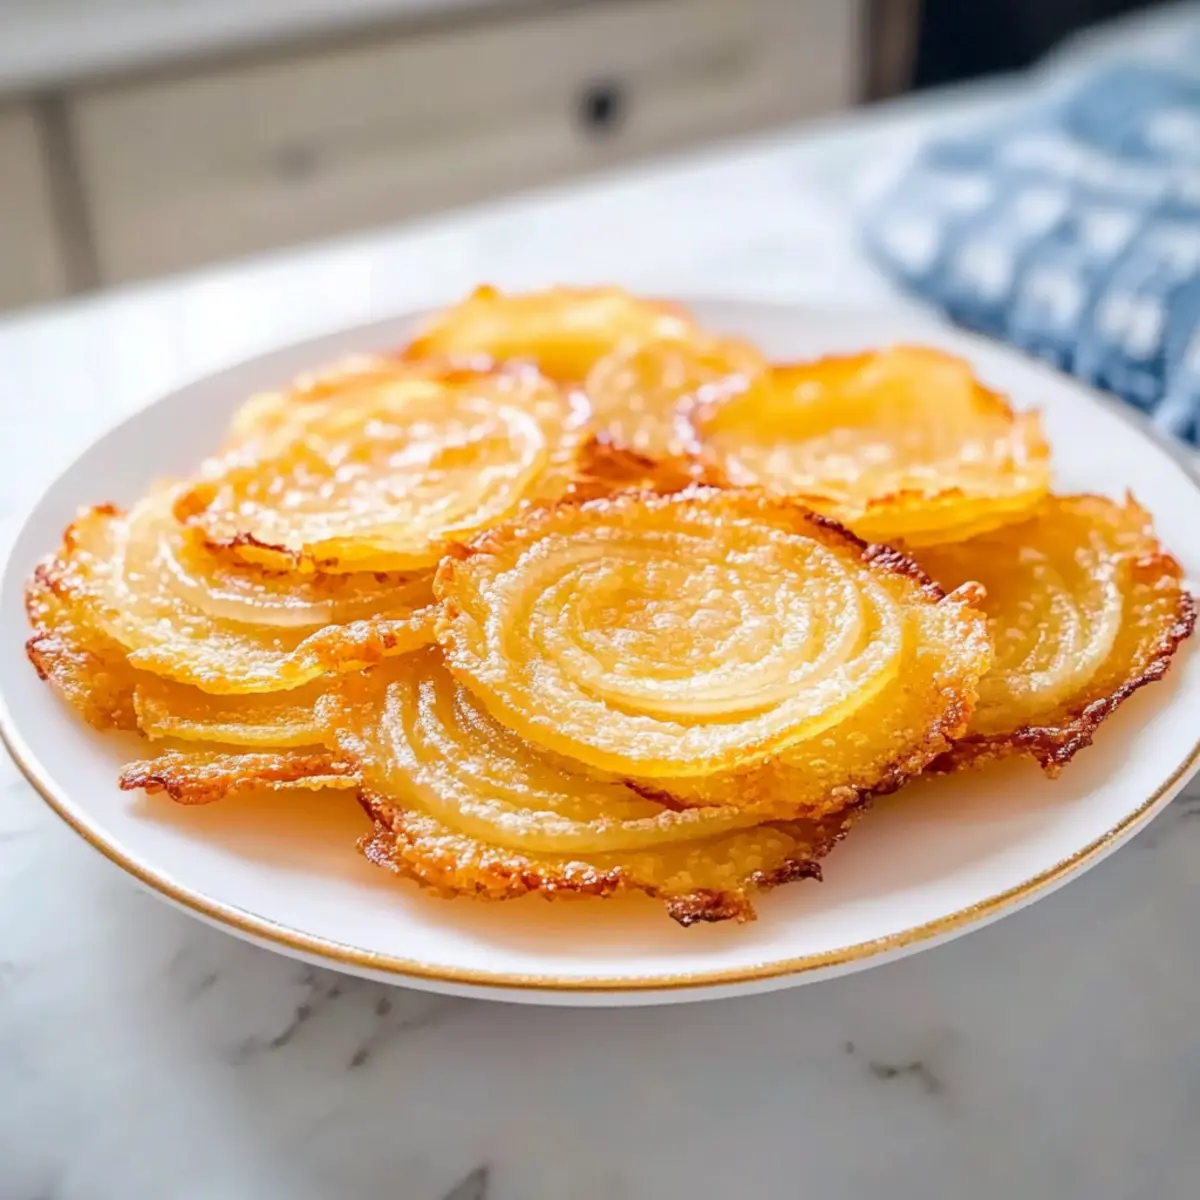
Cheesy Onion Crisps Recipe FAQs
What type of onions should I use for Cheesy Onion Crisps?
I recommend using large sweet onions like Vidalia or Walla Walla. These varieties offer natural sweetness and caramelization that enhances the flavor of your crisps. Their high sugar content makes them perfect for achieving that delightful balance of sweet and savory in each bite.
How should I store Cheesy Onion Crisps and how long do they last?
Store your cooled Cheesy Onion Crisps in an airtight container at room temperature for up to 3 days. To keep them fresh longer, you can place them in the fridge, where they’ll last for about a week; however, be aware that this may affect their crispiness. For the best experience, it’s ideal to consume them soon after baking!
Can I freeze Cheesy Onion Crisps?
Absolutely! To freeze your Cheesy Onion Crisps, layer them between sheets of parchment paper in an airtight container. You can freeze them for up to 1 month. This method helps prevent them from sticking together, making it easier to grab a few for a quick snack later.
What should I do if my Cheesy Onion Crisps aren’t crispy enough?
If you find your crisps are not as crispy as you hoped, it’s crucial to ensure that the onion slices are dry before baking. Patting them dry removes extra moisture, which is key to crunch. If they still aren’t crispy after cooling, you can revive them by reheating in a 300°F oven for about 2 minutes. This quick method can restore their delightful crunch!
Are Cheesy Onion Crisps suitable for those with dietary restrictions?
Yes! Cheesy Onion Crisps are gluten-free and can easily fit into a low-carb or keto diet. For those with dairy allergies, you could experiment with dairy-free cheese alternatives, although the texture and flavor may vary. Just like with any recipe, it’s always best to check labels to ensure everything meets your dietary needs.
How do I add more flavor to my Cheesy Onion Crisps?
If you’re looking to jazz up your Cheesy Onion Crisps, consider substituting the ranch seasoning with your favorite spices, such as Cajun seasoning or chili flakes for a bit of heat. You could also mix in garlic powder or Italian herbs to diversify the flavor profile. The more the merrier, so feel free to explore and find your perfect combination!
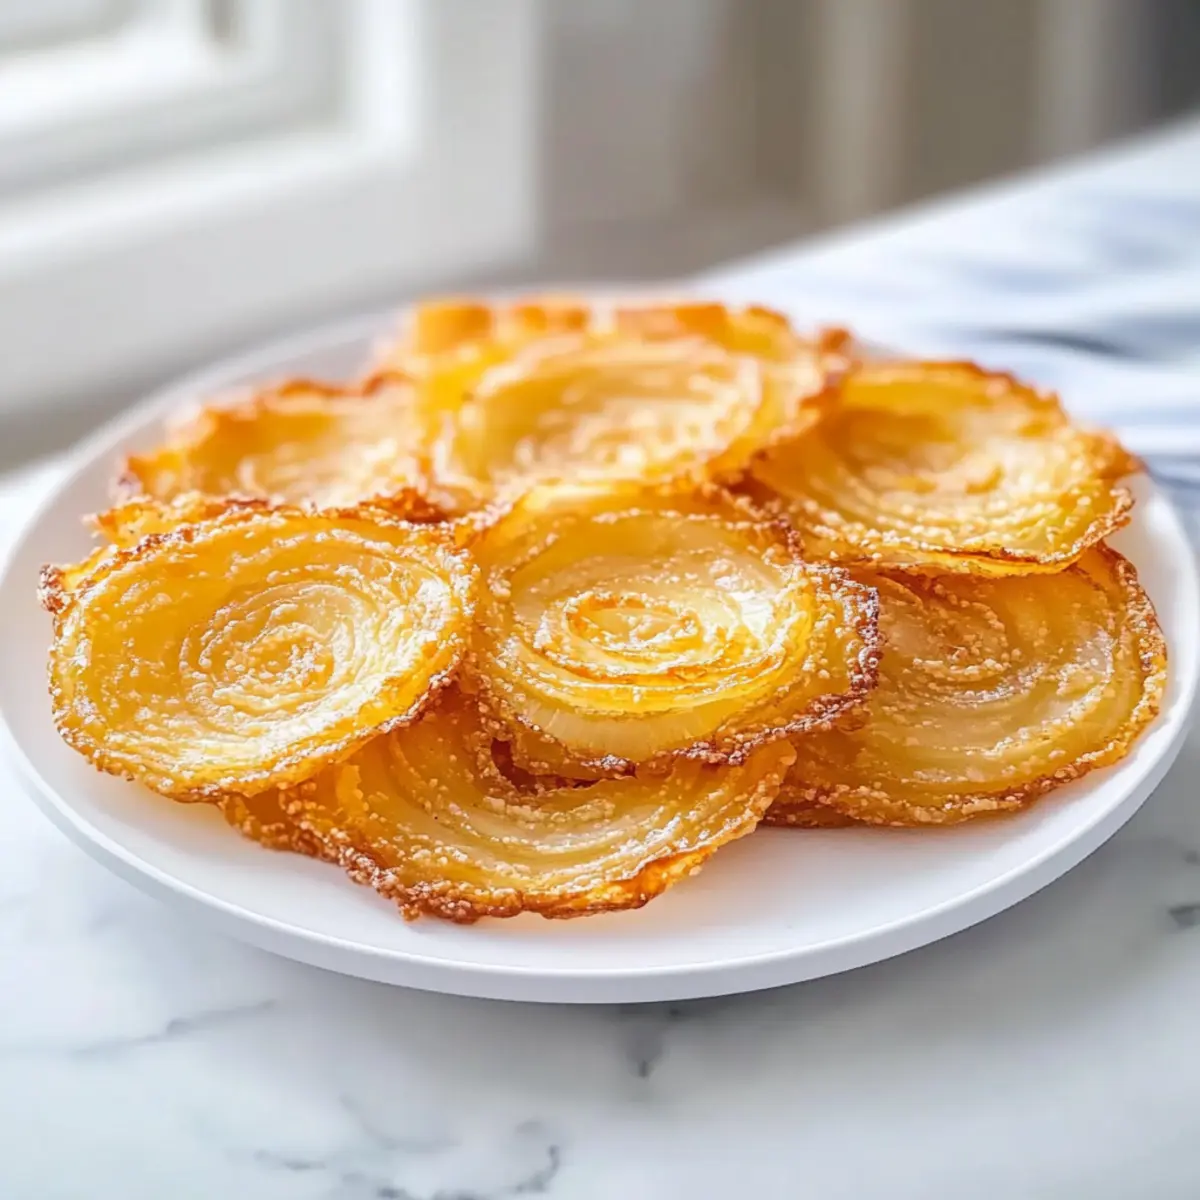
Crunchy Cheesy Onion Crisps: A Low-Carb Snack Delight
Ingredients
Equipment
Method
- Preheat your oven to 375°F (190°C) and line two baking sheets with greased parchment paper.
- Peel and slice sweet onions into thin rounds, about 1/8-inch thick, and pat dry.
- On each baking sheet, create piles of shredded cheddar cheese, placing an onion round on top of each pile.
- Dust lightly with cornstarch, smoked paprika, and sprinkle with ranch seasoning.
- Bake for 11-13 minutes until the cheese is bubbly and the edges turn golden brown.
- Remove from the oven and let them cool for 5-7 minutes on the baking sheet.
- Serve immediately with your favorite dipping sauce.
Leave a Reply