
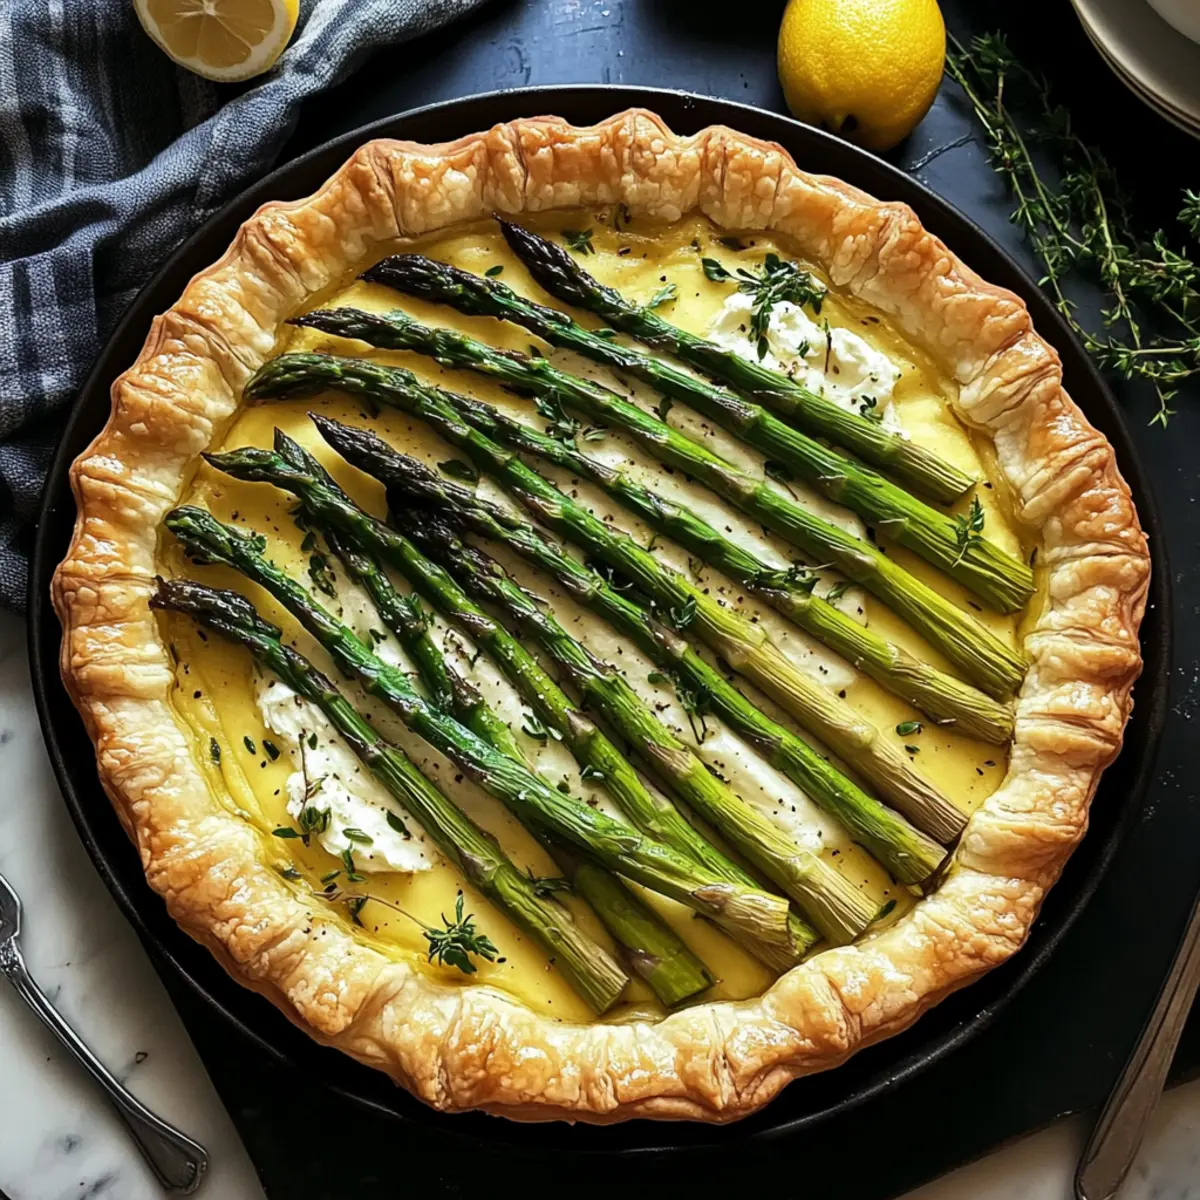
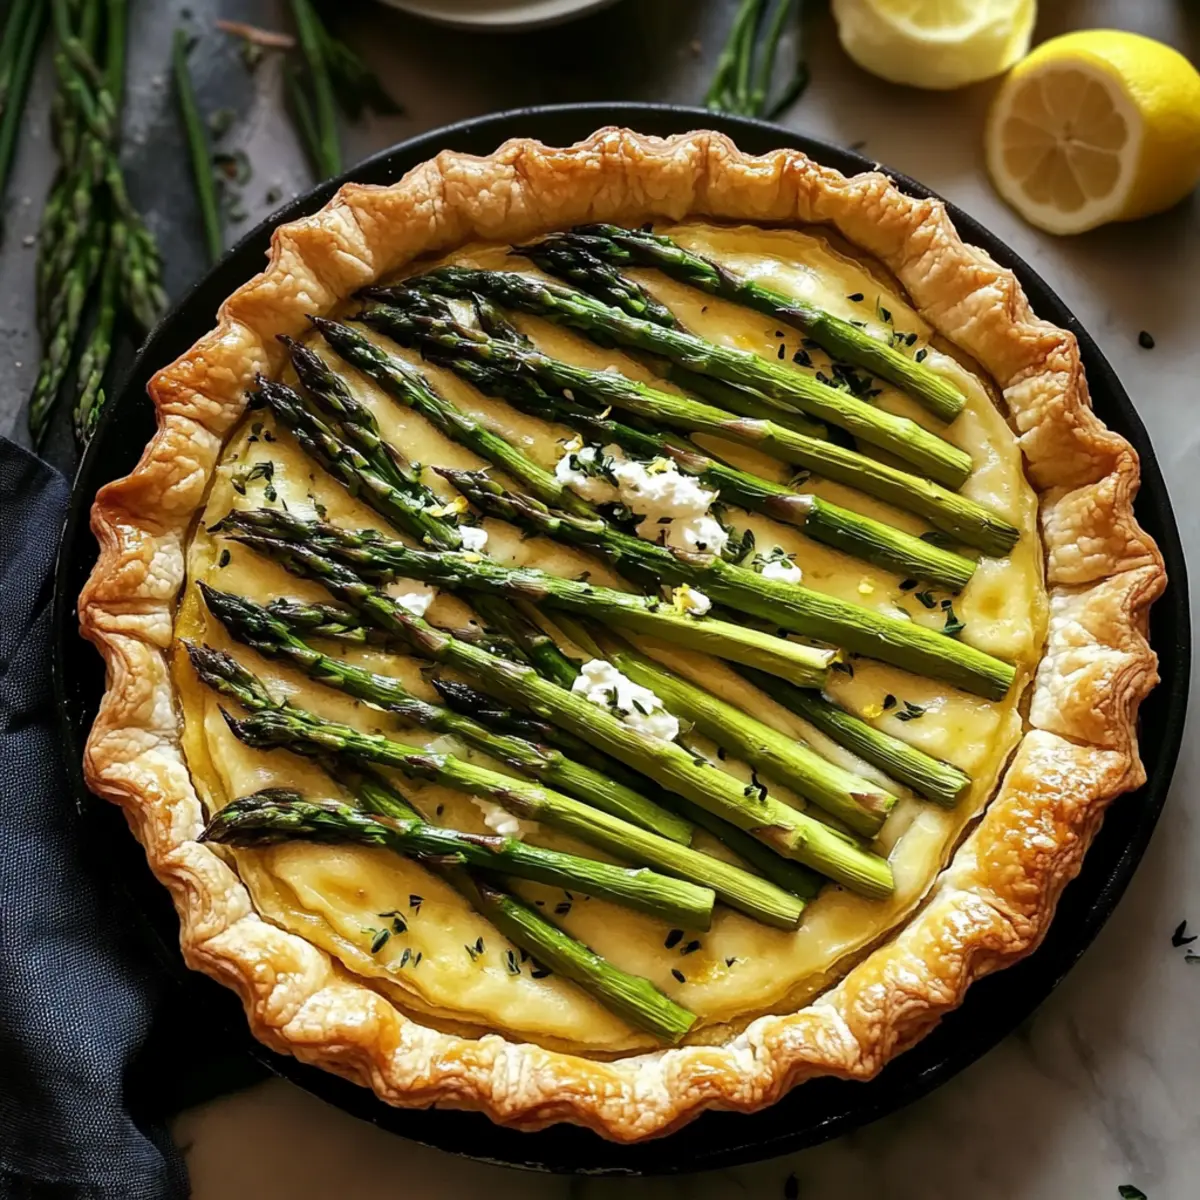
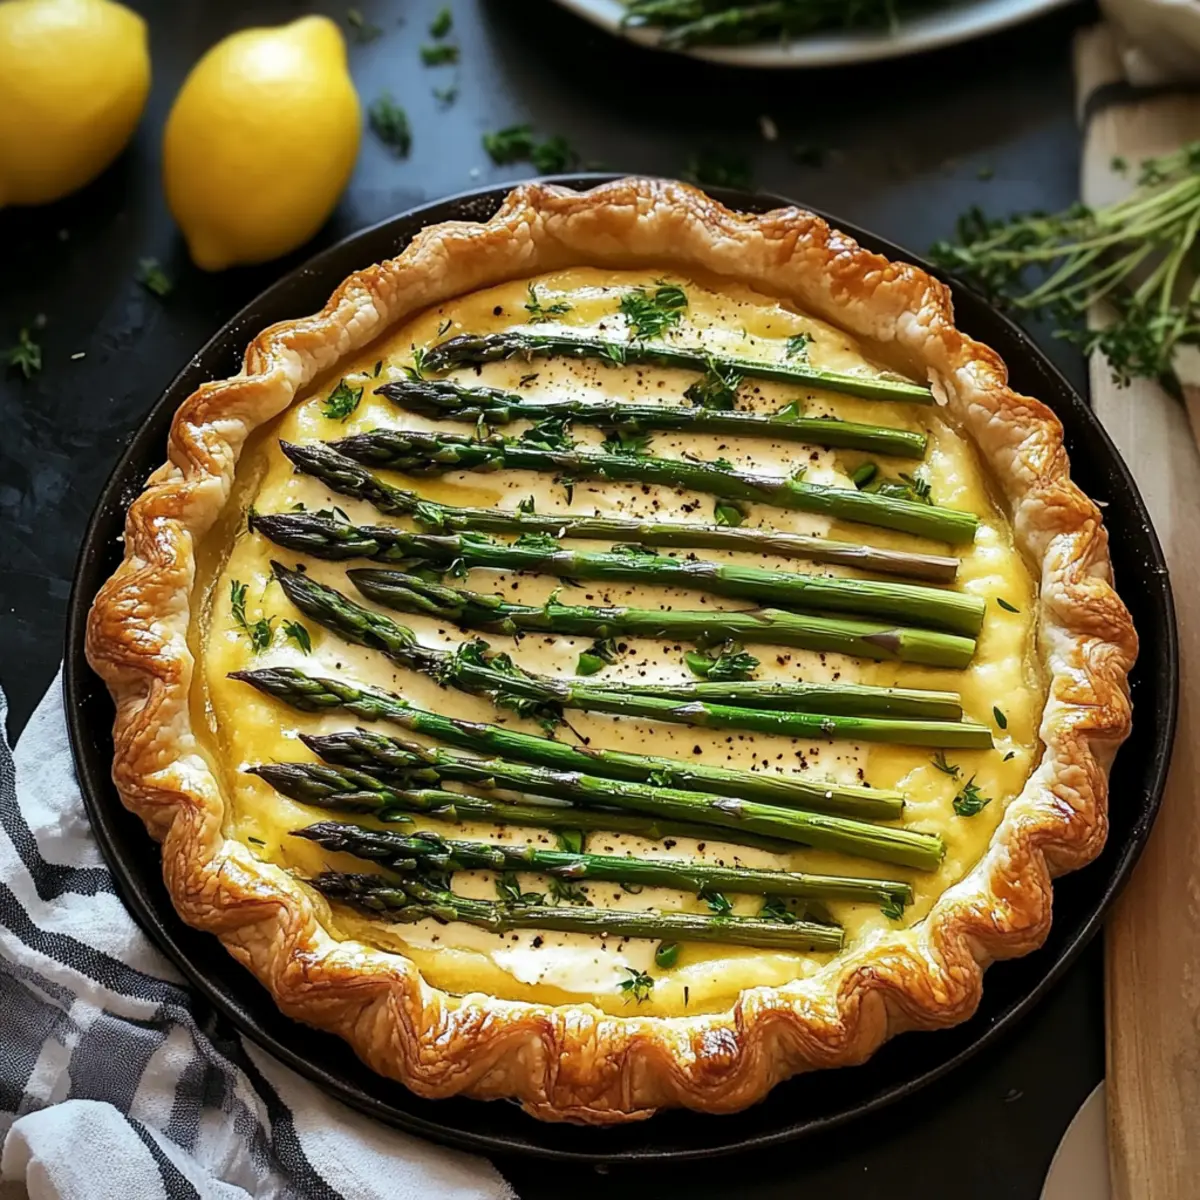
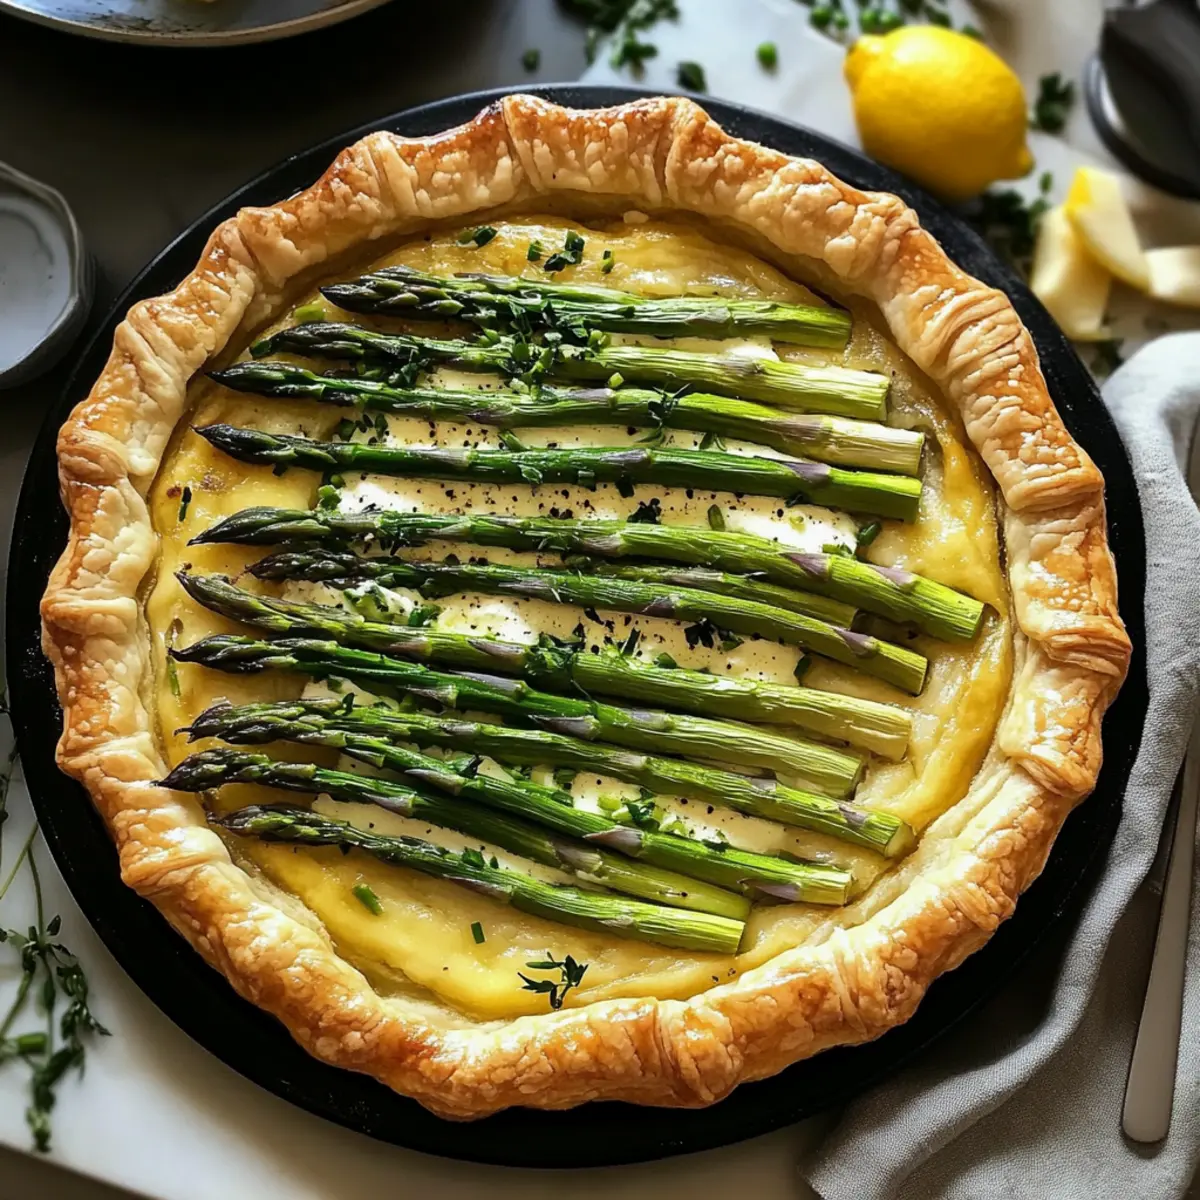
The sun casts its golden rays on a fresh farmers’ market, where vibrant green asparagus beckons for attention. It’s moments like these that inspire me to whip up something special, like my delightful Asparagus and Goat Cheese Tart. This vegetarian treasure marries the light, flaky puff pastry with creamy goat cheese and tender asparagus, all enhanced by zesty lemon and aromatic garlic. Perfect for entertaining or a cozy brunch, this tart is not only easy to prepare but also looks stunning on any table. You can serve it warm or let it shine at room temperature, making it a versatile dish that suits any occasion. Ready to elevate your next meal? Let’s get started!
Why Is This Tart a Must-Try?
Elegant presentation: This tart is as beautiful as it is delicious, making it an eye-catching centerpiece for any gathering.
Easy preparation: You don’t need to be a culinary expert; this simple recipe will have you impressing friends and family in no time.
Versatile dish: Whether for brunch or a light dinner, this tart fits effortlessly into any meal plan, just like my Cajun Shrimp Salmon or Cheesy Steak Rice.
Flavor explosion: The combination of creamy goat cheese, fresh asparagus, and zesty lemon creates an unforgettable taste that everyone will love.
Impressive flavors: With each bite, the flaky pastry, tender veggies, and aromatic herbs deliver a gourmet experience without the fuss.
Crowd pleaser: Everyone from vegetarians to meat-lovers will adore this delectable tart, making it a surefire hit at your next gathering.
Asparagus and Goat Cheese Tart Ingredients
For the Pastry
• Puff Pastry – A flaky base; opt for pre-made sheets for quick assembly, or use crescent dough for a fun twist.
For the Filling
• Goat Cheese – This creamy delight adds a tangy flavor; substitute with ricotta for a different texture.
• Eggs – Essential for binding the filling together, ensuring a custard-like consistency.
• Heavy Cream – Enriches the filling; for a lighter alternative, use coconut cream for a dairy-free option.
• Garlic, minced – Imparts aromatic depth; adjust to your taste for subtle or robust flavor.
• Lemon Zest – Brightens the dish; lime zest is a zesty alternative that works beautifully.
For the Topping
• Fresh Asparagus – Adds a tender crunch and vibrant color; if using frozen, be sure to thaw and dry well.
• Olive Oil – A simple brush enhances flavor and gives a shiny finish to the asparagus.
• Salt and Black Pepper – Basic seasonings to elevate all the wonderful flavors of this Asparagus and Goat Cheese Tart.
• Fresh Thyme or Chives (optional) – Garnish for a herbal note; feel free to exchange with dill or parsley to match your taste.
Step‑by‑Step Instructions for Asparagus and Goat Cheese Tart
Step 1: Preheat the Oven
Begin by preheating your oven to 400°F (200°C). While it warms up, line a baking sheet with parchment paper to prevent sticking, ensuring a perfect, crisp base for your Asparagus and Goat Cheese Tart.
Step 2: Prepare the Puff Pastry
Once the oven is ready, take your thawed puff pastry and place it on the lined baking sheet. Using a sharp knife, score a 1-inch border around the edges to create a raised crust. Lightly prick the center of the pastry with a fork to prevent bubbling, preparing it for a beautiful bake.
Step 3: Whisk the Filling
In a mixing bowl, combine eggs, heavy cream, minced garlic, lemon zest, salt, and black pepper. Whisk them together until smooth and well-blended. This creamy mixture will become the luscious filling that enhances the star ingredients in your Asparagus and Goat Cheese Tart.
Step 4: Assemble the Tart
Spread the creamy goat cheese evenly within the bordered area of the puff pastry. Carefully pour the egg and cream filling over the cheese, allowing it to flow smoothly. Next, neatly arrange the fresh asparagus spears atop the filling, brushing them gently with olive oil and seasoning with a touch of salt and pepper.
Step 5: Bake to Perfection
Place your assembled tart into the preheated oven and bake for 20 to 25 minutes. Keep an eye on it; you’re looking for a golden-brown pastry and a filling that is just set. The aroma wafting through your kitchen will be irresistible!
Step 6: Cool and Garnish
After baking, take the tart out of the oven and let it cool for about 5 minutes. This resting period allows flavors to meld beautifully. Just before serving, feel free to sprinkle fresh thyme or chives on top for an aromatic finishing touch, adding both color and flavor to your Asparagus and Goat Cheese Tart.
Asparagus and Goat Cheese Tart Variations
Feel free to unleash your creativity and make this tart your own with these delightful variations!
-
Cheese Change: Swap goat cheese for feta or ricotta for a creamier profile or a tangy twist. Each cheese brings its own character to the dish.
-
Herb Boost: Add dill or parsley into the filling for a fresh burst of herbal goodness. They will elevate that lovely lemony flavor to new heights.
-
Savory Delight: Incorporate thinly sliced prosciutto or crispy bacon for added depth and umami. Their salty goodness contrasts beautifully with the creaminess of the cheese.
-
Veggie Add-In: Toss in cherry tomatoes or sautéed mushrooms for extra color and flavor diversity. These ingredients not only look stunning but also bring additional texture.
-
Heat It Up: For those who enjoy a little spice, sprinkle red pepper flakes over the asparagus before baking. This will add a subtle kick that roars with warmth.
-
Nutty Crunch: Top with toasted pine nuts or slivered almonds right before serving. Not only do they add a delightful crunch, but they also contribute a rich, nutty flavor.
-
Citrus Twist: Experiment with lime or orange zest in place of lemon for a refreshing citrus profile that brightens the entire dish.
Thinking of pairing this tart with something special? Consider serving it with a crisp green salad or a comforting soup like my Peruvian Chicken Rice for a delightful meal!
What to Serve with Asparagus and Goat Cheese Tart
As you prepare to share this delightful dish, consider complementing it with one or more of these delicious accompaniments.
-
Simple Green Salad: A refreshing mix of greens tossed with vinaigrette balances the rich flavors of the tart beautifully. Fresh vegetables add extra crunch, making each plate a delight.
-
Roasted Cherry Tomatoes: Their sweet, caramelized flavor acts as a delightful contrast to the creamy goat cheese. Toss them with a hint of balsamic glaze for a burst of flavor.
-
Herbed Quinoa: This light, nutty side helps absorb the tart’s creamy filling and offers a hearty texture, enriching your meal while keeping things wholesome.
-
Creamy Tomato Soup: A warm, comforting bowl perfectly complements the lightness of the tart. Enjoying these together makes for a heartwarming pairing on a chilly day.
-
Prosecco or White Wine: A bubbly drink like Prosecco is a splendid match, enhancing the flavors while bringing a celebratory touch to your meal. Alternatively, a chilled Sauvignon Blanc can elevate the dining experience.
-
Fresh Fruit Platter: Bright fruits like berries and citrus not only add color but also cleanse the palate between bites. The natural sweetness complements the savory tart beautifully.
-
Chocolate Mousse: For dessert, a rich, velvety chocolate mousse rounds out the meal with a sweet touch. The contrasting textures will leave your guests satisfied, adding a luxurious finish to your gathering.
Expert Tips for Asparagus and Goat Cheese Tart
-
Fresh Ingredients: Always use fresh asparagus for optimal flavor and texture. Trim the ends properly for the best presentation and taste.
-
Baking Timing: Keep a close eye on the baking time. A perfectly golden, flaky crust is what you’re aiming for—overbaking can lead to a dry tart.
-
Vegetable Moisture: If you choose to add other veggies, ensure they are low in moisture or pre-cooked. This helps prevent a soggy tart from ruining your Asparagus and Goat Cheese Tart.
-
Substitutions: Feel free to swap goat cheese for feta or cream cheese. These alternatives can offer a milder or creamier flavor profile while still enhancing your dish.
-
Serving Temp: This tart is delicious both warm and at room temperature! Make it ahead of time for a stress-free entertaining experience.
Make Ahead Options
These Asparagus and Goat Cheese Tarts are perfect for busy home cooks looking to save time without sacrificing flavor! You can prepare the puff pastry base and even the goat cheese filling up to 24 hours in advance. Simply assemble the tart by spreading the cheese in the pastry and pouring the egg mixture over it. Cover tightly with plastic wrap and refrigerate. When you’re ready to enjoy, just arrange the asparagus and season it right before baking. This ensures your tart is just as delicious and fresh as if it were made on the spot. Bake directly from the fridge, adding an extra minute or two if needed, and your stunning tart will impress family and friends with minimal effort!
How to Store and Freeze Asparagus and Goat Cheese Tart
Fridge: Store any leftover tart in an airtight container in the refrigerator for up to 3 days. This keeps it fresh and prevents moisture buildup.
Freezer: To freeze, wrap the cooled tart tightly in plastic wrap and then in aluminum foil. It can be frozen for up to 2 months; just thaw it overnight in the fridge before reheating.
Reheating: When ready to enjoy, reheat the tart in a preheated oven at 350°F (175°C) for about 15-20 minutes. This helps restore its flaky texture, making the Asparagus and Goat Cheese Tart taste freshly baked again.
Serving Temperature: The tart can be served warm or at room temperature, making it a versatile dish whether you’re entertaining or enjoying a quiet meal at home.
Asparagus and Goat Cheese Tart Recipe FAQs
What should I look for when selecting asparagus?
Absolutely! When choosing fresh asparagus, look for firm, straight stalks with tight, compact tips. The color should be vibrant green, and avoid any that exhibit dark spots or wilting. Thicker stalks offer a meatier texture, while thinner ones are more tender, so it’s a matter of personal preference!
How can I store leftover Asparagus and Goat Cheese Tart?
Very! To keep your leftover tart fresh, store it in an airtight container in the refrigerator for up to 3 days. It’s best enjoyed within this timeframe to maintain its delightful texture and flavor. If you need to reheat it, pop it back in the oven!
Can I freeze the Asparagus and Goat Cheese Tart?
Definitely! To freeze, wrap the cooled tart tightly in plastic wrap and then in aluminum foil to prevent freezer burns. You can keep it in the freezer for up to 2 months. When you’re ready to serve, that’s when the magic happens: thaw it overnight in the fridge, and then reheat in a preheated oven at 350°F (175°C) for 15-20 minutes until warmed through.
What if my tart comes out soggy?
Oh no! If your tart ends up soggy, it usually means there was too much moisture from the filling or the vegetables. Make sure to pat dry any veggies, especially if using frozen ones. Also, remember to pre-bake the crust for a few minutes if you’re adding a wet filling—that way, it sets nicely and stays crisp!
Are there any dietary considerations I should know about?
Absolutely! This Asparagus and Goat Cheese Tart is vegetarian-friendly, but if you’re serving anyone with dietary restrictions, make sure to ask about dairy allergies, as both goat cheese and heavy cream are key ingredients. For a dairy-free alternative, try using coconut cream and a dairy-free cheese option to accommodate different dietary needs.
Asparagus and Goat Cheese Tart: A Flavorful Tart for Any Occasion
Ingredients
Equipment
Method
- Preheat your oven to 400°F (200°C) and line a baking sheet with parchment paper.
- Place thawed puff pastry on the lined baking sheet, score a 1-inch border, and prick the center with a fork.
- In a mixing bowl, whisk together eggs, heavy cream, minced garlic, lemon zest, salt, and black pepper until smooth.
- Spread goat cheese within the bordered area of the pastry, pour the egg and cream filling over, and arrange asparagus on top.
- Bake in the preheated oven for 20-25 minutes until golden brown and filling is set.
- Let cool for about 5 minutes, then garnish with fresh thyme or chives before serving.
Leave a Reply