
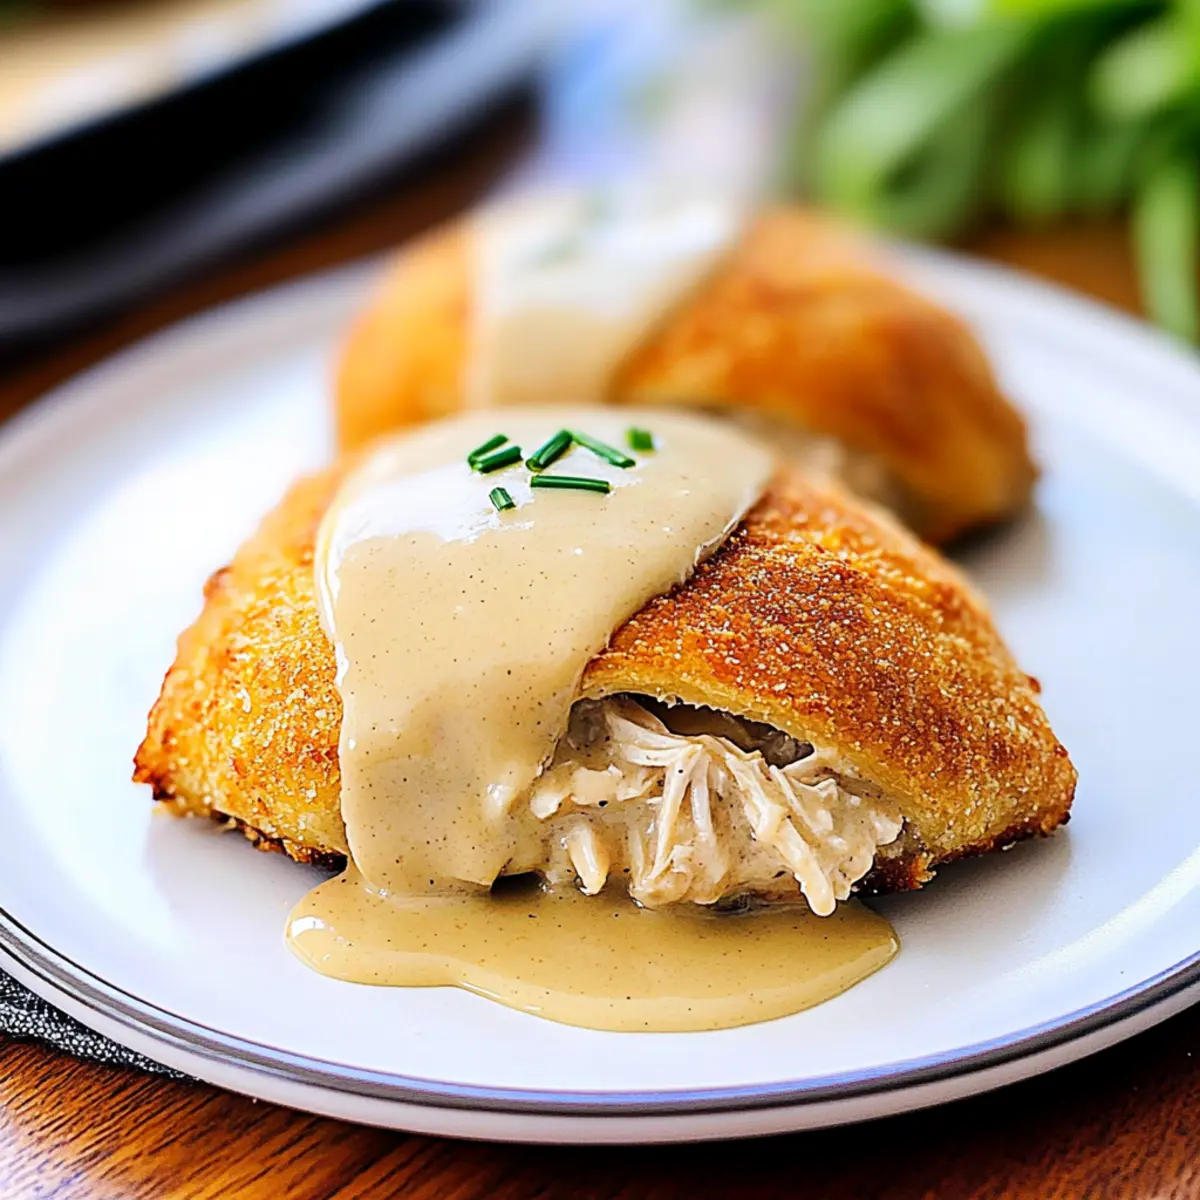
Have you ever had a moment where a simple dinner transforms your kitchen into a cozy haven? That’s exactly what Chicken Pillows do—they turn an ordinary weeknight into a comforting feast. These delightful pockets of flaky crescent dough, filled with a creamy chicken mixture, are perfect for anyone who craves an easy dinner solution without sacrificing flavor. Not only are they family-friendly and satisfying, but they’re also incredibly versatile, allowing you to switch up the fillings and gravies to suit everyone’s taste. Imagine drenching them in a rich brown gravy or a creamy mushroom sauce, each bite offering a warm embrace. Are you ready to create a dish that will enchant your loved ones and make your weeknight dinners something to look forward to? Let’s dive into making these Chicken Pillows together!
Why are Chicken Pillows a must-try?
Comforting, Homemade Goodness: Chicken Pillows offer a warm, inviting meal that feels like a hug on a plate. Easy to Prepare: With just a few simple ingredients, you can whip up this tasty dish without any fuss. Versatile Filling Options: Customize with different gravies or swap in your favorite vegetables for a personal touch. Perfect for Families: These pillows are a hit with both kids and adults alike, turning every dinner into a delightful experience. Meal Prep Friendly: Make them ahead of time and freeze for a quick weeknight dinner solution. You’ll love impressing your family with this cozy classic that combines convenience and flavor!
Chicken Pillows Ingredients
For the Filling
- Cooked, Shredded Chicken Breast – This is the star ingredient; feel free to substitute with cooked turkey or any leftover meat.
- Cream Cheese – It adds a rich and creamy texture; Greek yogurt can be a lighter alternative.
- Salted Butter – Mixes beautifully with cream cheese; unsalted butter works if you adjust the salt level.
- Dried Chives – Provides a lovely flavor boost and can be swapped for fresh chives if available.
- Dried Minced Onion – Infuses the filling with depth; fresh onion can be sautéed beforehand for a different taste.
- Salt and Pepper – Essential for seasoning the filling to your liking.
For the Dough
- Refrigerated Pillsbury Crescent Roll Dough – This gives you the flaky outer layer; puff pastry is a good alternative if you desire.
- Melted Butter – Use for coating before baking to achieve a golden finish; consider olive oil for a lighter touch.
- Italian Breadcrumbs – Adds a satisfying crunch to the outside; opt for gluten-free breadcrumbs or crushed rice cereal for a gluten-free version.
For the Gravy
- Cream of Chicken Soup – Serves as the base for the gravy; a cream of mushroom soup works better for a vegetarian option.
- Chicken Gravy Mix – Adds significant flavor; feel free to make your own homemade gravy for a personal touch.
- Water – Necessary for mixing with the gravy packet to achieve the right consistency.
Get ready to craft delightful Chicken Pillows that will warm your heart and tantalize your taste buds!
Step‑by‑Step Instructions for Chicken Pillows
Step 1: Preheat the Oven
Begin by preheating your oven to 350°F (175°C). While it heats up, take a moment to grease a baking sheet with a little melted butter or oil to ensure your Chicken Pillows won’t stick. This easy preparation step sets the stage for your delicious meal and ensures even baking for that perfect golden finish.
Step 2: Mix the Filling
In a medium bowl, combine the softened cream cheese and salted butter until smooth and creamy, about 2-3 minutes. Then, add the cooked, shredded chicken, dried chives, minced onion, salt, and pepper. Mix well until the filling is fully blended; the combination of flavors will ensure every bite of these Chicken Pillows is flavorful and satisfying.
Step 3: Prepare the Dough
Unroll the refrigerated Pillsbury Crescent Roll Dough onto a clean surface. Press the perforations of two triangles together to create a solid rectangle. Repeat this until you form four rectangles in total. This step is crucial, as these rectangles will cradle the savory filling, morphing into delightful Chicken Pillows.
Step 4: Fill the Dough
Divide the creamy chicken mixture evenly among the four rectangles of dough. With a spoon, place a generous scoop of the filling in the center of each rectangle. Next, fold the corners over the filling, pinching the edges tightly to seal them well. This technique prevents any leaks during baking and helps maintain that delightful, creamy center we all love.
Step 5: Coat the Pillows
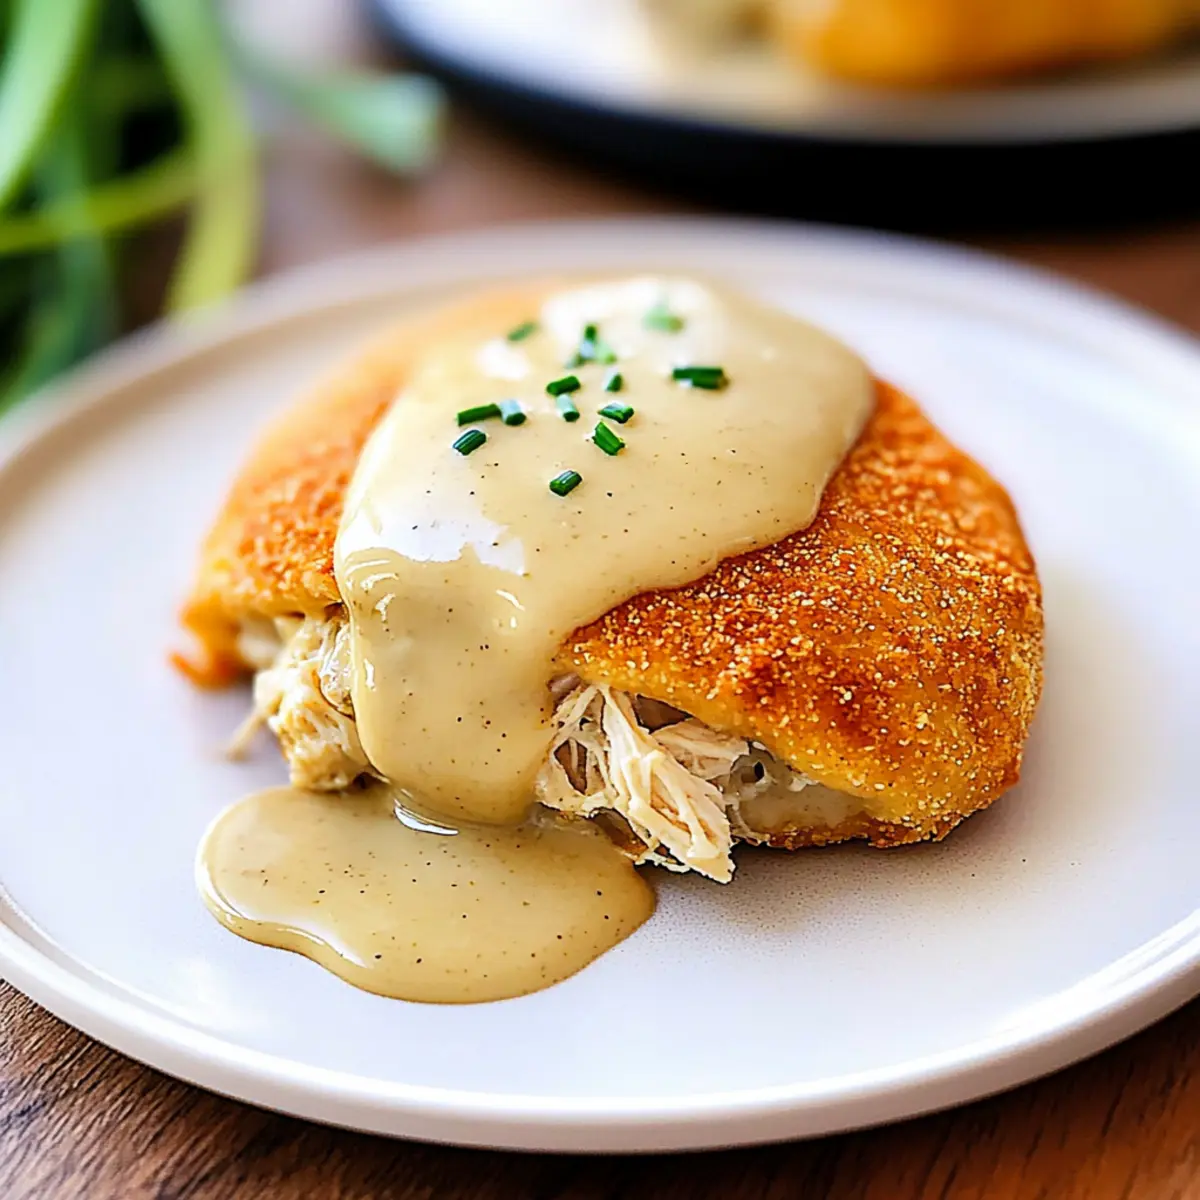
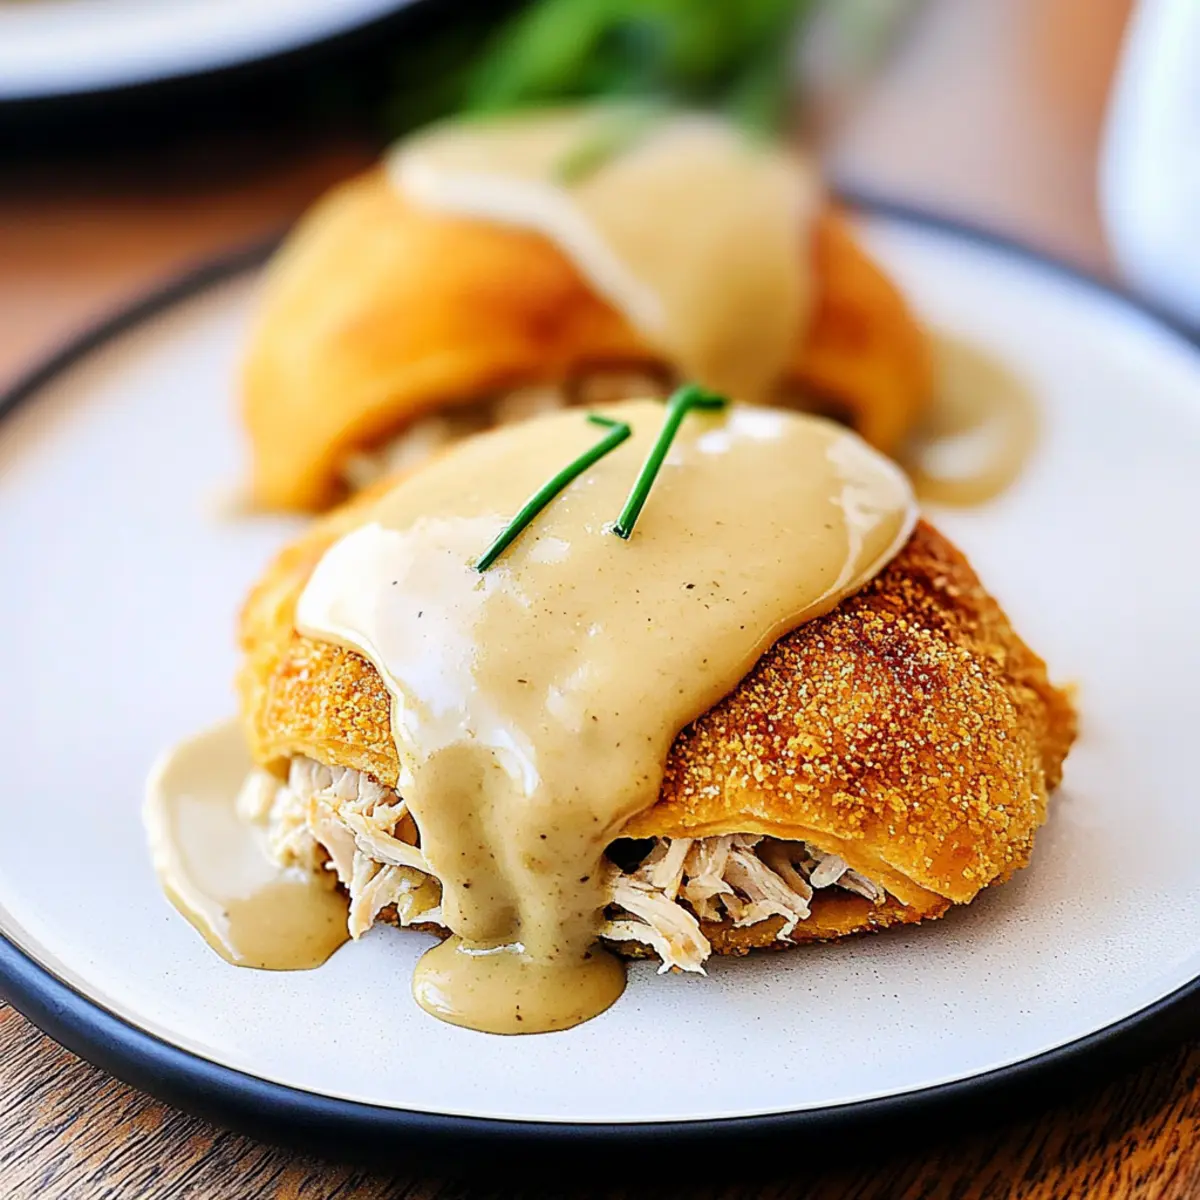
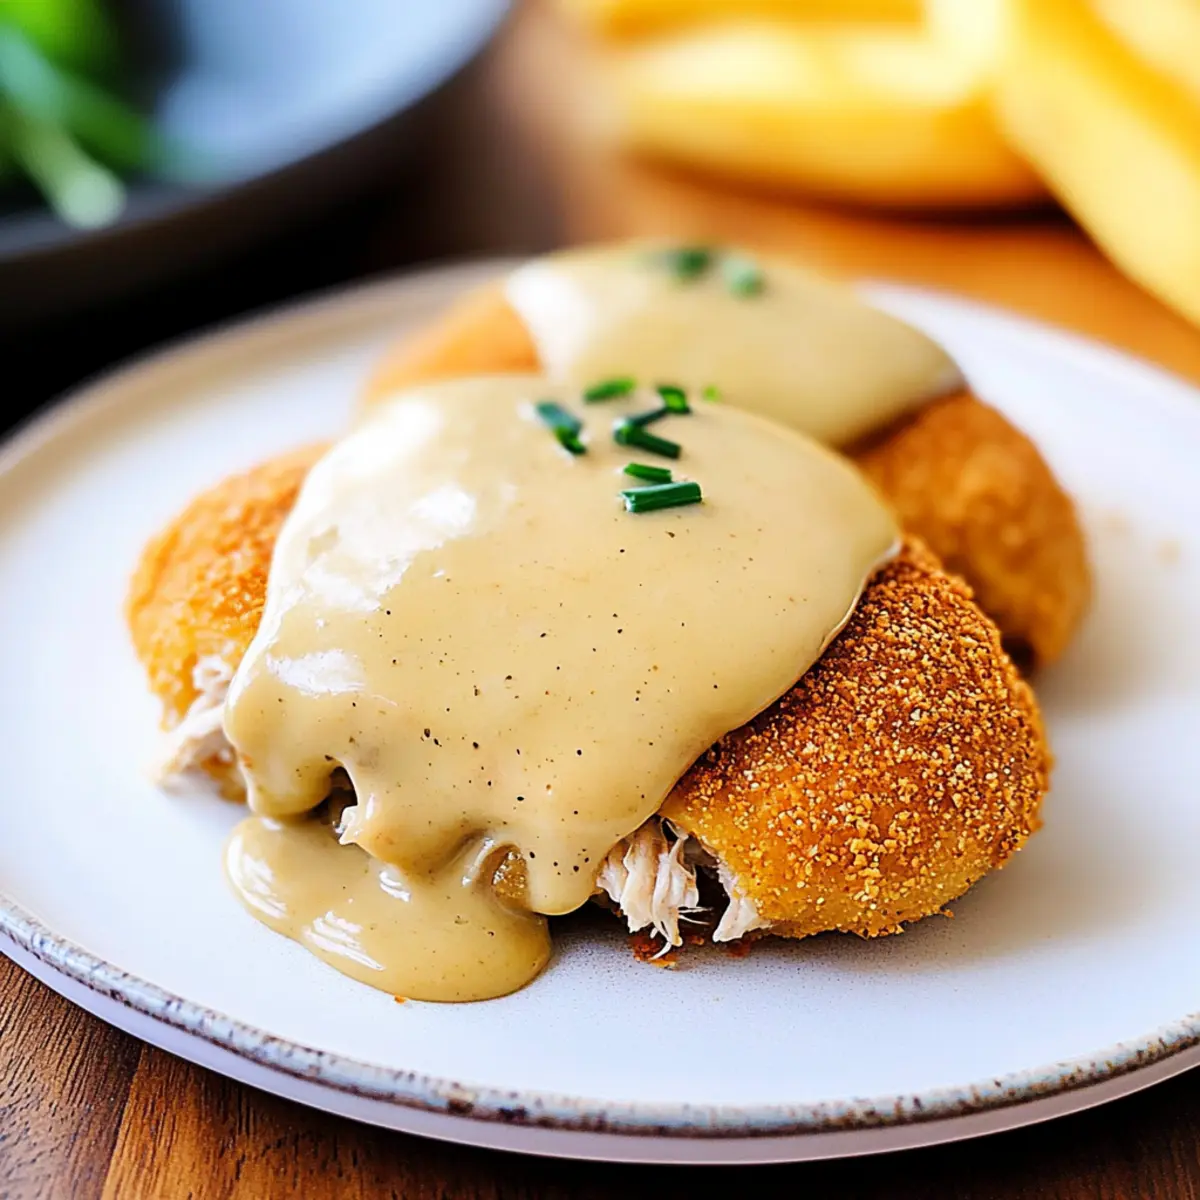
Dip each sealed Chicken Pillow into melted butter, ensuring they’re well coated for extra richness. Then, roll them in Italian breadcrumbs, pressing gently to adhere the breadcrumbs to the surface. This step adds a delightful crunch to your Chicken Pillows once baked, contrasting beautifully with the creamy filling inside.
Step 6: Bake the Chicken Pillows
Arrange the Chicken Pillows on the greased baking sheet, ensuring they have space in between for even cooking. Bake them in the preheated oven for 22-25 minutes or until they turn a luscious golden brown. Keep an eye out for that beautiful, flaky exterior; these visual cues tell you they’re ready to come out and be enjoyed.
Step 7: Prepare the Gravy
While your Chicken Pillows are baking, prepare the gravy. In a saucepan, combine the cream of chicken soup, chicken gravy mix, and the necessary amount of water according to package instructions. Bring it to a gentle boil over medium heat, stirring occasionally. After boiling, reduce the heat and let it simmer until ready to drizzle over your Chicken Pillows, enriching their flavor.
Step 8: Serve with Gravy
Once the Chicken Pillows are baked and golden, remove them from the oven and let them cool slightly. Drizzle the warm gravy generously over the top of each pillow before serving. This final touch elevates your Chicken Pillows from simple comfort food to a heartwarming meal that your entire family will love!
Expert Tips for Chicken Pillows
-
Seal Properly: Ensure to press the perforations tightly when sealing the crescent dough to avoid any leaking during baking.
-
Flavor Boost: For added depth, sprinkle a little garlic powder into the chicken filling mixture, enhancing the overall flavor of your Chicken Pillows.
-
Seasoning Matters: Make sure to taste the filling before sealing the pillows; well-seasoned filling ensures every bite is delicious and satisfying.
-
Choose Your Gravy: Experiment with different gravies like brown or mushroom gravy to customize the experience; it’s an easy way to switch up the flavors!
-
Extra Crunch: If you love a crispy exterior, consider double-coating the pillows in breadcrumbs for an even crunchier result once baked.
Make Ahead Options
These Chicken Pillows are a fantastic option for meal prep, allowing you to enjoy this comforting dish on busy weeknights! You can assemble the filling and prepare the pillows up to 24 hours in advance; simply cover them tightly with plastic wrap and refrigerate to maintain their quality. Alternatively, you can freeze the unbaked Chicken Pillows for up to 3 months; just be sure to lay them flat in a single layer on a baking sheet until fully frozen, then transfer them to a freezer-safe bag. When you’re ready to enjoy, bake them directly from frozen, adding an extra 10-15 minutes to the baking time. This method ensures each bite stays just as delicious and comforting, making dinner hassle-free!
What to Serve with Easy Chicken Pillows with Creamy Gravy?
Imagine a dinner table brimming with warmth and flavor as you complement your Chicken Pillows with delightful side dishes and beverages.
- Steamed Green Beans: Offers a fresh crunch and vibrant color, balancing the creamy chicken with a light, fresh taste.
- Garlic Mashed Potatoes: The buttery, garlicky flavor mingles perfectly with the savory gravy, creating a comforting, hearty side.
- Simple Garden Salad: Crisp lettuce and juicy tomatoes add a refreshing element that complements the richness of the pillows.
- Roasted Brussels Sprouts: Their slight bitterness beautifully contrasts the sweetness of the creamy gravy, making each bite interesting and delicious.
- Corn on the Cob: Sweet, juicy kernels provide a delightful contrast, rounding out the meal with a seasonal touch that’s sure to please.
- Homemade Biscuits: Fluffy and buttery, these biscuits are perfect for soaking up extra gravy, creating a warm, comforting experience.
- Apple Crisp: For dessert, this warm, spiced treat with a crumbly topping brings a sweet finish to your comforting meal.
- Iced Tea or Lemonade: Refresh your palate with these light beverages; their acidity cuts through the creaminess, making for a balanced dining experience.
Chicken Pillows Variations & Substitutions
Feel free to explore these delightful variations to make your Chicken Pillows truly your own, elevating them to the next level of comfort and flavor!
-
Vegetarian Option: Swap the chicken for sautéed mixed vegetables or a creamy cheese blend for a delightful twist.
-
Greek Flavor: Use feta cheese and spinach in place of chicken for a Mediterranean-inspired filling that’s bursting with flavor. This twist not only adds zest but also introduces a whole new dimension to your Chicken Pillows.
-
Spicy Kick: Add jalapeños or crushed red pepper flakes to the filling for a little heat that contrasts beautifully with the creamy texture.
-
Rich Mushroom Sauce: Instead of basic gravy, top with a luxurious homemade mushroom sauce for an earthy, savory finish that will have everyone asking for more.
-
BBQ Chicken Filling: Use shredded BBQ chicken as the filling for a smoky, sweet flavor that pairs wonderfully with melted cheddar cheese. This variation creates an entirely different taste experience that’s still comforting and satisfying.
-
Herb Upgrade: Infuse your cream cheese with fresh herbs like dill or basil to brighten the filling and enhance the overall flavor profile. Such a change adds a fresh touch that pairs wonderfully with the crispy dough.
-
Buffalo Style: Mix hot sauce into the chicken filling before wrapping, then serve with a side of blue cheese dressing for dipping. This adds a zesty flair that those who love buffalo flavors will adore.
-
Gluten-Free Version: Replace crescent roll dough with gluten-free puff pastry or alternative bread, ensuring everyone can enjoy this comfort food classic.
If you’re looking for more delicious meal ideas, consider trying the Grilled Chicken Sweet or adding a side of the savory Garlic Parmesan Chicken to round out your dining experience. Each variation offers an inviting way to tweak the classic Chicken Pillows recipe while keeping it scrumptious and family-approved!
How to Store and Freeze Chicken Pillows
Fridge: Store leftover Chicken Pillows in an airtight container for up to 3 days. This keeps them fresh and ready for quick meals.
Freezer: For longer storage, freeze unbaked Chicken Pillows on a baking tray, then transfer them to a freezer bag. They can be frozen for up to 2 months; just bake from frozen for an additional 10-15 minutes.
Reheating: Reheat baked Chicken Pillows in the oven at 350°F (175°C) for about 10-15 minutes, or until heated through, to maintain their flaky texture.
Quick Meal Prep: Make Chicken Pillows ahead of time for busy nights. They’re a comforting option that’s easy to pull out and enjoy!
Chicken Pillows Recipe FAQs
How do I choose the right chicken for Chicken Pillows?
Absolutely! For the best flavor and texture, use cooked, shredded chicken breast that’s seasoned to your liking. Leftover turkey also works beautifully. If you’re in a pinch, a rotisserie chicken is a great choice as it saves time and adds depth to the dish.
How should I store leftover Chicken Pillows?
Store any leftovers in an airtight container in the refrigerator for up to 3 days. This method helps retain freshness and flavor, making it easy to enjoy these delicious pillows again. Reheat them in the oven at 350°F (175°C) for 10-15 minutes for the best results.
Can I freeze Chicken Pillows, and how do I do it?
Yes! To freeze Chicken Pillows, prepare them but do not bake. Arrange the unbaked pillows on a baking tray and place them in the freezer until solid. Then, transfer them to a freezer bag, ensuring to remove excess air. They can be frozen for up to 2 months. When you’re ready to enjoy, bake directly from frozen for an additional 10-15 minutes!
What if my Chicken Pillows leak during baking?
The key here is in the sealing! Make sure to press the perforations of the crescent dough tightly together. If any do leak, it’s likely the filling was overfilled or the dough wasn’t sealed well. If that happens, simply scoop up any filling that spills out, as it will still taste amazing with the gravy!
Are Chicken Pillows suitable for dietary restrictions or allergies?
Very! You can customize them easily. For a gluten-free version, use gluten-free crescent rolls and breadcrumbs. If you’re preparing for those with dairy allergies, swap cream cheese for a dairy-free alternative and use olive oil instead of butter. Always double-check labels for allergens!
What variations can I make with Chicken Pillows?
The more the merrier! You can experiment with the filling by adding sautéed vegetables, cheese, or even a different protein like ground turkey. For sauces, try pairing your pillows with brown gravy, a creamy mushroom sauce, or even a garlic butter drizzle to switch up the flavors and keep things exciting.
Delicious Chicken Pillows with Creamy Gravy for Cozy Nights
Ingredients
Equipment
Method
- Preheat your oven to 350°F (175°C) and grease a baking sheet.
- In a medium bowl, combine cream cheese and butter until smooth. Add chicken, chives, onion, salt, and pepper, mixing well.
- Unroll the crescent dough and press the perforations to form rectangles. Prepare four rectangles.
- Divide the chicken mixture evenly among the rectangles. Fold and seal the corners tightly.
- Dip each pillow in melted butter and roll in breadcrumbs.
- Place the pillows on the baking sheet and bake for 22-25 minutes until golden brown.
- Prepare the gravy by mixing soup, gravy mix, and water in a saucepan. Boil, then simmer.
- Serve Chicken Pillows warm, drizzled with gravy on top.
Leave a Reply