
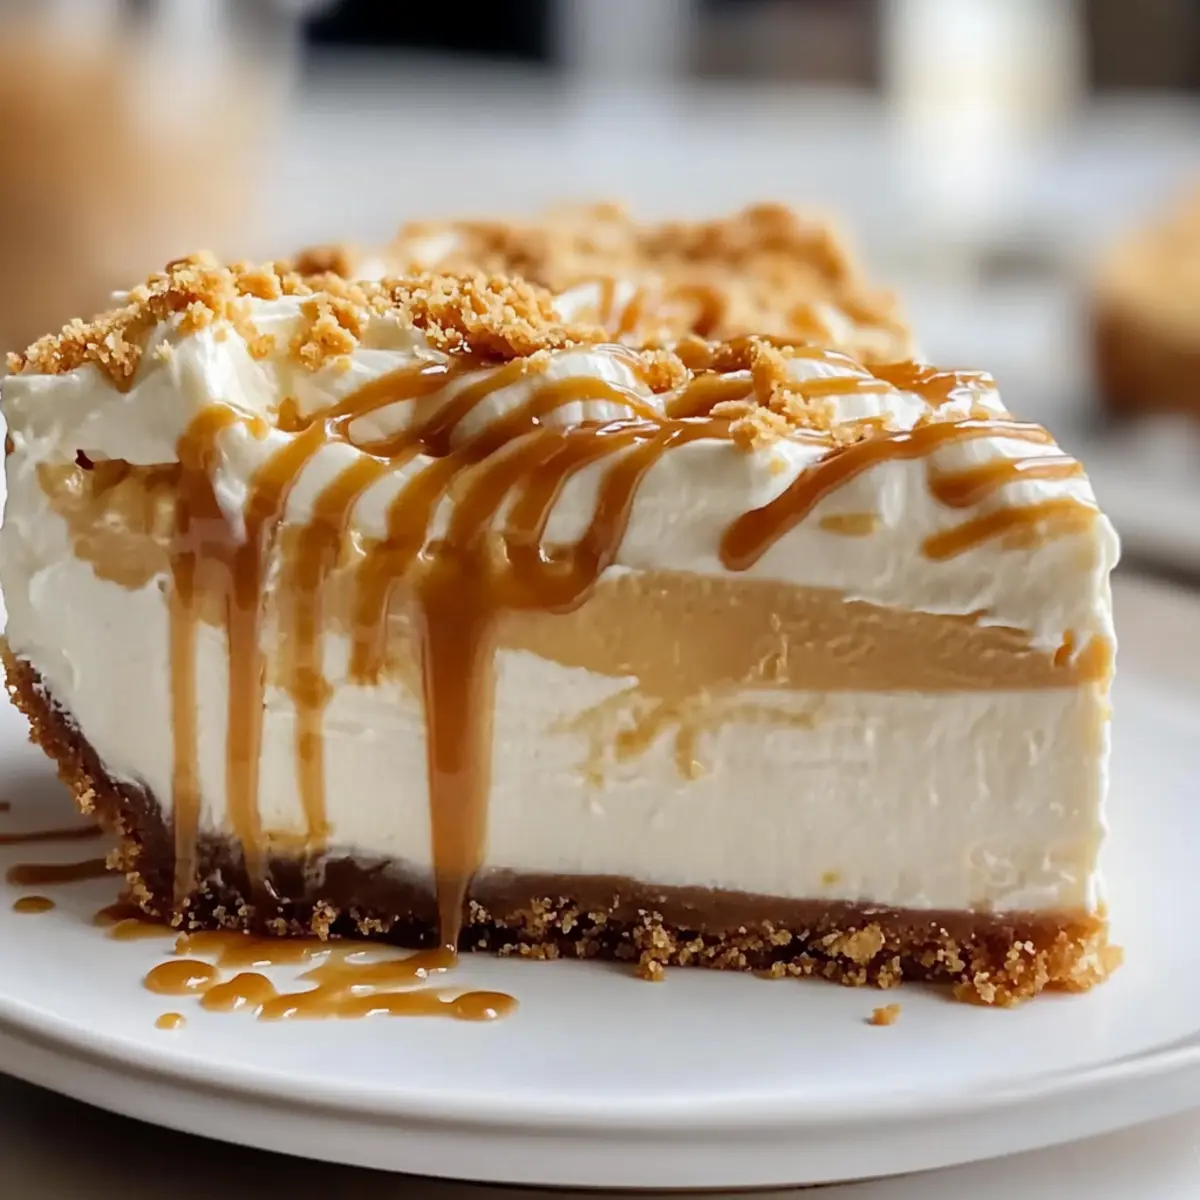
“How do you turn a classic dessert into a no-bake wonder? With my Creamy No-Bake Dulce de Leche Cheesecake, you can enjoy the luscious richness of dulce de leche mixed with a smooth, creamy filling that requires absolutely no oven time. Not only is this indulgent dessert easy to whip up, but it also allows for delicious customization—feel free to swap in low-fat cream cheese or a nut-based crust for a lighter version! Perfect for impressing guests or simply treating yourself after a long day, this cheesecake balances sweet and tangy flavors beautifully. Are you ready to dive into a sweet escape?”
Why is this cheesecake a must-try?
Decadent Flavor: This creamy dessert combines dulce de leche’s luscious sweetness with tangy cream cheese for a delightful balance.
No-Bake Convenience: Skip the oven! It’s perfect for hot days or when you want a quick, hassle-free treat.
Customizable Options: Switch to low-fat cream cheese, or try a nut-based crust for a healthier take. The possibilities are endless!
Crowd-Pleaser: It’s a guaranteed hit at parties; serve it chilled with some fresh berries, and watch everyone swoon.
Easy Preparation: Simple steps make it accessible for even beginner bakers. You can whip up this indulgent treat in no time!
Complement your dessert adventures with delicious recipes like Cajun Chicken Pasta or a rich Protein Beef Pasta.
Creamy No-Bake Dulce de Leche Cheesecake Ingredients
For the Crust
• Graham Cracker Crumbs – A sturdy base for your cheesecake; feel free to swap with chocolate graham crackers for a richer flavor.
• Butter – Helps bind the crust together; replace with coconut oil for a delicious non-dairy option.
• Granulated Sugar – Sweetens the crust; consider using natural sweeteners like monk fruit or stevia to lower sugar content.
• Salt – Enhances the overall flavor; there’s no direct substitution needed here.
For the Filling
• Cream Cheese – Provides that creamy texture; low-fat cream cheese works great for a lighter version, or swap for Greek yogurt for a slight tang.
• Dulce de Leche – The star ingredient that brings a rich caramel flavor; try reduced-sugar dulce de leche if you’re watching your sugar intake.
• Vanilla Extract – Adds an extra layer of flavor; no substitutions recommended for the best result.
• Heavy Cream – Lightens the filling while providing stability; Greek yogurt can replace some of the heavy cream for a lighter version.
For Garnish (Optional)
• Chopped Nuts – Adds a delightful crunch on top; choose any preferred nuts or simply leave them out for a nut-free version.
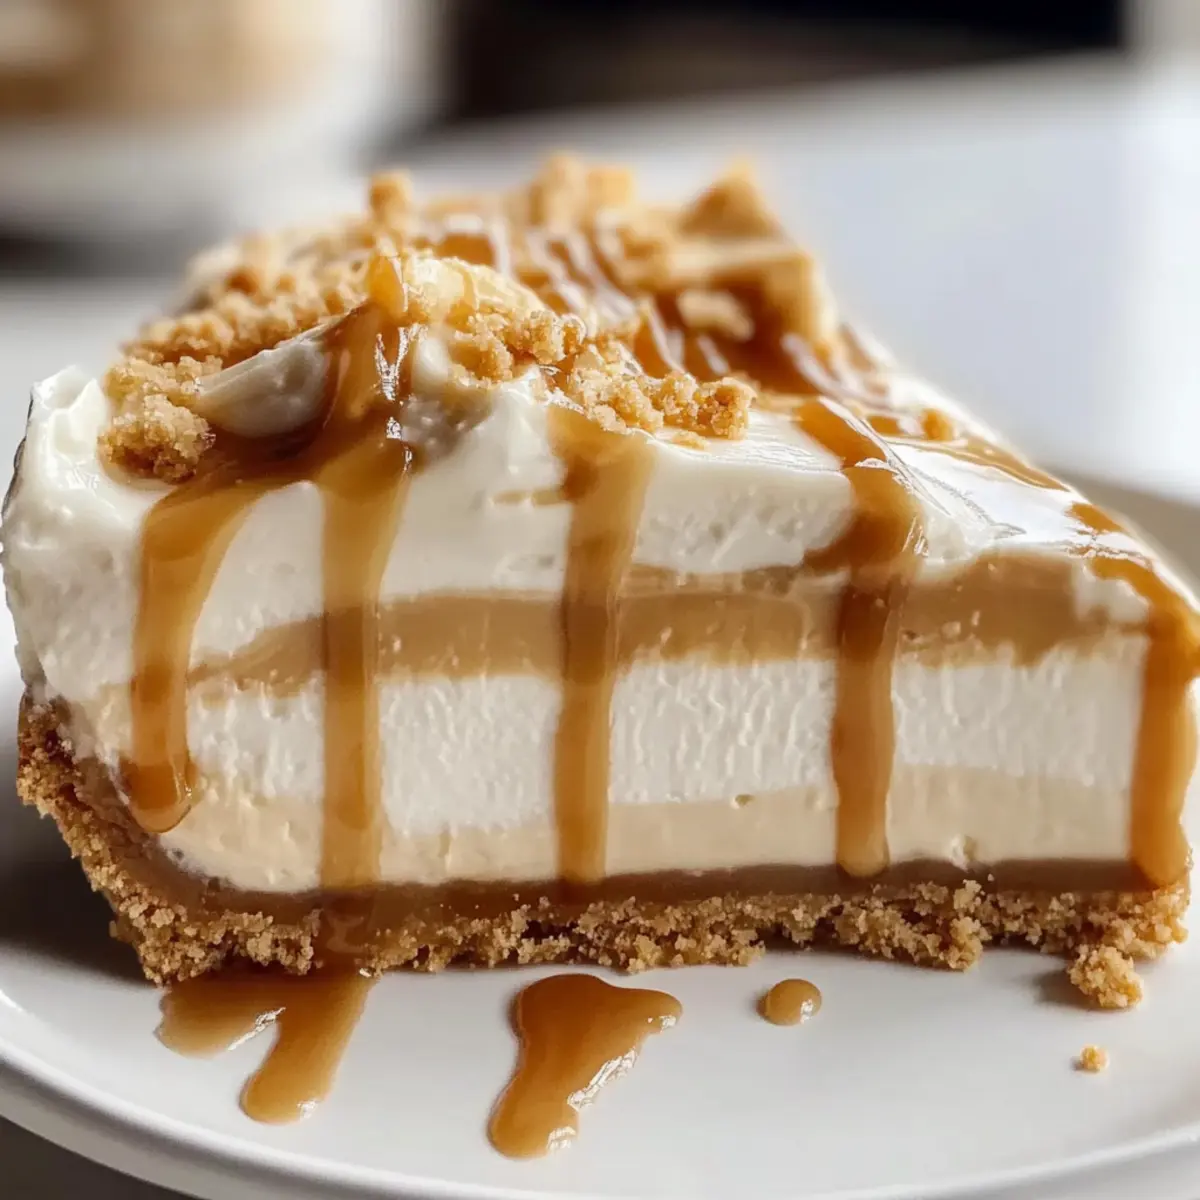
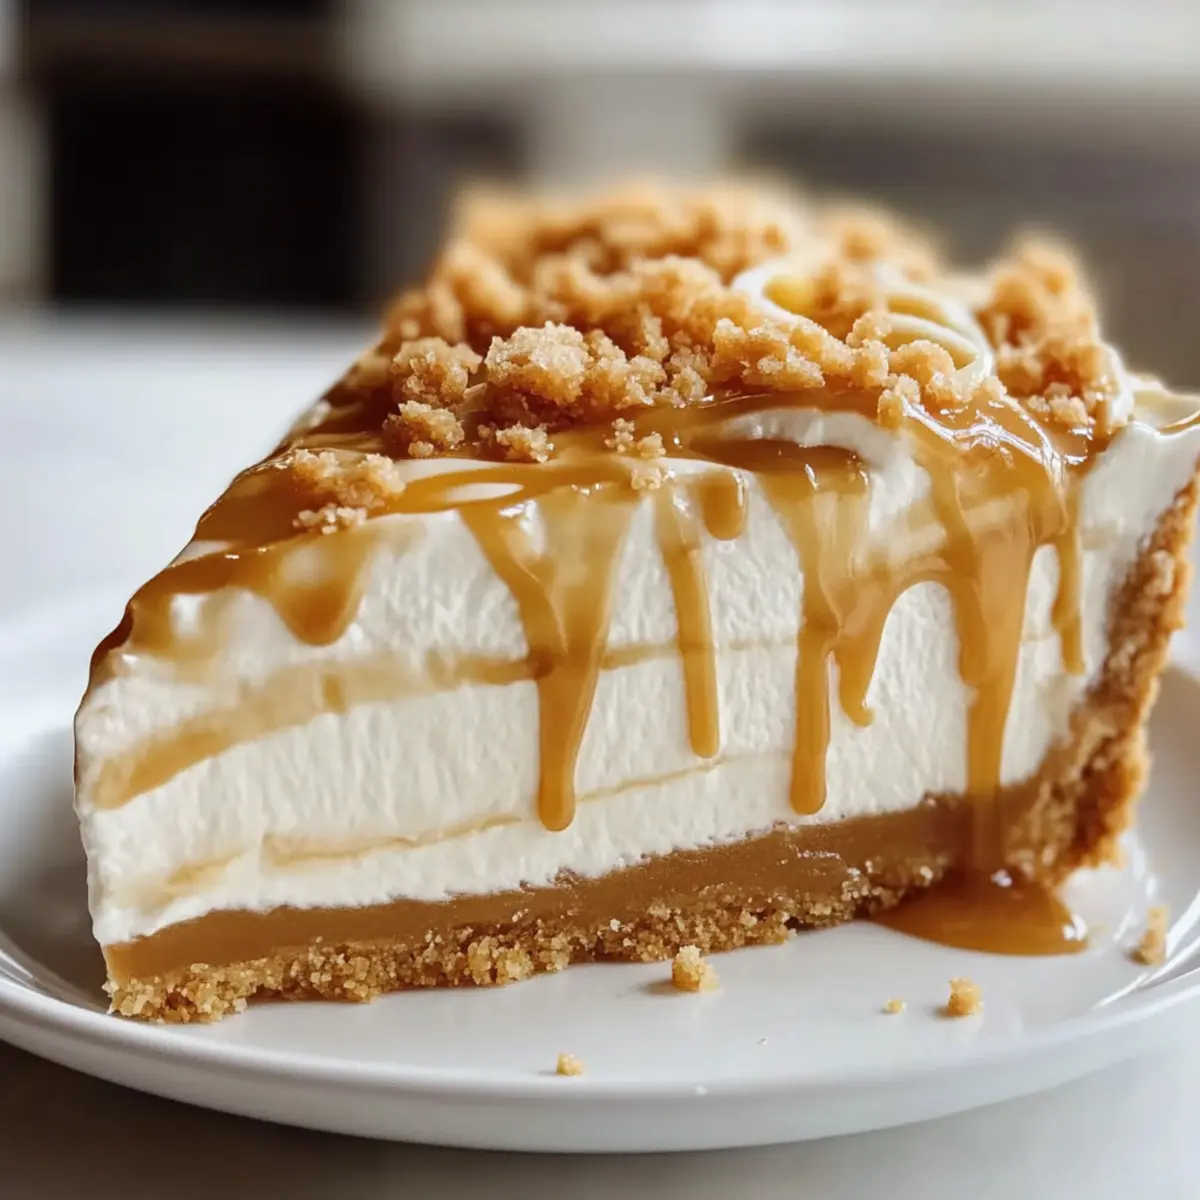
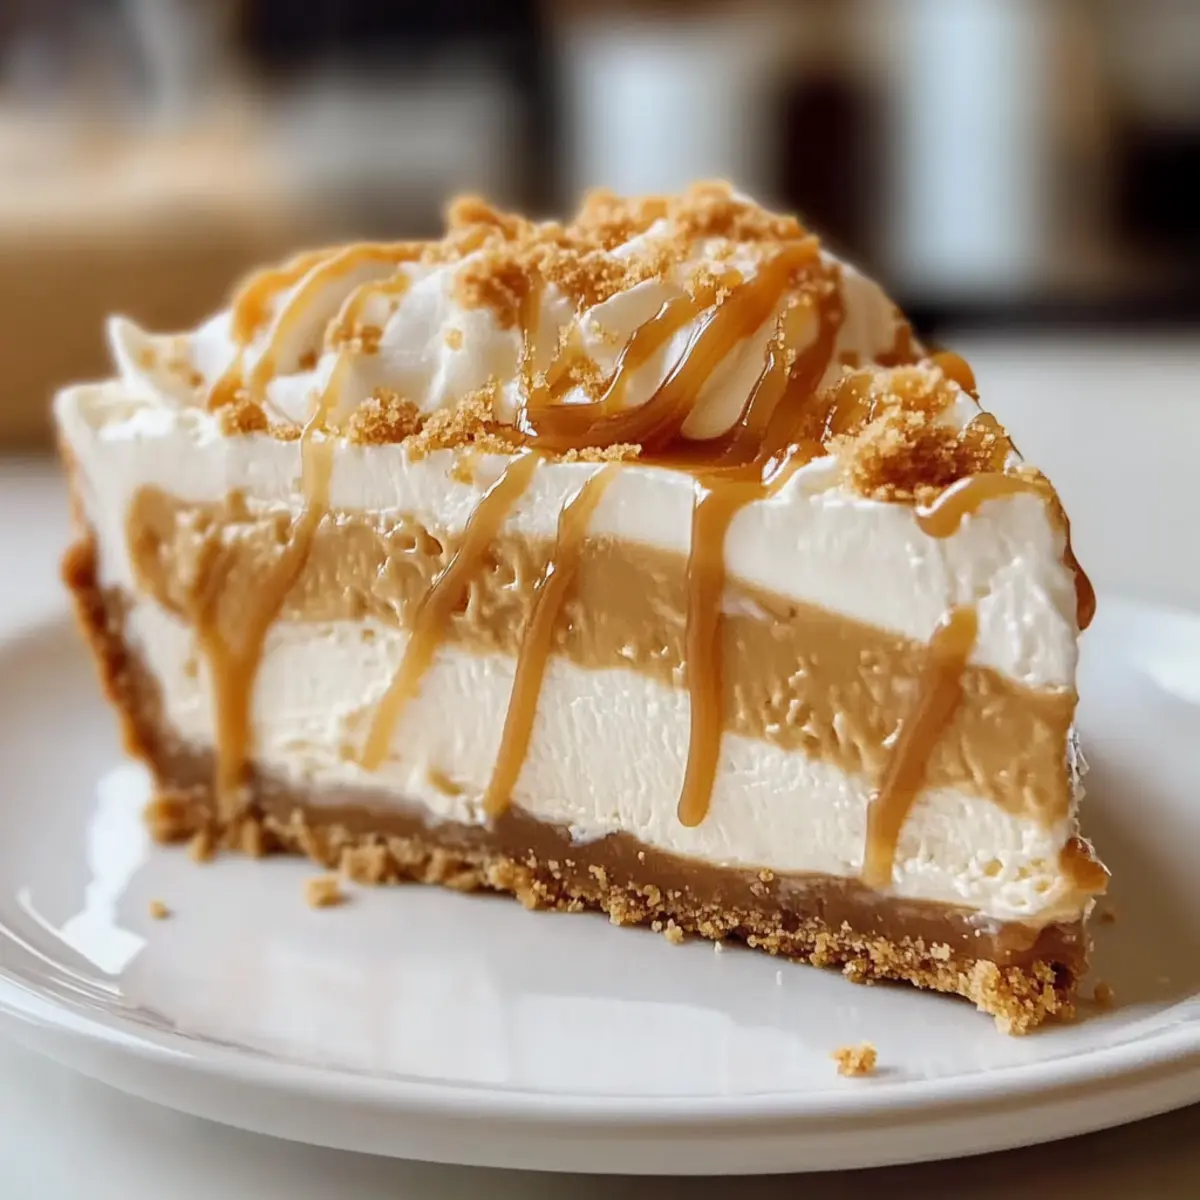
This deliciously creamy no-bake dulce de leche cheesecake will be an indulgent addition to any gathering or a sweet escape after a busy day, so gather your ingredients and get ready to create this masterpiece!
Step‑by‑Step Instructions for Creamy No-Bake Dulce de Leche Cheesecake
Step 1: Prepare the Crust
In a medium bowl, combine graham cracker crumbs, melted butter, granulated sugar, and salt until the mixture resembles wet sand. Use a fork or your fingers to ensure an even blend. Once combined, press this mixture firmly into the bottom of a 9-inch springform pan to form a solid crust. Place the pan in the refrigerator to chill for about 20 minutes, allowing the crust to firm up.
Step 2: Beat the Cream Cheese
In a large mixing bowl, beat the softened cream cheese using an electric mixer on medium speed until it becomes smooth and fluffy, which should take about 2-3 minutes. Scrape down the sides of the bowl frequently to ensure all the cream cheese is whipped evenly. This step is vital for a creamy filling in your No-Bake Dulce de Leche Cheesecake.
Step 3: Combine Filling Ingredients
Add the dulce de leche, granulated sugar, vanilla extract, and a pinch of salt to the beaten cream cheese. Mix on low speed until everything is well combined and the mixture is uniform in color and texture. This harmonious blend will serve as the rich and decadent filling for your cheesecake, setting the stage for a delightful dessert experience.
Step 4: Incorporate Whipped Cream
In another bowl, whip the heavy cream until soft peaks form, which should take about 3-4 minutes with a whisk or hand mixer. Gently fold the whipped cream into the dulce de leche mixture using a spatula, being careful not to deflate the cream. This folding technique will preserve the airy texture, resulting in a light and creamy filling for your cheesecake.
Step 5: Assemble the Cheesecake
Remove the chilled crust from the refrigerator and pour the luscious filling into the crust. Smooth the top with a spatula and gently tap the pan on the counter to release any trapped air bubbles. This step ensures a beautiful finish for your Creamy No-Bake Dulce de Leche Cheesecake, giving it a professional appearance.
Step 6: Refrigerate
Cover the assembled cheesecake with plastic wrap or foil and refrigerate it for at least 6 hours, or ideally overnight. This chilling time allows the flavors to meld beautifully and sets the filling to the perfect creamy consistency. Resist the temptation to cut into it too soon; patience is key for the best result!
Step 7: Serve with a Touch of Elegance
Before serving, gently warm some dulce de leche in the microwave until it is pourable, then drizzle it over the chilled cheesecake for added decadence. Optionally, sprinkle chopped nuts and a pinch of flaky sea salt on top to enhance the flavors and presentation. Now, your Creamy No-Bake Dulce de Leche Cheesecake is ready to impress!
What to Serve with Creamy No-Bake Dulce de Leche Cheesecake
Imagine a delightful array of flavors and textures that will elevate your no-bake dessert experience to new heights.
-
Fresh Berries: Their tartness cuts through the richness of the cheesecake, providing a refreshing contrast on every bite. Think juicy raspberries or strawberries to add vibrant color and flavor!
-
Whipped Cream: A dollop of creamy goodness on top enhances the cheesecake’s indulgence while adding a light texture. It’s an effortless touch that adds elegance.
-
Chocolate Sauce: A drizzle of rich chocolate sauce brings a decadent flair and plays beautifully with the caramel notes of the dulce de leche.
-
Coconut Macaroons: The chewiness and sweetness of these treats pair well with the creamy dessert, creating a delightful textural experience with each bite.
-
Vanilla Ice Cream: A scoop of vanilla ice cream on the side offers a cool and creamy balance against the cheesecake’s richness, melting slightly for ultimate indulgence.
-
Coffee: A warm cup of freshly brewed coffee complements the sweetness of the cheesecake. The bitterness brings out the flavors of the dulce de leche beautifully.
-
Mint Leaves: A sprinkle of fresh mint provides a pop of color and an aromatic freshness that pairs nicely with the dessert’s rich, sweet flavor.
-
Honey Drizzle: A light drizzle of honey adds an extra hint of sweetness and pairs wonderfully with fruit accompaniments.
-
Chocolate-Dipped Strawberries: These can elevate your dessert experience, offering a delightful mix of textures and flavors that everyone will love.
Make Ahead Options
Prepare your Creamy No-Bake Dulce de Leche Cheesecake ahead of time to save yourself valuable moments during busy weeknights or special occasions! You can make the graham cracker crust up to 24 hours in advance, simply press it into the springform pan and refrigerate. The filling can also be prepared up to 2 days ahead; just combine the cream cheese, dulce de leche, and whipped cream, then store it in an airtight container in the fridge. When you’re ready to serve, pour the filling into the chilled crust, cover, and let it sit in the refrigerator for another 6 hours if it hasn’t already set overnight. This way, your cheesecake remains just as delicious, and the flavors will meld beautifully!
Creamy No-Bake Dulce de Leche Cheesecake Variations
Feel free to personalize this dreamy cheesecake to match your taste buds or dietary needs!
-
Nut-Based Crust: Substitute graham cracker crumbs with ground almonds or walnuts mixed with coconut oil for a delightful crunch.
-
Greek Yogurt Twist: Replace one-third of the cream cheese with Greek yogurt for a tangy flavor and lighter texture. It’s a fantastic way to add some probiotics!
-
Chocolatey Decadence: Use chocolate graham crackers for your crust to create a rich, chocolatey base that complements the dulce de leche beautifully. Who can resist chocolate?
-
Flavored Extracts: Add a splash of almond or coconut extract to the filling for an unexpected twist that will surprise your tastebuds! It’s amazing how a little change can elevate your dessert.
-
Fruit Infusion: Fold in some pureed strawberries or raspberries into the cheesecake filling before chilling for a fruity flair. Fresh berries on top add a vibrant color too!
-
Lower Sugar Option: Swap out granulated sugar for natural sweeteners like monk fruit or stevia to cut down on sugar without compromising on sweetness!
-
Decadent Toppings: Drizzle melted chocolate or caramel over the cheesecake when serving for added indulgence. As if the dulce de leche wasn’t enough, right?
-
Spicy Kick: Incorporate a pinch of cayenne or chili powder into the dulce de leche topping for a surprising heat that enhances the sweetness. It’s a daring twist that adventurous palates will love!
These variations not only enhance the flavor but also let you enjoy this lovely dessert your way. If you’re craving something else sweet, don’t forget to check out my mouthwatering Parmesan Chicken Pasta or a delightful Pistachio Mushroom Cheesecake. Enjoy!
How to Store and Freeze Creamy No-Bake Dulce de Leche Cheesecake
Fridge: Keep your cheesecake covered in the refrigerator for up to 5 days to maintain its creamy texture and flavor.
Freezer: For longer storage, freeze the cheesecake for up to 2 months. Wrap it tightly in plastic wrap and then foil to prevent freezer burn.
Thawing: To enjoy frozen cheesecake, transfer it to the fridge and let it thaw overnight before serving.
Reheating: There’s no need to reheat this no-bake cheesecake; just serve it chilled and enjoy the luscious dulce de leche flavors!
Expert Tips for Creamy No-Bake Dulce de Leche Cheesecake
- Room Temperature Cheese: Ensure cream cheese is at room temperature for a smooth and creamy filling, avoiding lumps in your cheesecake.
- Gentle Folding: Avoid overmixing when incorporating whipped cream; gently fold until just combined to keep the filling light and airy.
- Chill Time is Key: Be patient and allow the cheesecake to set in the refrigerator for at least 6 hours; this is crucial for achieving the perfect texture.
- Slicing Secrets: For clean slices, dip your knife in hot water before cutting; wipe it dry between slices for a beautiful presentation.
- Customize Wisely: Feel free to experiment with crust variations; using a nut-based crust can add a delightful crunch and flavor to your creamy no-bake dulce de leche cheesecake.
Creamy No-Bake Dulce de Leche Cheesecake Recipe FAQs
What is the best way to choose ripe ingredients?
Absolutely! For the best flavor, make sure you select a high-quality dulce de leche—look for a rich, caramel color and a creamy consistency. If you’re using cream cheese, opt for a full-fat variety that’s softened to room temperature; this guarantees a smooth filling with no lumps. For the graham cracker crumbs, ensure they’re fresh—if they’re stale, the crust won’t hold together properly.
How should I store the cheesecake and for how long?
You can easily store your creamy no-bake dulce de leche cheesecake in the refrigerator for up to 5 days. Make sure to cover it well with plastic wrap or aluminum foil to prevent it from absorbing any odors or flavors from other foods. If you’d like to keep it longer, wrap it tightly in plastic wrap and then in tin foil before freezing for up to 2 months. Just remember to thaw it overnight in the fridge before you dig in!
Can I freeze this cheesecake, and how do I do it?
The more the merrier! Freezing the cheesecake is simple—just follow these steps: First, once the cheesecake has set and fully chilled, wrap the springform pan in plastic wrap. Then, cover it with aluminum foil to provide an extra barrier against freezer burn. You can also freeze individual slices by wrapping each slice in plastic wrap and then placing them in a freezer-safe bag. When you’re ready to enjoy, place it in the fridge to thaw overnight.
What should I do if my filling is too runny?
Very! If your filling seems too runny, it’s often due to under-whipping the heavy cream or not having the cream cheese at room temperature. To fix it, try returning your mixture to the mixing bowl, then whip additional heavy cream separately until soft peaks form. Gently fold it into your cheesecake mixture until fully combined. This should help thicken the filling.
Is this cheesecake suitable for those with dietary restrictions?
Certainly! You can make this dessert more inclusive by using low-fat cream cheese or Greek yogurt for a lighter alternative. If you or your guests have nut allergies, feel free to omit the nuts for garnish. Additionally, swap the granulated sugar for a natural sweetener like monk fruit or stevia to create a low-sugar version of this creamy no-bake dulce de leche cheesecake. Always double-check labels for any hidden allergens in prepackaged ingredients!
Decadent Creamy No-Bake Dulce de Leche Cheesecake Bliss
Ingredients
Equipment
Method
- In a medium bowl, combine graham cracker crumbs, melted butter, granulated sugar, and salt until the mixture resembles wet sand. Press firmly into the bottom of a 9-inch springform pan to form a solid crust. Chill in the refrigerator for about 20 minutes.
- In a large mixing bowl, beat the softened cream cheese using an electric mixer on medium speed until smooth and fluffy, about 2-3 minutes.
- Add the dulce de leche, granulated sugar, vanilla extract, and a pinch of salt to the beaten cream cheese. Mix on low speed until well combined.
- In another bowl, whip the heavy cream until soft peaks form, about 3-4 minutes. Gently fold the whipped cream into the dulce de leche mixture with a spatula.
- Remove the chilled crust from the refrigerator and pour the filling into the crust. Smooth the top and tap the pan to release trapped air bubbles.
- Cover the cheesecake with plastic wrap or foil and refrigerate for at least 6 hours, or ideally overnight.
- Before serving, gently warm some dulce de leche in the microwave and drizzle over the cheesecake. Optionally, sprinkle chopped nuts and a pinch of flaky sea salt on top.
Leave a Reply