
What if I told you that you could enjoy a scoop of ice cream that not only satisfies your sweet cravings but pumps up your protein intake too? Enter my 5 Ingredient Sea Salt & Honey Protein Ice Cream, a delightful, creamy escape that effortlessly combines health and indulgence. With just a handful of wholesome ingredients, this low-calorie, high-protein dessert is gluten-free, making it perfect for anyone looking to whip up a guilt-free treat. Whether it’s post-workout fuel or a late-night snack, this recipe is a game-changer—plus, it comes together using the Ninja CREAMi, cutting down on prep time and cleanup. Are you ready to transform your dessert experience into something both delicious and nourishing? Let’s scoop into the details!
Why is this ice cream a must-try?
Simplicity: With only five ingredients, you can create a gourmet dessert effortlessly.
High Protein: Each scoop packs a punch, making it an ideal choice for post-workout recovery or a nutritious snack.
Guilt-Free Indulgence: Enjoy a sweet treat without refined sugars or gluten, perfect for health-conscious eaters!
Unforgettable Flavor: The sweet notes of honey paired with flaky sea salt create a taste sensation that will leave you craving more.
Versatile: Customize with your favorite toppings like fresh fruit or a drizzle of honey, just like you would with my Pumpkin Feta Honey or Salted Honey Pie recipes.
Quick to Prepare: Using the Ninja CREAMi, this recipe minimizes cooking time, making it easy to enjoy your dessert sooner!
Sea Salt & Honey Protein Ice Cream Ingredients
For the Ice Cream Base
• Cottage Cheese – Provides a creamy texture and a protein boost; you can substitute with Greek yogurt if desired.
• Raw Honey – Acts as a natural sweetener with floral undertones; consider agave syrup for a vegan option.
• Flaky Sea Salt – Enhances the sweetness and depth of flavor; Himalayan salt is a great alternative for added complexity.
• Medjool Dates – Adds natural sweetness and richness; make sure they’re pitted for smooth blending and substitute with maple syrup if needed.
• Vanilla Extract – Improves flavor complexity; opt for pure vanilla for the best taste or omit for a straightforward honey flavor.
Optional Toppings
• Fresh Fruit – Add your favorite seasonal fruits for a refreshing twist.
• Additional Sea Salt – A light sprinkle enhances the flavor explosion in every scoop.
• Drizzled Honey – For extra sweetness and a beautiful presentation—an irresistible temptation!
Step‑by‑Step Instructions for Sea Salt & Honey Protein Ice Cream
Step 1: Blend the Ingredients
In a blender, combine 1 cup of cottage cheese, 1/2 cup of raw honey, a pinch of flaky sea salt, 3 pitted Medjool dates, and 1 teaspoon of vanilla extract. Blend on high for about 1-2 minutes until the mixture becomes smooth and creamy, ensuring all dates are fully incorporated. Scrape down the sides as necessary to ensure an even blend.
Step 2: Prepare for Freezing
Once your mixture is velvety, pour it into the Ninja CREAMi bowl. Make sure to spread it evenly for consistent freezing. Cover the bowl with its lid and place it in the freezer. Freeze for at least 4 hours, or ideally overnight, to ensure the mixture is solid and ready for churning.
Step 3: Process the Ice Cream
After the mixture has frozen solid, remove the bowl from the freezer. Attach it to the Ninja CREAMi and set the machine to “Ice Cream” mode. Process according to the machine’s instructions, which typically takes about 2-3 minutes. Watch for the mixture to become a creamy consistency, resembling soft serve.
Step 4: Adjust the Texture
If you prefer a softer texture for your Sea Salt & Honey Protein Ice Cream, process it a second time. Alternatively, let the ice cream sit at room temperature for about 5-10 minutes before scooping to achieve a delightful creaminess that’s easy to serve.
Step 5: Serve and Enjoy
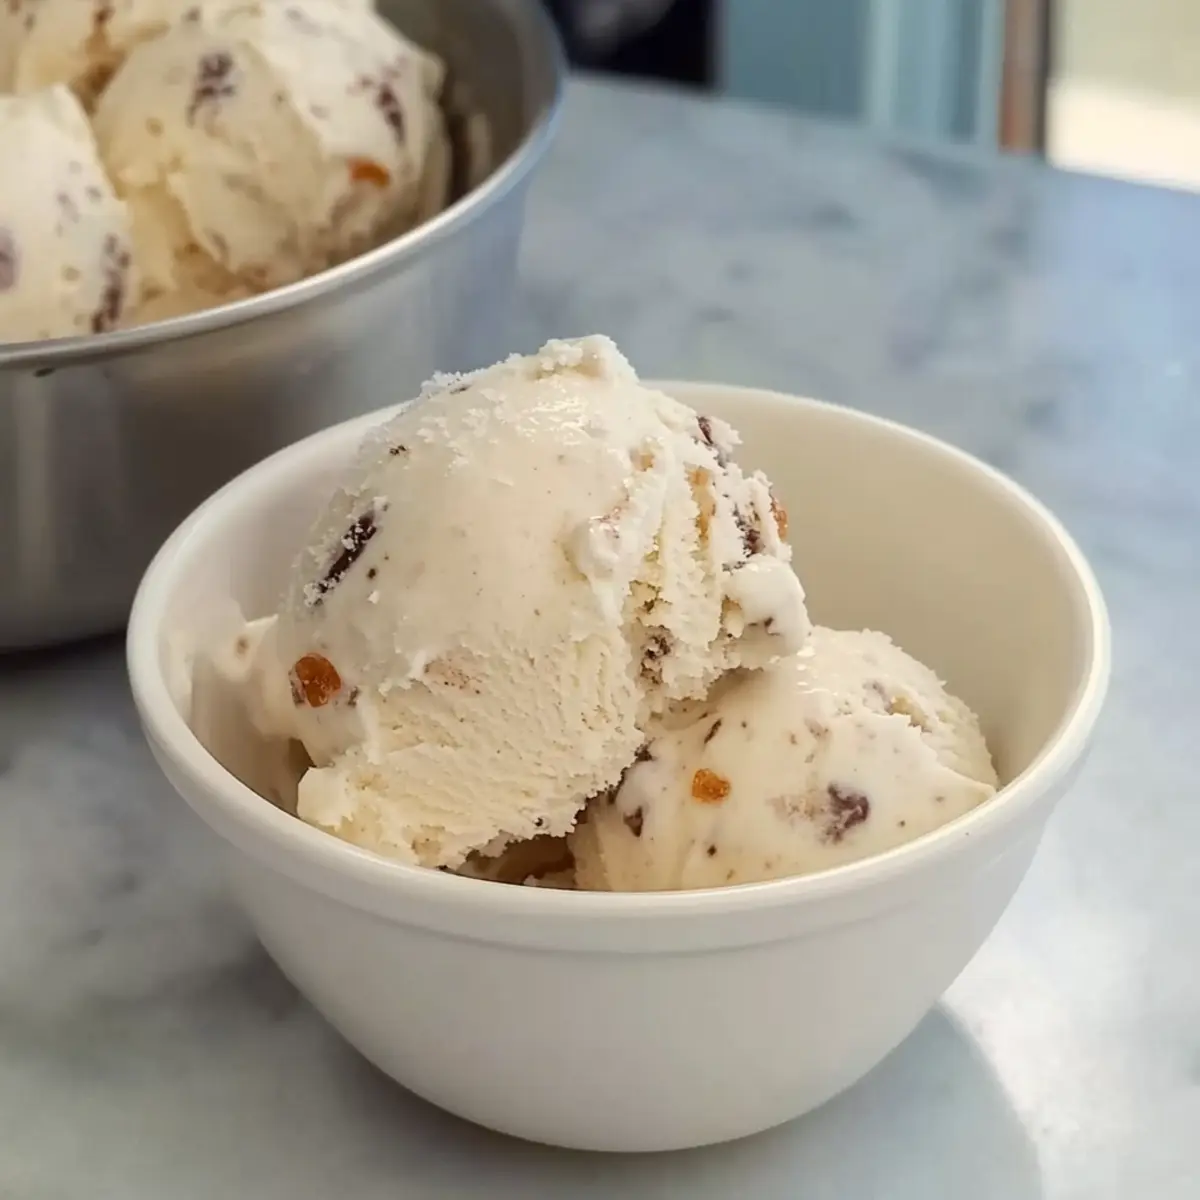
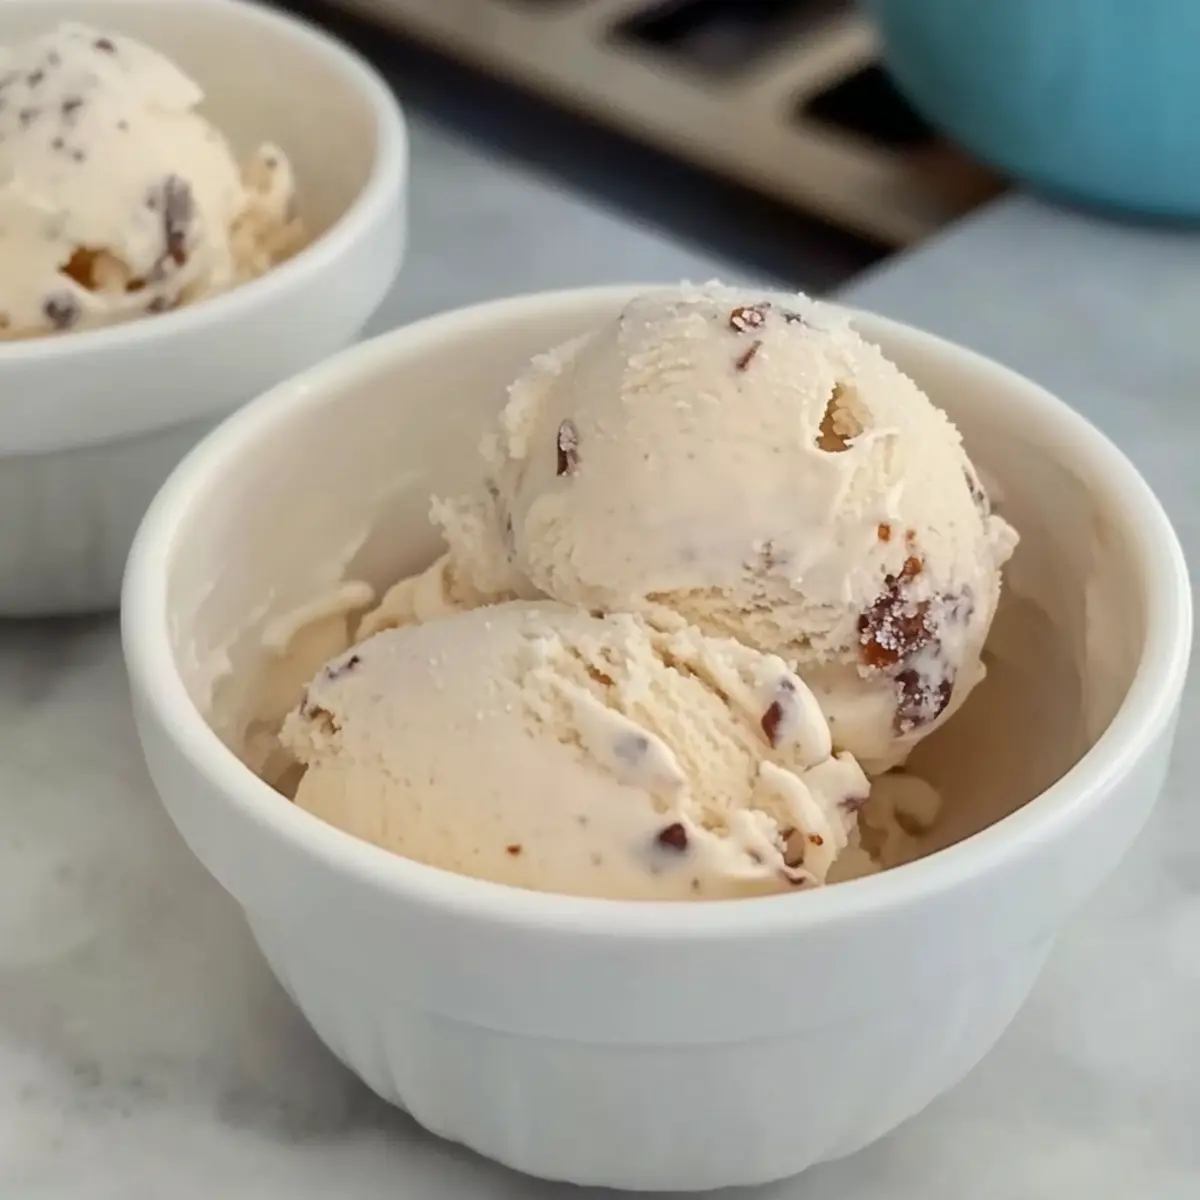
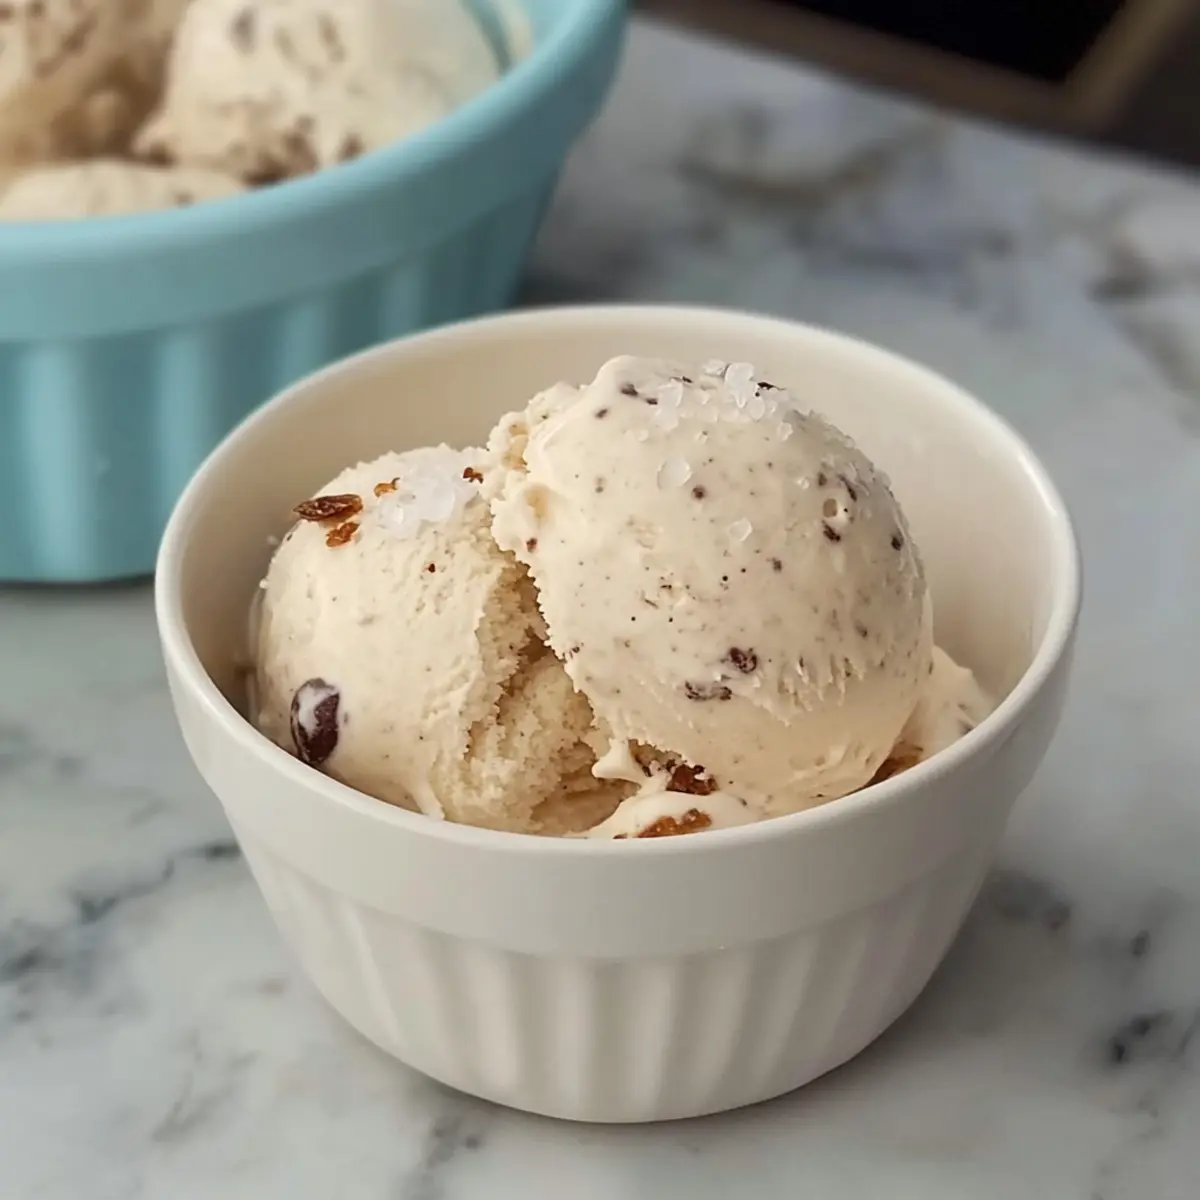
Scoop your creamy Sea Salt & Honey Protein Ice Cream into bowls and enjoy immediately for a refreshing treat. For an added touch, top with a sprinkle of flaky sea salt, a drizzle of honey, or fresh fruit to enhance flavors and presentation. Enjoy your homemade indulgence!
How to Store and Freeze Sea Salt & Honey Protein Ice Cream
Airtight Container: Store any leftover Sea Salt & Honey Protein Ice Cream in an airtight container to prevent ice crystals from forming, ensuring a smooth texture.
Freezer: This delicious treat can be kept in the freezer for up to 1 month. Make sure to tightly seal the container after each serving to maintain freshness.
Thawing: Before serving, let the ice cream thaw in the fridge for a few hours to achieve the perfect creamy consistency. This step will make scooping easier and more enjoyable.
Reprocessing: If the ice cream hardens too much, simply process it again in the Ninja CREAMi for a couple of minutes to restore its velvety texture.
What to Serve with 5 Ingredient Honey Sea Salt Protein Ice Cream
Imagine a delightful array of flavors and textures that will elevate your homemade ice cream experience!
-
Fresh Berries: A vibrant mix of strawberries, blueberries, and raspberries adds a juicy burst, balancing the creaminess of the ice cream with refreshing tartness.
-
Nutty Granola: Crunchy granola provides a satisfying contrast, with hearty oats and nuts enhancing the wholesome nature of your dessert. Sprinkle it on top for added texture.
-
Coconut Whipped Cream: Light and airy, this silky topping adds a tropical flair that pairs beautifully with the ice cream’s sweetness.
-
Chocolate Drizzle: A gentle pour of dark chocolate adds decadence. The rich flavors harmonize with the honey, creating an indulgent treat.
-
Chopped Nuts: Toasted almonds or pecans offer a delightful crunch, contributing healthy fats and a roasted flavor that complements the sweet ice cream.
-
Mint Leaves: Fresh mint brings a cooling note and a pop of color, brightening every scoop for a refreshing finish.
-
Iced Coffee: For a delicious beverage pairing, serve your ice cream alongside a chilled iced coffee. The bold flavors of coffee enhance the sweetness of the honey sea salt ice cream.
-
Fruit Sorbet: For a contrast in texture, a fruity sorbet can add a sweet and tangy zing, making for a delightful palate cleanser.
-
Homemade Fruit Sauce: Drizzle a warm fruit sauce—like blueberry or cherry—over the ice cream for an extra layer of flavor that sings of summertime.
Sea Salt & Honey Protein Ice Cream Variations
Feel free to make this delightful treat your own with any of these fun twists that will elevate your homemade ice cream experience!
-
Dairy-Free: Substitute cottage cheese with silken tofu or coconut cream for a luscious dairy-free option. This swap creates a smooth and rich texture that’s completely plant-based!
-
Vegan Friendly: Use agave syrup in place of raw honey and opt for almond or cashew yogurt instead of cottage cheese. This version still satisfies your sweet tooth while keeping it entirely cruelty-free.
-
Fruity Flair: Add ½ cup of your favorite fruit puree, such as strawberry or mango, to the mix before blending. The fruit will add natural sweetness and a pop of color, turning your ice cream into a summer delight.
-
Nutty Indulgence: Stir in a couple of tablespoons of almond or peanut butter after blending for a creamy, nutty flavor explosion. It adds a wonderful depth and richness to your ice cream that’s truly irresistible.
-
Herbal Notes: Infuse your ice cream with 1-2 teaspoons of dried lavender before blending, creating a unique, aromatic flavor. This elegant twist will transport you to a serene garden with every scoop.
-
Chocolate Lovers: Blend in a few tablespoons of cocoa powder or dark chocolate chips for a decadent chocolate flavor. Complementing the sea salt with chocolate creates a luxurious treat that’s hard to resist.
-
Boosted Protein: Mix in a scoop of your favorite protein powder, like vanilla or chocolate, to ramp up the protein content even further. This way, you can enjoy a nutritious dessert that fuels your workouts!
-
Spicy Kick: Add a pinch of cayenne or cinnamon for an unexpected flavor boost. This warmth pairs beautifully with the sweet honey and sea salt, making it a perfect treat for adventurous palates.
As you explore these variations, don’t forget to check out the delightful recipes like Pumpkin Feta Honey or Salted Honey Pie for more inspiring dessert ideas perfect for any occasion!
Expert Tips
-
Blend Smoothly: Ensure all dates are well blended to avoid any chunky textures. If the dates are dry, soak them in water for 15 minutes first.
-
Freeze Overnight: For the best texture in your Sea Salt & Honey Protein Ice Cream, freeze your mixture overnight. This allows it to solidify perfectly for processing.
-
Monitor Freezing Time: Keep an eye on your ice cream while freezing. If it becomes too hard to scoop, let it soften slightly at room temperature before serving.
-
Experiment with Flavors: Don’t hesitate to get creative! Add lavender, fruit purees, or nut butters to enhance the flavor of your Sea Salt & Honey Protein Ice Cream.
-
Storage Tips: Store any leftovers in an airtight container in the freezer for up to a month. Allow it to thaw in the fridge for a few hours for optimal texture before serving.
Make Ahead Options
These 5 Ingredient Sea Salt & Honey Protein Ice Cream treats are perfect for meal prep enthusiasts looking to save time! You can blend the mixture (cottage cheese, honey, sea salt, Medjool dates, and vanilla) up to 24 hours in advance and refrigerate it in an airtight container. This method helps maintain its freshness and flavor. When you’re ready to serve, simply pour the prepped mixture into the Ninja CREAMi bowl and freeze for at least 4 hours, or ideally overnight, before processing. Not only does this save you time during busy weeknights, but it also allows the flavors to meld beautifully, creating a deliciously creamy dessert with minimal effort!

5 Ingredient Honey Sea Salt Protein Ice Cream Recipe FAQs
What kind of cottage cheese should I use?
I recommend using full-fat or 1% cottage cheese for the creamiest texture in your Sea Salt & Honey Protein Ice Cream. If you prefer a lighter version, 0% fat cottage cheese works, but it may result in a slightly less creamy texture.
How should I store the ice cream?
Store any leftover Sea Salt & Honey Protein Ice Cream in an airtight container in the freezer for up to 1 month. This will help maintain its smooth texture and prevent ice crystals. Remember to seal the container tightly after each serving to preserve freshness!
Can I freeze the ice cream in a different container?
Absolutely! If you don’t have a Ninja CREAMi bowl, you can freeze the mixture in any suitable container. Just make sure to defrost it in the fridge for a few hours before scooping for the best texture, or you may need to let it sit at room temperature for 10-15 minutes for easier serving.
How do I know if my Medjool dates are ripe enough?
Look for Medjool dates that are soft to the touch, without any dark spots all over or a dry appearance. They should be plump and shiny. If your dates are a bit dried out, soaking them in warm water for about 15 minutes can help rehydrate them before blending.
Can dogs eat this ice cream?
While the ingredients are generally safe for dogs, be cautious! Raw honey should be avoided for pets, especially those under one year old. It’s best to enjoy this ice cream as a human treat, but perhaps save a small portion without honey for your furry friend!
What should I do if my ice cream is too hard to scoop?
If your Sea Salt & Honey Protein Ice Cream turns out too hard after freezing, don’t worry! Simply let it sit at room temperature for 5-10 minutes to soften. If it’s still difficult, process it again in the Ninja CREAMi for a couple of minutes until it reaches the desired creamy consistency. Enjoy every scoop with ease!
Creamy Sea Salt & Honey Protein Ice Cream Recipe You’ll Love
Ingredients
Equipment
Method
- In a blender, combine cottage cheese, raw honey, flaky sea salt, Medjool dates, and vanilla extract. Blend on high until smooth and creamy.
- Pour the mixture into the Ninja CREAMi bowl, spread evenly, cover, and freeze for at least 4 hours or overnight.
- After freezing, attach the bowl to the Ninja CREAMi and process on 'Ice Cream' mode until creamy.
- For a softer texture, process again or let sit at room temperature for 5-10 minutes before serving.
- Scoop into bowls and enjoy; add optional toppings for enhanced flavor.
Leave a Reply