
The sizzle of hot oil fills the kitchen, a sound that instantly brings comfort and anticipation. As I prepare to fry up a delightful batch of Crispy Beef & Cheese Chimichangas, I can already envision the warm, golden shell with its savory filling, just waiting to be devoured. This 30-minute recipe is a game-changer for busy weeknights or a fun weekend gathering—perfectly crispy on the outside, yet gooey and rich on the inside. Not only are these chimichangas a crowd-pleaser, but they’re also versatile, allowing you to switch up the filling with whatever ingredients you have on hand. Whether you choose ground beef, turkey, or even a veggie medley, you’re bound to delight anyone at your table. Ready to take your taste buds on a journey? Let’s dive in!
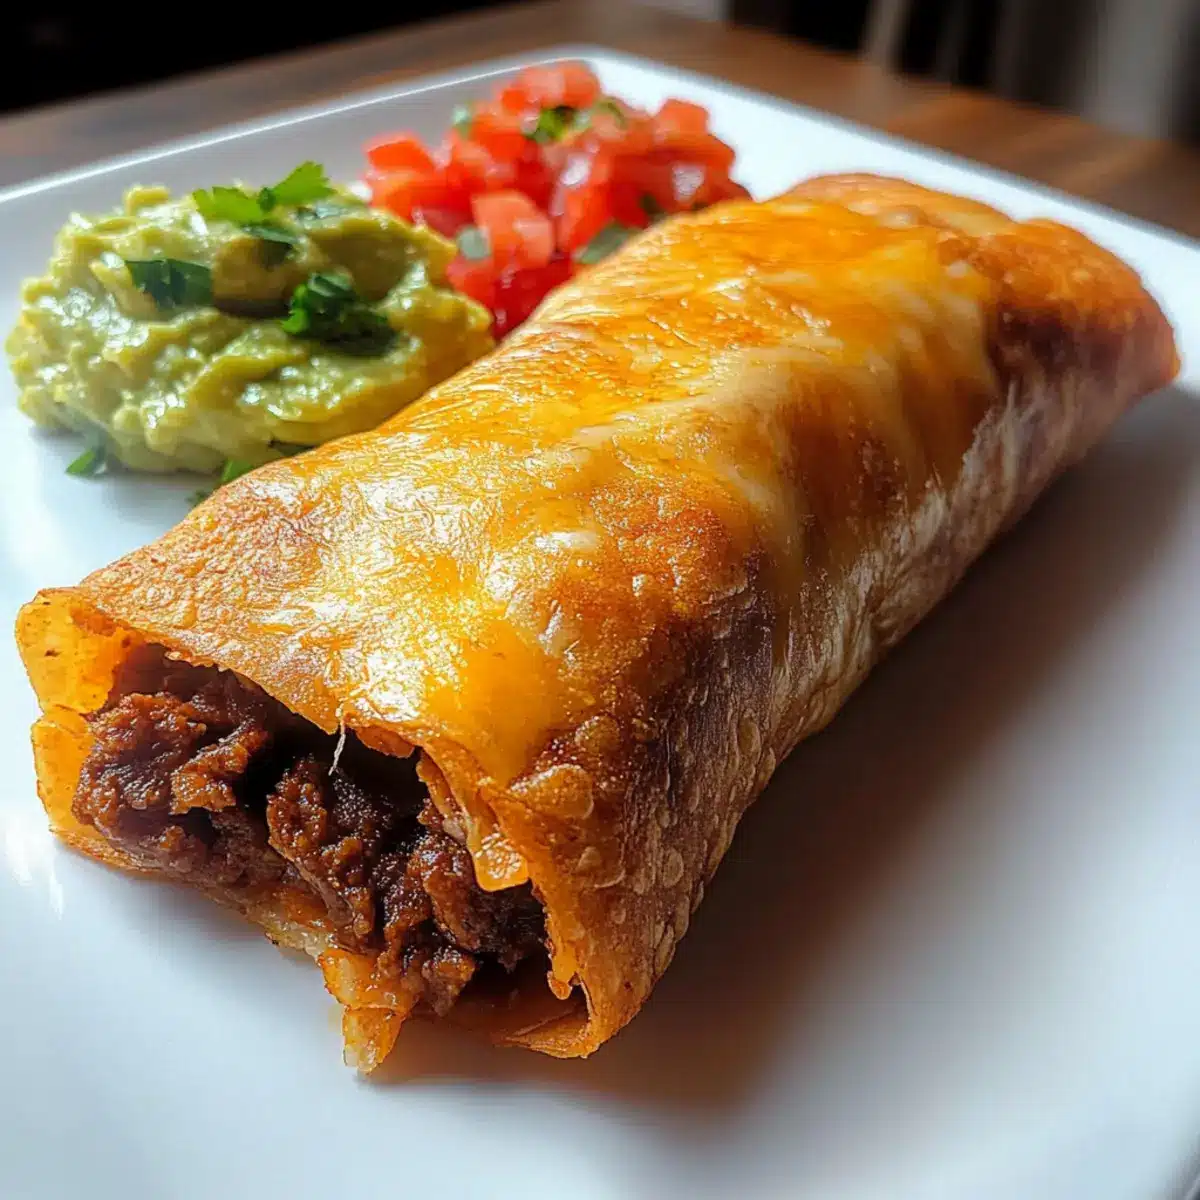
Why Are Crispy Beef & Cheese Chimichangas a Must-Try?
Quick and Easy: Whip up a delicious dinner in just 30 minutes! Perfect for busy weeknights or impromptu gatherings.
Versatile Fillings: Use your choice of ground beef, turkey, or even plant-based options like black beans to suit everyone’s tastes.
Crispy Perfection: These chimichangas boast a golden-crisp shell that offers satisfying crunch with every bite, leaving fast food in the dust.
Make Ahead: You can assemble these delights a day in advance and store them in the fridge, making dinner stress-free and ready to fry!
Serving Fun: Create a fun topping bar with sour cream, guacamole, and salsa for a customizable family meal that everyone will enjoy.
For more hearty options, try my Korean Ground Beef or explore the delicious goodness of Cheesy Beef Enchilada Tortellini.
Crispy Beef & Cheese Chimichangas Ingredients
For the Filling
• Ground Beef – Rich in flavor, it pairs beautifully with melted cheese; consider substituting with turkey or black beans for a lighter take.
• Cheese (Cheddar or Monterey Jack) – Provides a creamy texture and bold taste; opt for pepper jack if you crave a spicy kick.
• Spices (Cumin, Chili Powder) – These add depth and warmth to the filling; feel free to adjust the heat to suit your family’s palate.
For the Tortillas
• Tortillas – A flexible wrapping for the filling; large flour tortillas work best, while corn tortillas are a fantastic gluten-free alternative.
For Frying
• Vegetable Oil – Essential for that golden-brown, crispy texture; can be swapped with canola or peanut oil based on your preference.
With just these simple Crispy Beef & Cheese Chimichangas ingredients, you’ll be well on your way to creating a comforting meal that satisfies and delights!
Step‑by‑Step Instructions for Crispy Beef & Cheese Chimichangas
Step 1: Prepare the Filling
In a large skillet over medium heat, brown 1 pound of ground beef for about 5-7 minutes until fully cooked and no longer pink. Drain excess fat, then stir in spices like cumin and chili powder, followed by 2 cups of shredded cheese. Cook the mixture for an additional 2-3 minutes, stirring until the cheese melts and becomes gooey, creating a savory filling for your Crispy Beef & Cheese Chimichangas.
Step 2: Assemble the Chimichangas
Take a large flour tortilla and spoon approximately 1/3 cup of the filling into the center. Fold the sides over the filling, then tightly roll the tortilla from the bottom up, securing the filling. If needed, use a toothpick to keep the chimichanga closed. Repeat this process with the remaining tortillas and filling, ensuring all are ready for frying.
Step 3: Heat the Oil
In a deep frying pan, pour in enough vegetable oil to cover the bottom by about 1 inch. Heat the oil over medium-high heat until it reaches around 350°F, using a thermometer for accuracy. You can test the temperature by dropping in a small piece of tortilla; it should sizzle when the oil is ready. This ensures your Crispy Beef & Cheese Chimichangas will cook to golden perfection.
Step 4: Fry the Chimichangas
Carefully add 2-3 chimichangas to the hot oil, making sure not to overcrowd the pan. Fry for about 2-3 minutes on each side, or until they are golden brown and crispy. Use tongs to turn them gently, ensuring an even cook. Remove the chimichangas from the oil and place them on paper towels to drain excess oil and maintain a crispy texture.
Step 5: Serve and Enjoy
Once drained, place the Crispy Beef & Cheese Chimichangas on a serving platter. You can serve them immediately with a side of sour cream, guacamole, and salsa for dipping. The contrast of the hot, crispy shell against the cheesy filling makes for a delightful meal that everyone will love!
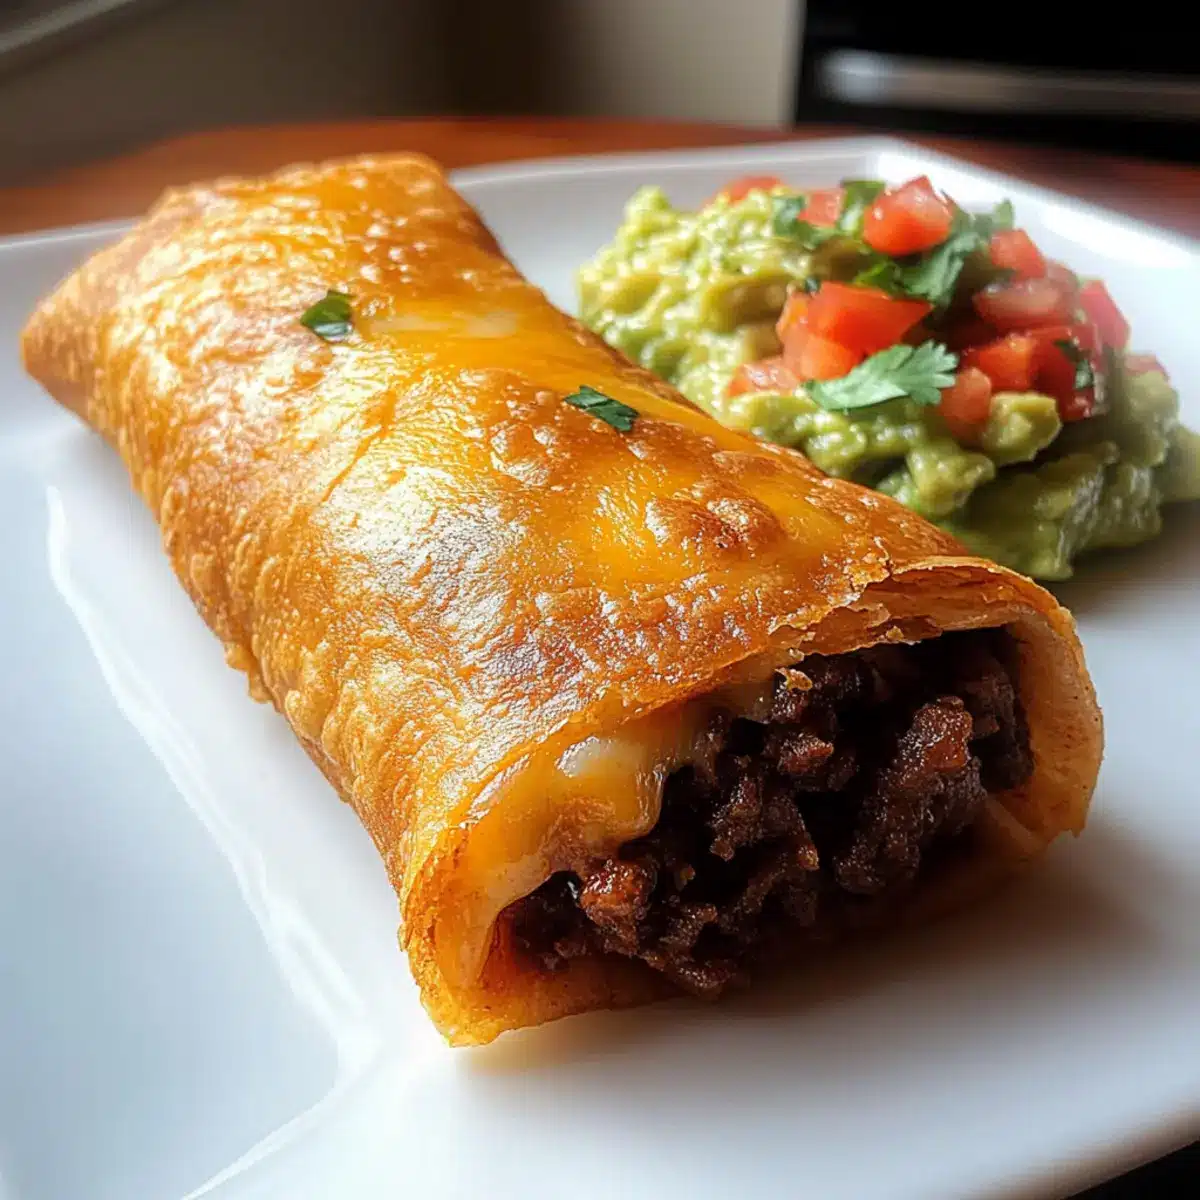
Crispy Beef & Cheese Chimichangas Variations
Customize your Crispy Beef & Cheese Chimichangas to suit your taste buds and dietary needs with these delightful variations.
-
Ground Turkey: Swap the ground beef for ground turkey for a leaner option without sacrificing flavor. The result is a light and tasty twist your family will enjoy!
-
Black Bean Delight: Use black beans combined with corn and diced bell peppers for a vegetarian option. This hearty filling is not only nutritious but also irresistibly delicious.
-
Spicy Pepper Jack: Replace cheddar with pepper jack cheese for a fiery kick. The creamy heat takes these chimichangas to the next level of flavor.
-
Zucchini & More: Add grated zucchini and chopped spinach to the beef filling for extra nutrients and a pop of color. It’s a sneaky way to boost the veggie content while keeping it delicious.
-
Baked Version: Prefer a healthier option? Brush the assembled chimichangas with olive oil and bake at 375°F. They’ll be crispy and golden without the frying!
-
Taco Seasoning: Create a flavor explosion by substituting the spices with your favorite taco seasoning. This will infuse the filling with bold and vibrant flavors.
-
Sweet & Savory: Add a touch of sweetness by mixing in some sautéed apples or peaches into the filling. This unexpected twist is sure to surprise and delight your guests.
For more inspiration, check out these delicious options: the Cheesy Beef Enchilada Tortellini and the savory Ground Beef Halloween that add an exciting twist to any meal!
Expert Tips for Crispy Beef & Cheese Chimichangas
• Temperature Check: Ensure oil is at 350°F before frying to avoid greasy chimichangas. If you see smoke, lower the heat.
• Don’t Overcrowd: Fry only a few chimichangas at a time. Overcrowding lowers the oil temperature, resulting in sogginess instead of crispiness.
• Filling Consistency: Avoid overfilling the tortillas. Too much filling can make them difficult to seal and can lead to leaking during frying.
• Baked Option: For a healthier alternative, bake at 375°F on a greased rack for 20 minutes, flipping halfway for even crispness.
• Storage Tips: Assemble and refrigerate chimichangas up to 24 hours ahead. Reheat in the oven for the best texture before serving.
Enjoy making these Crispy Beef & Cheese Chimichangas to bring comfort home!
What to Serve with Crispy Beef & Cheese Chimichangas
Get ready to create a vibrant, satisfying meal that pleases both the eyes and the palate.
- Creamy Guacamole: The rich, buttery texture of fresh guacamole perfectly contrasts with the crispy chimichangas, enhancing every bite.
- Zesty Salsa: A chunky, tangy salsa adds bright flavors and freshness, cutting through the richness of the filling beautifully.
- Mexican Rice: Fluffy, seasoned rice rounds out the meal, offering a comforting base that complements the chimichangas.
- Refried Beans: Silky smooth beans provide a delightful creaminess and a protein boost, making your dinner feel even more hearty.
- Spicy Slaw: Crisp, tangy slaw adds a refreshing crunch that balances the warm, fried chimichangas perfectly.
- Fresh Cilantro Salad: A light salad with fresh herbs and a squeeze of lime brightens up the table and cleanses the palate.
- Sweet Corn Elote: Grilled corn sprinkled with cheese and spices brings a touch of sweetness that pairs delightfully with savory, crispy fare.
- Fruity Margaritas: Sip on a vibrant margarita for a fun, festive drink that enhances the flavors of your lively meal.
- Churros for Dessert: End the meal on a sweet note! These warm, crispy pastries are perfect for dipping in chocolate or caramel sauce.
How to Store and Freeze Crispy Beef & Cheese Chimichangas
Fridge: Store leftover chimichangas in an airtight container for up to 3 days. To maintain crispiness, reheat in the oven rather than the microwave.
Freezer: Freeze assembled but un-fried chimichangas by placing them in a single layer on a baking sheet. Once frozen solid, transfer them to a freezer bag for up to 2 months.
Reheating: For optimal freshness, reheat from frozen in a preheated oven at 375°F for about 25-30 minutes, or until crispy and heated through.
Prep Ahead: Feel free to prepare chimichangas up to 24 hours in advance. Store them in the fridge covered with plastic wrap until you’re ready to fry or bake for dinner!
Make Ahead Options
These Crispy Beef & Cheese Chimichangas are ideal for meal prep, allowing you to enjoy a delicious homemade meal with less hassle during the week! You can assemble the chimichangas up to 24 hours in advance; simply place them in an airtight container in the refrigerator to maintain freshness. To ensure the best quality, allow the chimichangas to sit at room temperature for about 15 minutes before frying. When you’re ready to serve, simply heat oil to 350°F and fry them until golden brown, which takes just a few minutes. This prep-ahead strategy not only saves time but also guarantees you have a delightful meal that’s just as crispy and flavorful as if made fresh!
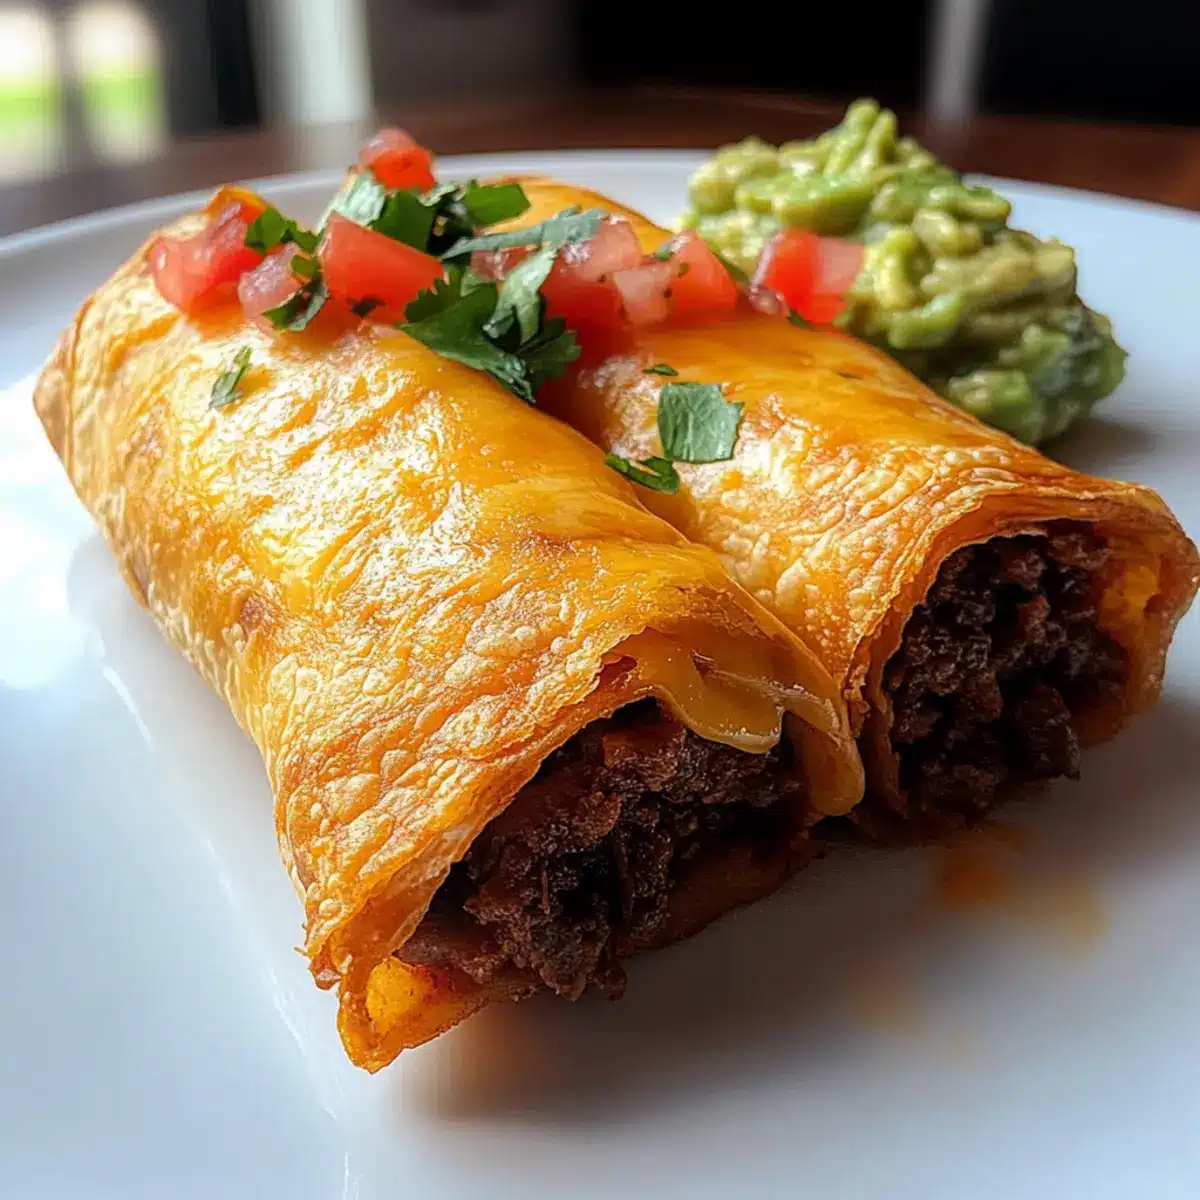
Crispy Beef & Cheese Chimichangas Recipe FAQs
What type of tortillas should I use for chimichangas?
I recommend using large flour tortillas for the best results; they’ll hold up well to the filling and frying. If you’re looking for a gluten-free option, corn tortillas are a great alternative—just be sure to warm them slightly before filling to prevent cracking.
How should I store leftover chimichangas?
Store any leftover Crispy Beef & Cheese Chimichangas in an airtight container for up to 3 days in the fridge. To keep them crispy, reheat them in the oven at 375°F for about 10-15 minutes instead of the microwave, which can make them soggy.
Can I freeze chimichangas?
Absolutely! You can freeze assembled but un-fried chimichangas. Lay them out on a baking sheet in a single layer until they’re frozen solid. Then, transfer them to a freezer bag and they will keep well for up to 2 months. When you’re ready to enjoy them, bake from frozen in a preheated oven at 375°F for about 25-30 minutes, or until golden and heated through.
What do I do if my chimichangas bust open while frying?
If your chimichangas leak during frying, it often means they were overfilled or not rolled tightly enough. Always leave a little room for the filling to expand. To fix them if they do burst, you can rest them on their unsealed edge in the oil until they cook and seal a bit.
Can I make chimichangas ahead of time?
Yes! You can assemble your Crispy Beef & Cheese Chimichangas up to 24 hours in advance. Just cover them tightly with plastic wrap and refrigerate until you’re ready to fry or bake. This makes meal prep a breeze!
Are there any dietary considerations I should keep in mind?
If you have allergies or dietary restrictions, you can easily adapt these chimichangas. Use ground turkey or beans for a lighter or vegetarian option, and always check the labels on your tortillas for gluten if needed. Plus, keep in mind that some cheeses might not be suitable for lactose-intolerant guests.
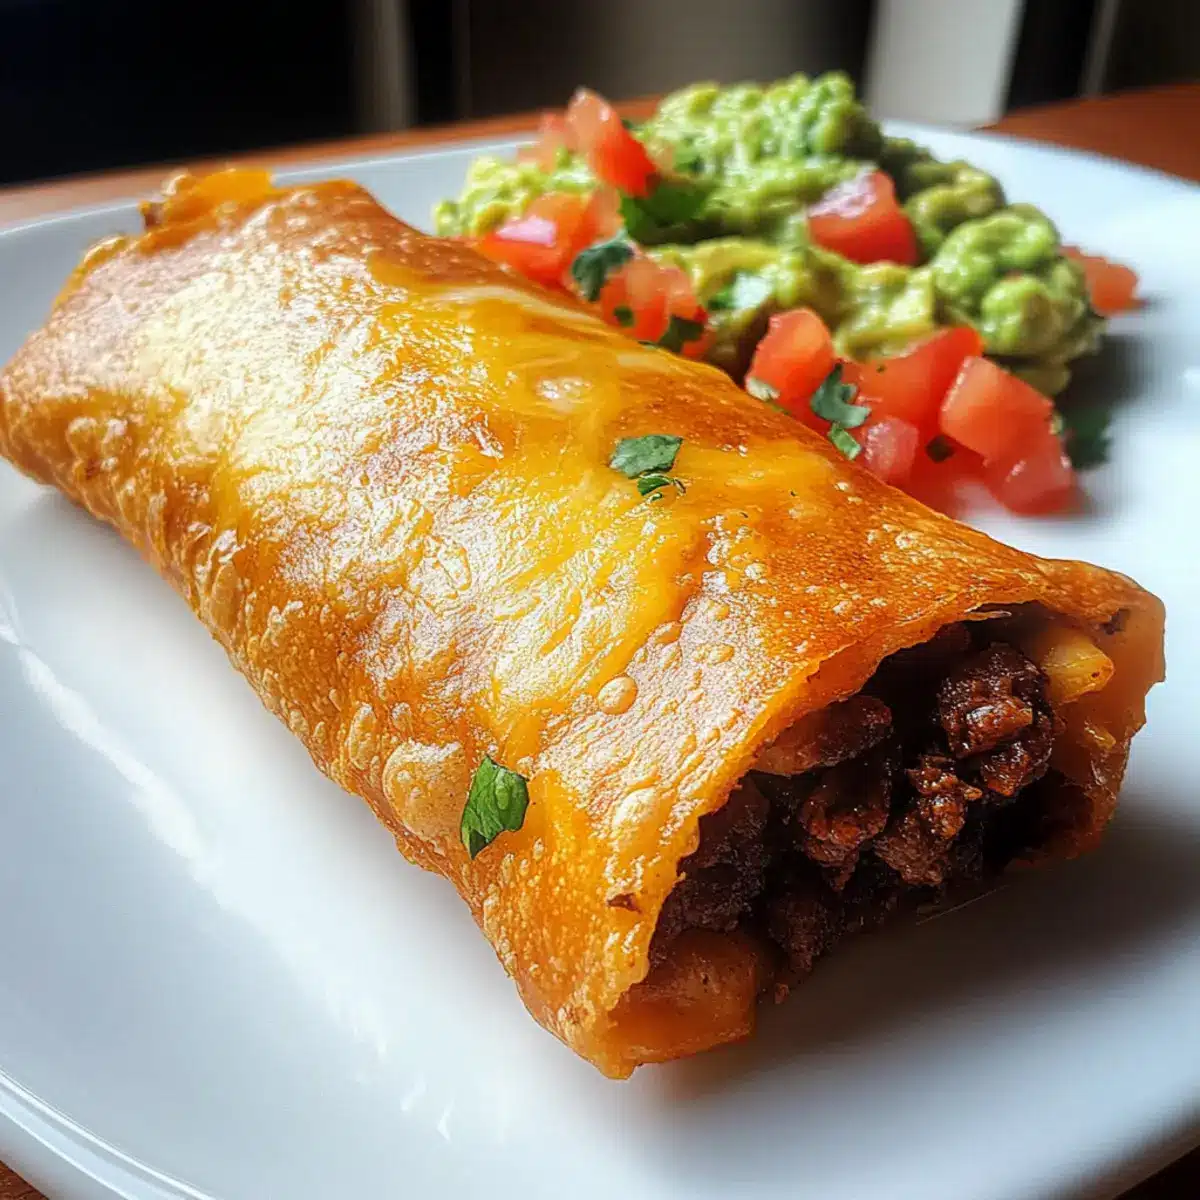
Crispy Beef & Cheese Chimichangas That Bring Comfort Home
Ingredients
Equipment
Method
- In a large skillet over medium heat, brown the ground beef for about 5-7 minutes until fully cooked. Drain excess fat and stir in spices, followed by shredded cheese. Cook for an additional 2-3 minutes until the cheese melts.
- Take a tortilla and spoon about 1/3 cup of filling into the center. Fold the sides over the filling and roll tightly from the bottom up. Secure with a toothpick if needed.
- In a deep frying pan, heat enough vegetable oil to cover the bottom by about 1 inch to around 350°F. Test with a small piece of tortilla.
- Carefully add 2-3 chimichangas to the hot oil, frying for 2-3 minutes on each side until golden brown and crispy. Drain on paper towels.
- Serve the chimichangas immediately with sides of sour cream, guacamole, and salsa. Enjoy!
Leave a Reply