
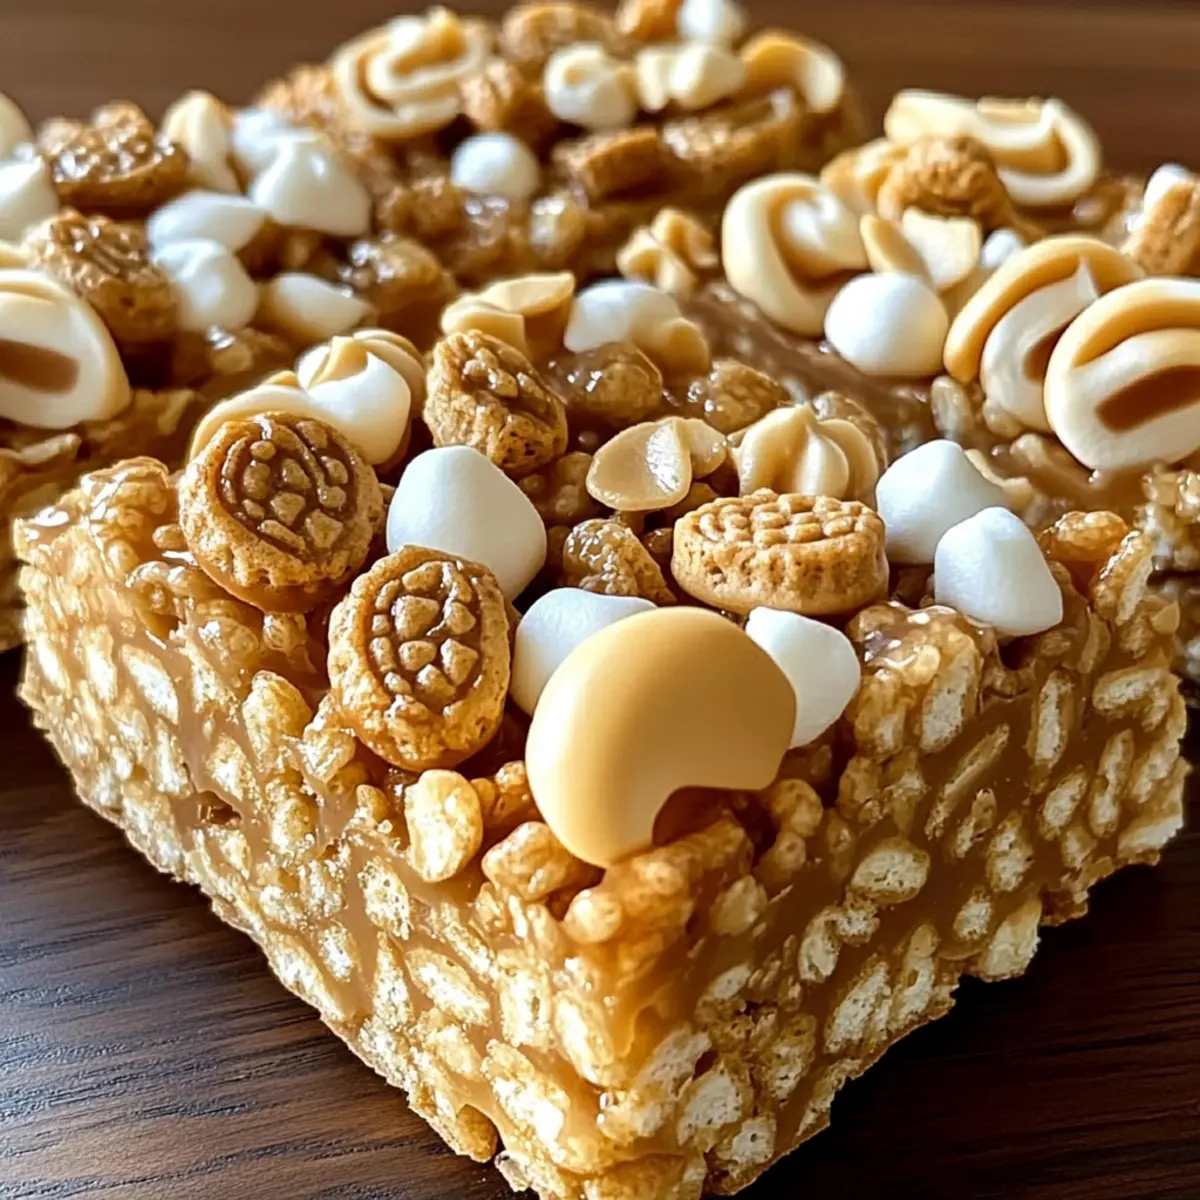
As I stood in my kitchen, the sweet aroma of melting marshmallows wafted through the air, instantly transporting me back to my childhood. These Easy Crispy Biscoff Rice Krispie Treats are more than just a nostalgic treat; they’re a delightful blend of gooey texture and caramelized crunch that will elevate your dessert game. With just a few simple ingredients and no baking required, this quick recipe is perfect for those sudden sweet cravings that call out for a satisfyingly crispy bite. Plus, the option to substitute Biscoff cookies allows for endless creativity—try graham crackers or even sprinkle in some chocolate chips for a fun twist. Curious about how to bring this crunchy concoction to life? Let’s dive in!
Why Craving This Recipe?
Simplicity at Its Best: This no-bake treat comes together in no time, making it perfect for beginners and busy cooks alike.
Irresistibly Gooey: With melted marshmallows binding crispy Biscoff cookies and Rice Krispies, each bite is a heavenly mixture of flavors and textures.
Versatile Options: Feel free to customize with different cookies, adding in favorites like chocolate chips or nuts for a personal touch.
Perfect for Any Occasion: Whether it’s a school snack or a party treat, these Crispy Biscoff Rice Krispie Treats will delight guests of all ages.
Quick and Easy Clean-Up: Minimal pots and pans mean you can enjoy your delicious creations without the hassle of a long clean-up.
Are you also looking for creative ways to enjoy Rice Krispies? Consider checking out my post on Cheesy Steak Rice for a savory twist!
Crispy Biscoff Rice Krispie Treats Ingredients
For the Treat Base
• Butter – A crucial ingredient for richness, ensuring the treats bind together well; precisely measure to keep them crispy.
• Biscoff Cookies – Provides a delightful caramelized flavor and texture; these are the star of the show, but feel free to substitute with graham crackers or any other favorite cookie.
• Rice Krispies Cereal – The classic crispy element that creates that beloved crunch; this is essential for the perfect texture.
• Marshmallows – Adds sweetness and is vital for that gooey goodness; remember, don’t microwave them to avoid toughness.
Optional Add-Ins
• Chocolate Chips – Adds a rich chocolatey flavor; mix these in for a delightful surprise in every bite.
• Nuts – For an extra crunch and nutritious twist, try adding chopped nuts; they bring both flavor and texture.
Now you’re all set to create these mouthwatering Crispy Biscoff Rice Krispie Treats!
Step‑by‑Step Instructions for Crispy Biscoff Rice Krispie Treats
Step 1: Melt the Butter
In a medium saucepan over low heat, melt 4 tablespoons of butter until it becomes completely liquid, taking about 2-3 minutes. Stir occasionally to prevent burning. The butter should shimmer, signaling it’s ready for the next step, while the rich aroma fills your kitchen.
Step 2: Add the Marshmallows
Once the butter is melted, add in 10 ounces of marshmallows. Stir continuously for about 2-4 minutes, until the marshmallows melt completely and become gooey. The mixture should be smooth and shiny, indicating the perfect consistency for your Crispy Biscoff Rice Krispie Treats.
Step 3: Mix in Biscoff Cookies
Remove the saucepan from the heat and fold in 2 cups of crushed Biscoff cookies. Mix gently for about 1-2 minutes until the cookie crumbs are evenly coated in the melted marshmallow mixture. You’ll notice a beautiful blend of caramelized color and irresistible aroma, heightening your excitement for these treats.
Step 4: Combine with Rice Krispies
Next, add in 6 cups of Rice Krispies cereal. Using a spatula, fold the cereal into the mixture, ensuring that every piece is well coated, which should take around 1-2 minutes. The cereal will create that signature crispy texture, blending deliciously with the Biscoff and marshmallows.
Step 5: Press into the Pan
Transfer the mixture into a greased 9×13 inch baking dish. With a lightly greased offset spatula, firmly press the mixture into the pan to create an even and compact layer. This step is crucial for ensuring your Crispy Biscoff Rice Krispie Treats hold their shape, so take your time to make it uniform.
Step 6: Cool and Cut
Let the mixture cool at room temperature for at least 30 minutes, which allows it to set properly. Once firm, remove from the pan and cut into squares or rectangles using a sharp knife. Aim for bite-sized pieces that highlight the delicious layers of flavor and texture you’ll enjoy in each piece.
What to Serve with Easy Biscoff Rice Krispie Treats?
These delightful treats are perfect for elevating any gathering or cozy night in, bringing warmth and sweetness to your table.
-
Creamy Vanilla Ice Cream: A scoop of this classic favorite amplifies the gooey richness of the treats, making each bite feel indulgent.
-
Rich Hot Chocolate: The warm, velvety drink pairs perfectly with the crispy texture, creating a heartwarming combination that’s hard to resist.
-
Fresh Berries: Bright, juicy blueberries or strawberries add a refreshing contrast to the sweetness, balancing flavors beautifully.
-
Caramel Sauce: Drizzling a bit over the treats brings an extra layer of decadence that complements their caramelized notes.
-
Coffee: A steaming cup of coffee provides a delightful contrast to the sweetness of the Crispy Biscoff Rice Krispie Treats, perfect for dessert lovers.
-
Chilled Almond Milk: This soothing, nutty beverage offers a lighter option that appeals to guests looking for a refreshing drink.
These pairings not only enhance your dessert experience but also add variety and joy to every bite!
Crispy Biscoff Rice Krispie Treats Variations
Feel free to get creative and make these treats your own with delicious twists and substitutions!
-
Graham Crackers: Swap Biscoff cookies for graham crackers for a classic and slightly sweeter version. This gives a familiar flavor that’s just as satisfying.
-
Nut-Free Option: Use sunflower seed butter instead of traditional butter to keep it nut-free. This not only accommodates allergies but adds a unique, nutty flavor that enhances the treats.
-
Chocolate Lovers: Stir in a cup of mini chocolate chips before pressing the mixture into the pan. The melty chocolate bits add an irresistible richness that will have you craving more!
-
Add Some Crunch: Incorporate a handful of chopped nuts like almonds or pecans for a crunchy texture contrasted with the gooey marshmallows. This twist makes each bite a surprise!
-
Spicy Kick: Sprinkle in a pinch of cinnamon or cayenne pepper for a warm, spicy hint. This unexpected twist pairs delightfully with the sweetness of the marshmallows.
-
Decadent Drizzle: Drizzle melted chocolate over the top once the treats are set for an extra touch of indulgence. The chocolate adds visual appeal and a rich flavor that’s simply divine.
-
Dairy-Free Delight: Use dairy-free butter and marshmallows to create a vegan version of these treats. This swap ensures everyone can enjoy the deliciousness without compromise.
-
Festive Flavor: Add seasonal spices like pumpkin spice or peppermint extract for a festive touch. Perfect for holiday gatherings, these variations let your creativity shine!
To explore more delicious rice-based recipes, check out my quick guide on Flavorful Street Rice or try the delightful Bbq Steak Rice Bowls for a satisfying meal option.
How to Store and Freeze Crispy Biscoff Rice Krispie Treats
-
Room Temperature: Store your Crispy Biscoff Rice Krispie Treats in an airtight container at room temperature for up to 5 days to maintain freshness and crunch.
-
Fridge: If you prefer a cooler treat, you can refrigerate them for up to a week. Just ensure they are well wrapped to prevent them from absorbing odors.
-
Freezer: For longer storage, freeze the treats in a single layer on a baking sheet, then transfer to an airtight container or freezer bag for up to 3 months. Thaw at room temperature before enjoying.
-
Reheating: While these treats are best enjoyed at room temperature, if desired, warm them slightly in the microwave for a few seconds to revive their gooey texture before serving.
Make Ahead Options
These Easy Crispy Biscoff Rice Krispie Treats are perfect for meal prep! You can make the treat mixture up to 2 days in advance, simply follow the initial steps of melting the butter and marshmallows, and then mix in the crushed Biscoff cookies and Rice Krispies. Allow the mixture to cool and then press it into the greased pan, covering it tightly with plastic wrap and refrigerating it to maintain quality and freshness. When ready to serve, simply remove it from the fridge, allow it to come to room temperature for about 30 minutes, and then cut into squares for delightful treats that taste just as delicious as when freshly made. This prep-ahead strategy saves time and ensures you always have a sweet snack ready to go!
Expert Tips for Crispy Biscoff Rice Krispie Treats
-
Firm Pressing: Ensure you press the mixture firmly into the pan. This is essential for the treats to hold their shape and not crumble apart.
-
Offset Spatula Usage: Use an offset spatula to achieve even pressing and leveling in the pan. This helps in creating uniformly shaped Crispy Biscoff Rice Krispie Treats.
-
Cooling Time: Allow the treats to cool completely before cutting. This prevents them from becoming too soft and ensures clean cuts.
-
Butter Measurement: Be cautious with the butter; using too much can lead to overly soft treats. Stick to the recommended amount for perfect crispiness.
-
Storage Tip: Store in an airtight container at room temperature to maintain their crunchy texture for up to 5 days. This keeps your treats fresh and delicious!

Crispy Biscoff Rice Krispie Treats Recipe FAQs
How do I choose the right cookies for this recipe?
Absolutely! For the best flavor and texture, look for cookies with a caramelized or buttery taste, like Biscoff cookies. If you can’t find them, graham crackers or other flavored cookies also work wonderfully. Just make sure to crush them into fine crumbs for even distribution.
What’s the best way to store my Crispy Biscoff Rice Krispie Treats?
To keep your treats fresh, store them in an airtight container at room temperature for up to 5 days. This way, they maintain their delightful crunch. If you live in a particularly humid area, you might want to refrigerate them for up to a week, ensuring they’re well wrapped to prevent any moisture absorption.
Can I freeze these Crispy Biscoff Rice Krispie Treats?
Absolutely! To freeze, first, place your treats in a single layer on a baking sheet and put them in the freezer for about 1-2 hours until solid. After that, you can transfer them to an airtight container or a freezer bag. They can be frozen for up to 3 months. When you’re ready to indulge, just thaw at room temperature for a revived taste!
Why are my treats falling apart?
Very likely, it’s due to not pressing the mixture firmly enough into the pan. Make sure to pack it down with an offset spatula to create an even, compact layer. Also, using the right amount of butter is crucial! If you add too much, your treats might turn out too soft.
Are these treats safe for pets or people with allergies?
Always consider dietary restrictions! The primary ingredients are butter, cookies, Rice Krispies, and marshmallows, so keep in mind that these contain dairy and potential allergens, like gluten. It’s best to avoid giving these treats to pets, especially since chocolate is harmful to them. Always check labels for cross-contamination with allergens if you have sensitivities.
What if I want to add chocolate or nuts?
Totally a great idea! You can add in 1 cup of semi-sweet chocolate chips or chopped nuts as you mix in the crushed Biscoff cookies. Just remember to fold them in gently to ensure they are evenly distributed without breaking the crispy texture. Enjoy experimenting!
Crispy Biscoff Rice Krispie Treats That You'll Crave Daily
Ingredients
Equipment
Method
- In a medium saucepan over low heat, melt the butter until completely liquid, about 2-3 minutes.
- Add in the marshmallows and stir continuously for about 2-4 minutes until melted and gooey.
- Remove from heat and fold in the crushed Biscoff cookies for about 1-2 minutes.
- Add the Rice Krispies cereal and fold until well coated, about 1-2 minutes.
- Transfer the mixture into a greased 9x13 inch baking dish and firmly press into an even layer.
- Let cool at room temperature for at least 30 minutes before cutting into squares.
Leave a Reply