
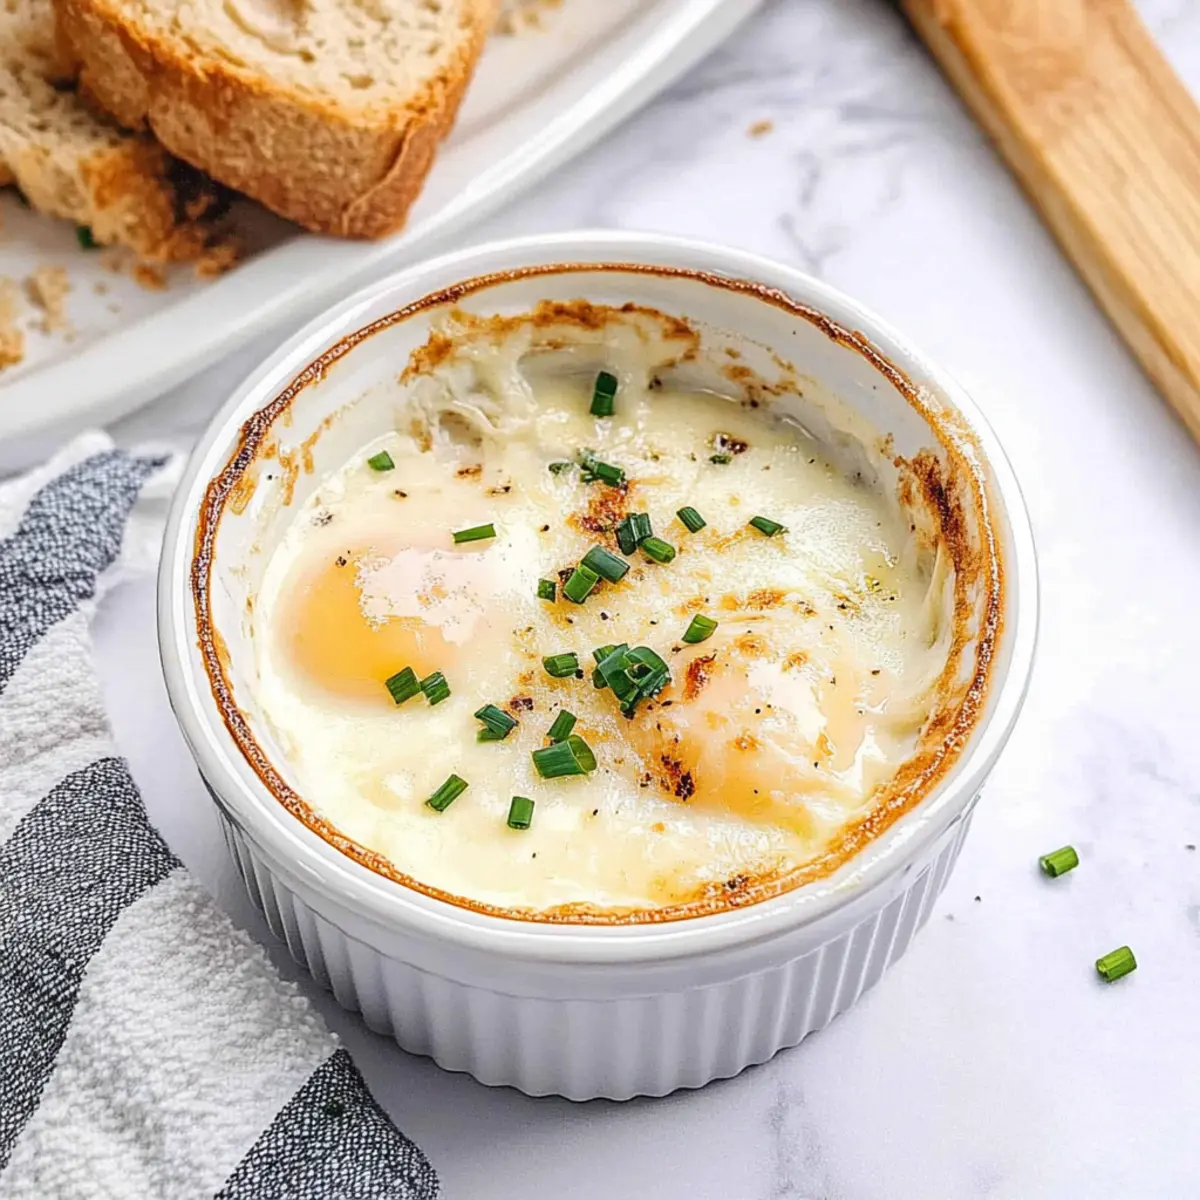
The moment I first discovered the elegance of Shirred Eggs, I knew I stumbled upon a culinary gem. This delightful dish, perfect for brunch, showcases eggs baked to creamy perfection with luscious, runny yolks, all enhanced by a sprinkle of rich Parmesan and aromatic chives. In just 20 minutes, you can elevate your breakfast experience and impress anyone at your table—whether you’re hosting family or just treating yourself to something special. With its crowd-pleasing nature and adaptability for various diets, this recipe not only saves time but also transforms your morning routine into a gourmet affair. Ready to dive into the magic of these gourmet Shirred Eggs?
Why Are Shirred Eggs So Special?
Elevated, Restaurant-Style: Transform your home cooking with this gourmet dish that rivals any brunch spot, making it worthy of company or a delightful solo treat.
Quick & Easy: In just 20 minutes, you can whip up a stunning breakfast without any complicated techniques—perfect for busy mornings!
Customizable Delight: With simple substitutions like feta or spinach, this recipe allows you to explore flavors tailored to your taste, accommodating dietary needs.
Visual Appeal: Serving these Shirred Eggs in ramekins creates an eye-catching presentation that impresses your guests while inviting them to dig in.
Nutritious & Satisfying: Packed with protein and essential nutrients, these eggs provide a wholesome start to your day that you can feel good about. Enjoy with a side of Air-Fryer Breakfast Potatoes or Air-Fryer Toast for the ultimate brunch experience!
Shirred Eggs Ingredients
For Baking
- Unsalted Butter – Greases the ramekin to prevent sticking; substitute with vegan butter for a dairy-free version.
- Heavy Cream – Adds richness and creaminess to the eggs; can be replaced with high-fat oat milk or Coconut Vegan Cashew Cream Sauce for lighter options.
For the Eggs
- Large Eggs – The star of the dish, delivering protein and essential nutrients; using local, farm-fresh eggs enhances the flavor significantly.
- Salt – Enhances the flavor of the dish, ensuring every bite is delicious.
- Freshly Ground Black Pepper – Adds a mild heat and depth to the dish, elevating the overall taste.
For Topping
- Minced Fresh Chives – Provides a lovely, aromatic element, brightening the dish with fresh flavor.
- Grated Parmesan Cheese – Contributes a nutty, savory flavor that perfectly complements the eggs.
Feel free to let your creativity shine as you prepare these Shirred Eggs!
Step‑by‑Step Instructions for Shirred Eggs
Step 1: Preheat the Oven
Begin by preheating your oven to 375°F (190°C). This ensures that your Shirred Eggs cook evenly and develop that delightful silky texture. While the oven heats up, take a moment to gather your ingredients, setting the stage for a smooth cooking experience.
Step 2: Prepare the Ramekin
Grease a 6-ounce ramekin thoroughly with unsalted butter, ensuring every nook is coated to prevent sticking. This step is crucial for serving, as it will allow your Shirred Eggs to slide out beautifully if needed. Set the prepared ramekin aside while you move on to the next steps.
Step 3: Add the Cream and Eggs
Pour a generous splash of heavy cream into the greased ramekin, creating a rich base for your Shirred Eggs. Gently crack the large eggs on top of the cream, keeping the yolks intact and positioned beautifully in the center. This layering will provide a luscious texture when baked.
Step 4: Season and Add Toppings
Season your eggs with a pinch of salt and freshly ground black pepper to elevate the overall flavor. Then, sprinkle the minced fresh chives and grated Parmesan cheese generously over the top. The chives will add a delightful aroma, while the Parmesan enhances the dish’s savory profile.
Step 5: Bake the Eggs
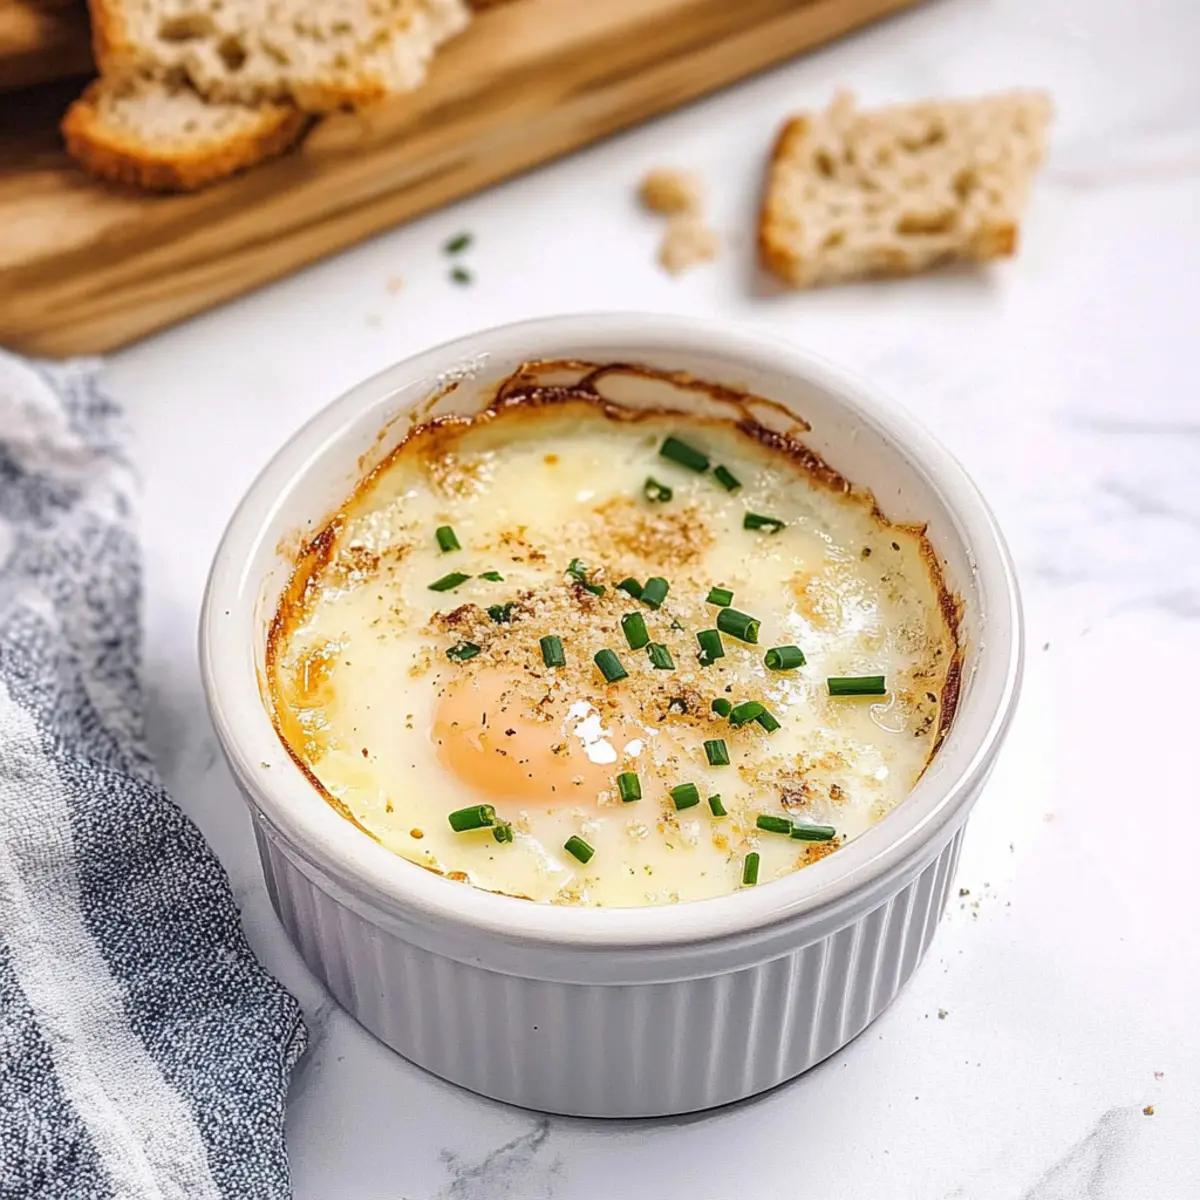
Place the ramekin on a baking sheet for easier handling, then carefully transfer it to the preheated oven. Bake for 12 to 15 minutes, checking towards the end for doneness—the whites should be set while the yolks remain runny. This is where the magic of Shirred Eggs transforms your breakfast experience.
Step 6: Cool and Serve
Once baked, remove the ramekin from the oven, and let it cool for a couple of minutes. This brief cooling time will make it easier to handle while ensuring the flavors meld together beautifully. Serve your Shirred Eggs warm, and relish the creamy goodness!
Make Ahead Options
These gourmet Shirred Eggs are a fantastic choice for meal prep enthusiasts! You can prepare the ramekin by greasing it with butter and layering the heavy cream, eggs, and toppings up to 24 hours in advance. Simply cover the prepared ramekin tightly with plastic wrap and refrigerate to maintain freshness. When you’re ready to bake, just remove it from the fridge, let it sit at room temperature for about 10 minutes, and then pop it in the preheated oven for about 15 minutes until cooked to perfection. This make-ahead strategy not only saves time but ensures your Shirred Eggs retain their creamy, delightful consistency—ready to impress at brunch with minimal effort!
Shirred Eggs: Customization Ideas
Feel free to get creative and personalize your Shirred Eggs with these enticing variations!
- Dairy-Free: Substitute heavy cream with high-fat oat milk or Coconut Vegan Cashew Cream Sauce for a luscious, creamy taste without dairy.
- Herb Swap: Try using fresh tarragon or parsley instead of chives to explore delightful new flavor profiles. Fresh herbs bring vibrant aromas that elevate the dish.
- Cheese Alternative: Swap grated Parmesan for crumbled feta to add a tangy kick that enhances the savory notes. This twist is especially wonderful if you enjoy Mediterranean flavors!
- Veggie Boost: Add cooked spinach or sautéed mushrooms for extra texture and nutrients, making your Shirred Eggs more hearty and satisfying. The earthiness of mushrooms pairs beautifully with the creamy custard.
- Spicy Kick: Toss in a pinch of red pepper flakes or diced jalapeños for a delightful heat that contrasts the rich eggs. This simple adjustment can awaken your tastebuds!
- Savory Meat: Crumble up some crispy bacon or sautéed chorizo for a meaty twist others will love. This addition turns your dish into a hearty breakfast feast.
- Breakfast Classics: Serve alongside crispy Air-Fryer Breakfast Potatoes or enjoy with some fresh berries for a bright and flavorful contrast. These accompaniments make your brunch spread truly special.
Dive into these variations and make your dish uniquely yours! Whether you opt for a classic twist or a bold upgrade, your Shirred Eggs will always shine brightly on your breakfast table.
Storage Tips for Shirred Eggs
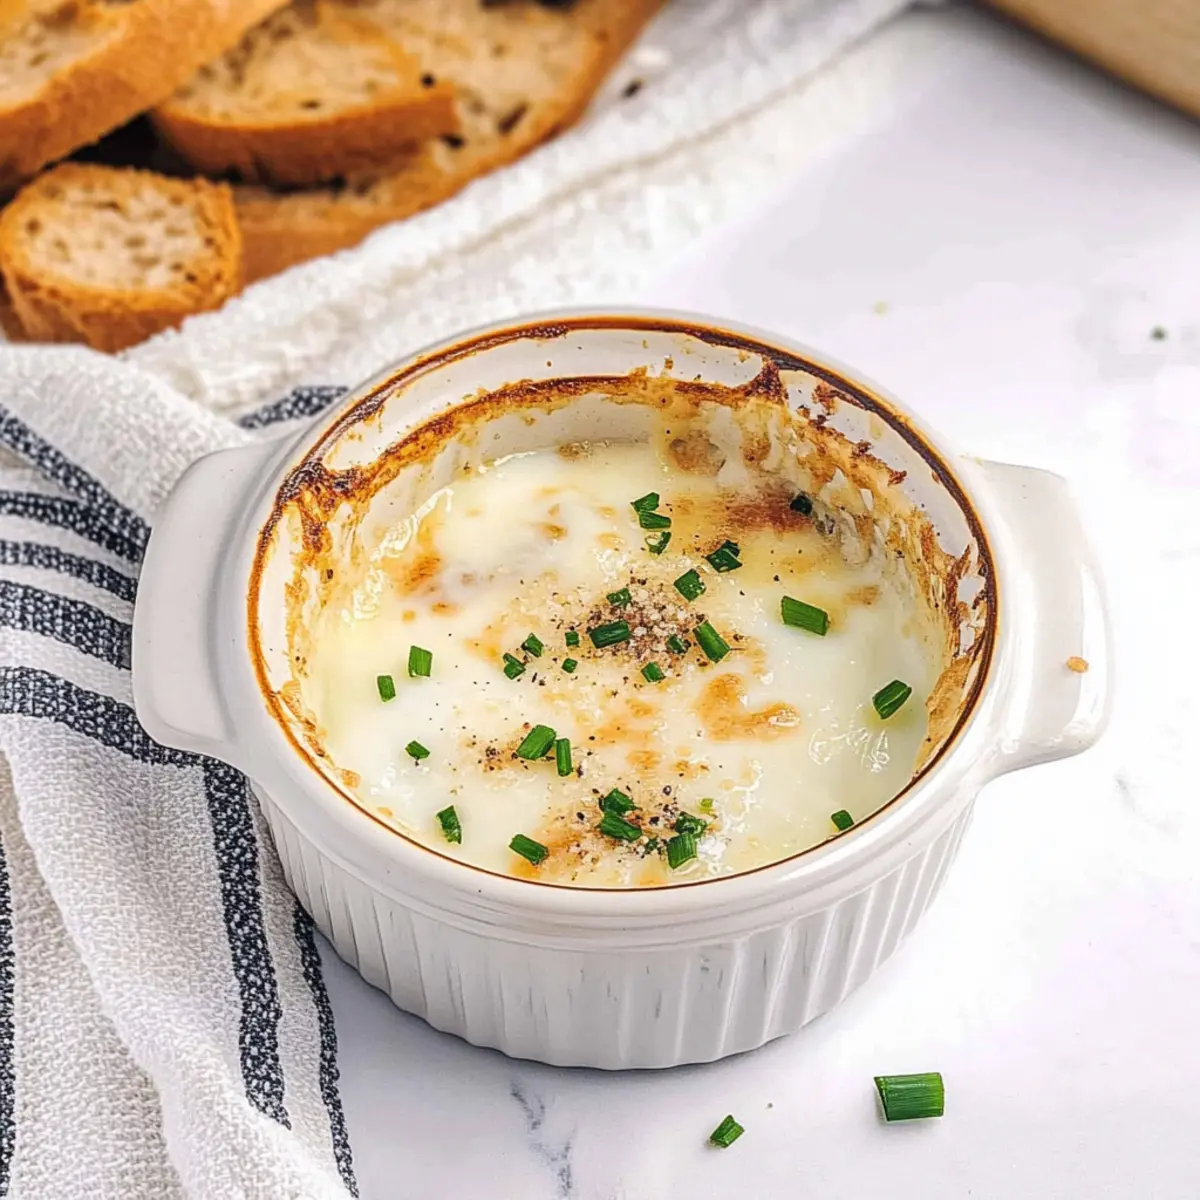
Best Enjoyed Fresh: Shirred Eggs are best served straight from the oven. Freshly baked, they possess the ideal creamy texture and flavor that’s hard to replicate after cooling.
Refrigeration: If you have leftovers, store them in an airtight container in the fridge for up to 2 days. Reheating beyond this can lead to a rubbery texture that may detract from your delightful dish.
Freezing: It’s generally not recommended to freeze Shirred Eggs, as freezing can compromise the yolks’ delicate consistency. However, if you must, ensure they are completely cooled and sealed tightly for up to 1 month.
Reheating Instructions: When reheating, use the oven or microwave at a low power setting. Be sure to cover the dish to prevent overcooking and drying out the eggs. Enjoy your Shirred Eggs warm for the best experience!
Expert Tips for Shirred Eggs
-
Monitor Baking Time: Keep a close eye on the eggs as they bake. Overcooking can turn the silky yolks into dry, crumbly ones, so aim for that perfect runny consistency.
-
Use Fresh Eggs: Fresh, local eggs make all the difference in flavor for Shirred Eggs. Their vibrant color and better taste will enhance your dish significantly.
-
Creative Toppings: Experiment with flavors by swapping out Parmesan for feta or adding sautéed veggies like spinach or mushrooms. This not only enriches the dish but also caters to varied dietary preferences.
-
Ramekin Choice: Select sturdy ramekins that can withstand high heat. This ensures even cooking and adds a charming presentation to your table.
-
Serving Style: Enjoy your Shirred Eggs with complementary sides, like Air-Fryer Breakfast Potatoes or a fresh salad, to create a well-rounded meal that’s as beautiful as it is tasty.
What to Serve with Shirred Eggs
Indulging in Shirred Eggs opens the door to a delightful brunch experience, inviting an array of complementary dishes that enhance every bite.
- Air-Fryer Toast: Crisp and golden, this toast is perfect for dipping into the silky yolks, adding a satisfying crunch to your meal.
- Air-Fryer Breakfast Potatoes: These crispy, seasoned potatoes bring a hearty element that balances the creaminess of the eggs, providing a comforting side.
- Fresh Arugula Salad: The peppery freshness of arugula pairs beautifully, brightening the plate and cutting through the richness of the dish.
- Roasted Asparagus: Tender and lightly charred, asparagus offers a delightful contrast that adds both color and nutrition to your brunch spread.
- Tomato and Avocado Salsa: A refreshing salsa adds a pop of acidity and creaminess, balancing the savory notes of the Shirred Eggs beautifully.
- Mimosas: Celebrate your brunch with this classic bubbly drink! The light, citrusy flavors of mimosas elevate the dining experience, making it feel festive.
- Fruit Compote: A sweet, vibrant compote can add a touch of sweetness to your meal, complementing the savory flavors without overpowering them.
- Savory Muffins: Cheese and herb muffins bring texture and flavor, perfect for soaking up any runny yolks left on your plate.
- Greek Yogurt Parfait: Don’t forget dessert! A parfait with layers of yogurt, honey, and fresh fruits provides a light end to your indulgent meal.
Shirred Eggs Recipe FAQs
How do I select the best ingredients for Shirred Eggs?
Absolutely! For the best flavor, always opt for fresh, local eggs with rich, vibrant yolks. When choosing cream, look for heavy cream with a high-fat content for a luxuriously smooth texture. Fresh chives should be bright green and free from wilting, while your Parmesan should be freshly grated for optimal flavor.
What’s the best way to store leftover Shirred Eggs?
If you happen to have any leftovers, store them in an airtight container in the refrigerator for up to 2 days. Remember that these eggs are best served fresh for that wonderful creamy texture, so try to enjoy them immediately after baking when possible!
Can I freeze Shirred Eggs?
Freezing Shirred Eggs is not recommended due to the delicate nature of the yolks. If you still wish to freeze them, let the eggs cool completely and store them in a tightly sealed container for up to 1 month. When you’re ready to enjoy, thaw in the refrigerator and reheat gently.
What should I do if my Shirred Eggs aren’t baking evenly?
Very! If you notice uneven baking, consider placing your ramekin inside a larger baking dish filled with hot water, creating a water bath. This technique helps regulate temperature and ensures even cooking, leading to perfectly silky whites and runny yolks.
Are there any dietary considerations for Shirred Eggs?
You bet! For those with lactose intolerance or following vegan diets, substitute heavy cream with high-fat oat milk or a vegan yogurt. Additionally, ensure your chosen cheese aligns with your dietary needs, and feel free to leave out or replace ingredients based on your allergies or preferences.
How do I achieve the perfect runny yolk in my Shirred Eggs?
To achieve that ideal, luscious yolk, keep a close eye on your baking time! Bake for 12 to 15 minutes, checking around the 12-minute mark. The whites should be completely set while the yolk remains jiggly; remove them from the oven before they firm up too much. Enjoy your delicious Shirred Eggs warm!
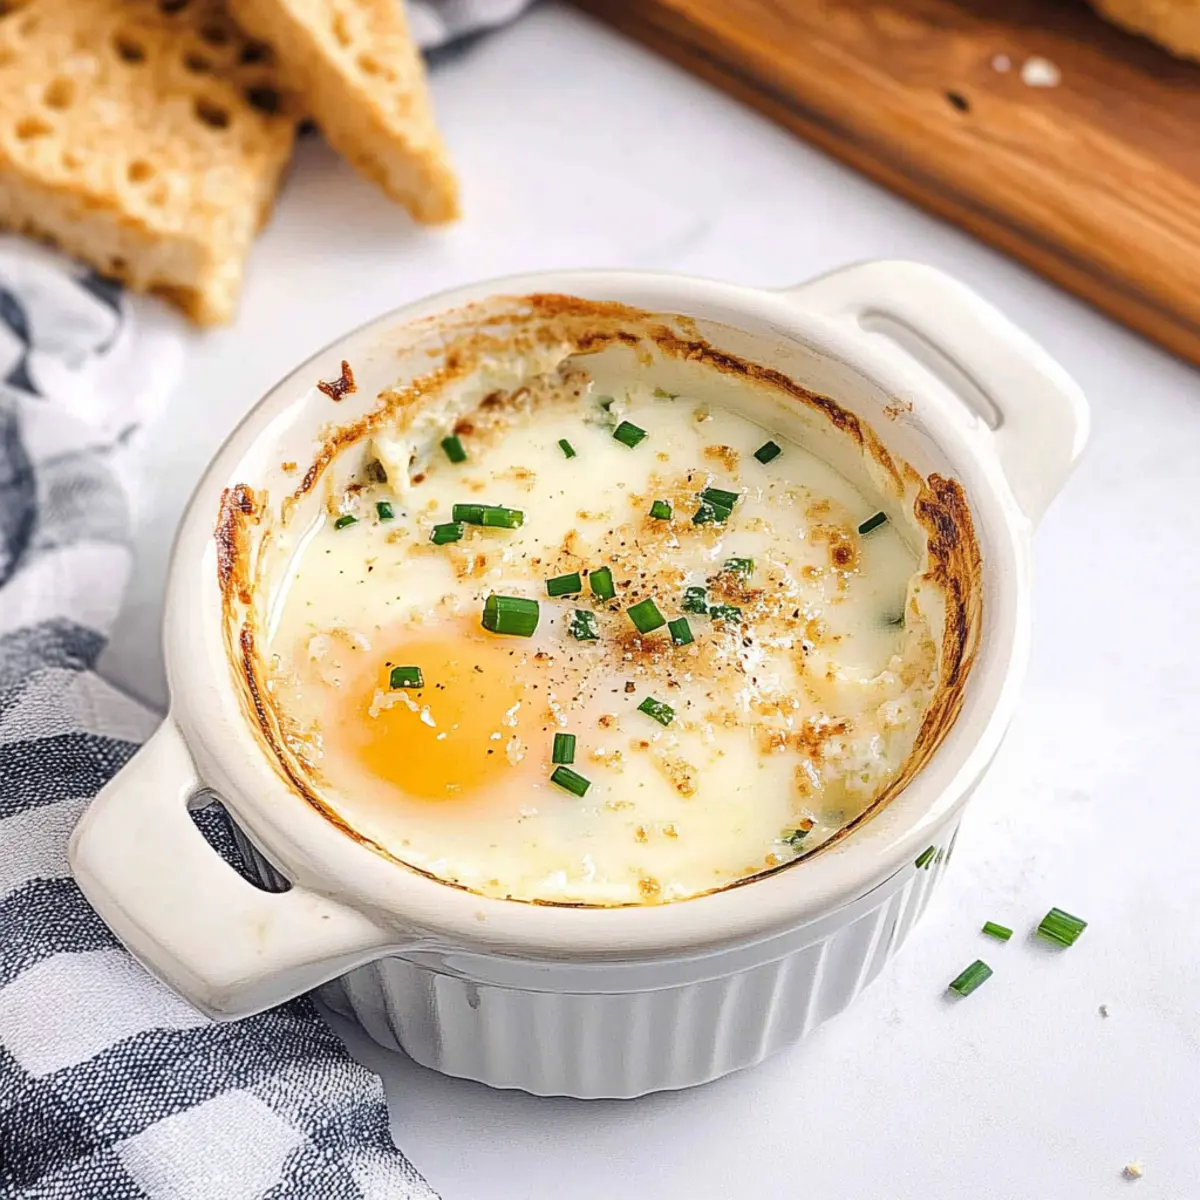
Irresistible Shirred Eggs Baked to Egg-cellent Perfection
Ingredients
Equipment
Method
- Preheat your oven to 375°F (190°C).
- Grease a 6-ounce ramekin thoroughly with unsalted butter and set aside.
- Pour heavy cream into the greased ramekin and gently crack the large eggs on top.
- Season with salt and pepper, then sprinkle chives and Parmesan on top.
- Place the ramekin on a baking sheet and bake for 12 to 15 minutes.
- Remove from the oven and let cool for a couple of minutes before serving.
Leave a Reply