
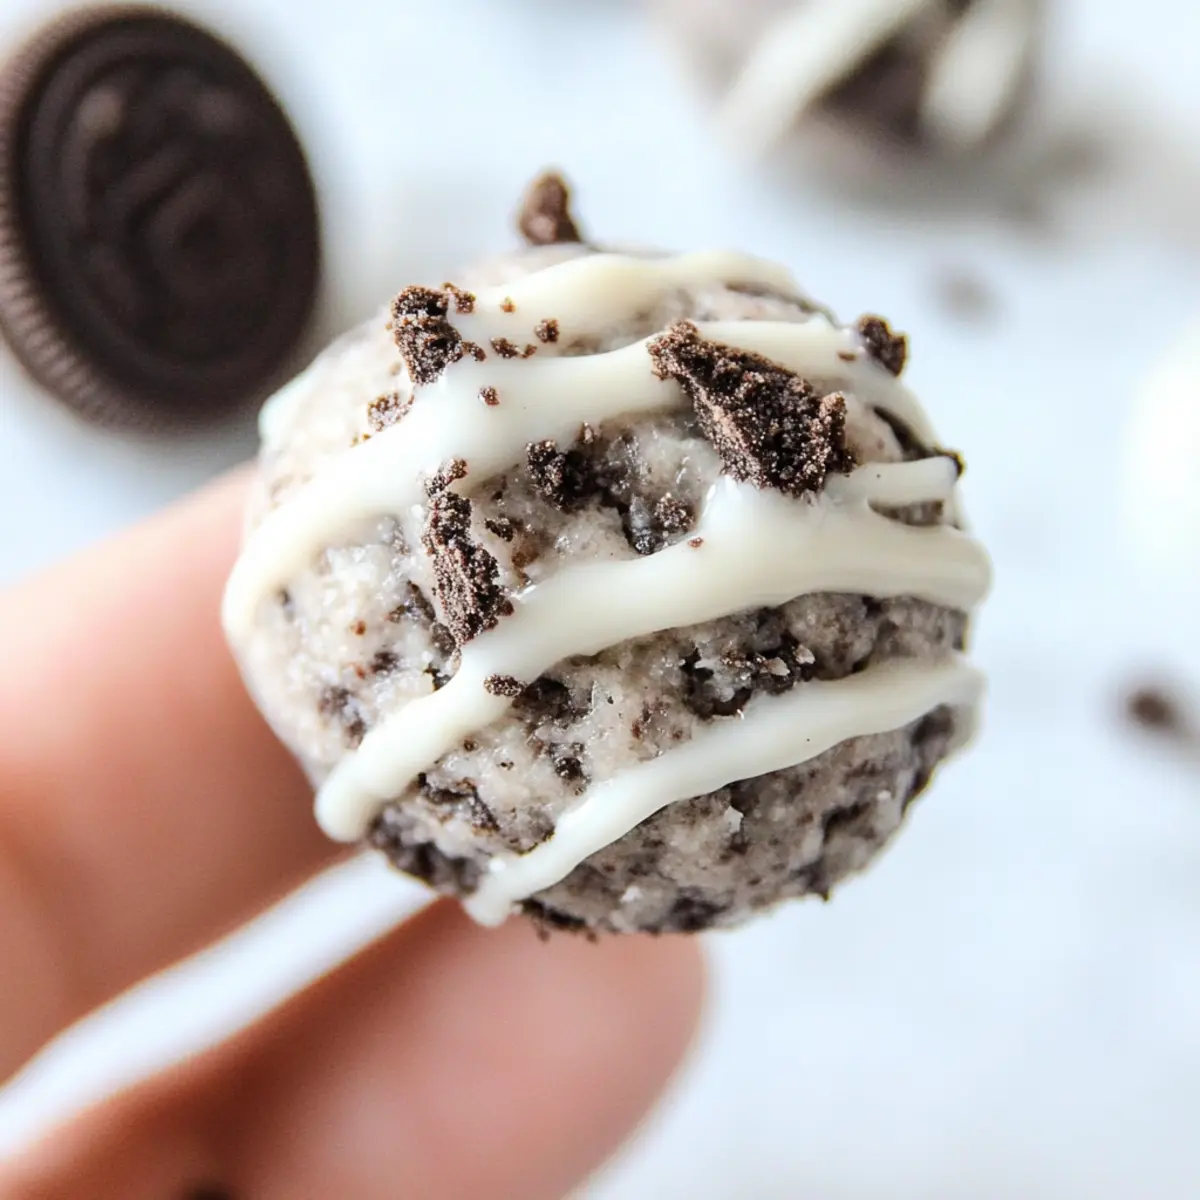
In the chaos of a busy week, I often find solace in the simple things, like whipping up a batch of these Creamy Oreo Protein Balls. With just six gluten-free ingredients, I can create a high-protein snack that satisfies even the fiercest sweet tooth—no oven required! These delightful little bites are not only a quick fix for my post-workout hunger but also a guilt-free way to indulge in that classic Oreo flavor. The combination of creamy textures and a satisfying crunch is simply irresistible. Are you ready to discover how to make these easy, no-bake treats that are perfect for any occasion? Let’s dive into the recipe!
Why are Oreo Protein Balls so irresistible?
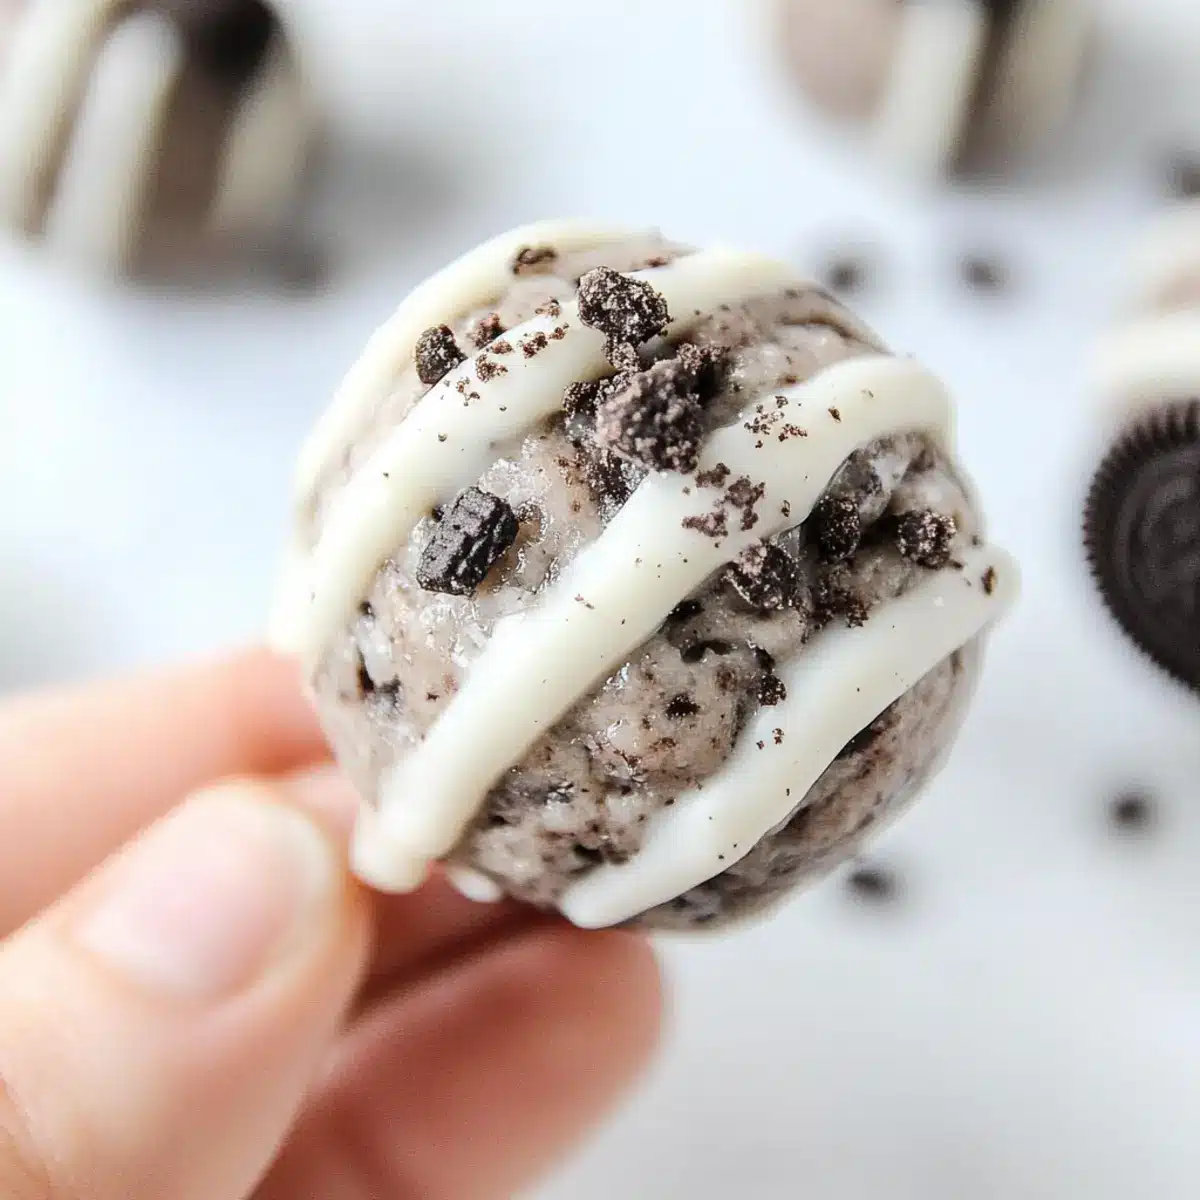
Indulgent Flavor: Each bite bursts with the iconic taste of Oreos, making them a delightful treat for cookie lovers.
Quick and Easy: With just six gluten-free ingredients and a no-bake method, you’ll have these ready in no time!
Nutritious Boost: Packed with protein, these balls are perfect for fueling your post-workout recovery or satisfying midday cravings.
Crowd-Pleasing Snack: Ideal for sharing at gatherings, they appeal to anyone looking for a sweet yet wholesome snack.
Versatile Options: Feel free to explore variations—try rolling them in coconut flakes or using different flavored protein powders for a unique twist. Whether enjoyed solo or as part of a healthy dessert platter, these Oreo Protein Balls are sure to be a hit!
Oreo Protein Balls Ingredients
• Ready to whip up these delightful snacks? Here’s what you’ll need!
For the Batter
- Vanilla Protein Powder – Provides protein; acts as the base for structure. Substitution: Use any favorite protein powder; adjust moisture accordingly.
- Coconut Flour – Adds texture and helps bind the mixture. Substitution: Oat flour could work as a substitute, but may need adjustments in texture.
- Monk Fruit Sweetener – Offers sweetness with lower calories. Substitution: Any granulated sugar or sugar replacement can be used, but may affect sweetness level.
- Cream Cheese – Contributes creaminess and richness to the balls. Note: Use low-fat or vegan cream cheese to accommodate dietary preferences.
- Oreo Cookies – Key flavor ingredient, offers crunch. Tip: Use gluten-free Oreos for a completely gluten-free version.
- White Chocolate Chips (optional) – For drizzling on top to enhance flavor and presentation. Tip: Melt and drizzle for an elegant finish.
Step‑by‑Step Instructions for Oreo Protein Balls
Step 1: Chop the Oreo Cookies
Begin your delicious journey by finely chopping the Oreo cookies. Use a sharp knife or a food processor to create crumbs—some larger chunks are perfectly fine for added texture. Aim for a mix of fine crumbs and little pieces to achieve that classic Oreo crunch. Set these aside in a medium-sized bowl, ready to join the rest of the ingredients.
Step 2: Mix the Dry Ingredients
In a large mixing bowl, combine the vanilla protein powder, coconut flour, and monk fruit sweetener. Whisk these dry ingredients together until well-blended, ensuring there are no lumps. This base will provide structure and sweetness for your Oreo Protein Balls. The mixture should have a fluffy, light texture, preparing it for the creamy additions coming next.
Step 3: Incorporate the Cream Cheese
Once your dry ingredients are nicely mixed, add the cream cheese and the chopped Oreo cookie crumbs to the bowl. Use a spatula or a fork to blend everything together thoroughly. Mix until the cream cheese is fully incorporated, and the mixture becomes a cohesive, slightly sticky dough. This should take about 2-3 minutes of steady mixing and result in a rich, creamy texture.
Step 4: Adjust the Consistency
Now, check the consistency of your mixture. If it feels too dry and crumbly, gradually add 1-2 tablespoons of almond milk to achieve a smooth, moldable texture. Alternatively, if it’s too wet, sprinkle in more coconut flour little by little until you reach the desired consistency. Aim for a mixture that easily holds its shape when rolled into balls.
Step 5: Form the Protein Balls
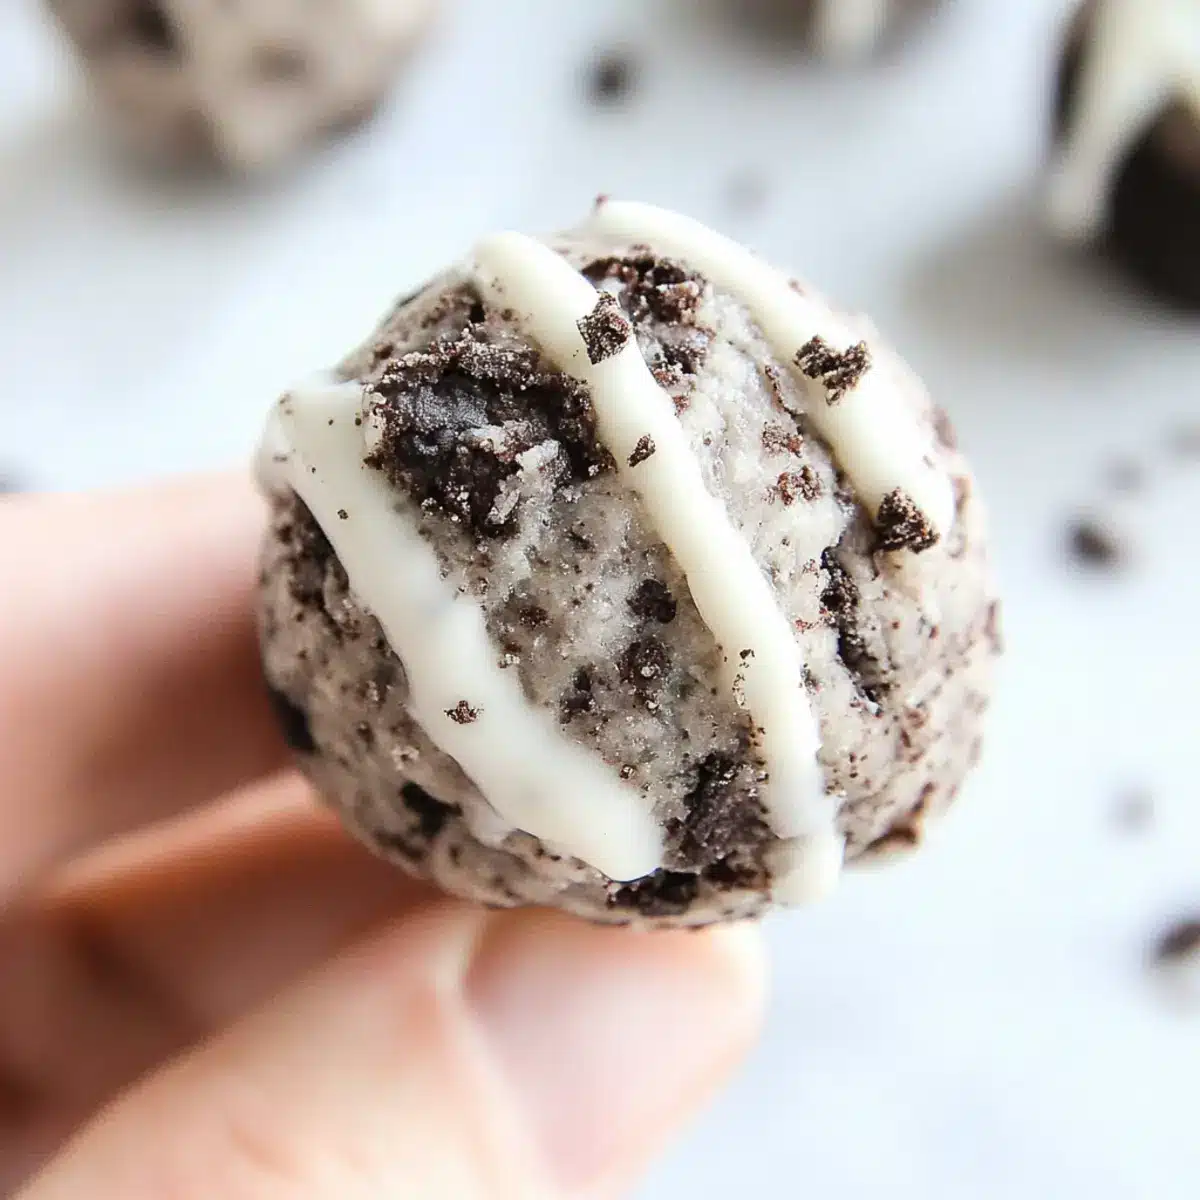
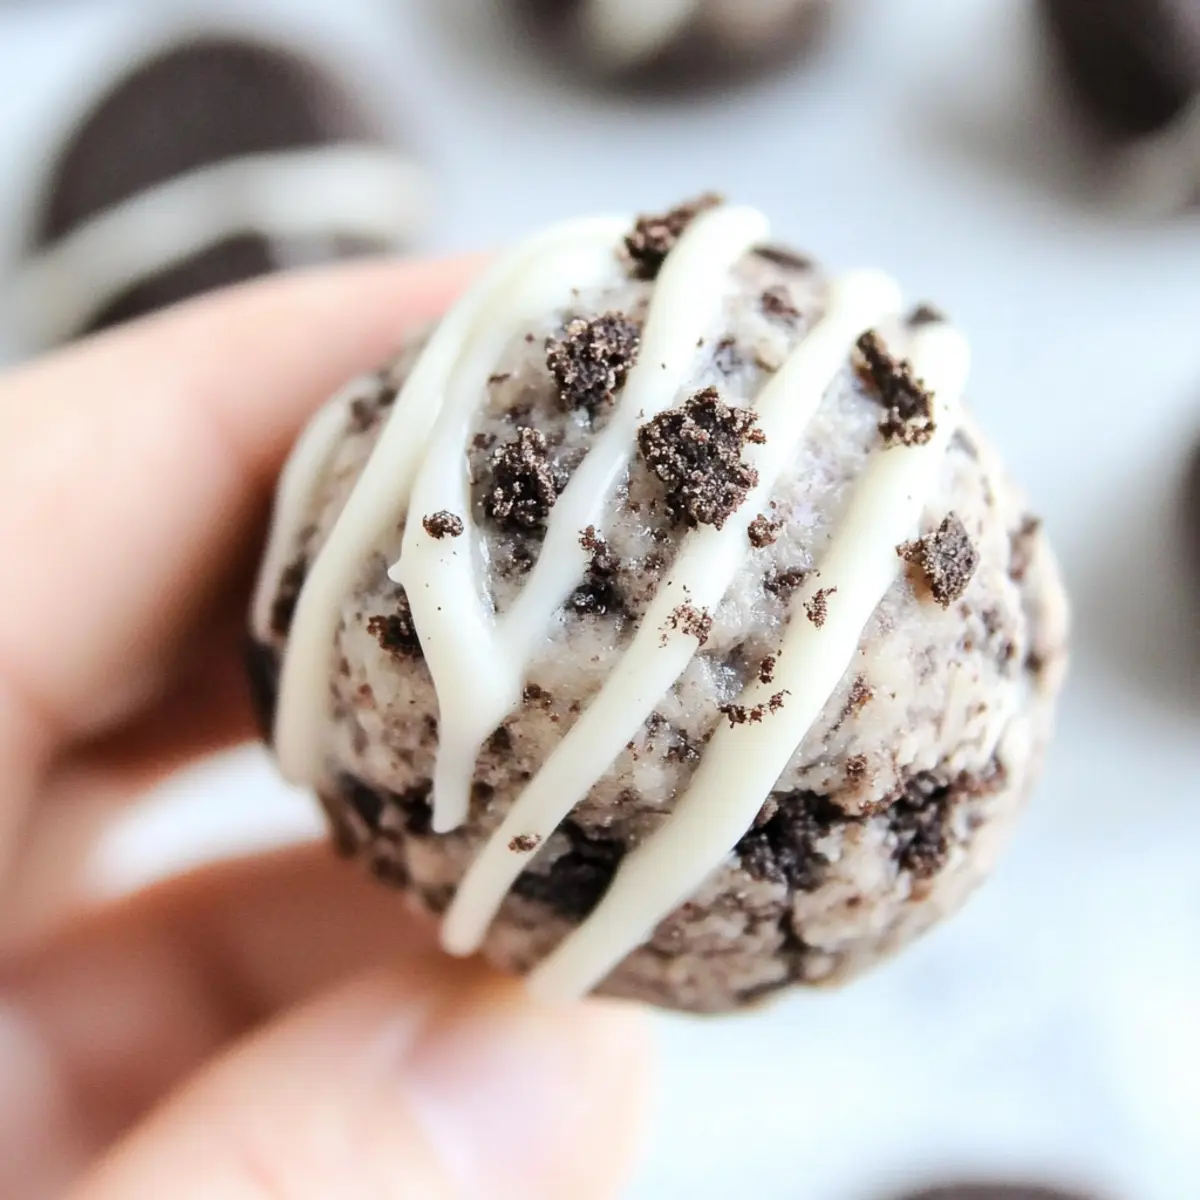
Take about a tablespoon of the mixture and roll it between your palms to form a smooth ball. Place each completed ball on a plate or a lined baking sheet, ensuring they are spaced apart slightly. You should aim for uniform sizes—this not only makes them look attractive but ensures consistent texture and flavor throughout. Continue rolling until all the mixture is used up.
Step 6: Chill to Set
Once all the protein balls are formed, pop them into the refrigerator for about 15 minutes. This step is crucial as it helps the balls firm up and hold their shape better. During this time, you can also prepare any toppings, like melting white chocolate if you choose to add a drizzle later on.
Step 7: Drizzle with White Chocolate (Optional)
After refrigerating, if you’d like to add a touch of sweetness and elegance, melt some white chocolate in a microwave-safe bowl in 30-second intervals, stirring until smooth. Once melted, use a fork or spoon to drizzle the chocolate over the chilled Oreo Protein Balls. This step is optional but adds a lovely finish that elevates the presentation and taste of your treat!
Make Ahead Options
These Creamy Oreo Protein Balls are a fantastic choice for meal prep! You can mix the ingredients and form the balls up to 24 hours ahead. Simply refrigerate them in an airtight container to maintain their texture and freshness. If you’d like, you can also prepare the mixture and store it in the fridge for up to 3 days before rolling into balls. To ensure they are just as delicious when you’re ready to serve, roll them just before enjoying for the freshest taste and texture. For an elegant finish, drizzle the white chocolate topping right before serving to keep it looking and tasting amazing!
What to Serve with Oreo Protein Balls
Indulge in a delightful array of flavors and textures that complement these rich, creamy treats.
-
Fresh Berries: The sweet and tart taste of fresh berries not only brings a burst of color but also balances the sweetness of the protein balls. Strawberries, raspberries, or blueberries make wonderful accompaniments, offering a refreshing contrast.
-
Creamy Yogurt Dip: A dollop of tangy Greek yogurt is an excellent accompaniment that adds creaminess while boosting the protein content. You can add a drizzle of honey or a sprinkle of cinnamon for new layers of flavor.
-
Nutty Granola: Crunchy, nutty granola provides a delightful texture contrast, making each bite satisfying. Serve a small bowl on the side for a crunchy element to pair with the smoothness of the protein balls.
-
Chilled Almond Milk: For a refreshing drink option, chilled almond milk complements the flavors of the protein balls wonderfully. It’s not only refreshing but also keeps the gluten-free and healthy vibe intact.
-
Dark Chocolate Dipping Sauce: Elevate the indulgence by creating a warm dark chocolate sauce for dipping. The rich depth of chocolate pairs beautifully with the Oreo flavor while adding a touch of decadence.
-
Coconut Flakes: Rolling the protein balls in shredded coconut before serving gives them an exotic flair. It also adds a chewy texture that contrasts wonderfully with the creamy filling.
-
Mini Fruit Skewers: Assemble some mini fruit skewers with chunks of banana, kiwi, or pineapple for a fun and fruity side dish. They’re vibrant, easy to eat, and enhance the overall freshness of your snack platter.
Oreo Protein Balls Variations: Customize Delightfully!
Feel free to get creative and make these Oreo Protein Balls uniquely yours!
-
Flavored Protein Powder: Try cookies and cream or chocolate protein powder for an exciting twist. It adds a depth of flavor that elevates your snack.
-
Nutty Crunch: Toss in chopped almonds or walnuts for extra crunch and nutrition. Not only does it enhance texture, but the added protein makes these bites even more satisfying.
-
Coconut Coating: Roll the finished protein balls in shredded coconut instead of white chocolate. This alternative gives a tropical flair while maintaining a healthier profile.
-
Altered Sweeteners: Substitute monk fruit sweetener with honey or agave for natural sweetness. Just be aware that it may alter the texture slightly.
-
Add Cocoa Powder: For a chocolatey surprise, mix in a tablespoon of cocoa powder into the batter. It complements the Oreos and intensifies the chocolate flavor.
-
Mini Cheesecake Version: Scoop a small amount of the mixture into muffin tins for bite-sized cheesecake treats, adjusting the cream cheese accordingly for a creamier texture.
-
Spice it Up: Add a pinch of cinnamon or a dash of cayenne pepper for a surprising kick. It’s a fun way to add complexity to your sweet treat.
-
Protein Packed Blooms: Enhance the nutritional profile by incorporating chia seeds or flaxseeds into the mix. They blend seamlessly and boost the health benefits of your protein balls.
And for those moments when you’re looking for a different kind of indulgence, why not switch gears and check out these delicious options: Oreo Dirt Dessert or elevate your game with these French Onion Meatballs. The possibilities are endless!
Tips for the Best Oreo Protein Balls
- Mix Thoroughly: Ensure all ingredients are well combined to avoid dry clumps; a consistent mixture will yield the best Oreo Protein Balls.
- Adjust Consistency: Don’t hesitate to tweak the moisture with almond milk or coconut flour until it’s moldable. This keeps your balls perfectly shaped!
- Chill Time Matters: Refrigerate for at least 15 minutes to set the balls. Skipping this step may leave them too soft, affecting texture and shape.
- Use Quality Ingredients: The better the quality of your Oreo cookies and cream cheese, the richer the flavor. Opt for gluten-free Oreos if needed!
- Experiment with Toppings: Feel free to get creative with optional toppings like melted white chocolate or crushed nuts for added flavor and visual appeal!
How to Store and Freeze Oreo Protein Balls
Fridge: Keep the protein balls in an airtight container in the fridge for up to 5-7 days. This will help maintain their freshness and creamy texture.
Freezer: For longer storage, place them in a freezer-safe container or bag and freeze for up to 3 months. Allow them to thaw in the fridge before enjoying.
Wrapping: If you’re freezing multiple batches, label the containers with the date to keep track of freshness. Registering the date will ensure you enjoy your Oreo Protein Balls at their best!
Reheating: There’s no need to reheat these treats, but if you prefer them slightly softened, let them sit at room temperature for 10-15 minutes before serving.
Oreo Protein Balls Recipe FAQs
What type of Oreo cookies should I use?
Absolutely! For a gluten-free version, opt for gluten-free Oreo cookies. If you’re not concerned about gluten, regular Oreos work perfectly as well. The flavor will remain deliciously consistent regardless of your choice!
How should I store Oreo Protein Balls?
Keep your precious protein balls in an airtight container in the fridge for up to 5-7 days. This ensures they stay fresh and delicious for snacking throughout the week. If you notice any dark spots or unusual smells, it’s time to say goodbye to those treats!
Can I freeze Oreo Protein Balls?
Yes, you can freeze these delightful snacks! Simply place them in a freezer-safe container, ensuring they’re well-spaced to avoid sticking together, and freeze for up to 3 months. When you’re ready to indulge, take out your protein balls and let them thaw in the fridge overnight for the best texture.
Why is my mixture too dry or too wet?
If your mixture feels too dry, add 1-2 tablespoons of almond milk gradually until it reaches a moldable consistency. Conversely, if it’s too wet, incorporate a little more coconut flour until you hit that sweet spot. Remember, achieving the right consistency is key for easy rolling and satisfying bites!
Can I use alternative sweeteners?
Very! While monk fruit sweetener keeps calories low, you can substitute with any granulated sugar or sugar replacement you prefer, such as stevia or agave nectar. Just keep in mind that it might affect the sweetness level, so taste as you go along!
Are there dietary considerations for pets or allergies?
Yes, it’s essential to keep these protein balls away from pets, especially if they contain certain sweeteners like xylitol, which is toxic to dogs. Additionally, check for any allergies related to cream cheese or Oreo cookies if you’re sharing with others, and consider using low-fat or vegan cream cheese for those with dietary preferences.
Deliciously Creamy Oreo Protein Balls for Guilt-Free Snacking
Ingredients
Equipment
Method
- Chop the Oreo Cookies into fine crumbs, mixing larger chunks for added texture.
- Mix the dry ingredients: combine vanilla protein powder, coconut flour, and monk fruit sweetener in a bowl.
- Incorporate the cream cheese and chopped Oreo crumbs, mixing until a cohesive, slightly sticky dough forms.
- Adjust consistency with almond milk or more coconut flour until the mixture holds its shape when rolled.
- Roll tablespoon-sized balls of the mixture and place them on a plate or lined baking sheet.
- Chill the formed protein balls in the refrigerator for 15 minutes to help them firm up.
- Melt white chocolate and drizzle over the chilled protein balls for added flavor and presentation.
Leave a Reply