
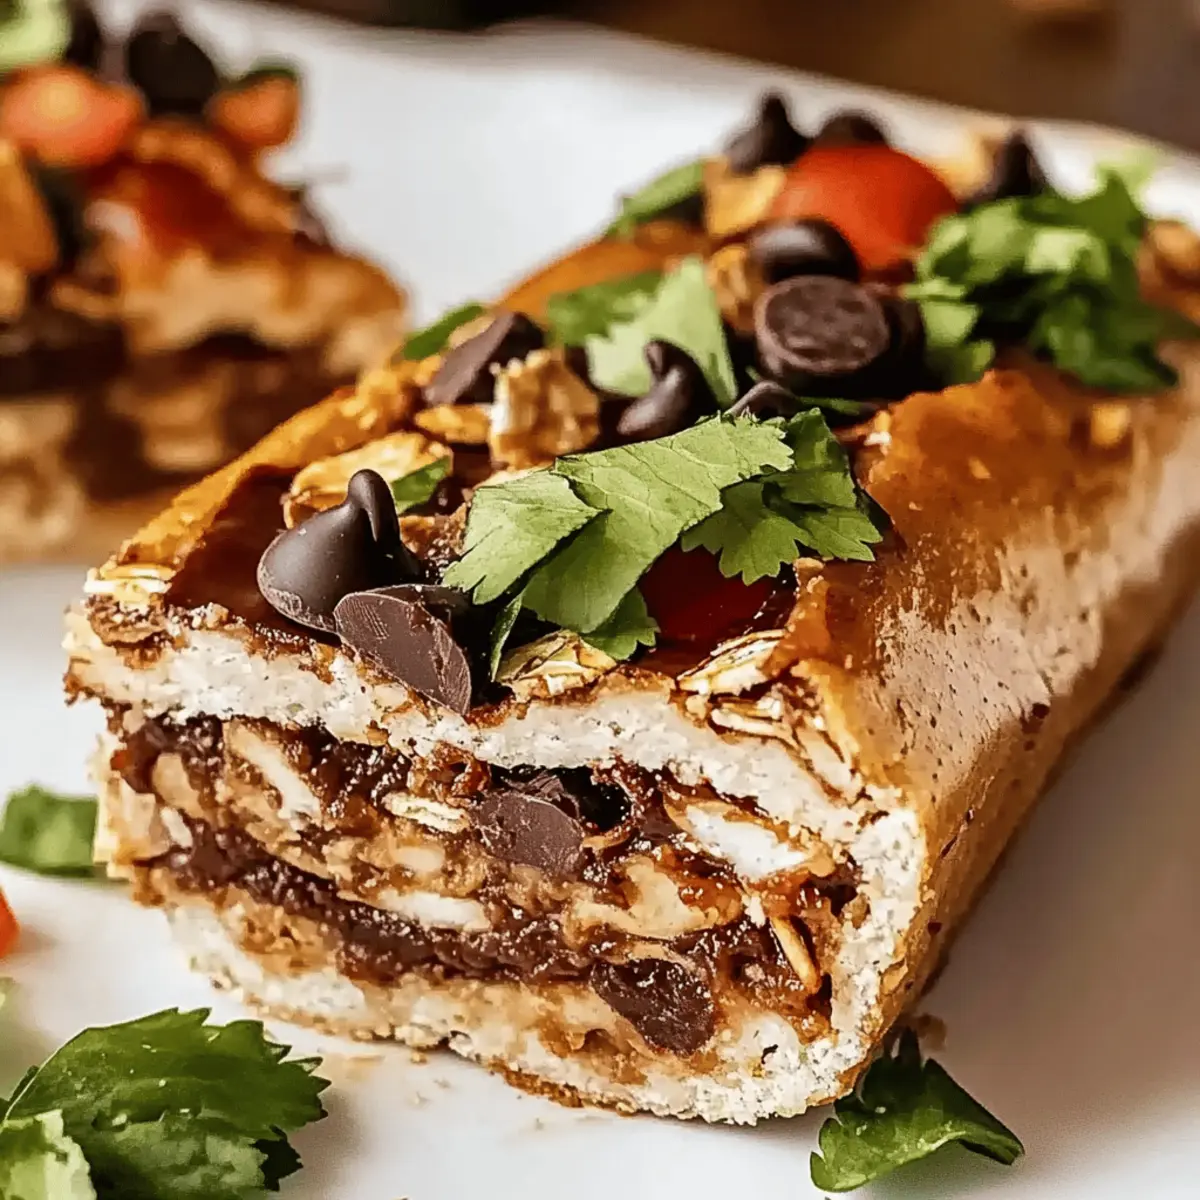
Every now and then, life throws a delicious curveball our way. That’s exactly how I felt the first time I indulged in No-Bake Chocolate Oat Bars. With a rich chocolatey goodness wrapped around chewy oats, these bars are sure to win over both kids and adults alike! The best part? They’re gluten-free and come together in a flash—perfect for those busy days when you want something wholesome without the fuss of baking. It’s like having your cake and eating it too, minus the oven! I love how they provide a satisfying grab-and-go snack or a quick sweet treat that won’t derail my love for healthy eating. What’s your favorite way to enjoy a quick, indulgent treat?
Why are No-Bake Bars so Great?
Quick and Easy: In just a few simple steps, you’ll whip up these delightful bars without ever turning on the oven. Nutritious Ingredients: Packed with wholesome oats, nut butter, and dark chocolate, these bars offer a guilt-free treat. Versatile Flavor: Feel free to swap ingredients based on your preferences—try almond butter or add some dried fruit for extra excitement! Perfect for Any Occasion: Whether you need a midday snack, a post-workout boost, or a sweet treat after dinner, these bars fit the bill. If you enjoy quick and delicious recipes, check out my Garlic Parmesan Chicken that’s just as easy to prepare!
No-Bake Chocolate Oat Bars Ingredients
Discover the secret behind these delicious No-Bake Chocolate Oat Bars!
For the Base
- Oats – Provide structure and chewiness; use gluten-free oats for a gluten-free option.
- Nut butter – Acts as a binding agent and adds creaminess; almond butter or sunflower seed butter work for nut-free versions.
For Sweetness
- Honey or maple syrup – Adds sweetness and moisture; opt for maple syrup if you’re looking for a vegan alternative.
For Chocolate Flavor
- Cocoa powder – Gives a rich chocolate flavor; make sure it’s unsweetened for better control over sweetness.
- Dark chocolate chips – Adds extra chocolate decadence; feel free to substitute with semi-sweet or dairy-free chips as needed.
For Nutritional Boost (Optional)
- Chia seeds – Boosts nutritional profile with omega-3s; they can be omitted if not available.
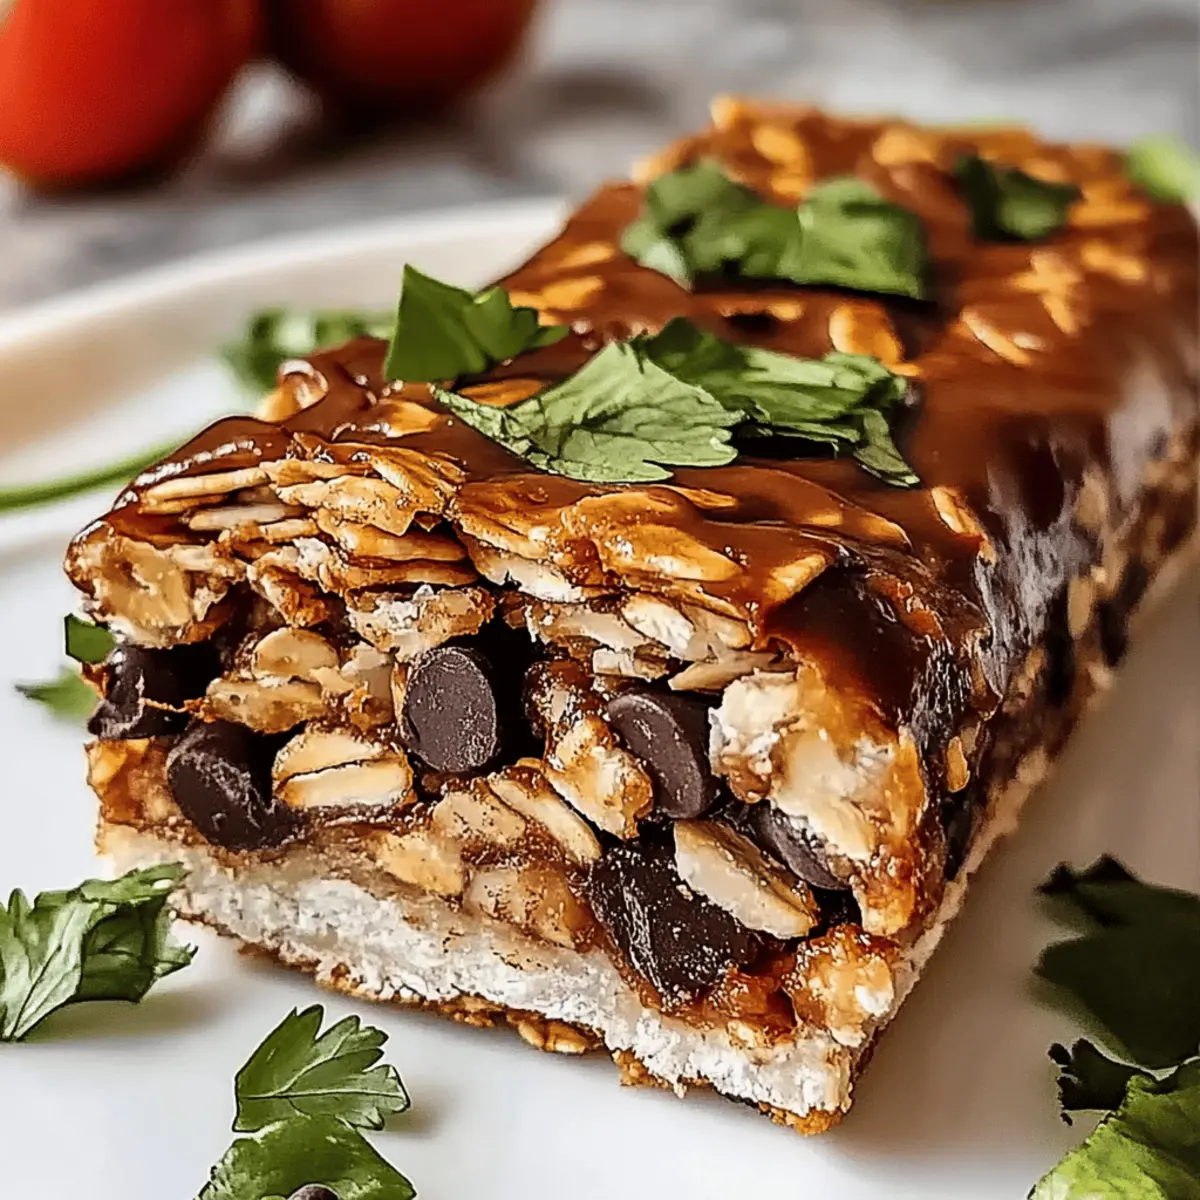
Each bite of these bars is a delightful journey into a world where health meets indulgence, proving that a treat can indeed be both flavor-packed and guilt-free!
Step‑by‑Step Instructions for No-Bake Chocolate Oat Bars
Step 1: Combine Dry Ingredients
In a large mixing bowl, add 2 cups of gluten-free oats, ½ cup of unsweetened cocoa powder, and 2 tablespoons of chia seeds (if using). Mix these dry ingredients together, ensuring that they are well blended. This will create the base for your No-Bake Chocolate Oat Bars, providing structure and a rich chocolate flavor.
Step 2: Mix Wet Ingredients
In a separate bowl, stir together ½ cup of creamy nut butter (such as almond or peanut butter) and ½ cup of honey or maple syrup until smooth. Use a fork or a whisk to ensure that the mixture is uniformly combined without any chunks. This mixture serves as the binding agent for your bars, providing both creaminess and sweetness.
Step 3: Combine Wet and Dry Mixtures
Pour the nut butter mixture into the bowl with the dry ingredients. Stir continuously until everything is fully combined and the oats are evenly coated with the chocolate mixture. You should see a thick, malleable mixture forming. This will be the delicious filling for your bars, so keep mixing until no dry oats are visible.
Step 4: Fold in Chocolate Chips
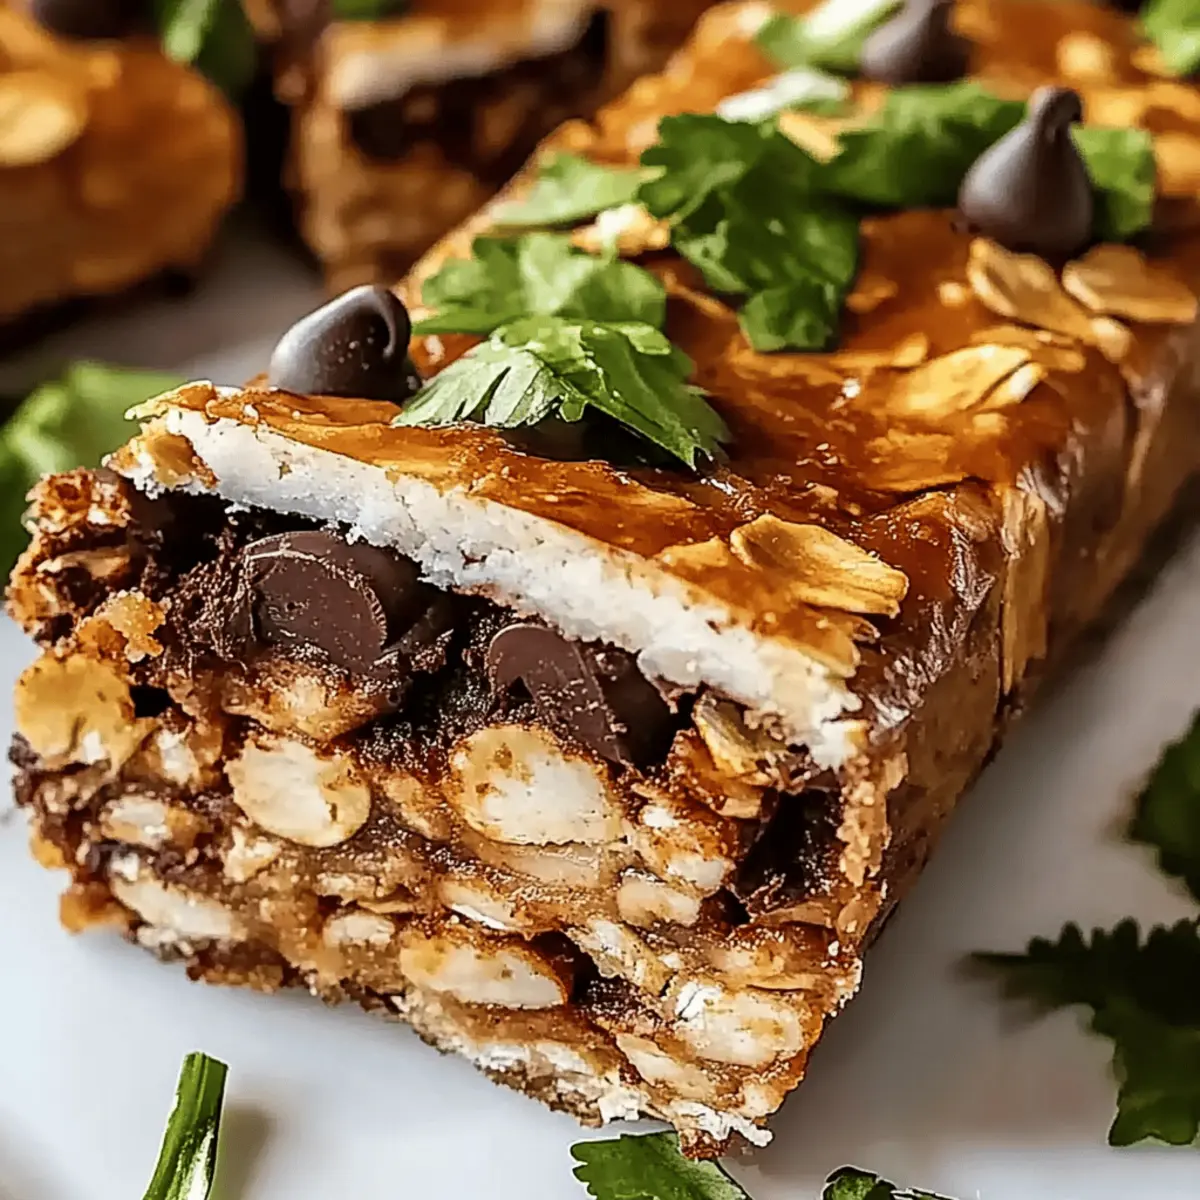
Once your mixture is well combined, gently fold in ½ cup of dark chocolate chips. Make sure the chips are evenly distributed throughout the mixture, adding extra pockets of chocolate goodness in your No-Bake Chocolate Oat Bars. This step enhances the overall flavor, making each bite delightful.
Step 5: Press Mixture into Dish
Line an 8×8 inch baking dish with parchment paper for easy removal. Spoon the mixture into the lined dish and use a spatula or your hands to firmly press it down evenly across the base. Make sure it’s tightly packed to help the bars hold together once they’re set. This is a crucial step, so don’t skip on the pressure!
Step 6: Refrigerate to Set
Place the baking dish in the refrigerator and let it chill for at least 2 hours or until the mixture is firm to the touch. This allows the flavors to meld and helps the No-Bake Chocolate Oat Bars achieve a perfect texture for slicing. Patience is key—don’t be tempted to rush this step!
Step 7: Slice and Store
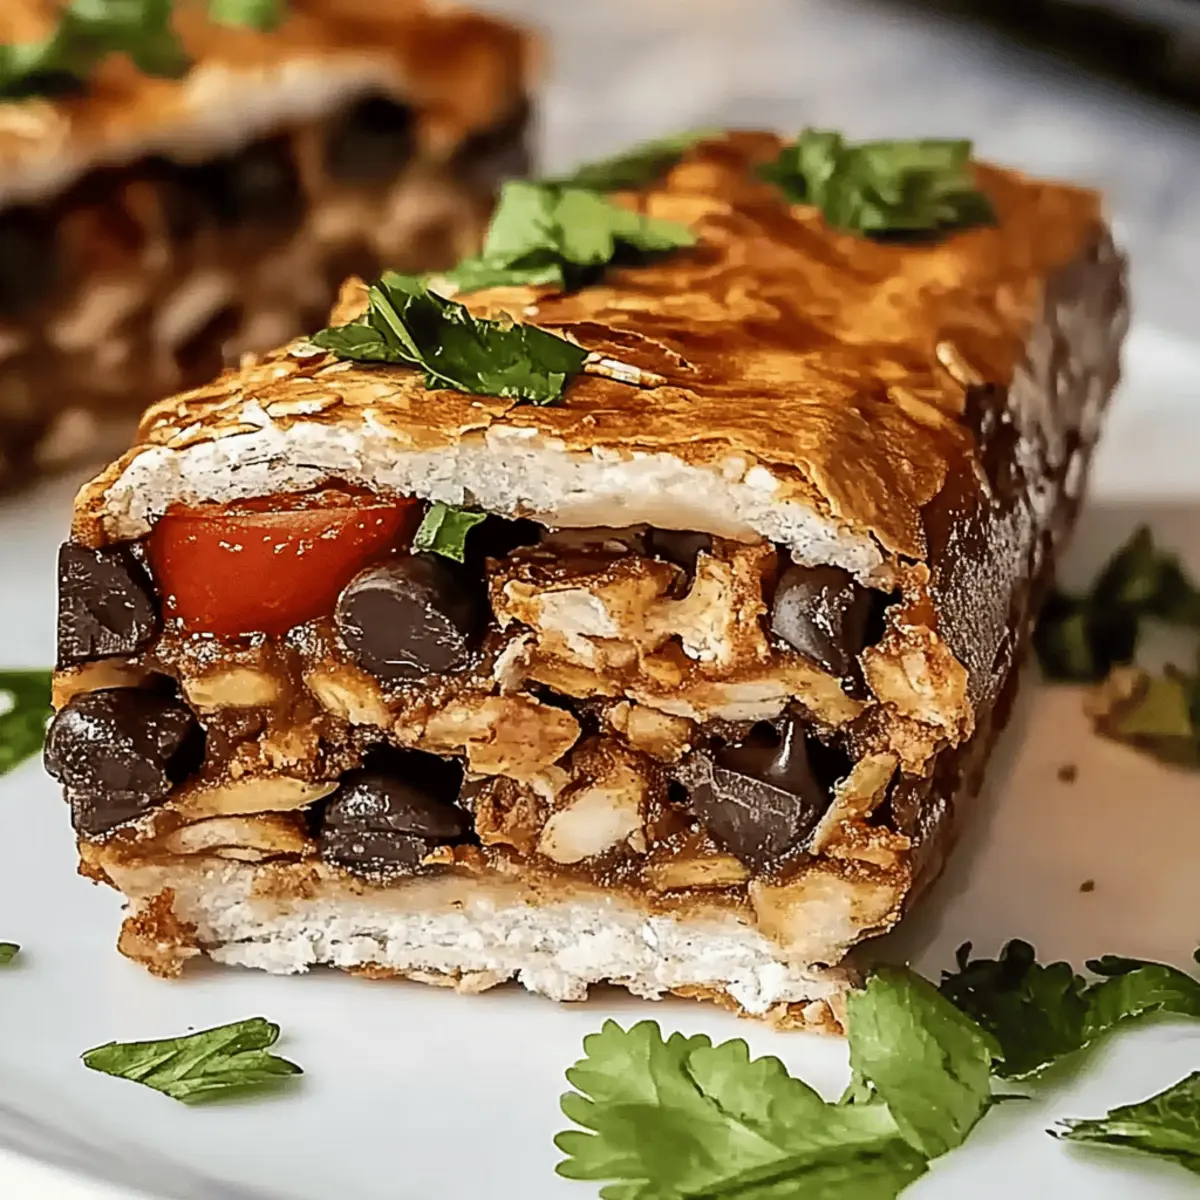
Once set, remove the bars from the baking dish using the parchment paper. Cut them into squares or rectangles as desired. Store any leftovers in an airtight container in the refrigerator for up to a week, keeping your delicious treat fresh and ready to enjoy whenever cravings strike!
Flavor-Packed Chicken Torta Sandwich Variations
Customize your No-Bake Chocolate Oat Bars with these fun variations that will ignite your culinary creativity and tantalize your taste buds!
-
Nut Butter Swap: Use hazelnut butter for a richer, chocolate-hazelnut experience. This sweet twist will elevate the flavor profile and bring a hint of nostalgia reminiscent of childhood treats.
-
Sweetener Change: Opt for agave nectar instead of honey for a smoother sweetness. It’s a great vegan alternative that will complement the chocolate without overpowering it.
-
Add Some Spice: Incorporate a dash of cinnamon or cayenne pepper for a surprising kick. Just a pinch can transform these bars into an adventurous snack that excites the palate!
-
Tropical Twist: Toss in coconut flakes or dried pineapple for a tropical flair. This fruity addition creates a delightful contrast with the chocolate, making each bite a mini vacation.
-
Protein Boost: Add a scoop of protein powder to the mixture for an extra nutritional lift. This is perfect for pre- or post-workout fuel, keeping you energized throughout your day.
-
Plant-Based Option: Use sunflower seed butter for a nut-free, allergy-friendly choice. It adds creaminess while ensuring that everyone can enjoy these scrumptious bars without worry.
-
Extra Chocolate: Sprinkle in chocolate chunks instead of chips for an even more indulgent treat. As they melt slightly during the mixing process, they create delightful pockets of rich chocolate.
Remember, these bars are as versatile as they are delicious! For a savory option that’s equally fabulous, be sure to check out my Korean Spicy Chicken for an exciting meal idea!
How to Store and Freeze No-Bake Chocolate Oat Bars
Fridge: Store your bars in an airtight container in the refrigerator for up to one week. This keeps them fresh while maintaining their chewy texture and delicious flavors.
Freezer: For longer storage, freeze the bars in a single layer in an airtight container. They can last up to three months; just thaw them in the fridge before enjoying.
Cutting and Serving: Cut the bars into squares before freezing to allow for easy grab-and-go snacks. Let them sit at room temperature for a few minutes for easier slicing if they become too firm.
Reheating: If desired, warm the bars slightly in the microwave for 10-15 seconds to enjoy a gooey, chocolatey treat that’s just like fresh!
What to Serve with No-Bake Chocolate Oat Bars
Indulging in these delightful bars opens the door to a world of complementary flavors and textures that will elevate your snack time.
-
Fresh Fruit Salad: A colorful mix of seasonal fruits adds brightness and a refreshing crunch, balancing the richness of the bars. Plus, it brings in a lovely burst of vitamins!
-
Nutty Yogurt Parfait: Layer Greek yogurt with nuts and honey for a creamy, crunchy counterpart. This contrasts beautifully with the chewy texture of the bars while boosting your protein intake.
-
Spiced Chai Latte: The warm spices in a cozy chai provide a comforting drink that complements the chocolatey goodness perfectly. Imagine sipping while enjoying a sweet bite—blissful harmony!
-
Coconut Chia Pudding: This creamy, lightly-sweet pudding has a delightful texture that pairs perfectly with the bars. It’s satisfying while keeping things on the light and nutritious side!
-
Dark Chocolate Almond Milk: Pouring a glass of rich chocolate almond milk alongside your bars melds flavors sweetly together for a decadent treat. Smooth, creamy, and simply indulgent!
-
Caramelized Banana Slices: Slices of banana caramelized in a touch of honey or maple syrup can add a warm, slightly crunchy dimension, enhancing the overall experience of each chocolate bite.
Exploring these pairings ensures that every bite of your No-Bake Chocolate Oat Bars feels like a celebration of flavors!
Expert Tips for No-Bake Chocolate Oat Bars
- Press Firmly: Ensure you press the mixture tightly into the dish; this helps the bars hold together and not crumble when sliced.
- Chill Properly: Allow the bars to chill for at least 2 hours in the fridge. Rushing this step can lead to a crumbly texture instead of a firm bite.
- Ingredient Swaps: Feel free to experiment with nut butter and sweeteners. This variation can enhance the flavor-packed chocolate oat bars, making them your own!
- Add Some Crunch: Consider tossing in nuts or seeds for added texture. Just remember to keep the proportions balanced for the best results.
- Storage Tips: Keep leftovers in an airtight container in the fridge for up to a week to maintain freshness and deliciousness.
Make Ahead Options
These No-Bake Chocolate Oat Bars are perfect for meal prep enthusiasts! You can mix the dry ingredients (oats, cocoa powder, and chia seeds) and the wet ingredients (nut butter and honey) up to 24 hours in advance, storing each mixture separately in the refrigerator. This saves time on busy days and allows the flavors to meld wonderfully. When you’re ready to finish, simply combine the dry and wet ingredients, fold in the chocolate chips, pack the mixture into a lined dish, and refrigerate for at least 2 hours until set. For best quality, enjoy the bars within up to 1 week after preparation, keeping them stored in an airtight container. You’ll love having these delicious, nutritious treats ready to go whenever cravings hit!
No-Bake Chocolate Oat Bars Recipe FAQs
What type of oats should I use for these bars?
Absolutely! For the best texture, use gluten-free rolled oats. They provide that delightful chewiness. If you don’t need them to be gluten-free, regular rolled oats will work just as well.
How long can I store No-Bake Chocolate Oat Bars?
I recommend keeping your bars in an airtight container in the refrigerator for up to a week. They’ll stay fresh and delicious, ready for those snacking moments!
Can I freeze No-Bake Chocolate Oat Bars?
Very! To freeze, cut the bars into squares and place them in a single layer in an airtight container. They can last up to 3 months. Just be sure to let them thaw in the fridge before indulging, making them perfect for a quick treat!
Why do my bars crumble when I cut them?
If your bars crumble, it’s likely because the mixture wasn’t packed tightly enough in the dish. In the future, press the mixture down firmly before refrigerating. Another tip is to ensure the bars are chilled for the full recommended time so they set properly.
Are No-Bake Chocolate Oat Bars safe for dogs?
No, it’s better to keep these bars away from your furry friends! The chocolate and sweeteners can be harmful to dogs. Stick to dog-safe treats for your pets.
Can I replace nut butter with another ingredient?
Absolutely! If you’re looking for a nut-free option, sunflower seed butter is a fantastic substitute. You could also use tahini for a different flavor profile. Just remember, the texture may vary slightly based on the alternative you choose.
Flavor-Packed Chicken Torta Sandwich – A Taste of Mexico
Ingredients
Equipment
Method
- Combine dry ingredients in a mixing bowl.
- Mix wet ingredients in a separate bowl until smooth.
- Combine wet and dry mixtures until fully mixed.
- Fold in dark chocolate chips.
- Press mixture into lined baking dish and pack tightly.
- Refrigerate for at least 2 hours to set.
- Slice and store in an airtight container.
Leave a Reply