
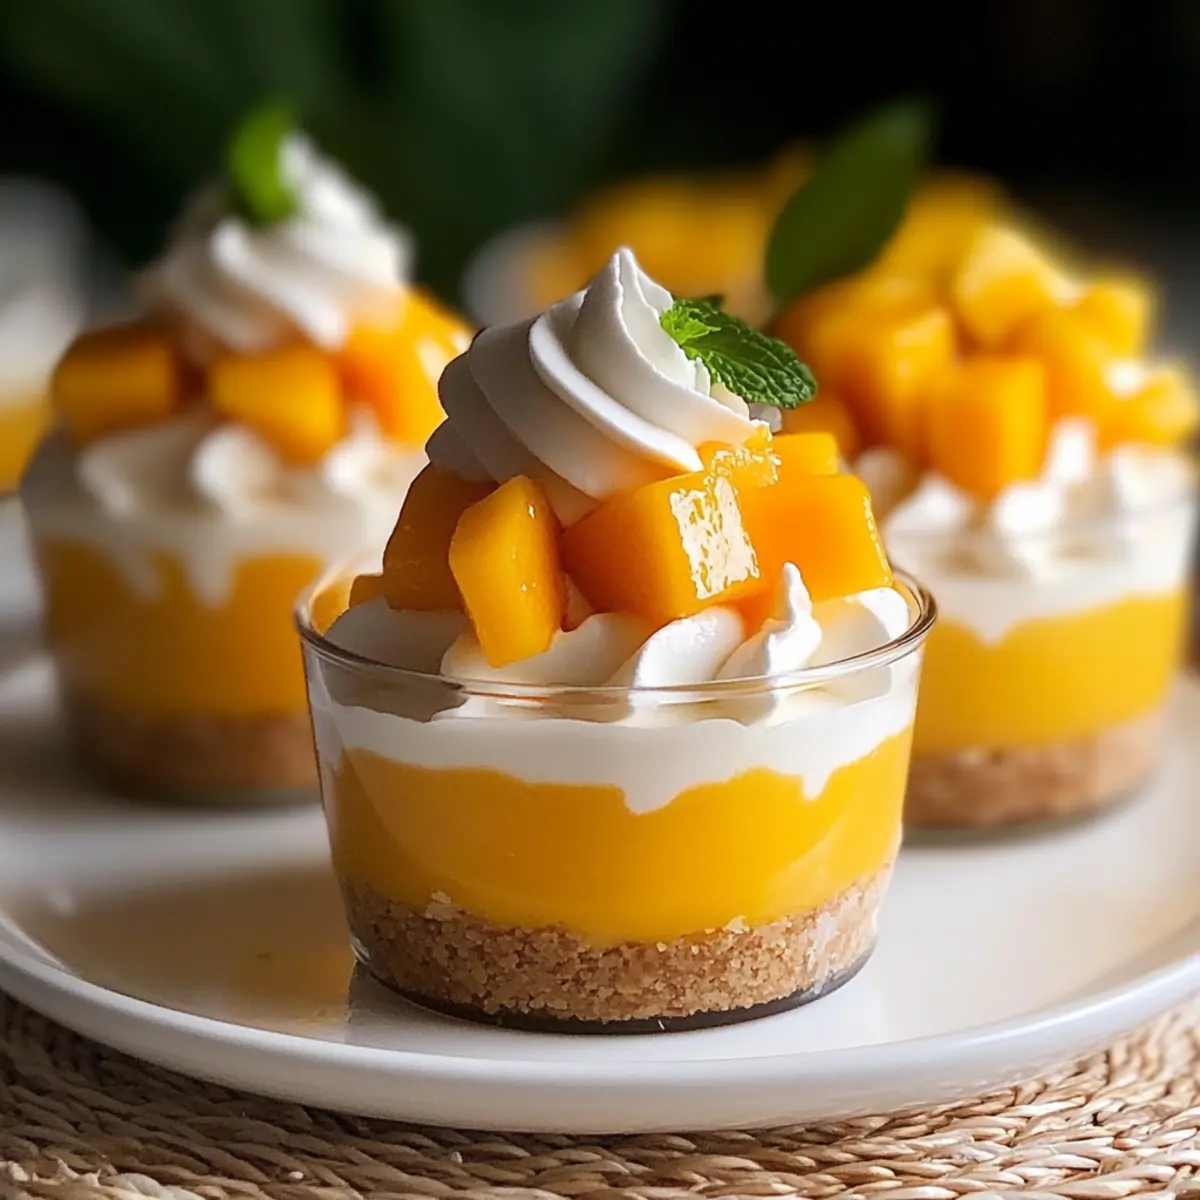
As the sun dips lower in the sky, casting a warm glow across the kitchen, the air fills with the tantalizing scent of ripe mangoes ripe for the picking. I often find myself reaching for this easy dessert when I want to impress friends without fussing over a hot oven. These No-Bake Mango Cheesecake Cups are a delightful combination of creamy cheesecake and a buttery crust that showcases that fantastic tropical fruit. Not only do they come together in just half an hour, but they are also perfect for any occasion—from summer barbecues to a sweet weeknight treat. So, if you’re in the mood for a dessert that looks as stunning as it tastes, stay tuned to discover how you can whip up these irresistible Mango Cheesecake Cups! What flavors will you bring to your own twist?
Why Are No-Bake Mango Cheesecake Cups Amazing?
Simplicity at Its Best: With only a few ingredients, you can create delicious Mango Cheesecake Cups without ever turning on the oven!
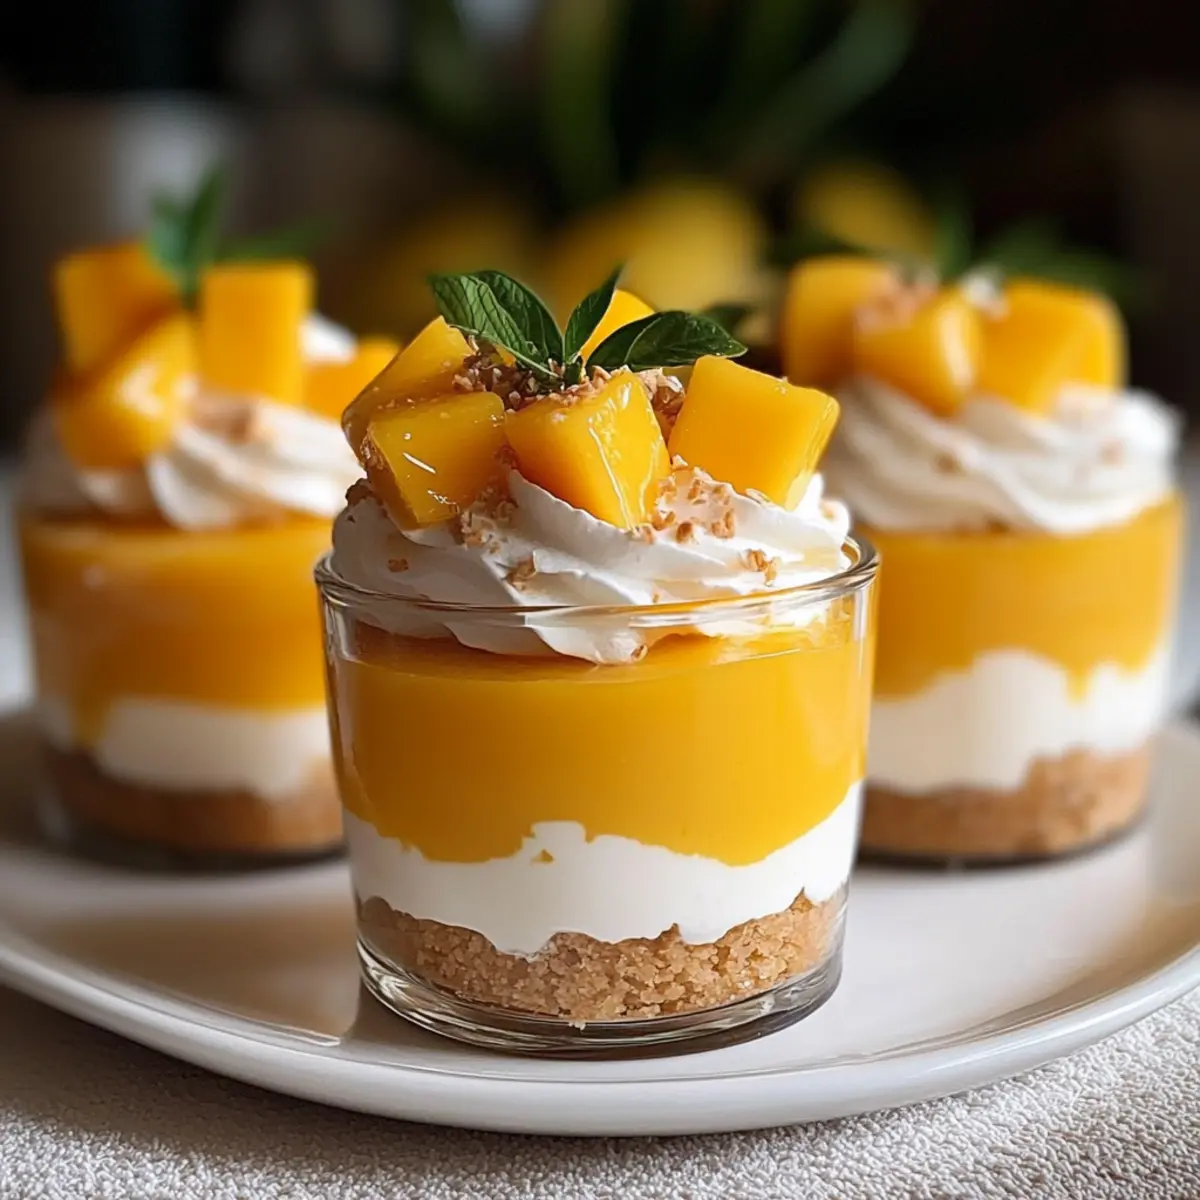
Tropical Flavor Explosion: The vibrant taste of fresh mango paired with creamy cheese creates a dessert that truly transports you to a sunny paradise.
Perfect for Any Occasion: Whether you’re hosting a summer barbecue or enjoying a quiet night in, these cups are a hit with everyone.
Customizable Delight: Feel free to swap out the Nilla wafers for graham crackers or serve with other fruits for a twist!
Make Ahead Convenience: They store beautifully in the fridge, allowing you to prepare them ahead of time—ideal for busy schedules.
Indulge in this easy yet stunning dessert, and if you’re looking for more delightful treats, why not check out my Pistachio Mushroom Cheesecake or the ever-popular Velvet Oreo Cheesecake?
Mango Cheesecake Cups Ingredients
• For the base of your delightful no-bake dessert, let’s gather everything you need!
For the Crust
- Nilla wafers – These provide structure and crunch; substitute with graham crackers if you prefer a different flavor.
- Unsalted butter – This binds the crust together and enhances its rich flavor.
For the Filling
- Gelatin powder – Essential for setting the cheesecake filling, so it holds its shape beautifully.
- Cream cheese – The star of the filling; ensure it’s at room temperature for smooth mixing.
- Vanilla extract – Adds a touch of warmth to balance the sweetness of the mango.
- Granulated sugar – Sweetens the filling; feel free to adjust based on the mango’s natural sweetness.
- Mango pulp – This delicious fruit provides the signature tropical flavor; you can use either fresh or frozen.
- Heavy cream – Whipped to fluffy perfection, adding an airy texture to your filling.
For Topping
- Additional mango pulp – A fresh layer of mango to enhance the tropical vibe right before serving.
- Whipped cream – For a touch of indulgence and creaminess in each bite.
Enjoy crafting these Mango Cheesecake Cups, and let the tropical flavors whisk you away to paradise!
Step‑by‑Step Instructions for Mango Cheesecake Cups
Step 1: Prepare the Crust
Start by crushing 1 ½ cups of Nilla wafers in a food processor until fine crumbs form. Melt ½ cup of unsalted butter and mix it with the crumbs until they resemble wet sand. Evenly distribute the mixture into serving cups, pressing it down gently to create a solid crust layer. Refrigerate for about 15 minutes to set while you prepare the filling.
Step 2: Bloom the Gelatin
In a small bowl, combine 1 tablespoon of gelatin powder with 2 tablespoons of cold water. Stir the mixture gently, then let it sit in the refrigerator for 5-10 minutes, allowing the gelatin to absorb the water and swell. This step is essential for achieving the perfect texture in your Mango Cheesecake Cups.
Step 3: Make Cheesecake Filling
In a mixing bowl, beat together 16 ounces of softened cream cheese, ¾ cup of granulated sugar, and 1 teaspoon of vanilla extract until the mixture is creamy and smooth. Next, pour in 1 cup of mango pulp, ensuring it’s well incorporated without overmixing. The mango’s vibrant color should beautify the cream cheese base, making your filling irresistible.
Step 4: Dissolve Gelatin
Retrieve the bloomed gelatin and microwave it for about 10-15 seconds, or until it becomes completely liquid but not boiling. Carefully incorporate the warm gelatin into the cream cheese and mango mixture, stirring gently to avoid lumps. This step ensures that your Mango Cheesecake Cups set perfectly without any wobbliness!
Step 5: Whip Cream
In a separate bowl, whip 1 cup of heavy cream with an electric mixer until stiff peaks form. This should take about 2-3 minutes. Just ensure the heavy cream is chilled for the best results. Gently fold the whipped cream into your cheesecake filling until no streaks remain, preserving the light and airy texture of the Mango Cheesecake Cups.
Step 6: Combine Filling and Crust
Spoon the creamy filling into your set crust cups, filling them almost to the top. Give each cup a little tap on the counter to settle the filling and remove any air bubbles. Cover the cups with plastic wrap and refrigerate for at least 6 hours, ideally overnight. This chilling will help the flavors meld beautifully.
Step 7: Serve
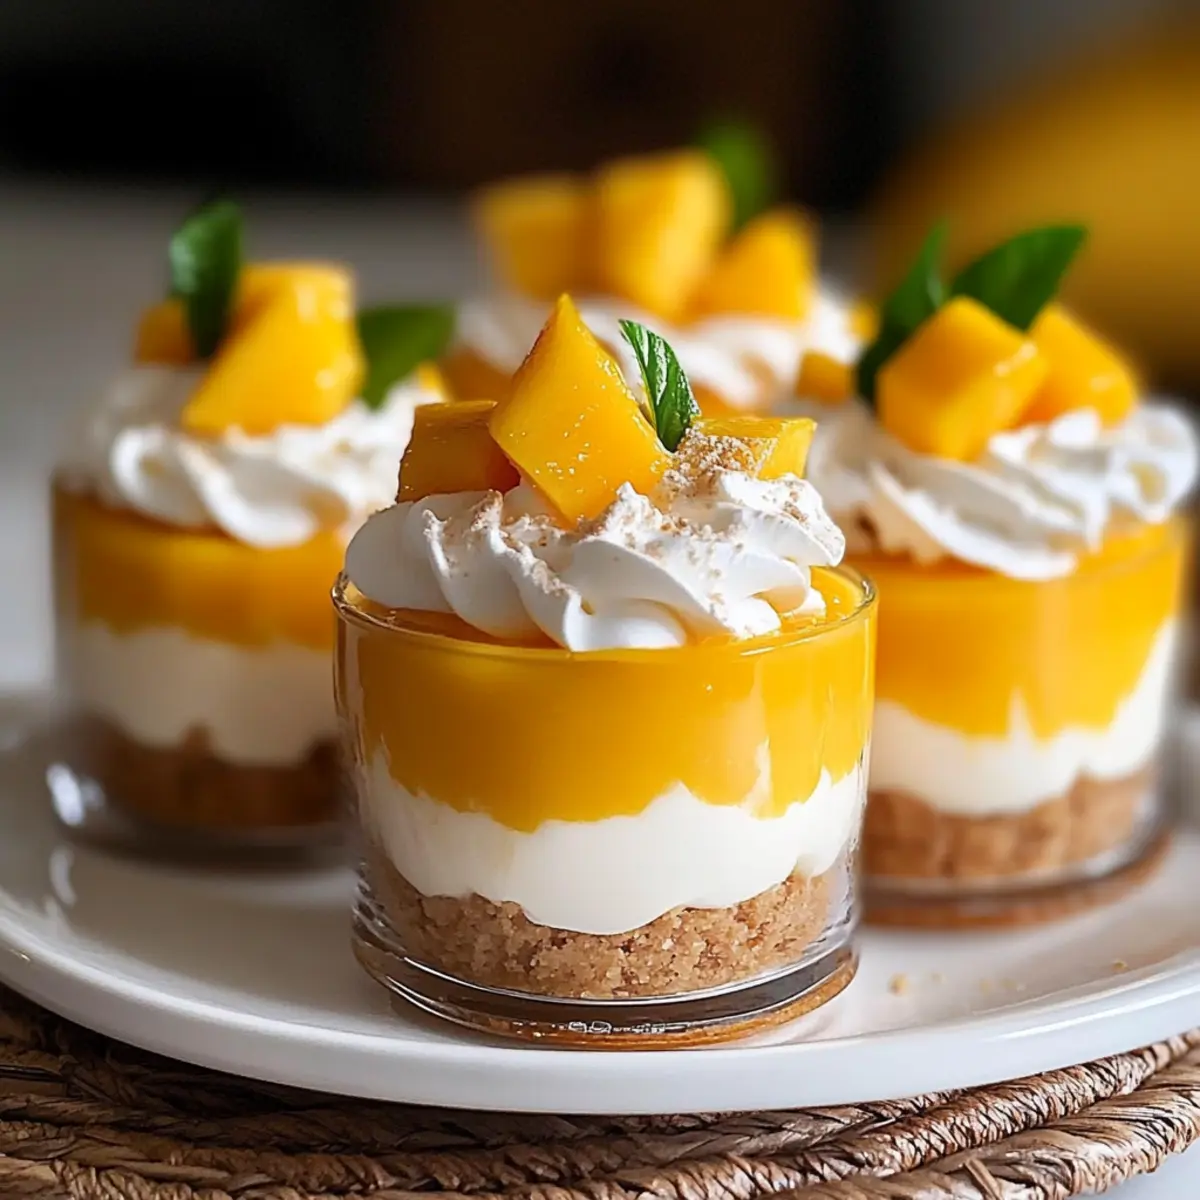
When you’re ready to indulge in your Mango Cheesecake Cups, remove them from the refrigerator. Top each cup with a generous layer of additional mango pulp and a dollop of whipped cream. For an extra touch, garnish with fresh mango cubes. Serve immediately and enjoy the tropical burst of flavors!
Make Ahead Options
These No-Bake Mango Cheesecake Cups are ideal for meal prep, allowing you to enjoy the tropical bliss without a last-minute rush! You can prepare the crust up to 24 hours in advance by crushing the Nilla wafers and mixing them with melted butter. Store the crust in the refrigerator until you’re ready to assemble. The cheesecake filling can also be made and kept in the fridge for up to 3 days. Just be sure to keep the whipped cream and mango pulps separate until serving for optimal freshness. When it’s time to serve, simply spoon the filling into the pre-prepared crusts, top with mango pulp and whipped cream, and indulge in the delightful flavors with minimal effort!
Mango Cheesecake Cups Variations
Feel free to personalize your dessert with these delightful twists that enhance flavor and texture!
-
Dairy-Free: Substitute cream cheese with a dairy-free alternative and use coconut cream instead of heavy cream for a tropical twist.
-
Crust Switch: Swap Nilla wafers with crushed graham crackers or even crushed shortbread cookies to change up the flavor profile.
-
Fruit Fusion: Replace mango pulp with other fruit purees such as passion fruit or strawberry for a different exotic experience. Each swap brings a new adventure!
-
Add a Crunch: Mix in shredded coconut with the crust for added texture and a subtle hint of sweetness that pairs perfectly with the mango.
-
Chili Kick: For those who enjoy some heat, try incorporating a pinch of chili powder into the mango pulp for a surprising sweet and spicy combination.
-
Chocolate Lover’s Delight: Drizzle melted dark chocolate on top of the cheesecake cups just before serving to add an indulgent twist.
-
Nutty Variation: Fold in finely chopped nuts like macadamia or pistachios into the cream cheese mixture for an extra layer of crunch and flavor.
-
Mini Cheesecake: Use muffin tins instead of cups for bite-sized treats; use mini Nilla wafers to create delightful, portable mango cheesecake bites perfect for parties.
Looking for more inspiration? Check out my Pudding Cookie Cups for a playful treat or explore the rich flavors of my Pistachio Mushroom Cheesecake.
Tips for the Best Mango Cheesecake Cups
- Room Temperature Cream Cheese: Ensure your cream cheese is at room temperature to avoid lumps, resulting in a smooth filling for your mango cheesecake cups.
- Gentle Folding Technique: When incorporating whipped cream into the filling, fold gently to maintain airiness—this gives your cheesecake a light texture that’s simply delightful.
- Topping Timing: Always add fresh whipped cream and mango pulp just before serving to keep everything looking vibrant and fresh.
- Avoid Freezing: Refrain from freezing these cups, as the gelatin can compromise texture upon thawing. Enjoy them chilled instead!
- Customizations Welcome: Personalize the flavor by experimenting with different fruit purees, like passion fruit, for your Mango Cheesecake Cups—each twist offers a unique treat!
How to Store and Freeze Mango Cheesecake Cups
Fridge: Store your Mango Cheesecake Cups in an airtight container in the fridge for up to 3 days to maintain their creamy texture and freshness.
Toppings: Keep whipped cream and additional mango pulp separate until you’re ready to serve to prevent sogginess and ensure vibrant presentation.
Freezer: While freezing is not recommended due to the gelatin’s texture changes, if you must, individually freeze cups for up to 1 month. Thaw in the fridge overnight before serving, understanding that consistency may slightly differ.
Reheating: Since these are served cold, there’s no need for reheating. Simply enjoy them straight from the fridge for a refreshing treat!
What to Serve with No-Bake Mango Cheesecake Cups
Complement your delightful dessert with these pairing ideas that will elevate your dining experience and tantalize your taste buds.
- Tropical Fruit Salad: A medley of fresh fruits harmonizes beautifully, enhancing the mango’s brightness with a rainbow of flavors and colors.
- Coconut Whipped Cream: The light, fluffy texture adds a rich tropical twist, creating a luscious topping that complements the cheesecake’s creamy base perfectly.
- Minty Lime Spritzer: This refreshing drink’s zesty notes contrast wonderfully with the sweet cheesecake, making every serving a vibrant celebration.
Pairing these delightful additions with your No-Bake Mango Cheesecake Cups will create an unforgettable summer meal that keeps everyone coming back for seconds!
No-Bake Mango Cheesecake Cups Recipe FAQs
What kind of mango should I use for the filling?
Absolutely! For the best flavor, use ripe, fresh mangoes that are slightly soft to the touch and fragrant. Avoid mangoes with dark spots all over as they may be overripe or spoiled. You can also opt for frozen mango pulp, which works great when fresh mangoes aren’t in season. Just ensure it’s thawed before use!
How long can I store Mango Cheesecake Cups in the fridge?
You can store your Mango Cheesecake Cups in an airtight container in the fridge for up to 3 days. To keep them looking fresh and delicious, consider keeping the toppings separate until you’re ready to serve. This way, they maintain their vibrant appearance and creamy texture.
Can I freeze my Mango Cheesecake Cups?
While it’s not recommended to freeze these dessert cups due to the gelatin’s potential to alter texture upon thawing, if you must freeze them, make sure to freeze them individually. Wrap each cup tightly and store for up to 1 month. Thaw them overnight in the fridge before serving, but please note that the consistency might not be as smooth as fresh.
What should I do if my filling is too runny?
Very! If you find your filling has turned out runny, adding more bloomed gelatin might help. To do this, take an additional teaspoon of gelatin and dissolve it in a tablespoon of warm water. Mix this into your filling, and then refrigerate it again for a few hours to set properly. Alternatively, make sure your cream cheese is at room temperature, as cold cream cheese can cause lumps and inconsistencies.
Are these Mango Cheesecake Cups suitable for those with dietary restrictions?
Definitely! If you’re looking to make these cups dairy-free, consider substituting the heavy cream with coconut cream and the cream cheese with a non-dairy alternative, such as cashew cream or a vegan cream cheese option. Always check labels to avoid allergens, especially if serving guests with dietary restrictions.
How should I serve these dessert cups for best presentation?
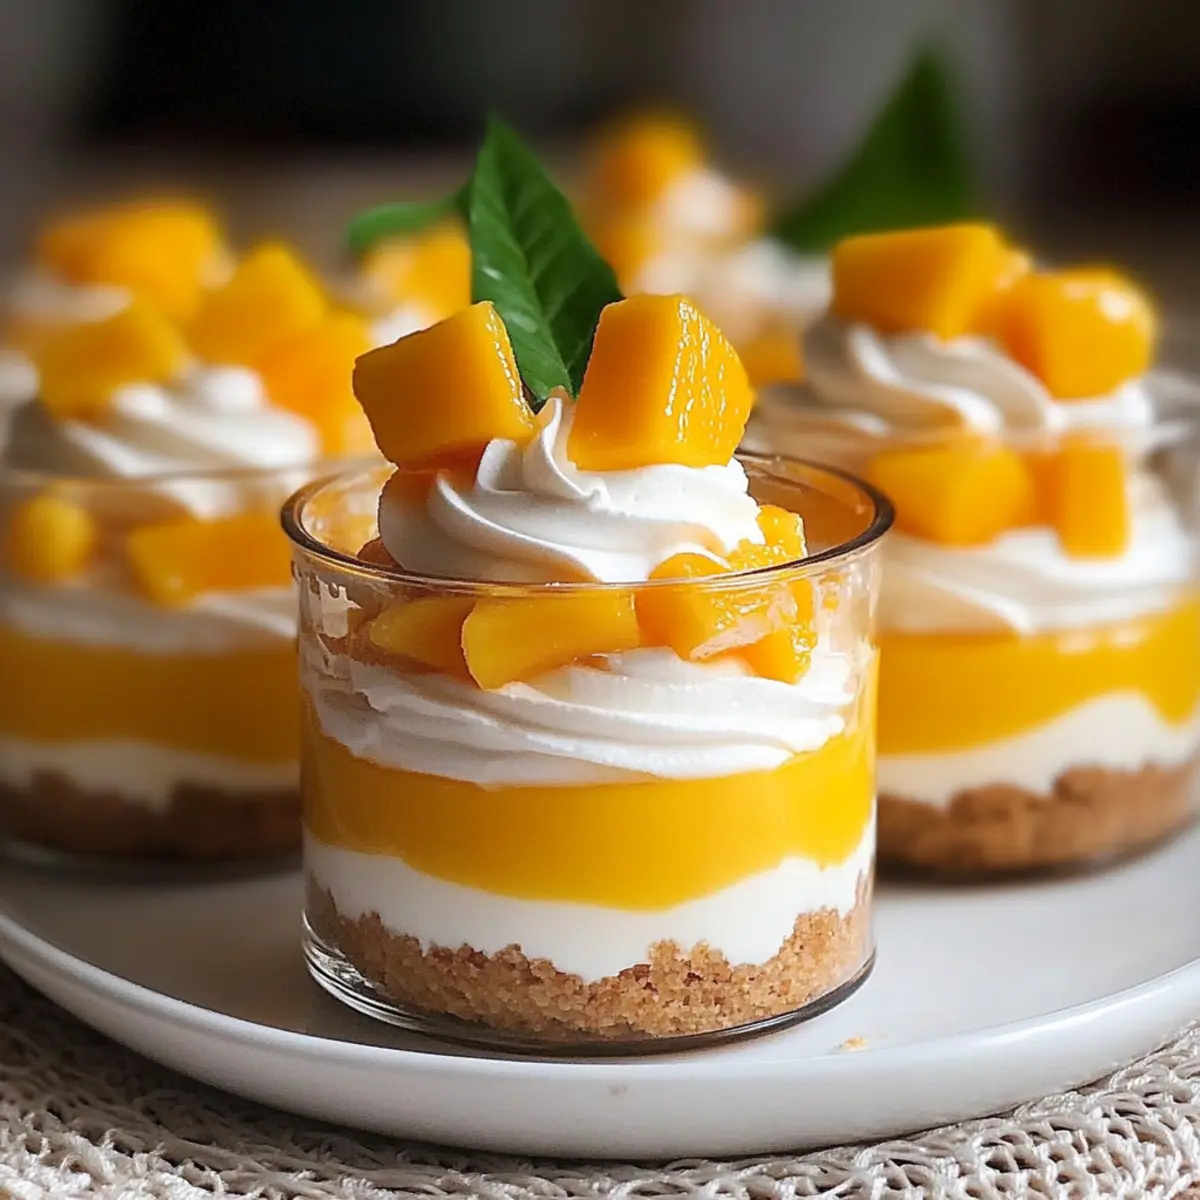
To make your Mango Cheesecake Cups look extra enticing, serve them in clear dessert cups, so the beautiful layers are visible. Right before serving, layer fresh mango pulp and a dollop of whipped cream on top, garnishing with a few mango cubes. This not only enhances the tropical vibe but also completes the dessert in style!
Delightful Mango Cheesecake Cups for Effortless Summer Indulgence
Ingredients
Equipment
Method
- Start by crushing 1 ½ cups of Nilla wafers in a food processor until fine crumbs form. Melt ½ cup of unsalted butter and mix it with the crumbs until they resemble wet sand. Evenly distribute the mixture into serving cups, pressing it down gently to create a solid crust layer. Refrigerate for about 15 minutes to set while you prepare the filling.
- In a small bowl, combine 1 tablespoon of gelatin powder with 2 tablespoons of cold water. Stir the mixture gently, then let it sit in the refrigerator for 5-10 minutes, allowing the gelatin to absorb the water and swell.
- In a mixing bowl, beat together 16 ounces of softened cream cheese, ¾ cup of granulated sugar, and 1 teaspoon of vanilla extract until creamy and smooth. Pour in 1 cup of mango pulp and mix gently until incorporated.
- Retrieve the bloomed gelatin and microwave it for about 10-15 seconds until completely liquid but not boiling. Carefully incorporate it into the cream cheese and mango mixture.
- In a separate bowl, whip 1 cup of heavy cream until stiff peaks form. Gently fold the whipped cream into the cheesecake filling until no streaks remain.
- Spoon the filling into the crust cups, filling them almost to the top. Tap each cup on the counter to settle the filling and remove air bubbles. Cover with plastic wrap and refrigerate for at least 6 hours.
- When ready to serve, remove from the refrigerator and top with additional mango pulp and whipped cream.
Leave a Reply