
As I watched my friends indulge in the vibrant colors and refreshing flavors of my latest creation, a Key Lime Kiwi Tart, I couldn’t help but smile. This delightful dessert, with its buttery graham cracker crust and luscious, creamy filling, is perfect for warm sunny days or any occasion that calls for a touch of tropical bliss. Not only is it simple to whip up, but it’s also a showstopper that will have your guests raving. Plus, with the bright zing of key lime paired with the sweet softness of fresh kiwi, it’s a light and satisfying treat that feels like a mini-vacation on a plate. Are you ready to take a bite out of summer? Let’s dive into this mouthwatering recipe!
Why is Key Lime Kiwi Tart a Must-Try?
Irresistible flavor: The delightful blend of tangy key lime and sweet kiwi makes each bite a refreshing experience you won’t forget.
Simplicity: With just a few easy steps, even novice bakers can create a stunning dessert that impresses everyone.
Versatile toppings: Feel free to experiment by adding layers of strawberries or even miniature tarts for parties, just like my Spooky Cute Tarts.
Chill time magic: Letting it rest in the fridge enhances the flavors and texture, making it an ideal make-ahead dessert.
Crowd-pleaser: This tart is not just a special treat; it’s sure to wow friends and family alike at any gathering, just like my Fiesta Lime Chicken!
Key Lime Kiwi Tart Ingredients
• Get ready to gather the perfect items for a delightful dessert experience!
For the Crust
- Graham Cracker Crumbs – Creates a sturdy and crunchy base; substitute with digestive biscuits for a unique twist.
- Granulated Sugar – Sweetens the crust beautifully; consider using brown sugar for a richer flavor.
- Melted Butter – Binds the crust together deliciously; use coconut oil for a dairy-free alternative.
For the Filling
- Sweetened Condensed Milk – Gives the tart its creamy texture; coconut cream is a great vegan substitute.
- Egg Yolks – Adds richness and helps the filling set—consider plant-based substitutes for a vegan option.
- Key Lime Juice – Infuses the tart with zesty brightness; regular lime juice can be used in a pinch.
- Lime Zest – Boosts the citrus flavor; lemon zest is a suitable alternative if limes are unavailable.
For the Topping
- Fresh Kiwis – Provides a fresh and vibrant topping; feel free to swap with strawberries for variety.
- Whipped Cream – Enhances the dessert with creaminess; use coconut whipped cream for a vegan option.
- Fresh Mint Leaves – Adds a touch of elegance; omit if you don’t have any on hand since it’s not essential.
Prepare these delightful ingredients for your Key Lime Kiwi Tart, and watch as your kitchen transforms into a tropical paradise!
Step‑by‑Step Instructions for Key Lime Kiwi Tart
Step 1: Preheat the Oven
Begin by preheating your oven to 350°F (175°C). This ensures that your crust will bake evenly and achieve that delightful golden-brown color. Grab your 9-inch tart pan, as you’ll be preparing the graham cracker crust next.
Step 2: Make the Crust Mixture
In a mixing bowl, combine graham cracker crumbs, granulated sugar, and melted butter. Stir until the mixture resembles wet sand, which will provide the right texture for your crust. This should take about 2-3 minutes, allowing the butter to thoroughly bind the dry ingredients together.
Step 3: Form the Crust
Firmly press the graham cracker mixture into the bottom and up the sides of your tart pan. Aim for an even layer to provide stability and crunch. Bake this crust in the preheated oven for about 8 minutes, watching for a light golden hue. Remove it and let it cool slightly before adding the filling.
Step 4: Prepare the Filling
While the crust cools, whisk together the sweetened condensed milk, egg yolks, key lime juice, and lime zest in a separate bowl. Whisk until the mixture is smooth and creamy, which should take around 3-4 minutes. This zesty filling is the heart of your Key Lime Kiwi Tart, so make sure it’s well combined.
Step 5: Pour the Filling
Once your crust has cooled, carefully pour the key lime filling into the center, spreading it evenly to ensure every slice will be delicious. This should fill the tart pan almost to the top, creating a lovely, creamy layer.
Step 6: Bake the Tart
Bake the tart in the oven at 350°F (175°C) for 15-18 minutes. Look for a slight jiggle in the center as you remove it, indicating it’s set yet still creamy. This slight wobble is essential and will firm up while cooling.
Step 7: Cool and Chill
After baking, allow the key lime tart to cool to room temperature on a wire rack. Once cooled, refrigerate it for at least 3 hours. This chilling step is crucial, as it helps the flavors meld and the texture soften, creating that velvety finish you desire.
Step 8: Add the Topping
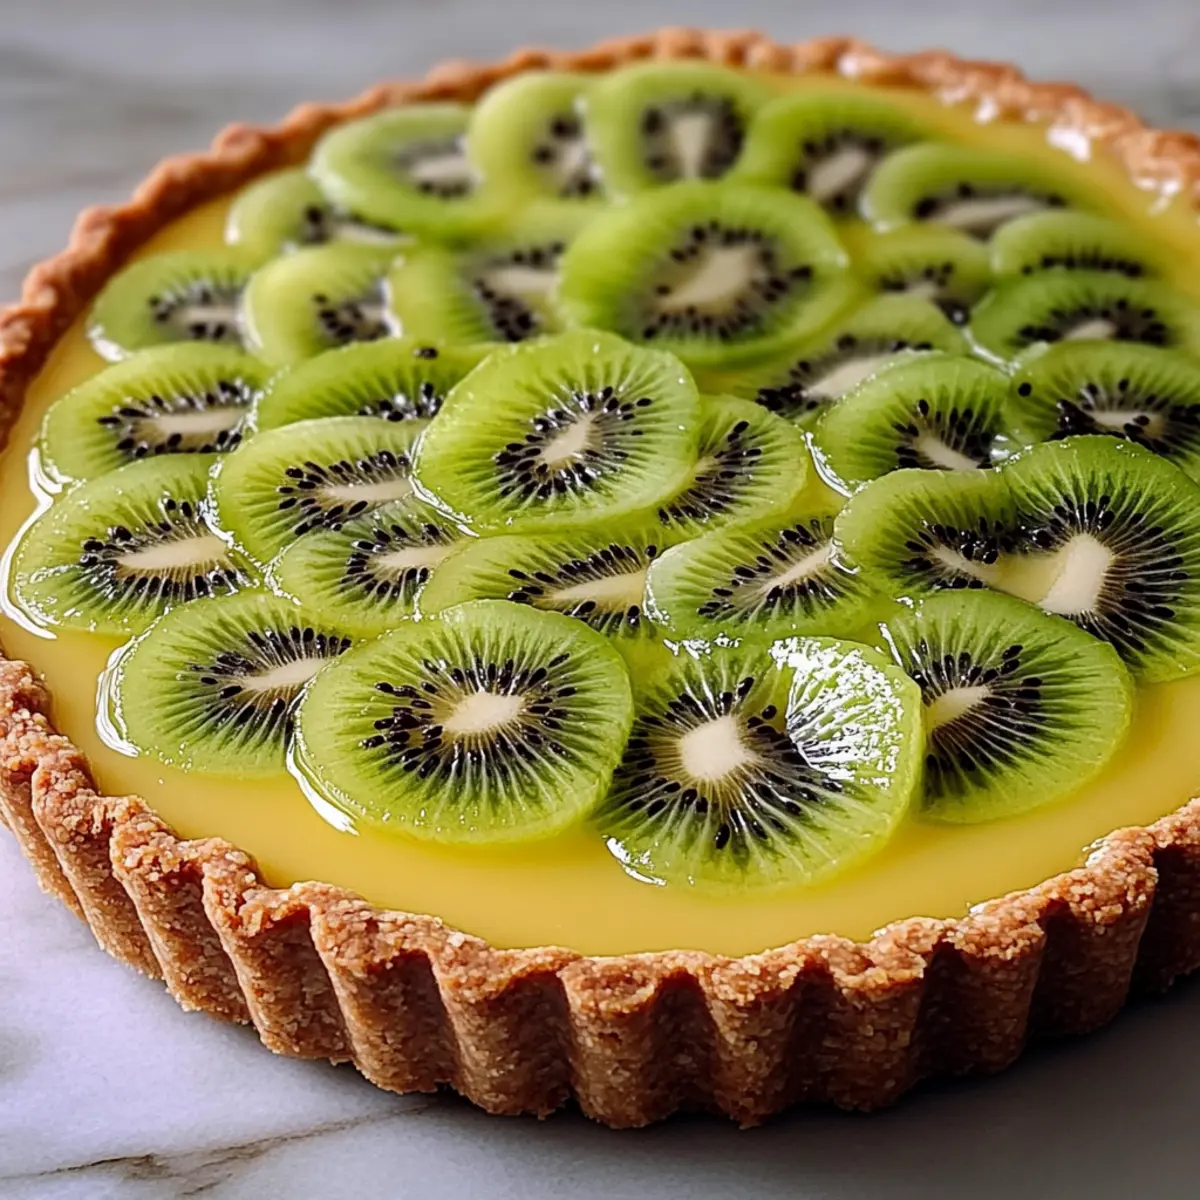
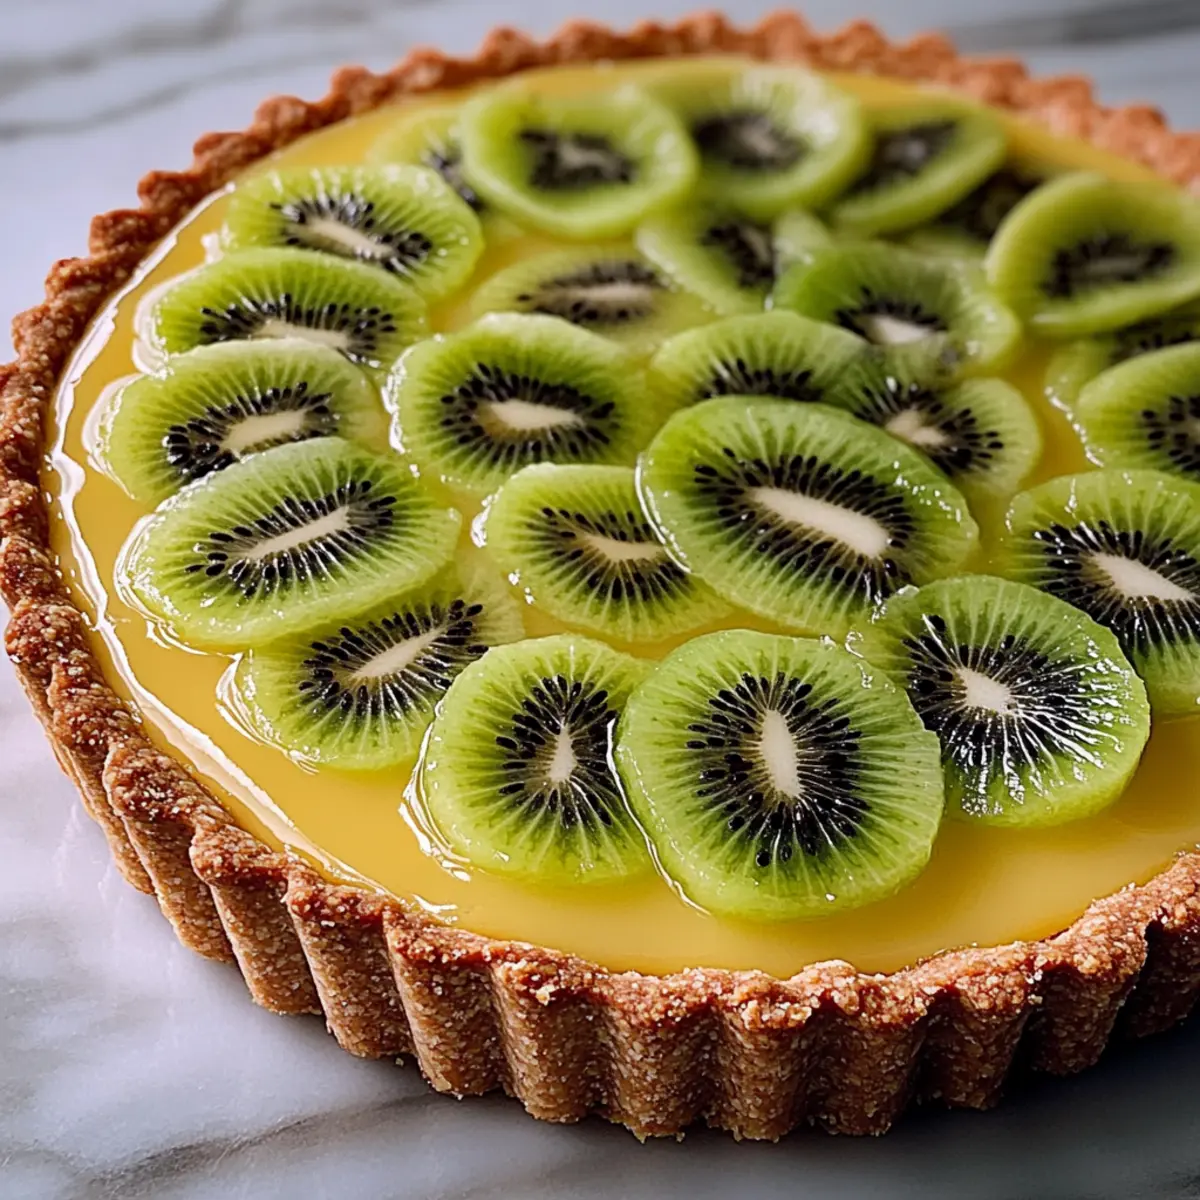
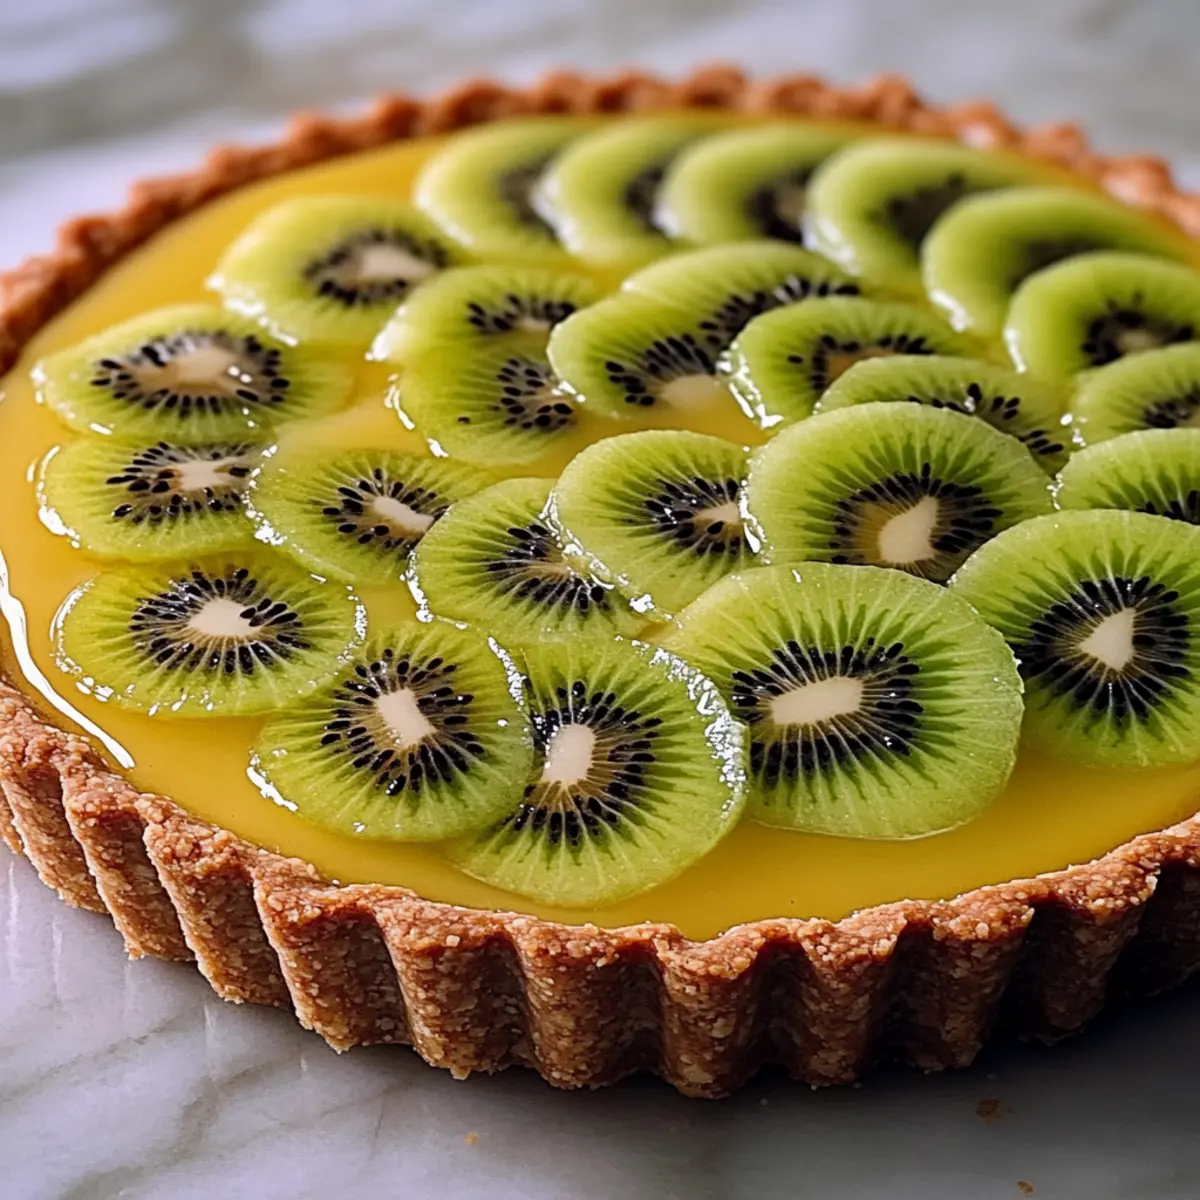
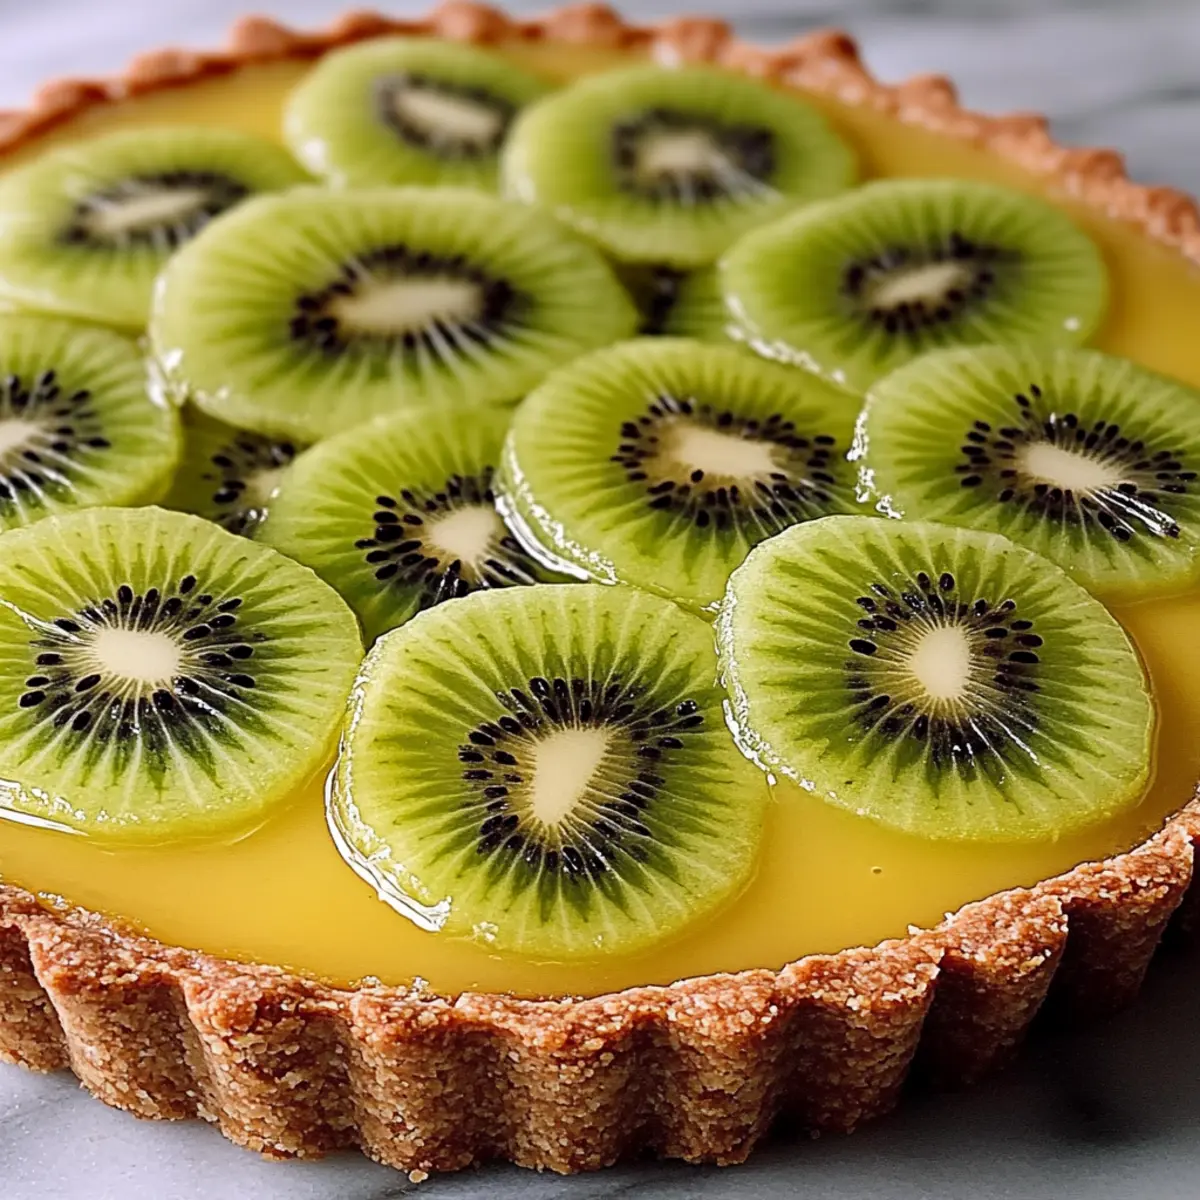
Before serving, slice the kiwis and arrange them beautifully on top of the tart. Their vibrant color adds freshness and visual appeal. To finish, dollop some whipped cream on each slice, adding a luxurious touch to your Key Lime Kiwi Tart.
Step 9: Garnish and Serve
Lastly, for an elegant touch, sprinkle fresh mint leaves atop your whipped cream. Now, your Key Lime Kiwi Tart is ready to be served! Bring it out for a stunning centerpiece at your gathering or as a delightful treat just for you.
Key Lime Kiwi Tart Variations
Feel free to let your creativity shine as you customize this recipe to suit your tastes and dietary needs!
-
Fruit Layers: Layer additional fruits like strawberries or mango slices beneath the kiwi for extra sweetness and colorful flair. Imagine the vibrant colors glistening under the sun as you slice into this delightful dessert.
-
Mini Tarts: Create adorable mini tarts using tartlet pans for bite-sized treats perfect for parties or gatherings. These little delights will be a hit at your next event!
-
Citrus Twist: Experiment with different citrus juices, such as blood orange or lemon, to add unique flavor profiles. Each bite will take you on a refreshing journey!
-
Nutty Crust: Swap out graham cracker crumbs for almond or pecan flour to give your crust a nutty flavor and a slightly different texture. It adds a rich depth that pairs beautifully with the tart filling.
-
Chocolate Drizzle: Drizzle melted dark chocolate along the top before adding kiwi slices for a decadent touch. The rich chocolate contrasting with the tangy filling will leave your taste buds dancing!
-
Dairy-Free Delight: For a fully dairy-free option, use cashew cream in place of sweetened condensed milk. It’s creamy and delicious while keeping the key lime flavor forefront!
-
Herb Garnish: Instead of mint leaves, garnish with fresh basil for an unexpected twist that adds a lovely fragrant note to the tart. It gives a delightful surprise with every bite.
-
Spice It Up: Add a pinch of cayenne or ginger powder to the filling for a gentle kick that will surprise and delight your senses. This subtle heat enhances the key lime flavor beautifully!
Once you’ve crafted your masterpiece, be sure to pair it with a refreshing dish like my Cilantro Lime Steak for a complete tropical experience. Enjoy every delicious bite!
Expert Tips for Key Lime Kiwi Tart
-
Chill It Well: Make sure to fully chill the tart before serving; this helps firm up the filling for perfect slices.
-
Hot Knife Slices: Use a hot knife to cut the tart for clean, beautiful slices. A warm knife glides through effortlessly!
-
Citrus Swap: If you don’t have key limes, using regular lime juice will work; just know it might be a bit less tart.
-
Fruit Alternatives: Want to switch up the topping? Fresh strawberries also work great, adding a lovely contrast to the tangy filling.
-
Texture Matters: Don’t skip the cooling time! Letting it sit in the fridge ensures the Key Lime Kiwi Tart has a lovely, creamy texture.
-
Experiment: Feel free to play with the ingredients; try coconut cream for the filling for a unique, tropical twist.
How to Store and Freeze Key Lime Kiwi Tart
Refrigerator: Keep your Key Lime Kiwi Tart covered in the fridge for up to 2 days. This maintains its creamy texture and delicious tartness.
Freezer: If you want to store it longer, freeze the tart for up to 1 month. Wrap it well in plastic wrap and aluminum foil to prevent freezer burn.
Thawing: When ready to enjoy, thaw in the refrigerator overnight. Add fresh kiwi slices on top before serving for the best texture.
Serving: After thawing, serve chilled and consider adding a dollop of whipped cream to enhance its refreshing flavors!
Make Ahead Options
These Key Lime Kiwi Tarts are perfect for busy home cooks looking to save time! You can prepare the buttery graham cracker crust up to 24 hours in advance; simply mix the ingredients, press them into the tart pan, and bake. Once cooled, make the creamy filling and pour it into the crust; this can be done the day before as well. After baking, chill the tart for at least 3 hours or up to 2 days in the refrigerator to help the flavors meld beautifully. Just remember to add the fresh kiwi slices and whipped cream topping right before serving to ensure that your tart is just as delightful and vibrant as when you first made it!
What to Serve with Key Lime Kiwi Tart
Create a harmonious meal around this refreshing dessert to delight your senses and impress your guests.
-
Berry Salad: A mix of ripe strawberries, blueberries, and raspberries adds vibrant color and complements the tartness of the Key Lime Kiwi Tart. The sweet and juicy berries create a beautiful contrast, enhancing the overall experience.
-
Coconut Ice Cream: Creamy, velvety coconut ice cream perfectly pairs with the tart’s citrus notes. The tropical undertone brings a smooth finish to each bite, making it a delightful choice on a warm day.
-
Grilled Pineapple Skewers: Sweet, caramelized grilled pineapple adds a smoky flair and brings out the tropical essence of the tart. Pairing this fruity treat with the tart offers an exciting mix of flavors and textures.
-
Mint Lemonade: Serve refreshing mint lemonade alongside the dessert to elevate the bright, zesty notes. The cooling mint ties in with the tart’s whipped cream garnish, making it a perfect complement for your sunny dessert.
-
Coconut Macaroons: Sweet, chewy coconut macaroons offer a delightful textural contrast to the creamy Key Lime Kiwi Tart. Their sweetness beautifully balances the tart’s brightness, creating a well-rounded dessert table.
-
Chocolate Dipped Strawberries: Rich, chocolate-covered strawberries add a decadent touch, enhancing the overall sweetness of the meal while echoing the fruit elements of the tart. They’ll be a hit with chocolate lovers!
-
Key Lime Martini: For a delightful adult twist, serve a zesty Key Lime Martini. The alcoholic treat mirrors the flavors of the tart, creating a delightful pairing that keeps the tropical spirit alive.
-
Chilled Mango Soup: A refreshing mango soup offers a smooth, silky contrast to the tart. The naturally sweet mangoes serve as a light, fruity prelude to the vibrant Key Lime Kiwi Tart, enhancing your dining experience.
Key Lime Kiwi Tart Recipe FAQs
What are the best kiwis to use for this tart?
Absolutely! Look for kiwis that are slightly soft to the touch with no dark spots. A good kiwi should feel firm yet yield slightly when pressed. If they’re overly soft or have dark spots all over, they might be past their prime.
How should I store leftover Key Lime Kiwi Tart?
You can easily keep your Key Lime Kiwi Tart stored in the refrigerator for up to 2 days! Just cover it with plastic wrap or aluminum foil to keep it fresh and prevent it from absorbing any odors from other foods.
Can I freeze Key Lime Kiwi Tart?
Yes, you can freeze it! Cover the tart tightly in plastic wrap and then wrap it in aluminum foil to protect it from freezer burn. It can be frozen for up to 1 month. When you’re ready to enjoy it, thaw it overnight in the refrigerator, and be sure to add fresh kiwi slices just before serving for a refreshing touch.
What can I do if the filling doesn’t set properly?
If your tart is too wobbly after baking, it may need more time in the oven. Return it to the oven for an additional 2-3 minutes to allow it to firm up. Also, ensure that you did not skip the chilling step afterward, as this is crucial for the filling to set properly.
Are there any dietary considerations I should be aware of?
Very! This recipe can be adapted for various dietary needs. For a vegan version, substitute sweetened condensed milk with coconut cream and use a plant-based egg alternative. If someone has an allergy to kiwis, feel free to replace them with strawberries or raspberries for a vibrant and tasty alternative.
How do I achieve clean slices when serving the tart?
To ensure perfectly clean slices, use a hot knife! Heat your knife in warm water, then dry it before cutting the tart. The warm blade glides through the filling smoothly, creating beautiful pieces that are visually appealing for serving.
Zesty Key Lime Kiwi Tart for Your Dreamy Dessert Cravings
Ingredients
Equipment
Method
- Preheat your oven to 350°F (175°C).
- In a mixing bowl, combine graham cracker crumbs, granulated sugar, and melted butter. Stir until the mixture resembles wet sand.
- Firmly press the graham cracker mixture into the bottom and up the sides of your tart pan. Bake for about 8 minutes, then cool slightly.
- Whisk together the sweetened condensed milk, egg yolks, key lime juice, and lime zest in a separate bowl until smooth and creamy.
- Once your crust has cooled, pour the key lime filling into the center, spreading it evenly.
- Bake the tart at 350°F (175°C) for 15-18 minutes, then cool to room temperature.
- Refrigerate for at least 3 hours.
- Slice the kiwis and arrange them on top of the tart, then dollop whipped cream on each slice.
- Garnish with fresh mint leaves before serving.
Leave a Reply