
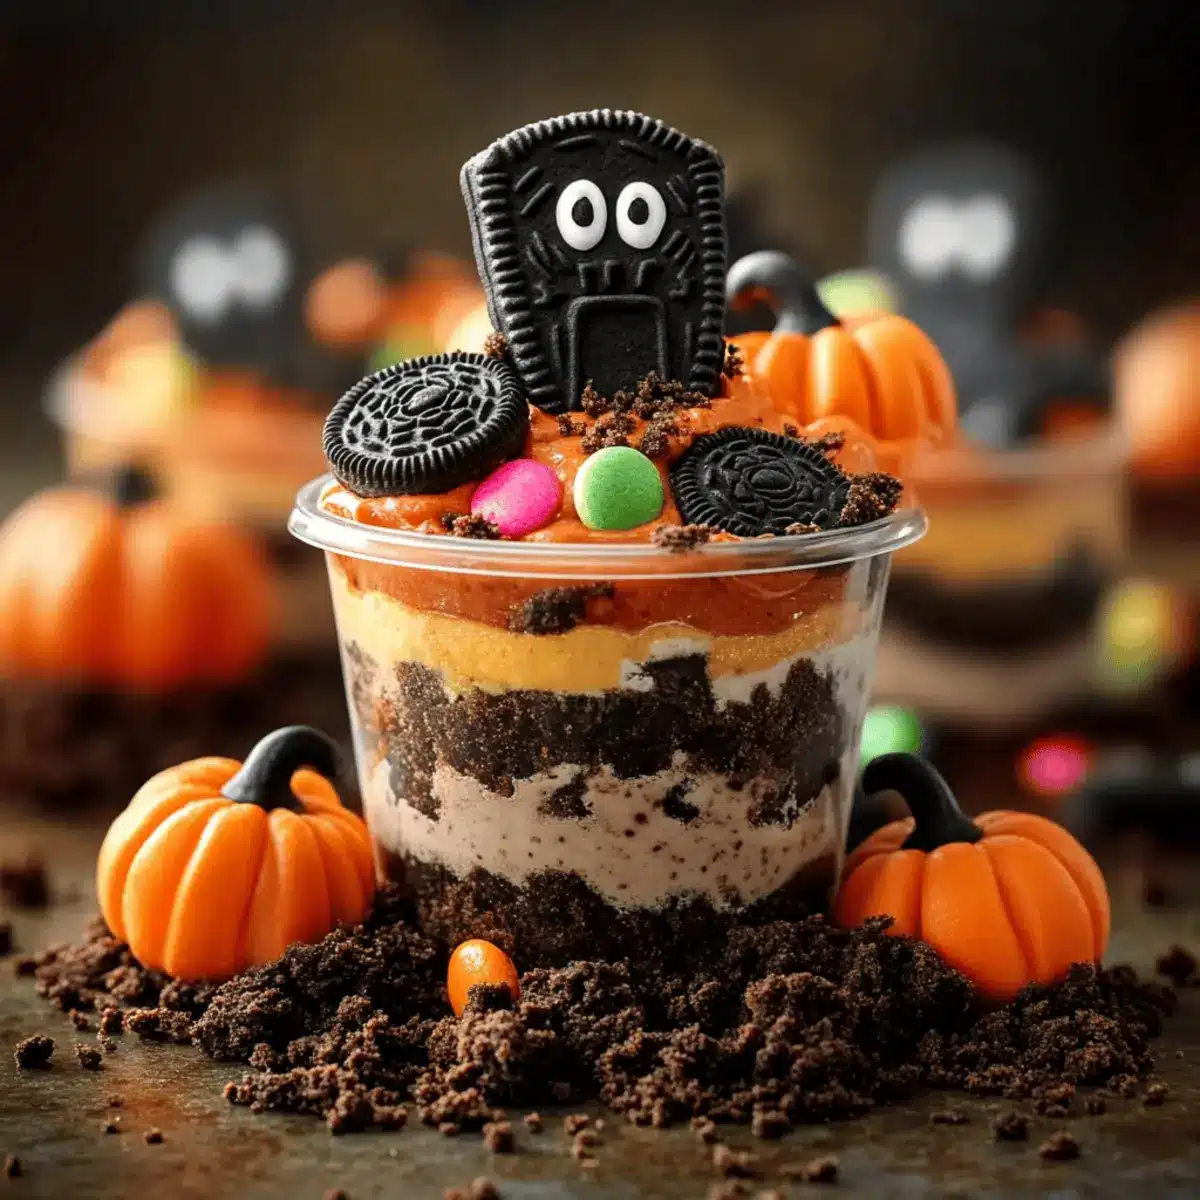
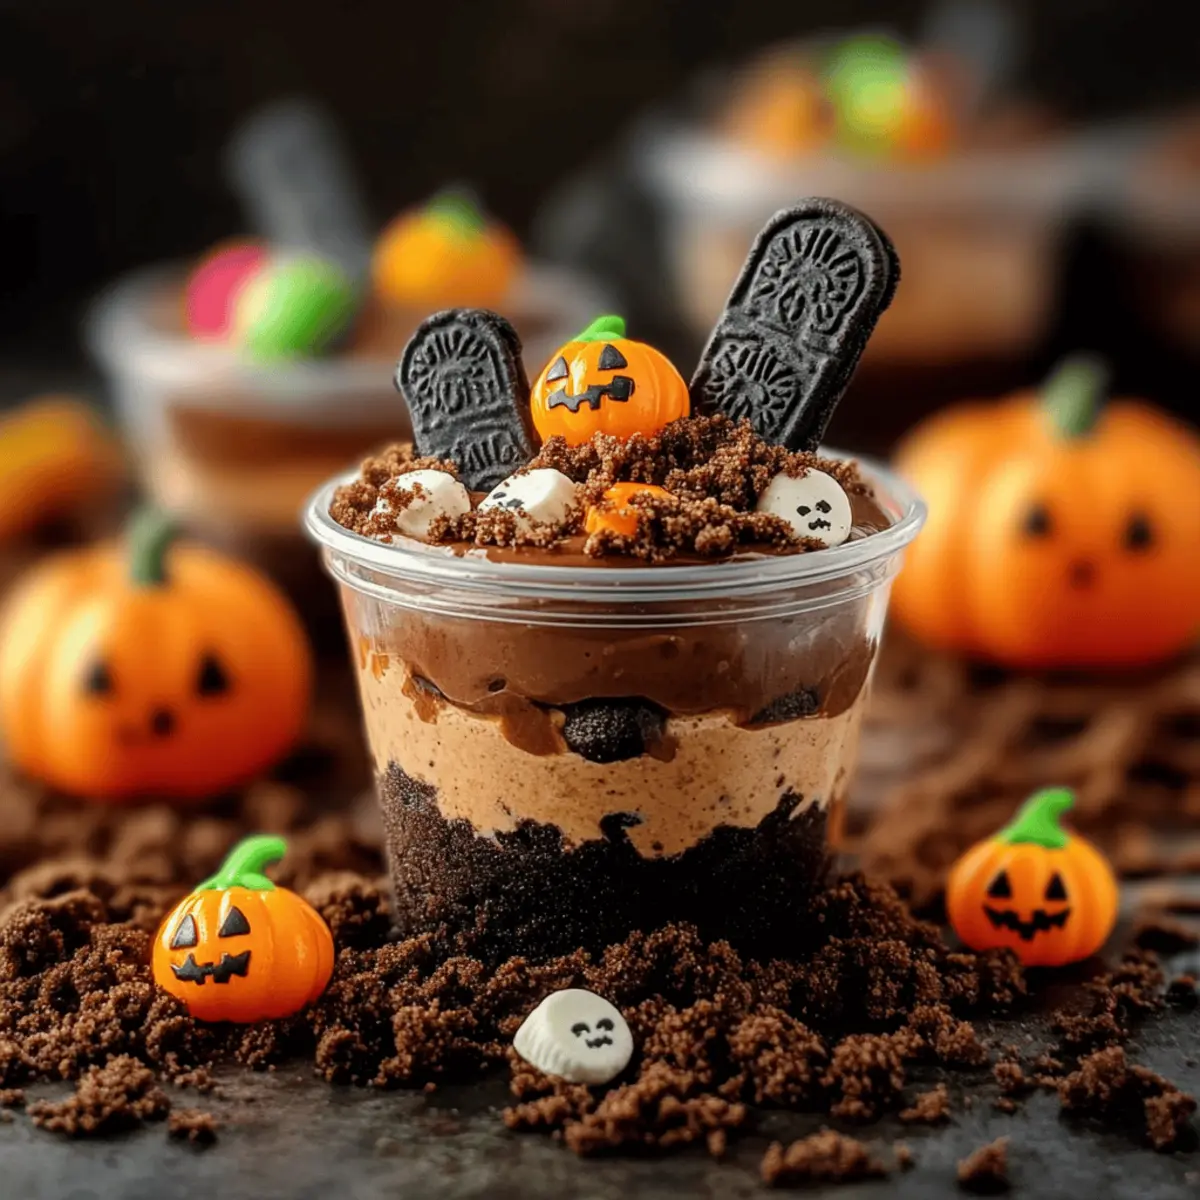
The moment the first chill of fall brushes against your skin, I can’t help but dream of festive treats. Enter my Spooky Graveyard Pudding Cookie Cups—your new go-to Halloween delight! These easy-to-make, no-bake desserts transform simple ingredients into a delightful and playful presentation that’s sure to charm both kids and adults. Picture velvety chocolate pudding layered with crushed Oreos that mimic dirt, all topped off with whimsical cookie tombstones and candy pumpkins. Not only do these spooky cups bring a fun twist to your Halloween celebrations, but they also allow you to whip up an unforgettable dessert in just minutes. Are you ready to conjure up some deliciously eerie fun in your kitchen?
Why Are These Cookie Cups So Fun?
Easy to Make: You’ll love how straightforward these Graveyard Pudding Cookie Cups are to whip up, making them a perfect choice for novice bakers and experienced chefs alike.
Kid-Friendly Fun: With spooky decorations like edible googly eyes and candy pumpkins, these treats turn dessert time into an interactive experience that kids will adore, helping to spark creativity in young minds.
No-Bake Wonder: No need to heat up the kitchen! This recipe is entirely no-bake, so you can spend more time doing what you love—celebrating with friends and family.
Versatile Layers: You can customize these cups to your tastes! Swap the chocolate pudding for vanilla for a refreshing twist, or try using different cookies for unique tombstones.
Party Showstopper: Their eye-catching layers and festive theme make them a standout addition to any Halloween gathering, appealing to both kids and adults. Serve them up alongside some Cinnamon Roll Cookies for a truly delightful dessert spread!
Graveyard Pudding Cookie Cups Ingredients
• Ready to dig into this festive delight?
For the Pudding Mixture
- Chocolate Instant Pudding Mix – Provides the base flavor and creamy texture; homemade chocolate pudding can be substituted for a richer taste.
- Milk – Activates the pudding mix for a smooth consistency.
- Cool Whip – Adds a light and fluffy texture; you can use whipped cream as a delicious alternative.
For the “Dirt” Layer
- Oreo Cookies (Crushed) – Serves as the “dirt” layer; the crumbles add rich chocolatey goodness and texture.
For the Tombstones and Decorations
- Milano Double Chocolate Cookies – Perfect for creating spooky tombstones; their elegant shape contributes to the haunted theme.
- Black Frosting or Edible Marker – Use this to write “RIP” on the tombstones for an added spooky touch at your Halloween party.
- Candy Pumpkins – These whimsical treats bring some festive fun to your dessert.
- Googly Eyes (Edible) – A fun addition that makes the dessert playful and adds a quirky twist.
- Gummy Worms (Optional) – Add them for an extra creepy effect that kids will love; they’re the perfect finishing touch!
Dive into the world of deliciously haunted decorations with these Graveyard Pudding Cookie Cups—your Halloween startup deserves it!
Step‑by‑Step Instructions for Graveyard Pudding Cookie Cups
Step 1: Prepare the Tombstones
Begin by using black frosting or an edible marker to write “RIP” on the Milano Double Chocolate Cookies. Set these decorated cookies aside—they will serve as the spooky tombstones for your Graveyard Pudding Cookie Cups. Aim for a neat design so the letters are clearly visible, adding an authentic touch to your festive treat.
Step 2: Make the Pudding
In a mixing bowl, whisk together the chocolate instant pudding mix and cold milk until the mixture thickens to a creamy consistency—about 2 minutes. The pudding should be smooth and without lumps; this will be the delightful base of your dessert. Once combined, let it sit for a minute to set properly, enhancing its texture.
Step 3: Fold in the Cool Whip
Gently fold in the Cool Whip into the pudding mixture, using a spatula to maintain its fluffy texture. This step creates a light and airy base for your Graveyard Pudding Cookie Cups. Be careful not to over-mix; you want to see swirls of pudding and whipped cream mix without losing volume.
Step 4: Crush the Oreos
Take the Oreo cookies and place them in a resealable plastic bag. Crush them into fine crumbs using a rolling pin or your hands, making sure they resemble dirt. Aim for a consistent texture without large chunks; this crushed Oreo layer will add a rich, chocolatey element to your spooky dessert.
Step 5: Layer the Cups
Grab your clear cups and start by adding a layer of crushed Oreos to the bottom. Then, press some edible googly eyes against the sides of the cup, which will peek through the layers for a spooky effect. Pour in a layer of the pudding mixture over the Oreos, filling the cup halfway.
Step 6: Continue Layering
Repeat the layering process by adding another layer of crushed Oreos, followed by more pudding, until the cups are filled to the brim. Aim for at least two layers of each ingredient to create a visually appealing and tasty presentation. Make sure the last layer is pudding so you can garnish effectively.
Step 7: Add the Dirt Layer
Finish off your layered Graveyard Pudding Cookie Cups with a generous sprinkle of crushed Oreos on top to create a “dirt” effect. This not only enhances the visual appeal but also adds a delicious crunchy texture that complements the creamy layers below. Make sure it’s evenly spread for a polished look.
Step 8: Decorate the Cups
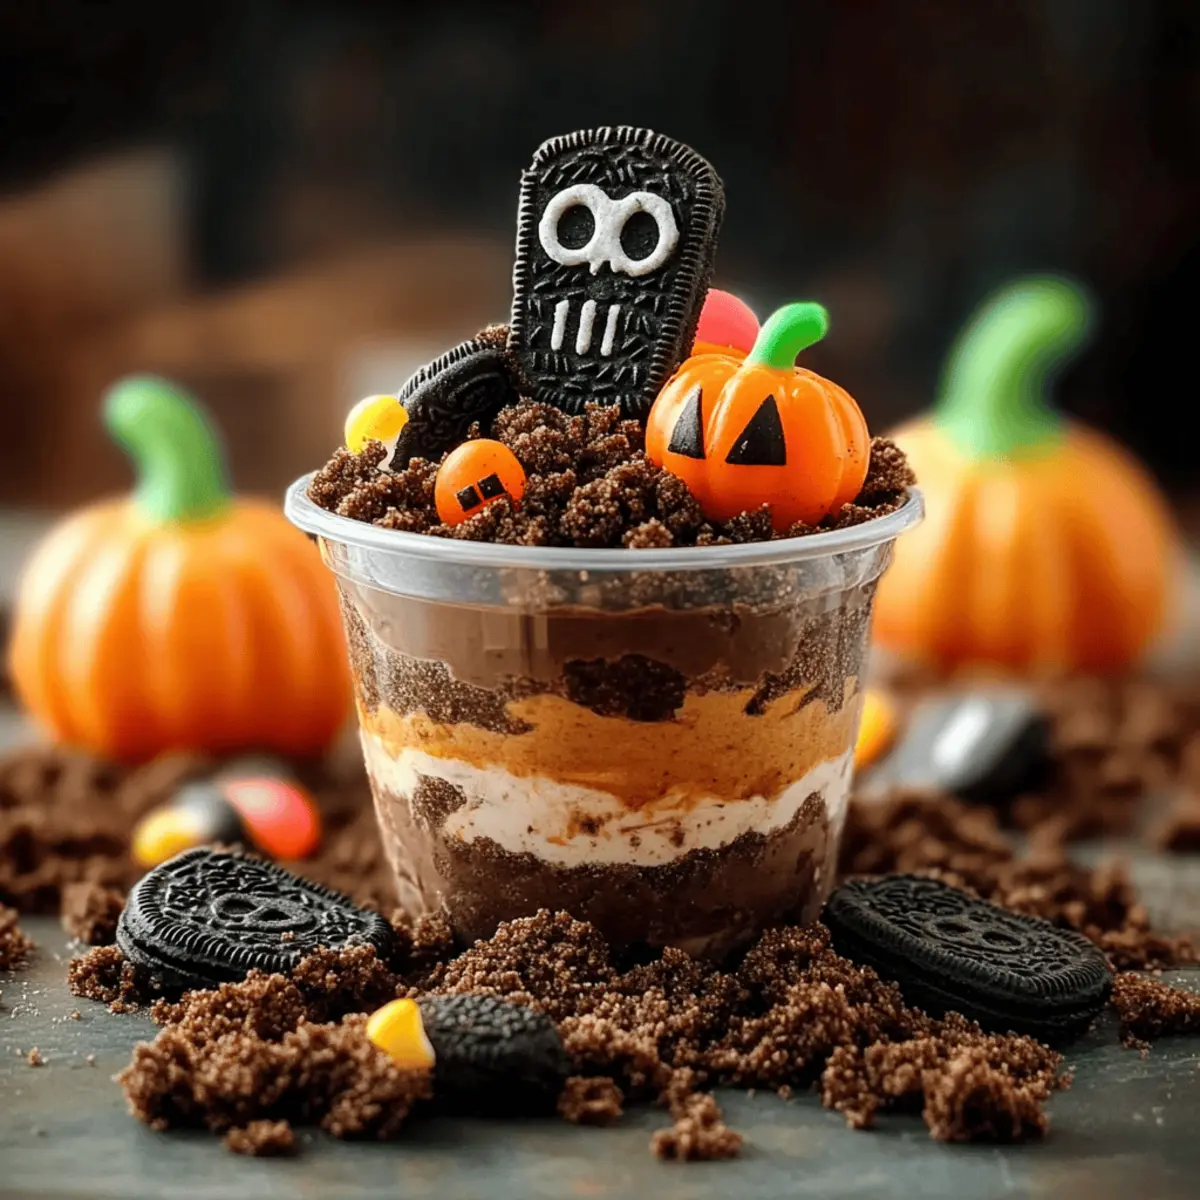
Once layered, carefully insert a cookie tombstone into each cup, ensuring it stands upright. Then, place a candy pumpkin next to the tombstone for a festive touch. You can also add gummy worms draped over the top for an extra creepy decoration. This final touch will bring your spooky dessert to life!

Make Ahead Options
These Graveyard Pudding Cookie Cups are a fantastic choice for meal prep, allowing you to enjoy festive fun without the last-minute stress! You can prepare the pudding mixture and the crushed Oreo “dirt” layer up to 24 hours in advance; simply refrigerate them in separate containers. For the best quality, keep the cookie tombstones and candy decorations stored separately until just before serving, so they maintain their delightful crunch and appearance. When it’s time for your spooky gathering, assemble the cups by layering the pudding and Oreos, then finish with the decorations. This way, you’ll serve a treat that’s just as delicious and impressive while saving precious time!
What to Serve with Graveyard Pudding Cookie Cups
Elevate your Halloween dessert experience with these delightful accompaniments that perfectly complement the spooky charm of your treat.
-
Ghostly Vanilla Ice Cream: A scoop of creamy vanilla ice cream adds a cool, smooth counterpoint to the rich pudding, enhancing each bite.
-
Spiced Apple Cider: Warm, fragrant apple cider brings cozy fall flavors that meld beautifully with the chocolatey goodness of the cups.
-
Pumpkin Spice Whipped Cream: Top with this festive whipped cream for an additional layer of seasonal flavor that adds a delightful surprise.
Treat your kids and guests with a vibrant display of colors and textures, creating a fun-filled atmosphere for your Halloween celebration.
-
Creepy Fruit Skeletons: Arrange sliced fruits in spooky shapes, like ghost apples or banana bones, to keep the fun going beyond dessert!
-
Chocolate-Dipped Pretzels: The salty-sweet combo plays off the cookie cups’ sweetness, providing a crunchy contrast that everyone will love.
-
Witch’s Brew Milkshakes: Whip up a green milkshake topped with whipped cream and edible glitter for a fun drink that’s sure to enchant all ages.
-
Mummy Pizza Bites: For a savory option, serve these cheesy, fun bites alongside dessert to round out a spooky feast.
-
Gummy Worm Cupcakes: These festive cupcakes adorned with gummy worms echo the playful spirit of your Graveyard Pudding Cookie Cups, making them a perfect match!
-
Chocolate Milk: A classic pairing—rich, creamy chocolate milk adds a nostalgic charm that will bring smiles to adults and kids alike.
Graveyard Pudding Cookie Cups Variations
Invite your creativity to take center stage as you tailor these spooky delights to your taste and occasion!
-
Vanilla Pudding: Swap chocolate pudding for vanilla for a lighter dessert; it still looks fantastic layered with Oreos. This can be a fun switch that surprises your taste buds!
-
Gluten-Free Alternative: Use gluten-free cookies and pudding mix to create a dessert that everyone can enjoy. This way, no one has to miss out on the spooky fun!
-
Dairy-Free Delight: Substitute dairy ingredients with coconut milk and coconut whipped cream for a dairy-free twist. It adds a unique flavor, perfect for those with lactose intolerance.
-
Add Some Heat: Drizzle a little sriracha or hot fudge sauce over the top before adding the tombstones for a surprising spicy kick. This unexpected twist can bring a delightful contrast to the sweetness!
-
Fruit Layering: Incorporate layers of mashed bananas or raspberry purée between the pudding and Oreos for added flavor and nutrition. The fruity layer will brighten the flavor profile!
-
Chocolate-Cinnamon Twist: Mix in a dash of cinnamon with the pudding to give it a warm essence; this cozy flavor pairs wonderfully with the chocolate for an autumnal touch.
-
Nutty Crunch: Sprinkle crushed nuts—like pecans or caramelized almonds—between layers for an unexpected crunchy texture. It adds an extra layer of richness!
-
Themed Decorations: Use Halloween-themed candies like gummy spiders or chocolate bones instead of the usual decorations for a more Halloween-centric presentation. This can elevate your spooky theme even further!
And if you’re looking for more delightful treat ideas, consider whipping up some Cinnamon Roll Cookies or indulge in Chocolate Oatmeal Cookies for a varied dessert table this Halloween!
Expert Tips for Graveyard Pudding Cookie Cups
-
Clear Cup Choice: Use transparent cups to highlight the fun layers and googly eyes. This visual appeal enhances the excitement for everyone, especially kids!
-
Chill Before Serving: Refrigerate the assembled cups for at least 30 minutes. This not only enhances the texture but helps set the layers beautifully.
-
Adjust the Layers: Don’t hesitate to customize your layers! Swap chocolate pudding with vanilla or use other cookie types for decorations to suit your taste preferences.
-
Add Grass Effect: For an extra spooky touch, sprinkle green-tinted coconut flakes to mimic grass around the tombstones, giving your Graveyard Pudding Cookie Cups more charm.
-
Timing Is Key: Assemble the cups ahead of time, but wait to add the cookie tombstones until just before serving. This keeps them fresh while maximizing visual impact.
Storage Tips for Graveyard Pudding Cookie Cups
Refrigerator: Keep your assembled Graveyard Pudding Cookie Cups refrigerated for optimal freshness. They are best enjoyed within 24 hours to maintain their delightful layers.
Airtight Container: If you have leftovers, store them in an airtight container in the fridge. This will help preserve the texture and prevent them from drying out.
Freezer: While not recommended for freezing once assembled due to the creamy pudding, you can freeze the pudding mixture separately before layering. It will keep well for up to 1 month—just thaw and layer when ready!
Decorations: If making in advance, consider adding the cookie tombstones and candy within a few hours of serving to keep them crisp and visually appealing.
Graveyard Pudding Cookie Cups Recipe FAQs
How do I choose ripe ingredients for my Graveyard Pudding Cookie Cups?
Absolutely! For this recipe, you’ll want to use fresh milk – ideally whole or 2% for creaminess. While pudding mix doesn’t spoil easily, check the expiration date to ensure optimal flavor. If you choose to make homemade pudding instead, use fresh eggs and cream for the best taste!
How should I store my Graveyard Pudding Cookie Cups?
Very good question! Keep your assembled cookie cups refrigerated in a covered container. They are best consumed within 24 hours to ensure the layers maintain their textures and don’t become soggy. Simply pop them into the fridge after assembling to keep them fresh and delicious.
Can I freeze the Graveyard Pudding mixture?
Certainly! While it’s not advisable to freeze the assembled cookie cups, you can freeze the pudding mixture itself. Prepare the pudding, let it cool, and then store it in an airtight container. It can be frozen for up to one month. When you’re ready, thaw it in the refrigerator overnight and then layer it with your toppings for a spooky treat!
What if my pudding doesn’t thicken properly?
No worries! If your pudding doesn’t set as expected, it could be due to not whisking it thoroughly or not letting it sit long enough. Make sure to whisk the mix with cold milk for at least 2 minutes, and then let it sit undisturbed for a minute to thicken further. If it’s still too runny, you could try whisking in a bit more pudding mix to help it firm up.
Are there any dietary considerations I should keep in mind?
Absolutely! These Graveyard Pudding Cookie Cups contain dairy and gluten, so if you’re serving individuals with allergies, double-check the labels of all ingredients. For a dairy-free version, use almond or coconut milk combined with a dairy-free pudding mix, and choose gluten-free cookie alternatives.
How long can I make these cups in advance?
Great question! You can prep the pudding mixture and crushed Oreos a day ahead. Layer everything just a few hours before serving, adding the cookie tombstones and decorations at the last minute to ensure they stay crispy and visually appealing. This makes it easier for you to enjoy the festivities without fuss at the last moment!
Graveyard Pudding Cookie Cups for Spooktacular Fun
Ingredients
Equipment
Method
- Prepare the Tombstones: Use black frosting or an edible marker to write “RIP” on the Milano Double Chocolate Cookies and set aside as tombstones.
- Make the Pudding: Whisk together the chocolate instant pudding mix and cold milk in a mixing bowl until thickened.
- Fold in the Cool Whip: Gently fold the Cool Whip into the pudding mixture with a spatula, maintaining its fluffy texture.
- Crush the Oreos: Place the Oreo cookies in a resealable plastic bag and crush them into fine crumbs.
- Layer the Cups: In clear cups, add a layer of crushed Oreos, then add edible googly eyes and a layer of pudding mixture.
- Continue Layering: Repeat the layers until the cups are filled, finishing with pudding on top for garnishing.
- Add the Dirt Layer: Sprinkle crushed Oreos on top for a dirt effect, enhancing texture and visual appeal.
- Decorate the Cups: Insert a cookie tombstone into each cup and add a candy pumpkin and gummy worms for decoration.
Leave a Reply