
Spring has arrived, and with it comes the delightful joy of Easter celebrations! As I whip up a batch of these Easter Brownies, the sweet aroma of melting chocolate and buttery goodness fills my kitchen, setting the perfect scene for festive gatherings. What truly sets this Easter brownies recipe apart is the unexpected addition of coffee—just a hint to elevate that rich chocolate flavor to a new level of indulgence. Not only are these brownies a crowd-pleasing dessert that will leave everyone asking for seconds, but they’re also simple enough to make, allowing you to focus on what matters most: creating lasting memories with family and friends. Curious how to make this scrumptious treat even better? Let’s dive into the recipe!
Why are these brownies a must-try?
Simplicity: You’ll need just a few familiar ingredients to create these mouthwatering brownies, making it a stress-free baking experience for everyone.
Unique Flavor: The subtle addition of coffee enhances the chocolate flavor, creating an unforgettable depth that will keep your taste buds dancing.
Perfect for Sharing: These Easter brownies are a fantastic centerpiece for any gathering, sparking conversation and indulgent enjoyment among friends and family.
Versatility: Feel free to experiment with toppings or chocolate types, just like I did in my popular Marshmallow Swirl Cookies for added fun!
Nostalgic Appeal: Each bite combines rich chocolate with a chewy texture, reminding you of childhood treats while delighting your guests younger and older alike.
Quick to Make: With less than an hour from start to finish, you’ll have a delightful dessert ready to impress without the long wait.
Easter Brownies Recipe Ingredients
Get ready to create mouthwatering Easter brownies with these essential ingredients!
For the Brownies
• Granulated Sugar – adds sweetness and a crisp top. None; adjust with other sugars if desired.
• Brown Sugar – brings moisture and chewiness; can substitute with coconut sugar for a similar effect.
• Butter – provides richness and flavor; use unsalted butter for better control over salt levels.
• Eggs – essential for structure and moisture; no substitutions recommended.
• Vanilla Extract – enhances sweetness and aroma; opt for pure vanilla for the best taste.
• All-Purpose Flour – offers structure; use a gluten-free blend for a gluten-free Easter brownies recipe.
• Cocoa Powder – the core element for that rich chocolate flavor; unsweetened cocoa is ideal.
• Salt – balances the sweetness and elevates flavor; you can use kosher salt as a substitute.
• Chocolate Chips – adds pockets of melted chocolate in each bite; try mixing types for variety.
For the Topping
• Coconut Oil – melts with chocolate for a glossy finish; can replace with vegetable oil, but the flavor may change.
• Gel Food Coloring – perfect for achieving those pastel hues; use gel to maintain texture consistency.
These ingredients will help you create a delicious Easter brownies recipe that’s sure to impress!
Step‑by‑Step Instructions for Easter Brownies Recipe
Step 1: Preheat and Prepare
Begin by preheating your oven to 350°F (175°C). While it heats up, line an 8×8-inch baking pan with parchment paper, allowing some overhang for easy removal later. This step is crucial as it ensures your Easter brownies bake evenly and can be easily lifted out once cooled.
Step 2: Melt and Mix Sugars
In a medium saucepan over low heat, melt 1 cup of unsalted butter. Once melted, remove it from the heat, then stir in 1 cup of granulated sugar and 1 cup of brown sugar until the mixture is completely combined and glossy. This creates a rich base for your brownies, ensuring moisture and a delightful chewiness.
Step 3: Incorporate Eggs and Vanilla
Allow the sugar mixture to cool slightly, then add 4 large eggs one at a time, mixing well after each addition, followed by 2 teaspoons of pure vanilla extract. This step will make your batter smooth and luscious, adding essential flavor to your Easter brownies.
Step 4: Combine Dry Ingredients
In a separate bowl, sift together 1 cup of all-purpose flour, 1 cup of unsweetened cocoa powder, and a pinch of salt. Gradually add this dry mixture to the wet ingredients, carefully folding until just combined. Be gentle to avoid incorporating too much air; overmixing can lead to cakey brownies instead of dense ones.
Step 5: Fold in Chocolate Chips
Next, fold in 1 cup of chocolate chips until evenly distributed throughout the batter. The chocolate chips will melt slightly during baking, creating pockets of rich chocolate goodness in your Easter brownies. This step is essential for achieving that decadent texture you desire.
Step 6: Bake the Brownies
Pour the brownie batter into the prepared baking pan, using a spatula to spread it evenly. Bake in your preheated oven for 30 to 35 minutes, or until a toothpick inserted into the center comes out with a few moist crumbs but not wet batter. This indicates perfectly fudgy brownies.
Step 7: Make the Topping
While the brownies bake, prepare the topping by melting 1 cup of chocolate chips with 2 tablespoons of coconut oil in a small saucepan over low heat. Stir until the mixture is glossy and smooth. This chocolate topping will give your Easter brownies a luscious finish and an appealing sheen.
Step 8: Cool and Top
Once the brownies are done baking, remove them from the oven and let them cool in the pan for about 10 minutes. After cooling, carefully lift them out using the parchment overhang. Spread the melted chocolate mixture over the cooled brownies, ensuring an even layer to enhance their deliciousness.
Step 9: Decorate with Color
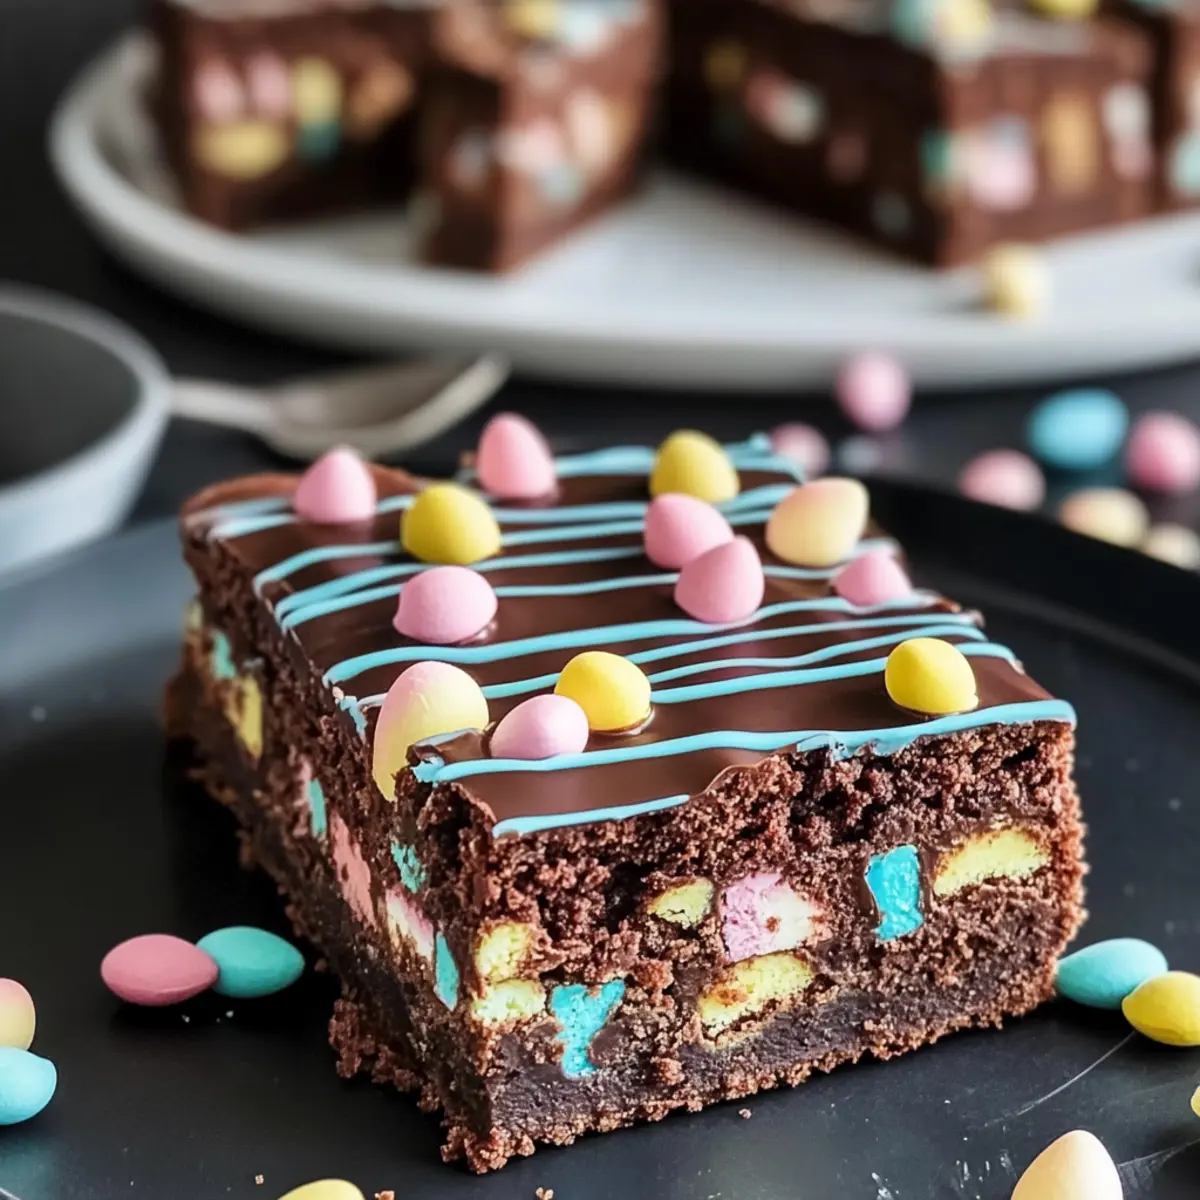
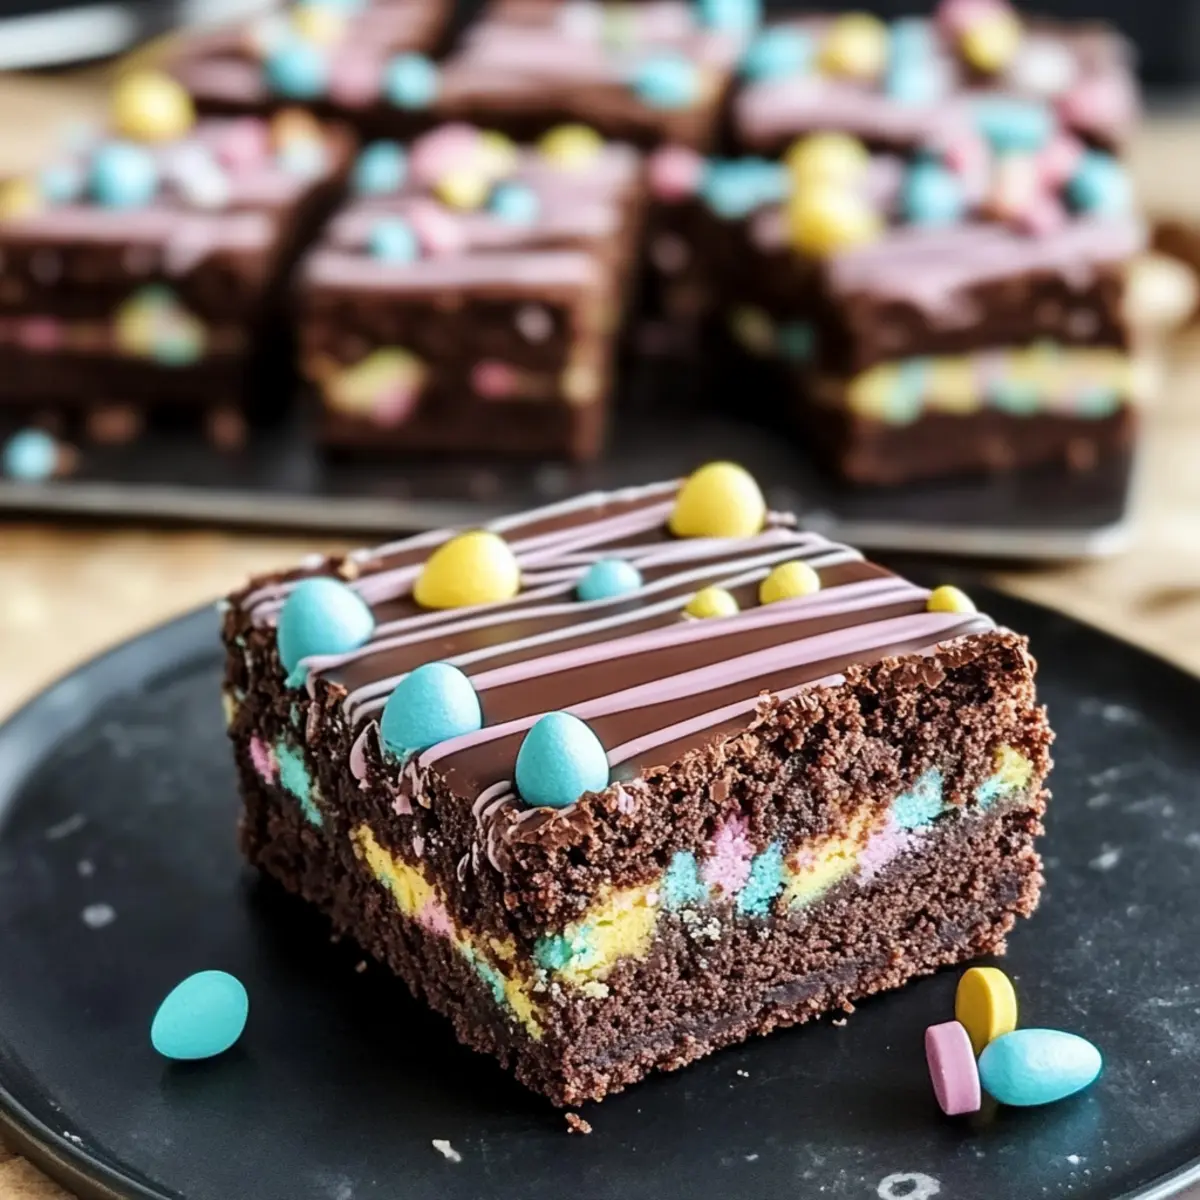
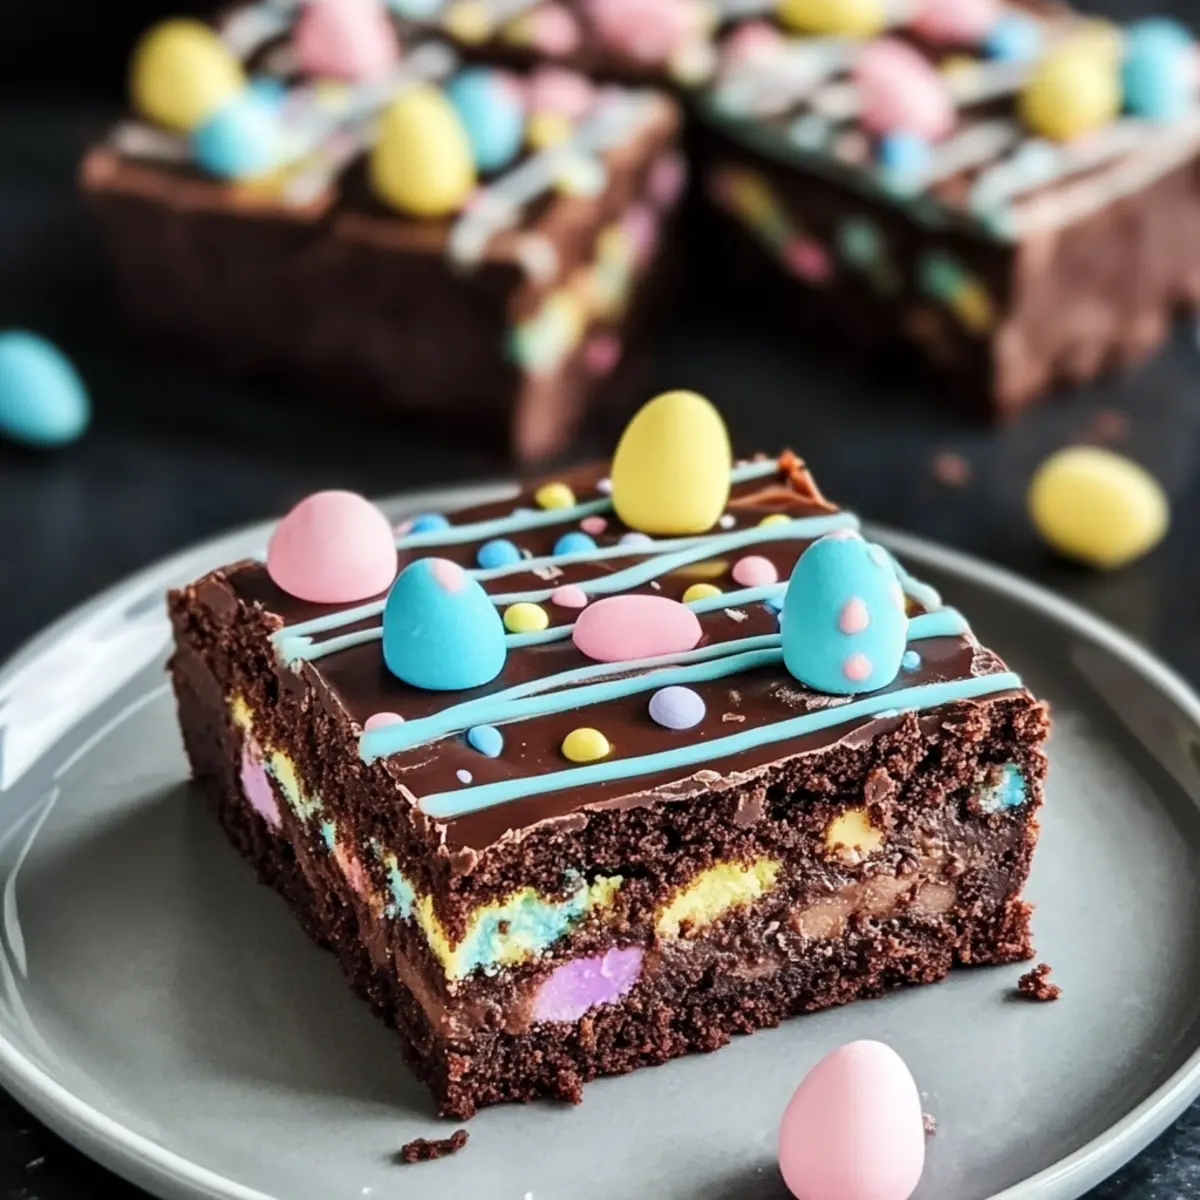
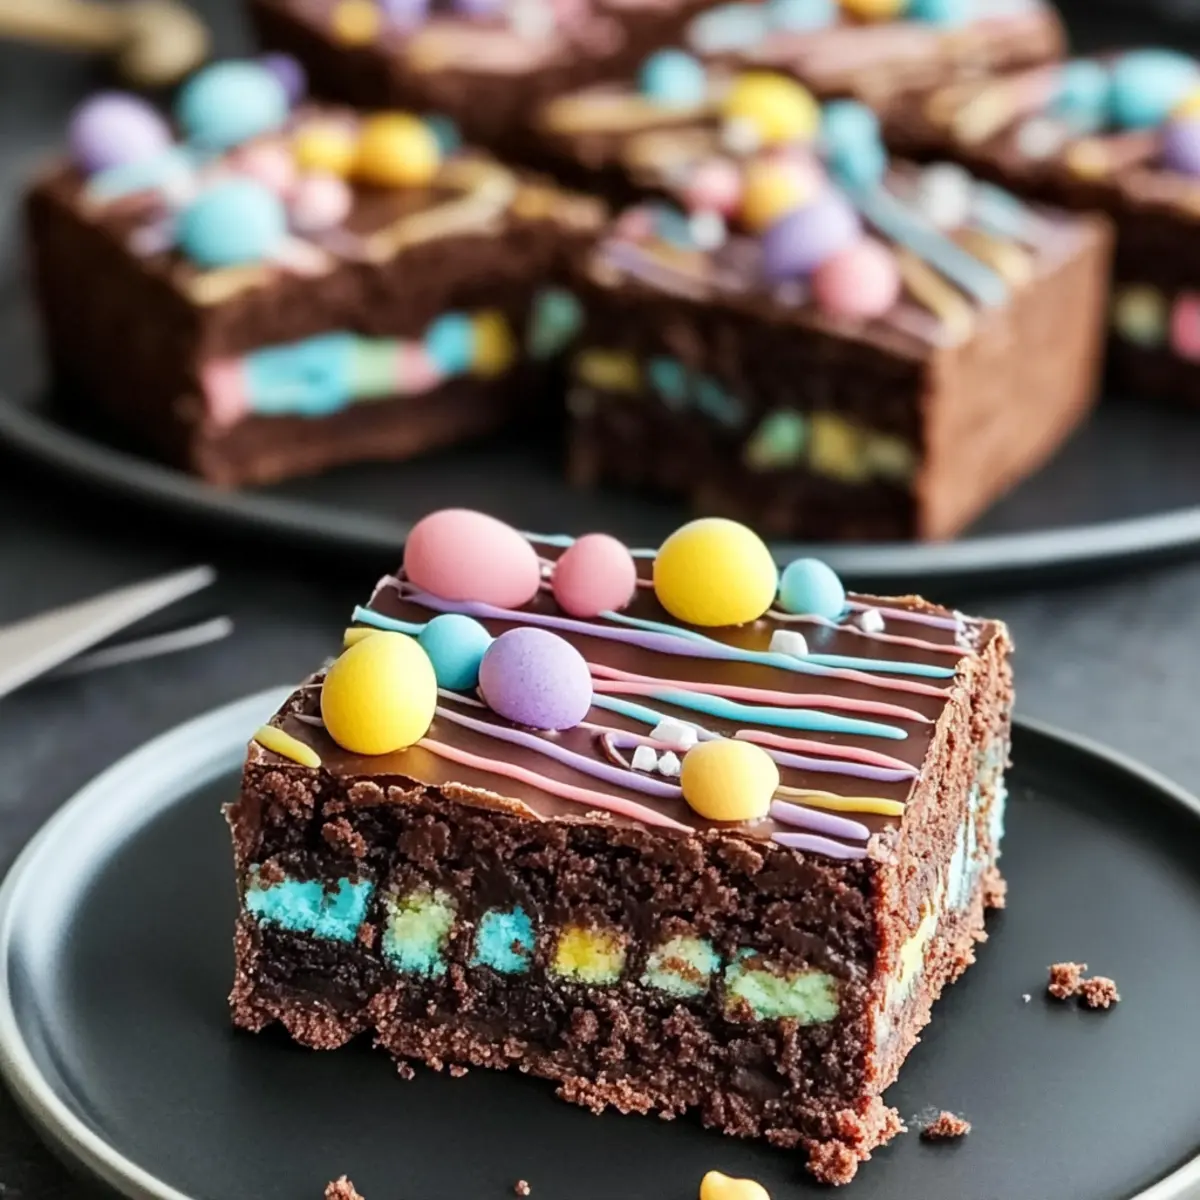
To add a festive touch, melt ½ cup of white chocolate and mix in gel food coloring to achieve pastel hues. Drizzle this over the top of your brownies, then sprinkle with mini candy eggs and colorful sprinkles. This decorative step makes your Easter brownies visually appealing and fun for all ages.
Step 10: Slice and Serve
Allow the brownies to cool completely before slicing into squares. For neat slices, consider running a sharp knife under hot water and drying it between cuts. Your Easter brownies are now ready to be served at spring gatherings, capturing the hearts of family and friends alike.
Easter Brownies Recipe Variations
Get ready to unleash your creativity in the kitchen with these customizable options for your Easter brownies!
-
Brewed Coffee: Add a splash of brewed coffee to intensify the chocolate flavor, creating a mocha twist that’ll delight your taste buds. Just a hint elevates the experience without overpowering the sweetness.
-
Mix Types of Chocolate: Swap in a variety of chocolate chips, such as dark or white, for a playful flavor profile. Each chocolate type brings its unique nuance, making every bite a little adventure.
-
Nutty Crunch: Fold in chopped nuts like walnuts or pecans for added texture and richness. This delightful crunch pairs beautifully with the chewy brownie base, giving a more complex mouthfeel.
-
Bunny Paw Decoration: Get festive by decorating your brownies with bunny paw prints made from melted chocolate. Your guests will love the fun design, making them perfect for an Easter celebration!
-
Fruity Twist: Incorporate dried fruits such as cherries or cranberries for a hint of tartness. The fruity bites will complement the rich chocolate, creating a balanced, delectable dessert.
-
Flavorful Extracts: Experiment by adding extracts, such as almond or hazelnut, for a surprising flavor kick. This adds an unexpected depth that transforms your classic brownies into something truly special.
-
Gluten-Free: Use a 1:1 gluten-free baking mix instead of all-purpose flour to cater to gluten-sensitive friends. They’ll appreciate the thoughtful twist without compromising on flavor.
-
Layered Delight: Try creating a layered brownie cake with your Easter brownies and whipped cream or frosting in between. This extravagant treat offers a charming presentation for any gathering!
Feel free to mix and match these variations as you wish! And if you’re in the mood for a tasty treat, take a peek at my popular Mummy Halloween Brownies or my delightful Fil Frosted Lemonade for more inspiration. Happy baking!
Make Ahead Options
These Easter Brownies are perfect for make-ahead meal prep! You can prepare the brownie batter up to 24 hours in advance by mixing together the sugars, melted butter, eggs, and vanilla, then refrigerating it in an airtight container. The dry ingredients can also be pre-mixed and stored separately for up to 3 days; this will help maintain their freshness and prevent clumping. When you’re ready to bake, simply combine the wet and dry ingredients, fold in the chocolate chips, and bake as directed. To ensure the brownies remain soft and chewy, keep them stored in an airtight container at room temperature after they cool completely. Enjoy the time-saving benefits of these delightful Easter Brownies during your busy spring celebrations!
What to Serve with Easter Brownies?
Indulging in these rich, fudgy treats creates the perfect opportunity to craft a full meal that delights every sense.
- Vanilla Ice Cream: A scoop of creamy vanilla perfectly complements the chocolatey depth of the brownies, adding a refreshing contrast to their richness.
- Fresh Berries: Juicy strawberries or raspberries provide a burst of tartness, balancing the sweetness of the brownies and enhancing their indulgent flavors.
- Espresso or Coffee: A small cup of espresso intensifies the coffee notes in the brownies, creating a delightful pairing that coffee lovers will adore.
- Minty Greek Yogurt: The coolness of mint-infused yogurt offers a refreshing, tangy contrast, creating a unique flavor experience with every bite.
- Caramel Sauce: Drizzling warm, gooey caramel over your brownies adds an extra layer of sweetness and richness that will leave everyone wanting more.
- Nutty Trail Mix: A crunchy mix of nuts and chocolate will offer a satisfying texture contrast while echoing the chocolate elements in the brownies.
- Homemade Whipped Cream: Light and airy, whipped cream adds a fluffy touch, enhancing the dessert’s decadence while inviting a delightful contrast of textures.
- Lemonade or Iced Tea: Refreshing beverages like homemade lemonade or iced tea bring a bright, cooling element that balances the richness of the brownies beautifully.
Expert Tips for Easter Brownies
• Cool Before Topping: Allow the brownies to cool completely before applying chocolate topping to prevent melting and maintain a neat appearance.
• Use Gel Colors: For vibrant pastel hues, opt for gel food coloring instead of liquid, ensuring the texture remains unaffected for your Easter brownies recipe.
• Avoid Overmixing: When combining dry ingredients with wet, mix gently to maintain a fudgy texture. Overmixing can lead to cakey brownies instead.
• Neat Slicing: For clean cuts, warm a knife under hot water and dry it between slices. This technique helps create beautiful squares for serving.
• Coffee Boost: Incorporate a small amount of strong coffee or espresso to enhance the chocolate flavor. Use sparingly, as too much can overpower the brownies.
How to Store and Freeze Easter Brownies
Room Temperature: Store brownies in an airtight container at room temperature for up to 3 days. This keeps them fresh and soft, perfect for snacking!
Fridge: For longer freshness, keep them in the refrigerator for up to a week. Make sure they’re well-sealed to prevent them from drying out.
Freezer: If you want to make-ahead, freeze brownies wrapped tightly in plastic wrap and then in foil for up to 3 months. Thaw in the fridge before enjoying!
Reheating: To warm up individual pieces, microwave for about 10-15 seconds. This revives the fudgy texture, making your Easter brownies feel freshly baked.
Easter Brownies Recipe FAQs
What kind of sugar should I use for these brownies?
Absolutely! For the best results, use both granulated sugar and brown sugar. Granulated sugar helps achieve a sweet, crisp top, while brown sugar adds moisture and chewiness to your brownies. If you’re looking for an alternative, coconut sugar works well too!
How do I store leftover brownies?
Very! Store your Easter brownies in an airtight container at room temperature for up to 3 days for optimal softness. If you want them to last longer, place them in the refrigerator where they can stay fresh for up to a week. Just make sure they’re tightly sealed to avoid drying out.
Can I freeze Easter brownies?
Absolutely! To freeze, wrap the brownies tightly in plastic wrap and then in aluminum foil to prevent freezer burn. They can be stored in the freezer for up to 3 months. When you’re ready to enjoy them, simply thaw them in the fridge overnight for a delicious treat!
What can I do if my brownies are too cakey?
A common trouble! If your brownies turn out cakey, it might be due to overmixing the batter or using too much flour. For future batches, carefully fold the dry ingredients into the wet ones just until combined, avoiding any air bubbles that can lead to a cakey texture. Remember, we want those rich and fudgy Easter brownies!
Can I make these brownies gluten-free?
Absolutely! For a gluten-free Easter brownies recipe, simply substitute the all-purpose flour with a 1:1 gluten-free flour blend. This swap ensures you maintain the same delicious texture while catering to gluten-sensitive friends or family!
Are there any allergies I should be aware of in this recipe?
Very! This recipe includes ingredients that may trigger common allergies, such as eggs and dairy. If you’re baking for someone with allergies, consider using egg replacements like unsweetened applesauce or flaxseed meal, and opt for dairy-free chocolate and butter alternatives to accommodate their needs.
Easter Brownies Recipe: Chewy Chocolate Treats with a Surprise
Ingredients
Equipment
Method
- Preheat your oven to 350°F (175°C) and line an 8x8-inch baking pan with parchment paper.
- Melt the unsalted butter in a saucepan over low heat, then mix in granulated and brown sugars until glossy.
- Let the mixture cool slightly, then stir in eggs one at a time and add vanilla extract.
- Sift together flour, cocoa powder, and salt in a separate bowl, then fold into the wet ingredients.
- Fold in chocolate chips until evenly distributed.
- Pour batter into the prepared pan and bake for 30-35 minutes until a toothpick comes out with moist crumbs.
- Melt chocolate chips and coconut oil in a saucepan for the topping.
- After brownies cool for 10 minutes, remove from pan and spread melted chocolate over them.
- Mix gel food coloring into melted white chocolate and drizzle over brownies, then sprinkle with mini candy eggs.
- Allow brownies to cool completely before slicing into squares.
Leave a Reply