
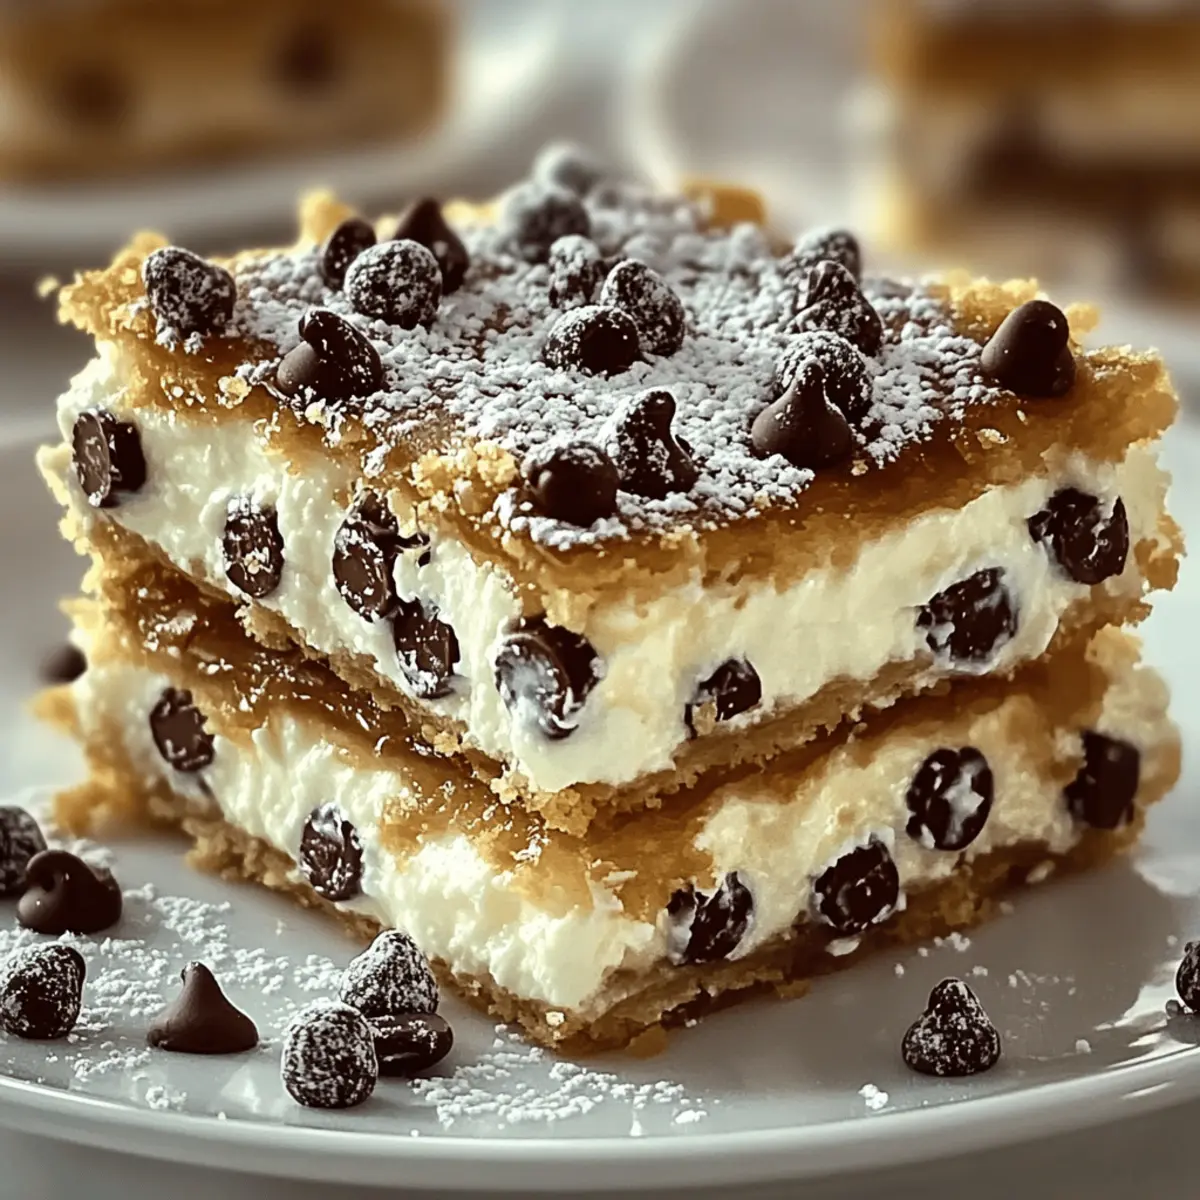
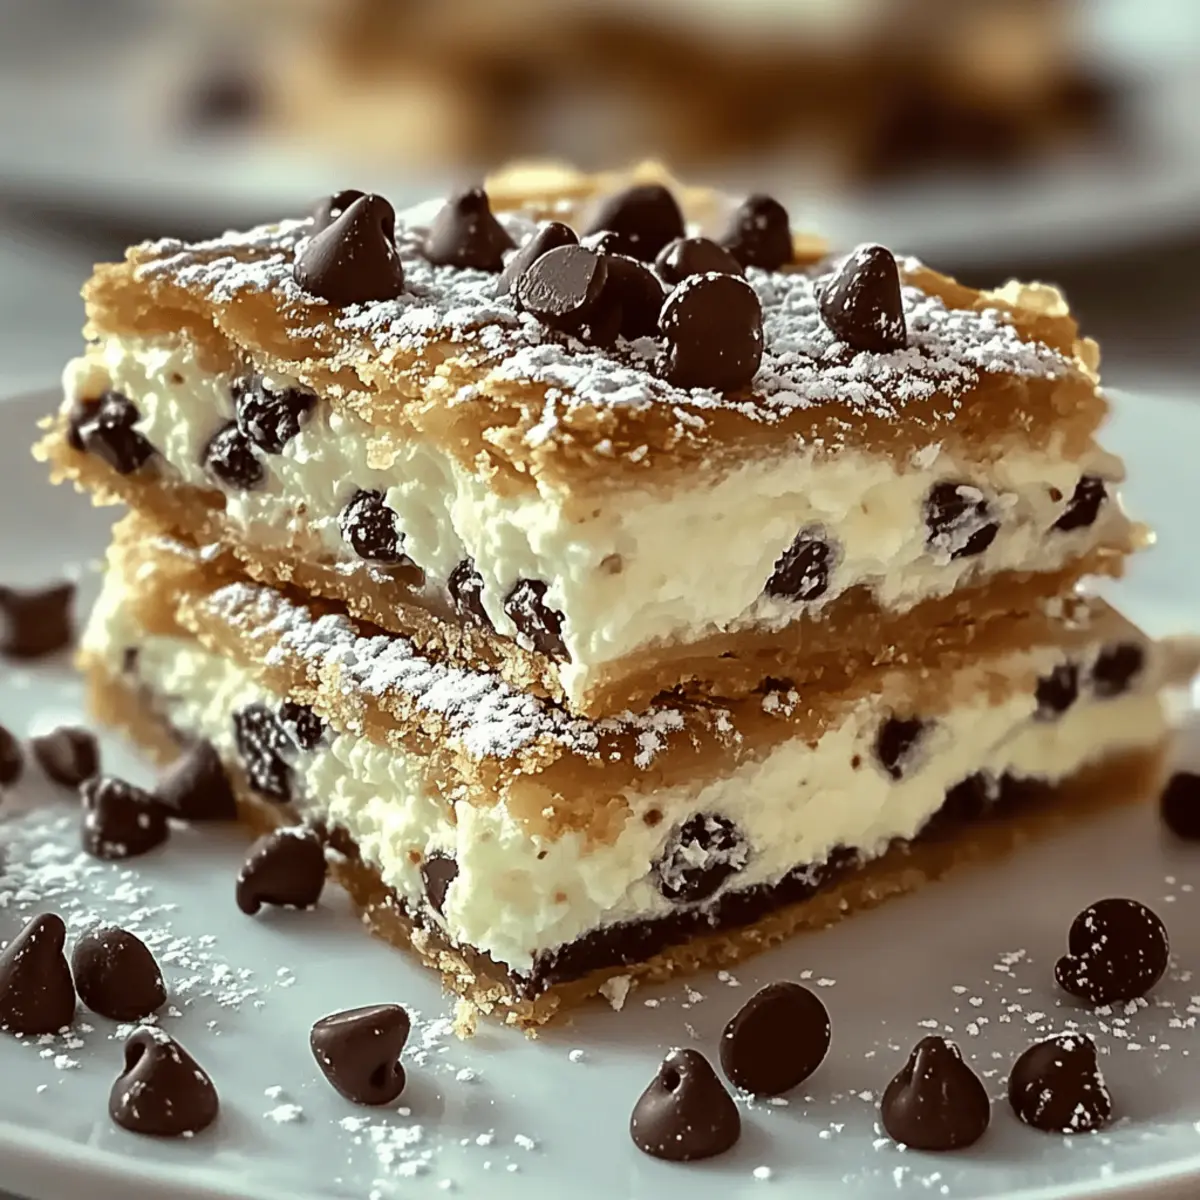
As the aroma of warm spices mingles with sweet chocolate, I can’t help but feel transported to my Nonna’s kitchen, where every dessert was a labor of love. These Classic Cannoli Squares capture that essence perfectly, offering a creamy ricotta filling wrapped in a golden, flaky crust. Not only are they incredibly easy to whip up, making them a great option for busy nights, but they’re also a delightful twist on a beloved classic that everyone will enjoy. Plus, with options for gluten-free or dairy-free variations, you can make these squares accessible for all your friends and family. Ready to dive into a piece of Italian nostalgia? Let’s get started!
Why are Classic Cannoli Squares a must-try?
Comforting simile: These Classic Cannoli Squares feel like a warm hug from your Nonna, combining rich flavor with a light, flaky crust.
Quick prep: Whipping them up is a breeze, perfect for busy home cooks craving a tasty dessert.
Versatile indulgence: Customize with gluten-free options or even dairy-free substitutions to cater to all dietary needs.
Nostalgic delight: The creamy ricotta filling and chocolate bursts create a delightful experience, reminiscent of authentic Italian treats.
Impressive dessert: Elevate any gathering effortlessly, with these squares sure to impress family and friends alike!
Classic Cannoli Squares Ingredients
For the Filling
- Ricotta Cheese – Provides creaminess and structure; use whole-milk ricotta for a richer texture.
- Powdered Sugar – Adds sweetness; substitute with coconut sugar for a healthier option.
- Vanilla Extract – Enhances flavor; opt for pure vanilla for the best taste.
- Cinnamon – Offers warmth and depth; omit if a classic cannoli flavor is preferred.
- Mini Chocolate Chips – Adds sweetness and texture; dark chocolate enhances richness.
For the Crust
- Pre-made Pie Crusts – Forms the base and top layers; homemade crust can be used instead.
- Egg – Used for brushing the top, providing a glossy finish.
- Sugar – Sprinkled on top for added sweetness and crunch.
For the Garnish
- Chopped Pistachios – Optional garnish for crunch and color; adds a delightful contrast.
- Maraschino Cherries – For decoration and additional sweetness; use for a pop of color.
- Extra Chocolate Chips – For those who desire more chocolate in their dessert; a delicious indulgence!
These Classic Cannoli Squares are sure to become a treasured recipe in your collection!
Step‑by‑Step Instructions for Classic Cannoli Squares
Step 1: Prepare the Filling
In a mixing bowl, whisk together 2 cups of ricotta cheese, 1 cup of powdered sugar, 1 teaspoon of pure vanilla extract, 1/2 teaspoon of cinnamon, and 1/2 cup of mini chocolate chips until smooth and creamy. This rich mixture should be well-combined and slightly thick. Set it aside to allow the flavors to meld as you prep the crust.
Step 2: Preheat the Oven
Preheat your oven to 375°F (190°C) to ensure an even bake for your Classic Cannoli Squares. This temperature will create a beautifully golden crust while perfectly heating the delicious filling. It’s essential to get this step right to achieve that signature crispy texture.
Step 3: Roll Out the Pie Crust
Take one pre-made pie crust and gently roll it out if needed. Carefully fit it into a 9×9-inch baking dish, pressing down to cover the bottom uniformly. The crust should be smooth and reach up the sides of the dish slightly, creating a cozy home for the ricotta filling.
Step 4: Add the Filling
Spread the creamy ricotta filling evenly over the prepared pie crust, leaving about a half-inch border around the edges. This will help contain the filling during baking and prevent overflow. The mixture should look luscious and inviting, promising a delightful taste of Italy in every bite.
Step 5: Prepare the Top Crust
Take the second pie crust and gently lay it over the filling, pressing the edges together to seal tightly. Use a beaten egg to brush the top crust, giving it a glossy finish, and sprinkle a tablespoon of sugar over the top for extra sweetness and crunch. This step adds a beautiful caramelized color while baking.
Step 6: Bake
Place the baking dish in the preheated oven and bake for 30 to 35 minutes. Keep an eye on it; look for a golden brown top and a slight bubbling of the filling to ensure it is cooked through. The aroma will fill your kitchen, making it hard to wait for this delectable treat!
Step 7: Cool and Serve
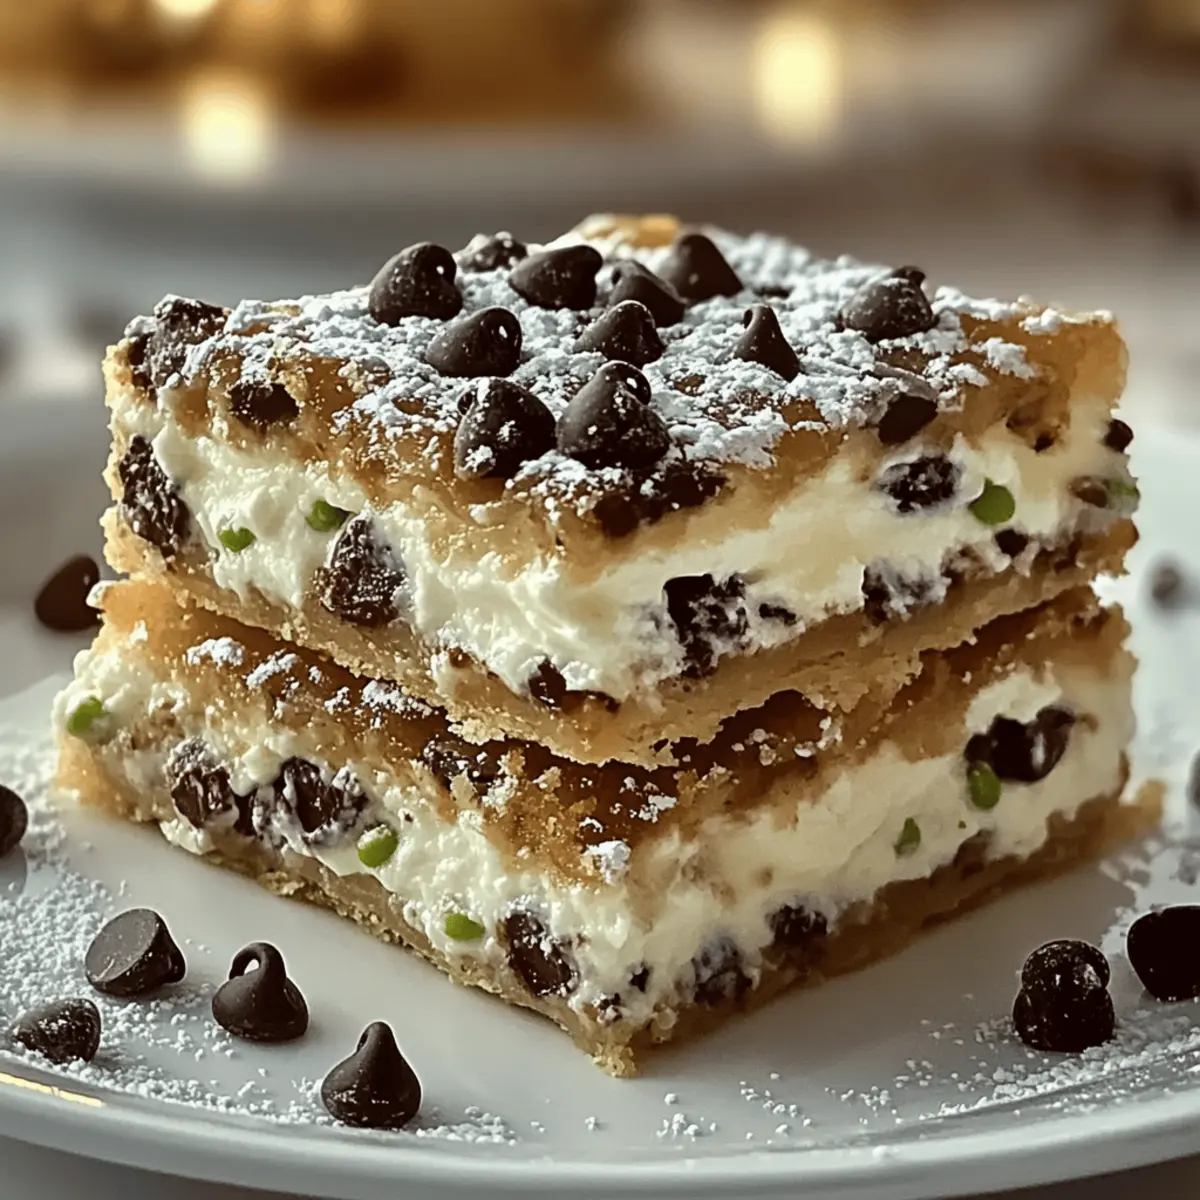
Once baked, remove the Classic Cannoli Squares from the oven and allow them to cool for 30 minutes before slicing. This cooling period is crucial for setting the filling, ensuring your squares hold their shape beautifully. Serve them warm or chilled, garnished with chopped pistachios and maraschino cherries for an extra touch of elegance.
What to Serve with Classic Cannoli Squares?
Enhance your dessert experience with delightful pairings that elevate these indulgent treats into an unforgettable meal moment.
- Rich Gelato: A scoop of creamy gelato pairs perfectly, balancing the sweetness of the cannoli squares with velvety texture.
- Fresh Berries: Bright, tart berries like raspberries or strawberries add a refreshing contrast, cutting through the richness. Their vibrant colors also make the plate pop!
- Espresso: A strong cup of espresso brings out the flavors of the ricotta filling, providing a bold finish to your meal. It’s a classic Italian combination that can’t be missed!
- Chocolate Sauce: Drizzling some warm chocolate sauce over the squares adds an extra layer of sweetness and decadence for chocolate lovers. Try homemade for an even richer taste!
- Pistachio Crumble: Sprinkle crushed pistachios on top for an extra crunch, inviting delightful bursts of nutty flavor that align beautifully with the creamy filling.
- Whipped Cream: Lighter than the filling yet still rich, dolloping a bit of freshly whipped cream adds a lovely airy texture to your dessert experience.
- Mint Garnish: A sprig of fresh mint not only elevates the visual appeal but also introduces a refreshing taste that brightens each bite.
- Limoncello: For something spirited, a chilled glass of limoncello works beautifully as a digestif, complementing the Italian roots of your meal.
- Hazelnut Coffee: Swapping out your usual latte for a hazelnut coffee blends nutty and chocolate flavors, bringing a unique twist to your dessert pairing experience.
Expert Tips for Classic Cannoli Squares
-
Quality Counts: Use high-quality ricotta cheese for a creamy filling that makes your Classic Cannoli Squares truly indulgent. Fresh ingredients elevate the flavor remarkably.
-
Drain the Ricotta: To avoid a watery filling, drain the ricotta in a fine-mesh sieve for at least 30 minutes. This ensures a thicker and smoother texture.
-
Avoid Over-Browning: Keep an eye on the baking towards the end. If the crust is browning too quickly, cover it loosely with aluminum foil to prevent burning.
-
Cooling is Key: Allow your squares to cool for at least 30 minutes before slicing. This helps set the filling and keeps each square intact during serving.
-
Customizable Touch: Feel free to experiment with different mix-ins like citrus zest or nuts to create your unique version of Classic Cannoli Squares for every taste preference!
Make Ahead Options
These Classic Cannoli Squares are perfect for meal prep enthusiasts! You can prepare the creamy ricotta filling up to 24 hours in advance by following the initial steps, mixing together the ricotta, powdered sugar, vanilla, cinnamon, and mini chocolate chips, then refrigerating it in an airtight container. Additionally, you can fit your bottom pie crust in the baking dish and store it in the fridge for a day as well. When you’re ready to bake, simply spread the filling over the crust, place the top crust, brush with egg wash, and sprinkle sugar before baking. With these tips, you’ll enjoy delightful and delicious cannoli squares without the last-minute rush!
How to Store and Freeze Classic Cannoli Squares
Refrigerator: Store the squares in an airtight container for up to 3 days. This keeps them fresh while preserving their creamy filling and flaky crust.
Freezer: Wrap individual squares tightly in plastic wrap and place them in a freezer-safe bag for up to 2 months. Thaw overnight in the fridge before serving for the best texture.
Room Temperature: It’s best to avoid keeping Classic Cannoli Squares at room temperature to maintain their quality. If left out, enjoy them within a few hours.
Reheating: If you’d like to serve them warm, use a microwave or reheat in a preheated oven at 350°F (175°C) for about 10 minutes until warmed through.
Classic Cannoli Squares Variations
Feel free to make these Classic Cannoli Squares your own by experimenting with delightful twists and substitutions!
-
Dairy-Free: Use silken tofu blended until smooth instead of ricotta for a creamy alternative. It brings a lightness that still satisfies those creamy cravings.
-
Gluten-Free: Opt for gluten-free pie crusts to ensure everyone can indulge without worry. Your dessert will still be as delicious while accommodating dietary preferences.
-
Zesty: Incorporate grated lemon zest into the filling for a refreshing citrus kick. This twist brightens the classic flavors, giving it an extra zing reminiscent of sunny Italian days.
-
Nutty: Stir in chopped nuts like pistachios or walnuts for an added crunch. They not only enhance the texture but also elevate the overall flavor profile with a delightful nutty richness.
-
Chocolate Lovers: Swap the mini chocolate chips for dark chocolate chunks or even a drizzle of chocolate sauce after baking for an indulgent chocolate explosion. A perfect touch for chocoholics!
-
Spicy: Add a dash of cayenne pepper or cinnamon if you crave a hint of heat. This unexpected twist creates a thrilling flavor contrast that surprises the palate beautifully.
-
Fruit-Infused: Consider folding in some finely chopped fresh strawberries or raspberries for a fruity flair. This burst of flavor adds a lovely freshness to the creamy filling.
-
Make-Ahead Magic: Prep the filling a day in advance and refrigerate it. This not only saves you time but allows the flavors to deepen, resulting in a richer filling. Plus, it makes for an easy, last-minute dessert!
Embrace your inner chef and let your creativity shine with these variations!
Classic Cannoli Squares Recipe FAQs
How do I select the right ricotta cheese?
Absolutely! For the creamiest texture, choose whole-milk ricotta. Look for fresh, high-quality brands at your grocery store. Avoid ricotta that has excessive liquid or dark spots, as this may indicate it’s not fresh.
What is the best way to store leftover Classic Cannoli Squares?
You can store your Classic Cannoli Squares in an airtight container in the refrigerator for up to 3 days. This helps maintain the delicious flavors and textures of the creamy filling and flaky crust.
Can I freeze Classic Cannoli Squares? How?
Yes, you can freeze them! Wrap each square tightly in plastic wrap and then place them in a freezer-safe bag. They will keep well for up to 2 months. When you’re ready to enjoy, simply thaw them overnight in the fridge and serve chilled or reheat gently in the oven.
How can I prevent the filling from becoming watery?
Very! To avoid a watery filling, drain your ricotta cheese in a fine-mesh sieve for at least 30 minutes before use. This step helps eliminate excess moisture, ensuring your filling remains thick and creamy. Additionally, be sure to whisk the filling until it is smooth, which enhances its structure.
Are there any dietary considerations for Classic Cannoli Squares?
Indeed! If you’re catering to dietary restrictions, you can make these squares gluten-free by using gluten-free pie crusts. For a dairy-free alternative, swap out the ricotta for blended silken tofu. Make sure to communicate these options to your guests, ensuring everyone can indulge.
How should I garnish my Classic Cannoli Squares?
For an elegant touch, consider garnishing with chopped pistachios for crunch and color. You can also add maraschino cherries or a dusting of powdered sugar on top just before serving. These little additions will enhance both the appearance and the flavor of your delicious dessert!
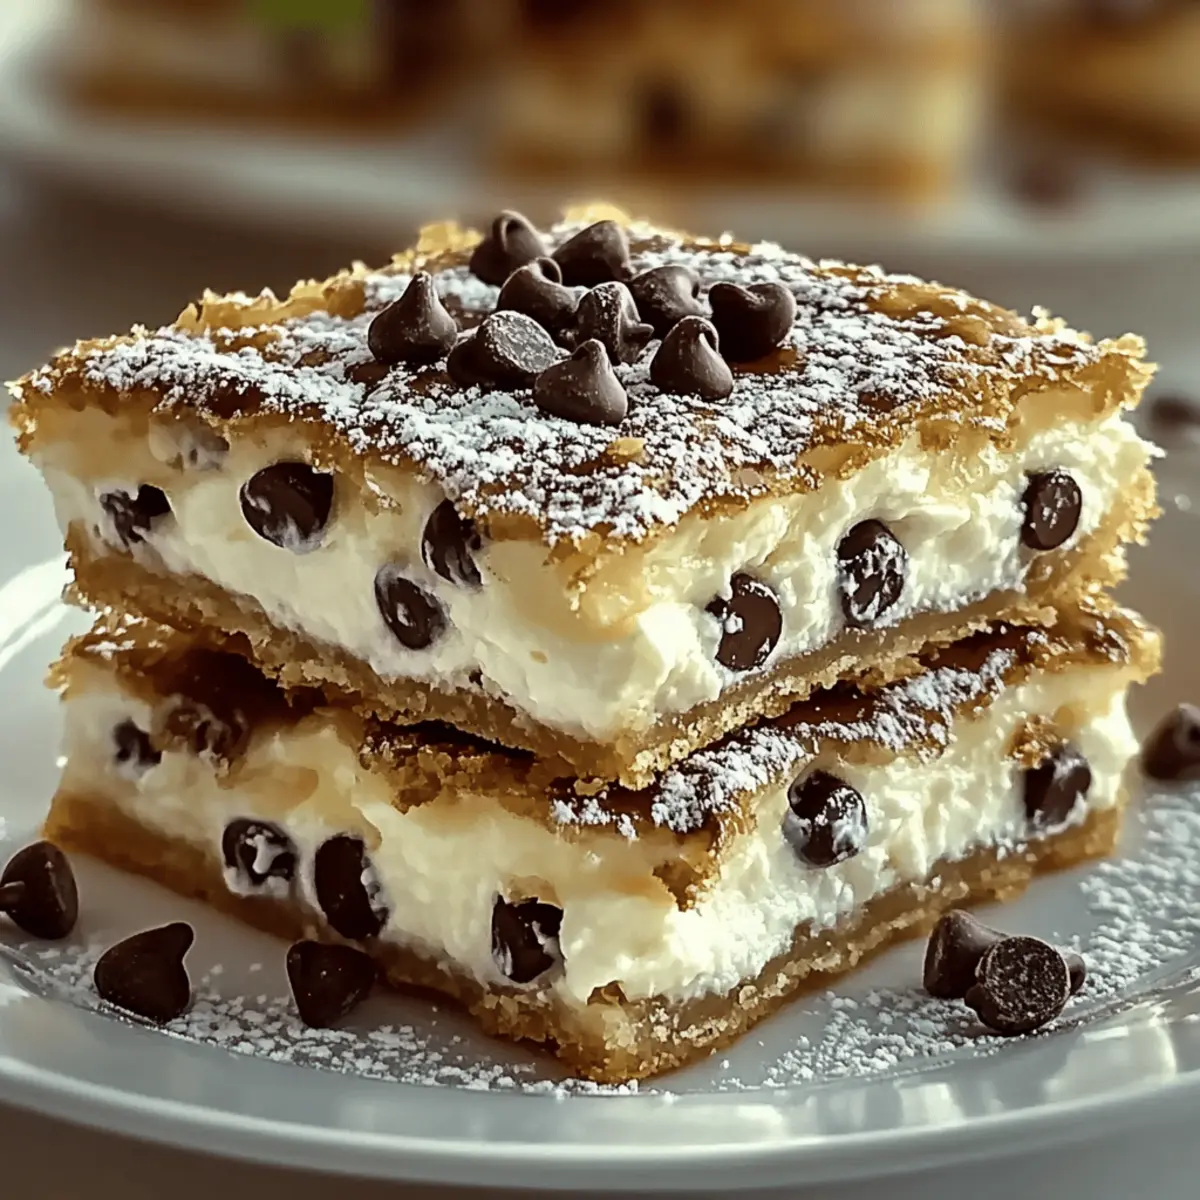
Classic Cannoli Squares: Irresistibly Creamy Italian Delight
Ingredients
Equipment
Method
- In a mixing bowl, whisk together 2 cups of ricotta cheese, 1 cup of powdered sugar, 1 teaspoon of pure vanilla extract, 1/2 teaspoon of cinnamon, and 1/2 cup of mini chocolate chips until smooth and creamy.
- Preheat your oven to 375°F (190°C) to ensure an even bake.
- Take one pre-made pie crust and gently roll it out if needed. Fit it into a 9x9-inch baking dish.
- Spread the ricotta filling evenly over the crust, leaving about a half-inch border.
- Lay the second pie crust over the filling, press the edges together, and brush with a beaten egg.
- Sprinkle a tablespoon of sugar over the top and bake for 30 to 35 minutes.
- Allow to cool for 30 minutes before slicing.
Leave a Reply