
As I was rifling through my collection of cherished recipes, I stumbled upon a true gem that instantly transported me back to sun-kissed picnics and laughter-filled gatherings: Chocolate Vanilla Cream Pie Bars. This delightful dessert offers not just a treat for the taste buds, but also a moment of nostalgia with its decadent chocolate ganache and creamy vanilla layer, all atop a buttery graham cracker crust. The best part? These bars come together quickly, making them the perfect sweet solution for last-minute gatherings or just a cozy night in. Not only are they a crowd-pleaser but they also store beautifully, ensuring that each slice remains as irresistible as the first. Curious about how to whip up these dreamy bars in your own kitchen? Let’s dive in!
Why are Chocolate Vanilla Cream Pie Bars irresistible?
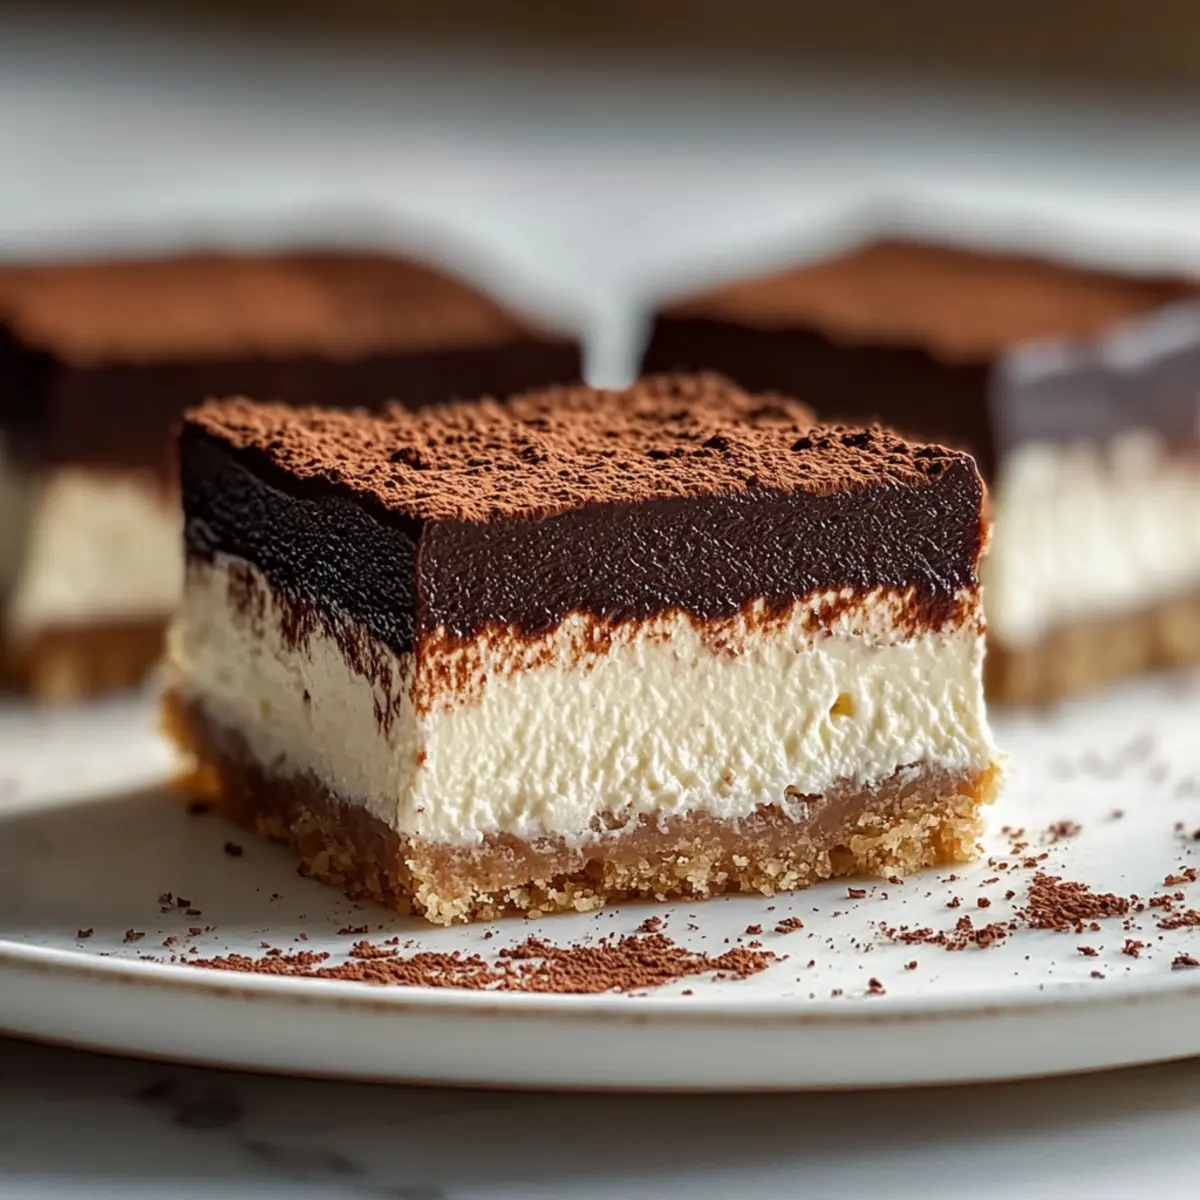
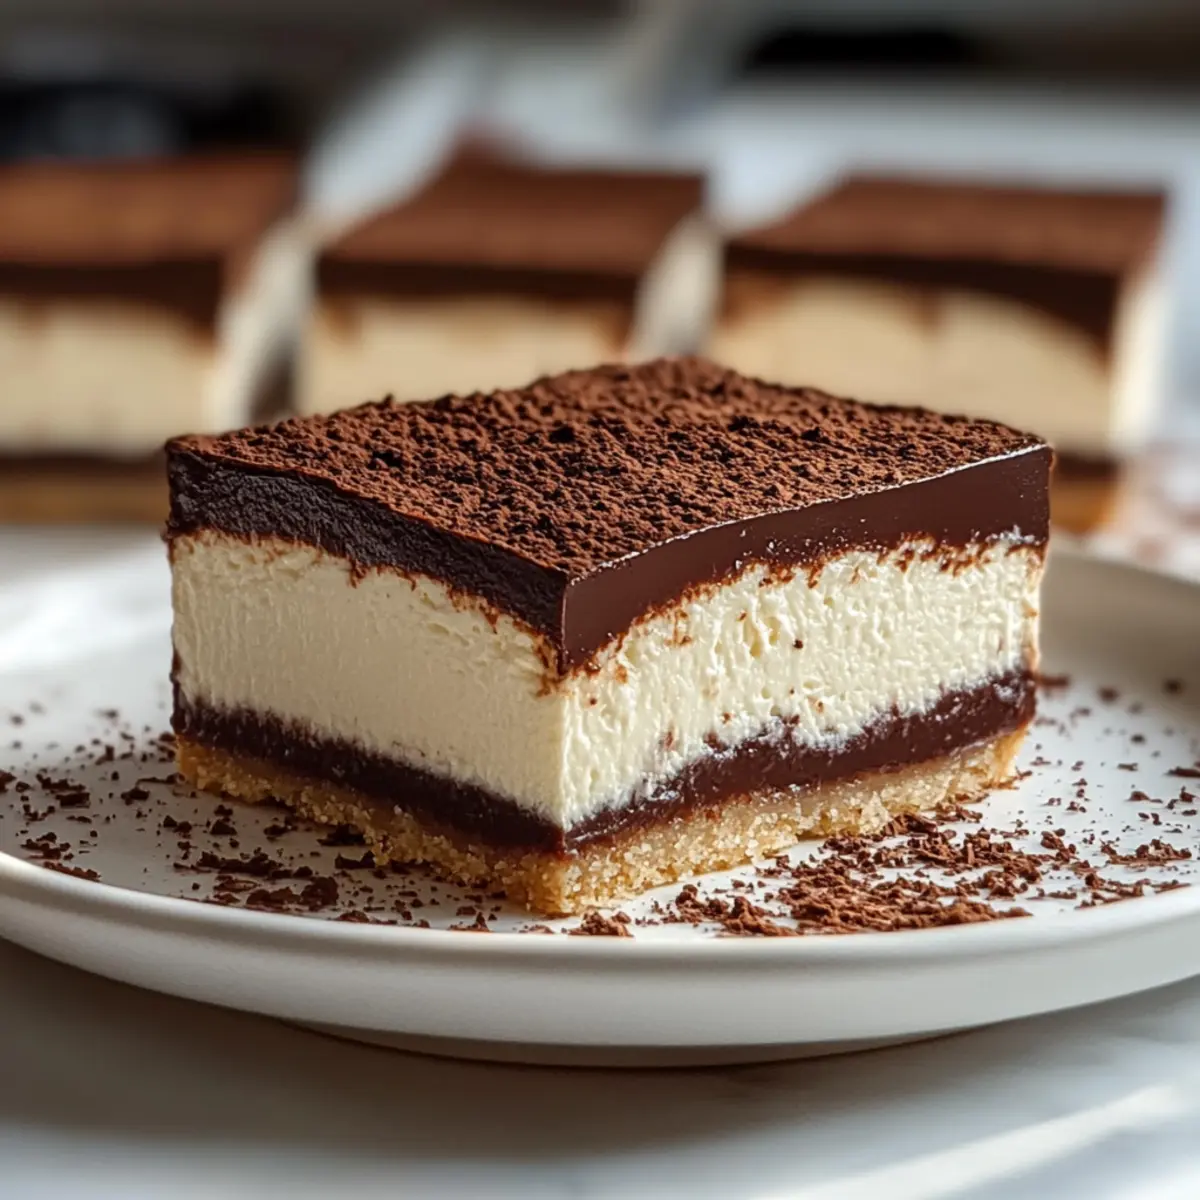
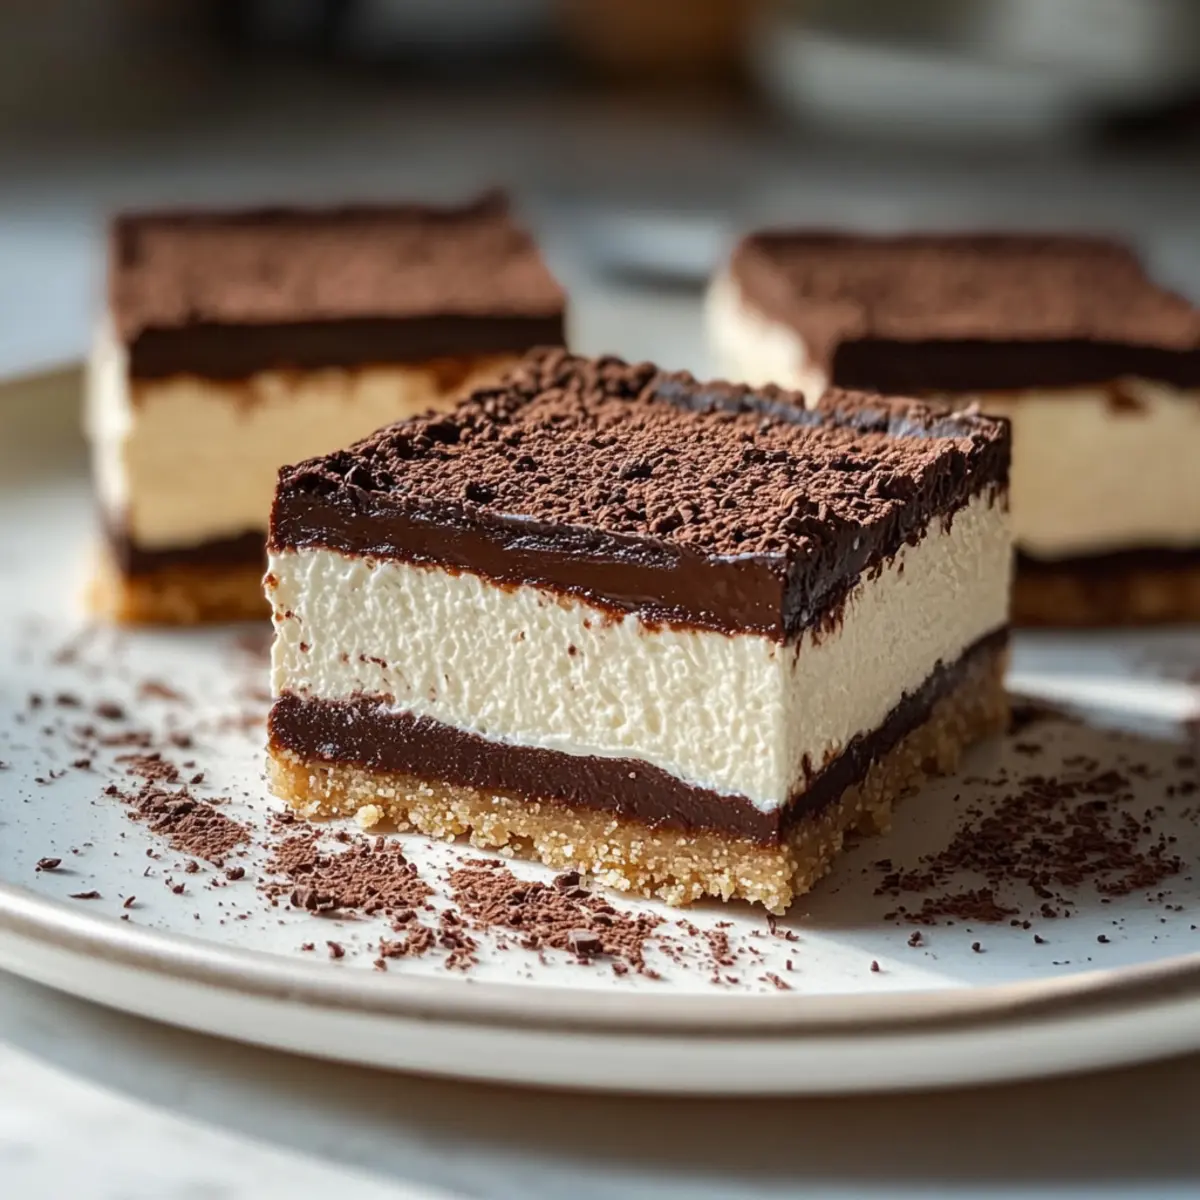
Decadent Layers: Each bar showcases a luxurious blend of rich chocolate ganache and a silky vanilla cream, striking the perfect balance between sweet and satisfying.
Quick and Easy: With a simple preparation process, you can whip these up in no time, impressing friends and family without the fuss.
Perfect for Any Occasion: From casual gatherings to special celebrations, these bars are ideal for any sweet tooth, ensuring they disappear in an instant!
Versatile Variations: Feel free to experiment by swapping chocolate types or adding fresh berries; the options are endless!
Storage-Friendly: Keep leftovers in the fridge for days, packed with flavor just like the first bite, or freeze for future cravings!
Chocolate Vanilla Cream Pie Bars Ingredients
For the Crust
• Chocolate Cookie Crumbs – Create a crunchy texture and rich flavor; substitute with graham cracker crumbs if desired.
• Melted Butter – Binds crust ingredients together, providing moisture and richness.
For the Chocolate Layer
• Heavy Cream – Enhances the texture, making the ganache velvety.
• Whole Milk – Adds creaminess and depth to the filling.
• Dark Chocolate – The main flavor component for the chocolate layer; can be swapped with semi-sweet or milk chocolate for a sweeter option.
• Espresso Powder – Enhances chocolate flavor without overpowering it; it’s optional for those desiring a richer taste.
For the Vanilla Cream Layer
• Cream Cheese – Provides tanginess and helps achieve a smooth vanilla cream layer; make sure it’s at room temperature to avoid lumps.
• Vanilla Extract – Brightens the overall flavor of both layers.
These ingredients will work together to create the most delightful Chocolate Vanilla Cream Pie Bars that will surely make you and your loved ones smile!
Step‑by‑Step Instructions for Chocolate Vanilla Cream Pie Bars
Step 1: Prepare the Crust
Start by preheating your oven to 350°F (175°C). In a medium bowl, combine the chocolate cookie crumbs with melted butter, stirring until well blended. Press this mixture firmly into the bottom of an 8×8 inch baking pan lined with parchment paper. Bake for about 10 minutes until set, then remove from the oven and let it cool completely before the next layer.
Step 2: Make the Chocolate Ganache
In a saucepan over medium heat, combine heavy cream and whole milk, stirring frequently until just simmering. Remove from heat and add chopped dark chocolate and espresso powder, whisking until the mixture is smooth and glossy. Pour the chocolate ganache over the cooled crust, spreading it out evenly. Allow it to sit at room temperature for about 30 minutes to slightly set.
Step 3: Prepare the Vanilla Cream Layer
In a mixing bowl, beat the room-temperature cream cheese and vanilla extract using an electric mixer until the mixture is creamy and smooth. Gently spread this luscious vanilla cream layer over the set chocolate ganache, making sure to cover it entirely. Use a spatula to create an even top for your Chocolate Vanilla Cream Pie Bars.
Step 4: Chill the Bars
Carefully cover the pan with plastic wrap or aluminum foil, and refrigerate the bars for at least 2 to 3 hours. This chilling step is essential for the layers to firm up beautifully, ensuring each slice holds its shape and displays the indulgent layers of chocolate and vanilla.
Step 5: Serve and Enjoy
When ready to serve, remove the bars from the refrigerator and lift them out of the pan using the parchment paper. Using a sharp, warm knife, cut the bars into even squares for a neat presentation. Enjoy your Chocolate Vanilla Cream Pie Bars as a delightful dessert that’s sure to impress family and friends!

How to Store and Freeze Chocolate Vanilla Cream Pie Bars
Refrigerator: Keep your Chocolate Vanilla Cream Pie Bars tightly covered in the fridge for up to 5 days. This will help maintain their flavor and texture while ready for a sweet treat whenever you crave!
Freezer: For longer storage, wrap individual slices in plastic wrap and then in aluminum foil, freezing them for up to 3 months. When you’re ready to enjoy, simply thaw in the fridge or at room temperature.
Serving After Freezing: To serve, allow thawed bars to come to room temperature for the best taste and texture, enhancing the creamy layers you love.
Freshness Tip: For optimal flavor, try to eat the bars within the recommended timeframes, as that’s when you’ll enjoy their delightful layers at their best!
Expert Tips for Chocolate Vanilla Cream Pie Bars
- Smooth Ganache: Finely chop the dark chocolate to ensure it melts evenly; stir constantly while mixing to avoid any lumps.
- Room Temperature Cream Cheese: This is crucial for a creamy vanilla layer; cold cream cheese will result in an unsightly and bumpy texture.
- Refrigerate Overnight: For the most developed flavors, allow your Chocolate Vanilla Cream Pie Bars to chill overnight; they’ll taste even more delightful the next day.
- Hot Knife Slicing: To achieve clean cuts, dip a knife in hot water and wipe it dry before slicing; this helps maintain the appearance of the bars.
- Easy Crust Swap: If you’re out of chocolate cookie crumbs, graham cracker crumbs work beautifully; just mix in a little cocoa powder for added depth.
Make Ahead Options
These Chocolate Vanilla Cream Pie Bars are ideal for meal prep, letting you enjoy them whenever you desire! You can prepare the crust and the chocolate ganache up to 24 hours in advance; simply refrigerate them separately in airtight containers to maintain their deliciousness. For best results, assemble the vanilla cream layer shortly before serving, as it stays freshest this way. When you’re ready to enjoy these bars, spread the creamy layer over the ganache and chill for an additional 2 to 3 hours. This making-ahead approach not only saves you time but ensures your treats are just as delectable as when freshly made!
Chocolate Vanilla Cream Pie Bars Variations
Feel free to play around with this recipe, adding your own twist for an even more delightful experience!
-
Dairy-Free: Use coconut cream in place of heavy cream and almond milk instead of whole milk for a lactose-free option.
-
Nutty Crunch: Add chopped nuts like pecans or walnuts to the crust for an extra crunchy texture.
-
Flavored Chocolate: Substitute dark chocolate for mint or orange-flavored chocolate to give a refreshing twist to the ganache.
-
Lower Sugar: Swap out your sweet chocolate with a sugar-free version, perfect for a guilt-free dessert.
-
Fruity Delight: Top the vanilla layer with fresh berries, like strawberries or blueberries, for a burst of flavor and color.
For more dessert inspiration that incorporates fresh flavors, you might enjoy Chocolate Pecan Pie or a delicious layer of No-Bake Chocolate Oat Bars topped with additional fruits.
-
Creamy Layer Swap: Replace cream cheese with mascarpone for an even silkier vanilla layer and a touch more decadence.
-
Espresso Infusion: Increase the espresso powder for a bolder coffee flavor, enhancing that chocolate richness to the next level.
With these variations, you’re set to create the perfect Chocolate Vanilla Cream Pie Bars suited to your taste!
What to Serve with Chocolate Vanilla Cream Pie Bars
Imagine creating a delightful spread that perfectly complements your dessert, making every bite an extraordinary experience.
-
Vanilla Ice Cream: The creamy, cool ice cream enhances the rich chocolate flavors, providing a refreshing contrast with each bite.
-
Fresh Berries: Tart raspberries or strawberries add a burst of freshness that cuts through the sweetness, enhancing the overall flavor profile.
-
Espresso: A shot of coffee brings out the chocolate notes even more, providing a delightful caffeine kick that pairs beautifully with dessert.
-
Chocolate Drizzle: A warm chocolate drizzle on top adds an extra layer of indulgence, making these bars even more exquisite and visually appealing.
-
Whipped Cream: Light and airy whipped cream adds a fluffy touch, balancing the dense textures of the bars while inviting just the right amount of sweetness.
-
Mint Tea: Sipping on soothing mint tea can cleanse the palate, offering a refreshing counterpoint to the creaminess of the bars.
Elevate your chocolate vanilla cream pie bars into a full experience with these delicious pairing ideas!
Chocolate Vanilla Cream Pie Bars Recipe FAQs
How do I choose the right chocolate for the ganache?
Absolutely! For the ganache, I recommend using high-quality dark chocolate with a cocoa percentage of around 60-70% for a rich flavor. If you prefer sweeter bars, semi-sweet or milk chocolate can be delightful alternatives. Just remember, the type of chocolate will greatly influence the overall sweetness of your bars!
How should I store leftovers?
Very good question! Store your Chocolate Vanilla Cream Pie Bars tightly covered in the refrigerator for up to 5 days. If you find they last that long, they will still maintain their deliciousness! Simply place them in an airtight container or wrap them securely to prevent them from drying out.
Can I freeze my Chocolate Vanilla Cream Pie Bars?
Of course! To freeze, wrap individual slices in plastic wrap and then cover them in aluminum foil to prevent freezer burn. They can stay fresh for up to 3 months. When you’re ready for a heavenly treat, just thaw them in the refrigerator overnight or at room temperature for a couple of hours. Trust me; they will taste just as good as fresh!
What if my ganache is too thick or has lumps?
Don’t worry; troubleshooting is part of the baking journey! If your ganache ends up thick, try adding a bit more warm heavy cream to thin it out. For lumps, make sure to finely chop the chocolate before melting, and stir constantly while it melts. If you encounter lumps despite these tips, you can strain the ganache through a fine mesh sieve for a smoother texture.
Can I make these bars gluten-free?
Absolutely! To create gluten-free Chocolate Vanilla Cream Pie Bars, simply substitute the chocolate cookie crumbs with gluten-free cookie crumbs or crushed gluten-free graham crackers. Just ensure all ingredients, especially the chocolate, are certified gluten-free to keep your dessert safe and scrumptious for everyone!
Is it safe for pets to consume any ingredients from this recipe?
Great concern! Remember, chocolate is toxic to pets, especially dogs and cats. It’s essential to keep your Chocolate Vanilla Cream Pie Bars safely tucked away from curious paws. As for cream cheese, while it isn’t toxic, it’s best to avoid giving it to your pets in large amounts due to its high-fat content. Always monitor what they have access to in the kitchen!
Delicious Chocolate Vanilla Cream Pie Bars for Sweet Bliss
Ingredients
Equipment
Method
- Preheat your oven to 350°F (175°C). In a medium bowl, combine chocolate cookie crumbs with melted butter until well blended. Press into the bottom of the baking pan and bake for 10 minutes.
- In a saucepan over medium heat, combine heavy cream and whole milk, stirring until just simmering. Remove from heat and add chopped dark chocolate and espresso powder, whisking until smooth. Pour over the cooled crust and let it sit for 30 minutes.
- In a mixing bowl, beat room-temperature cream cheese and vanilla extract until creamy. Spread this vanilla cream layer over the set chocolate ganache.
- Cover with plastic wrap or foil and refrigerate for at least 2 to 3 hours to firm up the layers.
- Remove bars from the refrigerator, lift out of the pan using parchment paper, and cut into squares with a warm knife.
Leave a Reply