
As I poured the creamy peanut butter into a bowl, the nostalgic aroma whisked me back to lazy afternoons spent raiding the pantry. Today, I’m thrilled to share my Chocolate Peanut Butter Rice Krispie Cups—an easy, no-bake treat that effortlessly blends the rich, nutty flavor of peanut butter with the satisfying crunch of Rice Krispies and silky chocolate. Ready in a flash, this gluten-free delight not only makes for a fun indulgence but also brings smiles to gatherings or cozy nights in. Picture yourself enjoying each bite, a sweet homage to childhood favorites reimagined for our adult cravings. Curious how this burst of nostalgia can transform your snack game? Let’s dive in!
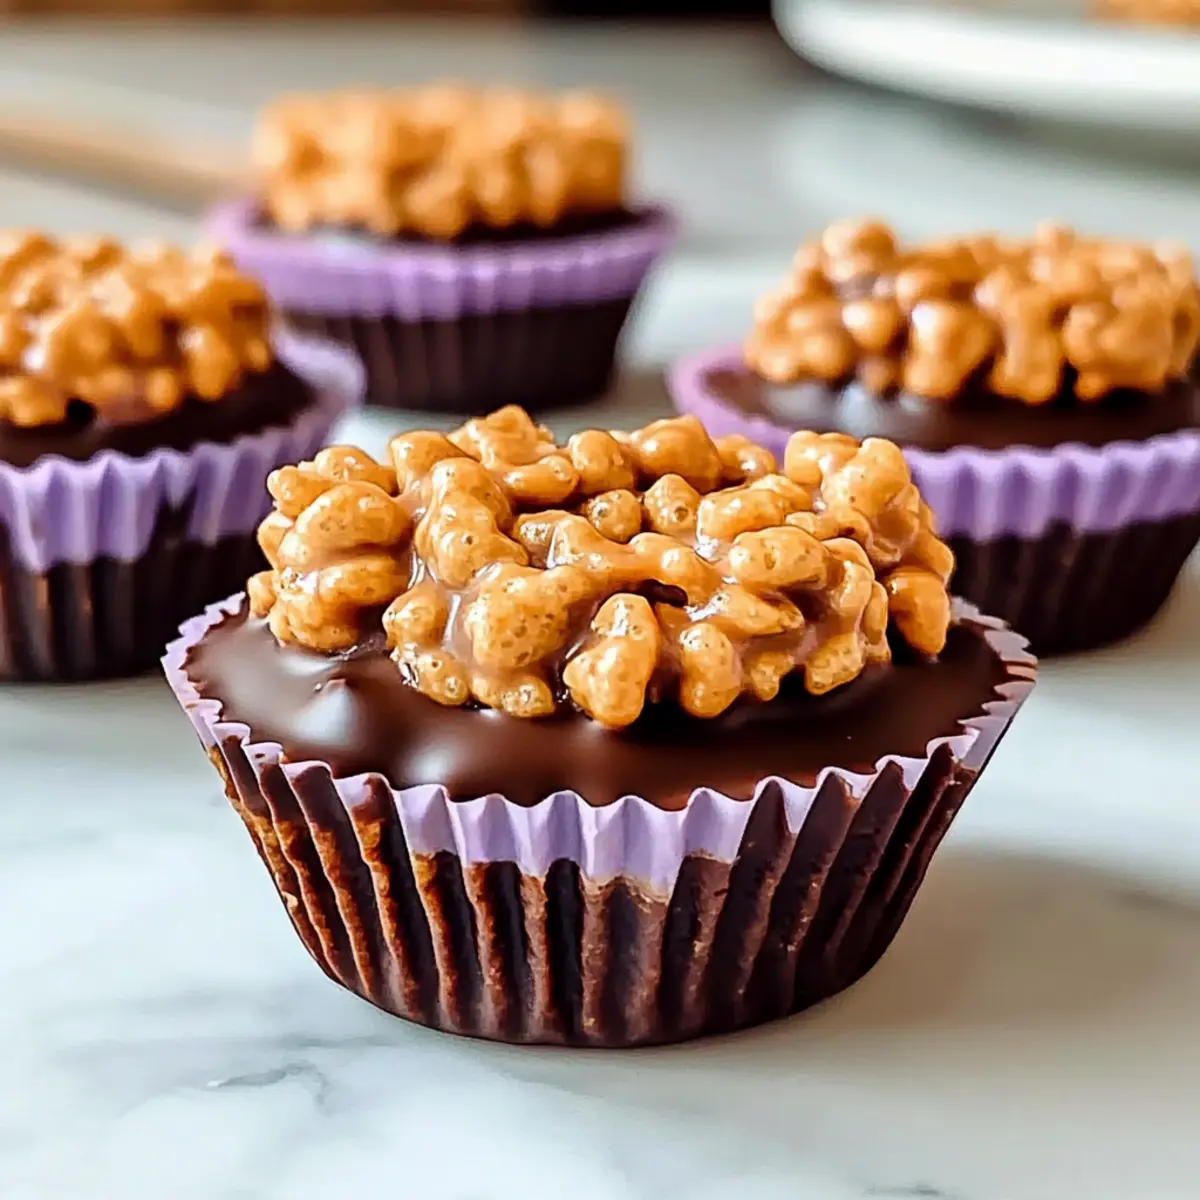
Why You’ll Love These Rice Krispie Cups
Nostalgia, each bite takes you back to carefree childhood days filled with sweet treats.
Quick and Easy, no baking required—perfect for busy schedules!
Gluten-Free, using certified Rice Krispies means everyone can join in on the fun!
Versatile, swap ingredients like nut butters or chocolate types to suit your taste.
Crowd-Pleaser, these cups are sure to delight at any gathering, just like my Peanut Butter Spider cookies!
Simply Delicious, indulge in the rich chocolate and creamy peanut butter combo that satisfies your cravings every time!
Chocolate Peanut Butter Rice Krispie Cups Ingredients
Indulge in a delightful blend of flavors and memories with these easy-to-make cups!
For the Cups
• Smooth Peanut Butter – This provides creaminess and a nutty flavor; opt for natural peanut butter for less sweetness.
• Honey or Light Corn Syrup – Acts as the sweetener and binder; honey is a great healthier alternative.
• Vanilla Extract – Adds depth and aroma, enhancing the overall flavor profile.
• Rice Krispies Cereal – Creates that signature crunch; always choose certified gluten-free varieties for dietary needs.
For the Chocolate Layer
• Semi-Sweet Chocolate Chips – Adds sweetness and rich chocolate flavor; consider dark or non-dairy chocolate for variations.
• Unsalted Butter – Helps to melt and combine the chocolate smoothly; substitute coconut oil for a dairy-free option.
Step‑by‑Step Instructions for Chocolate Peanut Butter Rice Krispie Cups
Step 1: Melt the Peanut Butter Mixture
In a medium saucepan, combine 1 cup of smooth peanut butter and ½ cup of honey over low heat. Stir continuously for about 3–5 minutes until the mixture is smooth and well-blended, ensuring it doesn’t come to a boil. This creates a creamy base for your Chocolate Peanut Butter Rice Krispie Cups.
Step 2: Add Flavor Enhancements
Remove the saucepan from heat once the peanut butter and honey are combined smoothly. Stir in 1 teaspoon of vanilla extract, mixing it well into the warm mixture to enhance the flavor. The mixture will have a rich, inviting aroma, signaling it’s ready for the next step.
Step 3: Coat the Rice Krispies
In a large mixing bowl, pour the peanut butter mixture over 6 cups of Rice Krispies cereal. Gently fold the cereal into the mixture, ensuring every piece is fully coated and glistening. Take about 2 minutes to achieve an even coating, as this is crucial for lovely Chocolate Peanut Butter Rice Krispie Cups.
Step 4: Prepare the Muffin Tin
Line a standard muffin tin with paper liners for easy removal and presentation. Spoon the Rice Krispies mixture into each liner, filling them about three-quarters full. Press down firmly for about 30 seconds to compact the mixture, ensuring it holds together once set.
Step 5: Melt the Chocolate Topping
In a microwave-safe bowl, combine 1 cup of semi-sweet chocolate chips with 2 tablespoons of unsalted butter. Microwave in 30-second intervals, stirring in between until the mixture is completely melted and smooth—this should take about 1–2 minutes total. The glossy chocolate will be the perfect topping for your cups.
Step 6: Assemble the Cups
Using a spoon, drizzle or gently spread the melted chocolate over each Rice Krispie cup, completely covering the top. The contrast of the melted chocolate with the crispy mixture will make your Chocolate Peanut Butter Rice Krispie Cups even more enticing.
Step 7: Let Them Set
Carefully place the muffin tin in the refrigerator for at least 30 minutes, allowing the chocolate to firm up. After chilling, the cups will be wonderfully set and hold their shape perfectly, ready to satisfy those nostalgic cravings.
Step 8: Serve and Enjoy
Once set, remove the Chocolate Peanut Butter Rice Krispie Cups from the muffin tin, serving them chilled or at room temperature. These delightful treats will be a hit at any gathering, reminding everyone of those cherished childhood snacks.
How to Store and Freeze Chocolate Peanut Butter Rice Krispie Cups
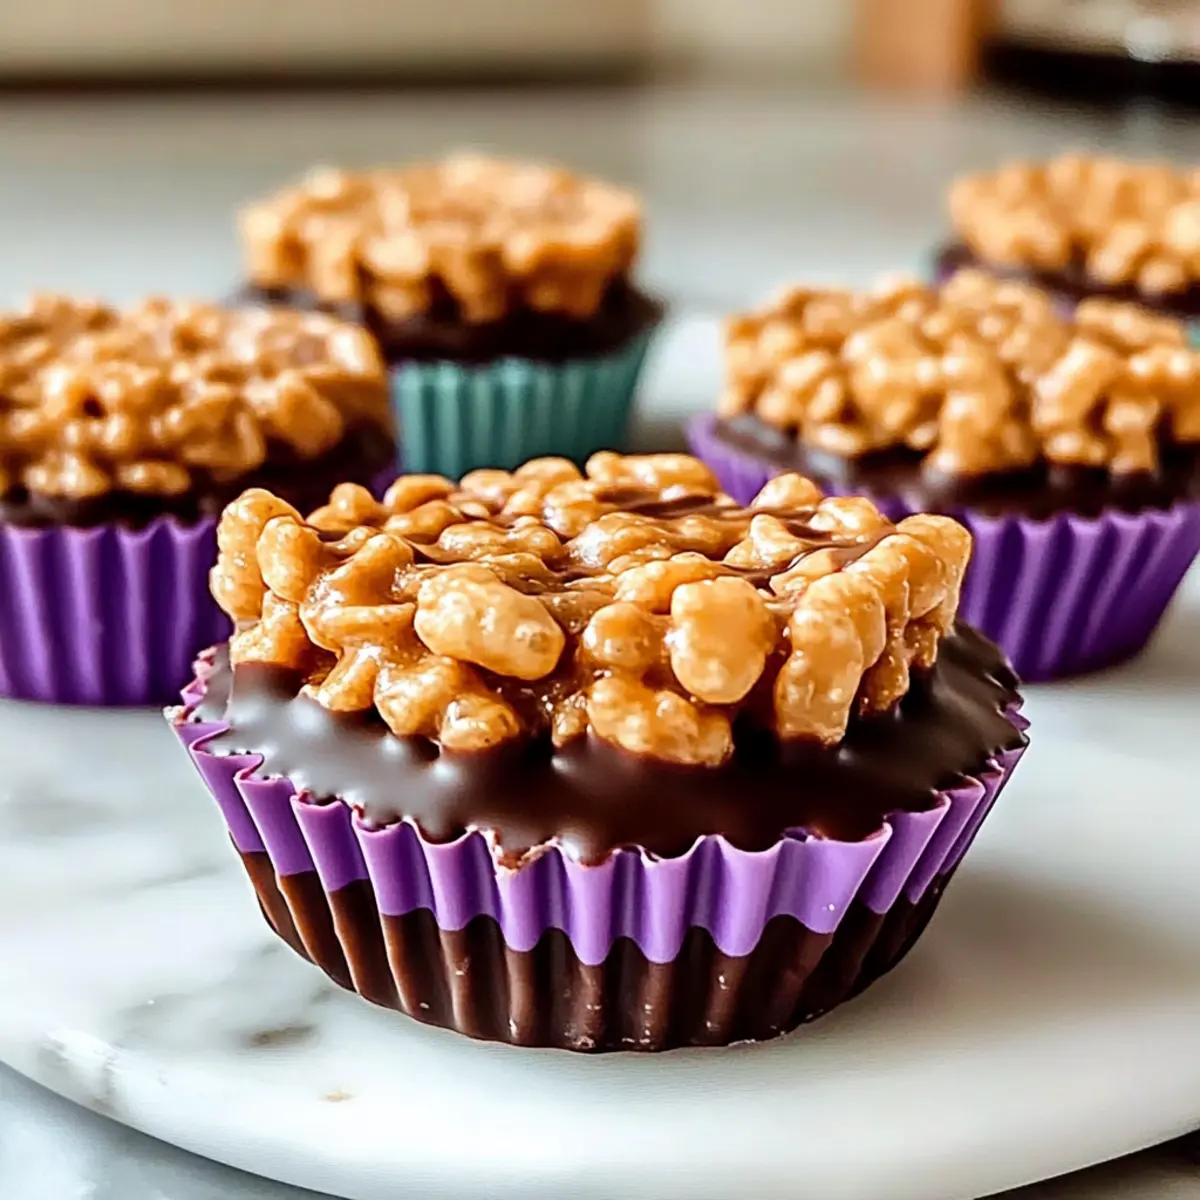
- Fridge: Store in an airtight container in the refrigerator for up to one week. This keeps your Chocolate Peanut Butter Rice Krispie Cups fresh and delicious, locking in their delightful flavors.
- Freezer: These cups can be frozen for up to 3 months. Just place them in a single layer in a freezer-safe container, separating layers with parchment paper to prevent sticking.
- Thawing: When ready to enjoy, thaw them in the refrigerator for a few hours or overnight. Avoid thawing at room temperature to maintain texture and flavor.
- Reheating: There’s no need to reheat! Enjoy them chilled or at room temperature for the best experience.
What to Serve with Chocolate Peanut Butter Rice Krispie Cups
Bring your tastebuds along for an adventure as you build the perfect meal to complement these delicious rice crispy cups!
-
Vanilla Ice Cream: A scoop of creamy vanilla ice cream adds a luscious contrast, making each bite an indulgent experience. The coolness of the ice cream beautifully balances the rich peanut butter and chocolate flavors.
-
Fresh Strawberries: The natural sweetness and slight tartness of fresh strawberries enhance the overall dessert experience, brightening up the nostalgic flavors. Their juicy freshness offers a delightful contrast to the crunchy cups.
-
Sweetened Whipped Cream: A dollop of whipped cream adds lightness and a rich creaminess to each bite, elevating your snack to dessert status. Consider adding a hint of vanilla or cocoa powder to match the cups.
-
Chocolate Milkshake: For a fun throwback, serve these treats alongside a thick chocolate milkshake. The chocolatey richness creates a dream pairing with the peanut butter cups, perfect for a cozy afternoon treat.
-
Nutella Dip: Create a playful dip using Nutella as a chocolate alternative, allowing adults and kids alike to enjoy their cups in a new, interactive way. The creamy, hazelnut flavor adds a delightful twist.
-
Chilled Coffee: A refreshing iced coffee provides a delightful caffeine kick, perfectly balancing the sweetness of the treats. Add a splash of cream for richness that complements the chocolate and peanut butter combo.
-
Caramel Drizzle: Drizzling a bit of smooth caramel sauce on the cups can add a luxurious touch. Caramel brings an extra layer of sweetness, harmonizing beautifully with the existing flavors.
-
Fruit Salad: A light fruit salad offers freshness and a splash of color on your dessert table. The array of flavors can complement the sweetness of the rice crispy cups while keeping things light.
-
Coconut Macaroons: These chewy treats echo the nostalgic theme and their soft texture pairs wonderfully with the crunch and richness of the chocolate peanut butter cups.
-
Herbal Tea: Pair with a calming herbal tea like chamomile or mint for a cozy finish to your snacking experience—it’s a soothing companion that helps digest those sweet treats!
Expert Tips for Chocolate Peanut Butter Rice Krispie Cups
- Natural Peanut Butter: Use natural peanut butter for a less sweet flavor and a more authentic peanut taste, enhancing your Chocolate Peanut Butter Rice Krispie Cups.
- Thorough Melting: Ensure the chocolate is completely melted and smooth for even coverage; lumpy chocolate can ruin the final look and texture.
- Avoid Overpacking: Don’t overpack the Rice Krispies mixture into the muffin tins; they may not set properly, leading to crumbling cups.
- Cooling Time: Be patient and allow at least 30 minutes of refrigeration for the chocolate to set; this is crucial for the perfect bite.
- Mix It Up: Try using different nut butters or chocolate types to create unique flavors each time you make your Chocolate Peanut Butter Rice Krispie Cups.
Make Ahead Options
These Chocolate Peanut Butter Rice Krispie Cups are ideal for meal prep, making them a perfect treat for busy weeknights! You can prepare the Rice Krispies mixture and fill the muffin tin up to 24 hours in advance; simply store them covered in the refrigerator. To maintain their delightful crunch, avoid adding the chocolate layer until you’re ready to serve. When you’re set to indulge, melt the chocolate and pour it over the cups; refrigerate again for just 30 minutes until set. This prep-ahead strategy ensures you have a quick, nostalgic treat ready to impress your family or friends, all with minimal effort!
Chocolate Peanut Butter Rice Krispie Cups Variations
Feel free to let your creativity shine and tailor these delicious cups to your liking!
-
Nut Butter Swap: Try almond or cashew butter instead of peanut butter for a delightful twist. Each butter brings its own unique flavor profile to this classic treat, making it fun to experiment with what you enjoy most.
-
Add Crunchy Elements: Toss in some chopped nuts or seeds for extra texture. Walnuts or sunflower seeds can complement the creamy peanut butter wonderfully, adding a nutritional boost and delightful crunch in every bite.
-
Chocolate Playground: Use milk or white chocolate chips in place of semi-sweet for a sweeter profile. Each variant offers a different level of sweetness, allowing you to fine-tune the overall flavor of your rice krispie cups.
-
Vegan Delight: For a vegan-friendly option, swap in dairy-free chocolate chips and coconut oil instead of butter. This simple change makes your treats accessible to everyone while keeping the deliciousness intact.
-
Flavored Twist: Incorporate a pinch of sea salt or a sprinkle of cinnamon for unexpected flavor depth. The slight saltiness can enhance the sweetness of the chocolate, creating a perfectly balanced treat.
-
Decadent Drizzle: Drizzle some melted white chocolate over the top for an elegant touch. Not only will this add a pop of color, but it will also introduce a new flavor layer that enhances the overall experience.
-
Fruit Infusion: Add a handful of dried cranberries or chopped dried cherries for a fruity contrast. This little addition provides a sweet-tart flavor that mingles beautifully with the rich chocolate and nutty peanut butter.
-
Spice It Up: For those who love a kick, mix in a pinch of cayenne pepper or chili powder to the chocolate. This surprising heat can amp up the decadence of your Chocolate Peanut Butter Rice Krispie Cups.
Don’t forget to check out my Chocolate Peanut Butter desserts for more delicious treats that will satisfy your cravings!
Chocolate Peanut Butter Rice Krispie Cups Recipe FAQs
What type of peanut butter should I use for the best flavor?
Using natural smooth peanut butter is recommended for a more authentic taste and less sweetness. Avoid brands with added sugars or hydrogenated oils, as they can alter the flavor and texture of your Chocolate Peanut Butter Rice Krispie Cups.
How should I store my Chocolate Peanut Butter Rice Krispie Cups?
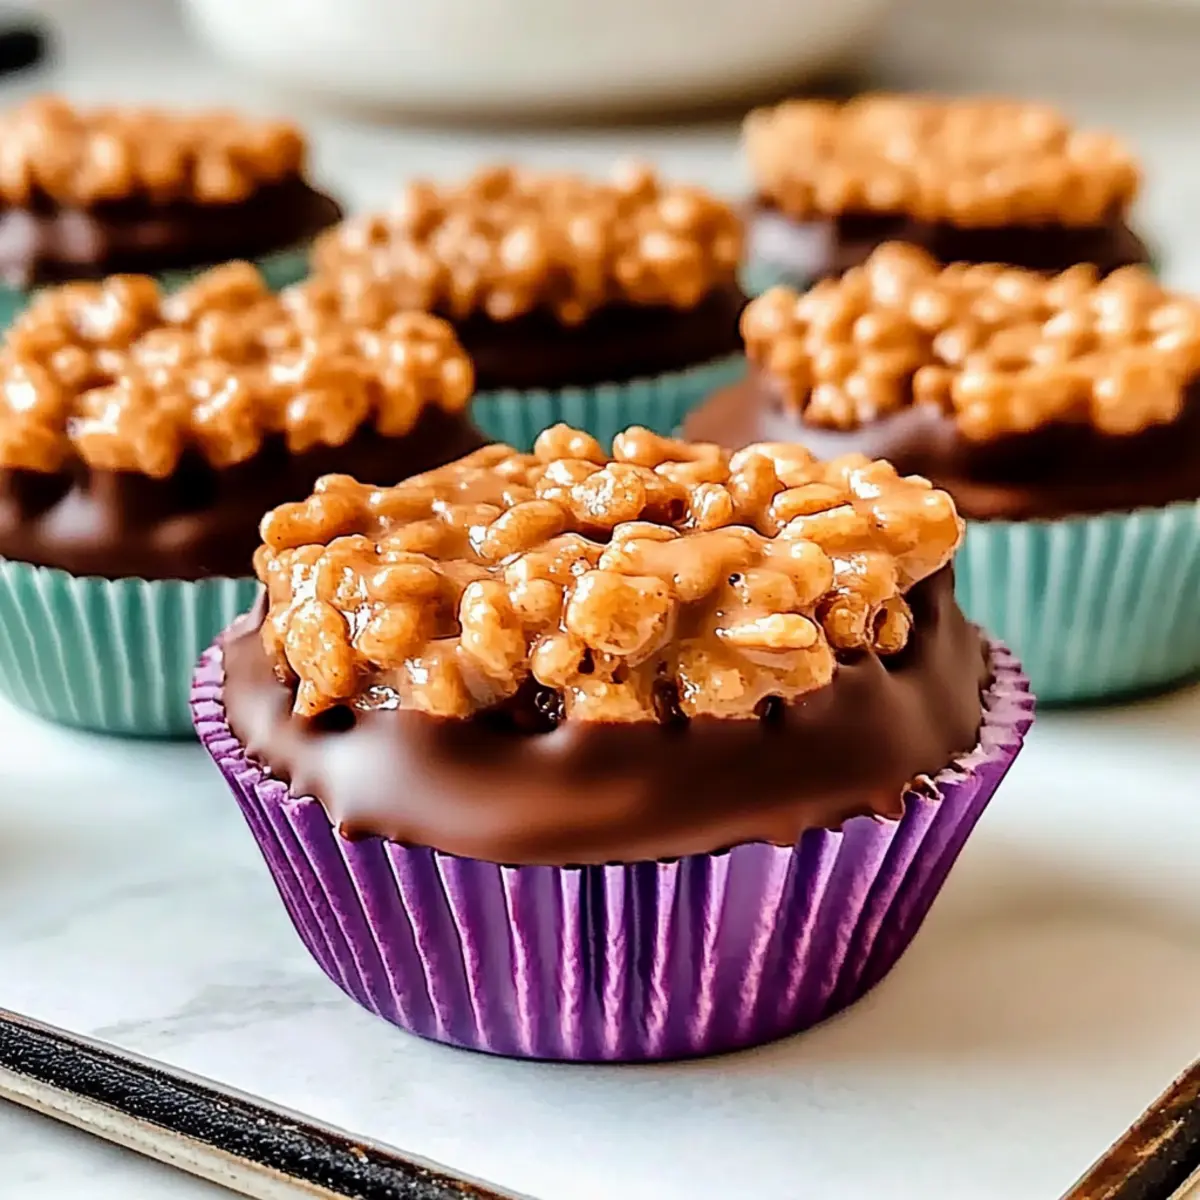
Store these delightful cups in an airtight container in the refrigerator for up to one week. This will help retain their freshness and prevent them from drying out. If you’re sharing them with a crowd, consider placing them in colorful liners for an appealing presentation!
Can I freeze Chocolate Peanut Butter Rice Krispie Cups?
Absolutely! You can freeze your cups for up to 3 months. To do this, place them in a single layer in a freezer-safe container, using parchment paper to separate multiple layers. When you’re ready to enjoy them, simply thaw them in the refrigerator overnight for the best texture.
What should I do if my chocolate isn’t melting smoothly?
If your chocolate isn’t melting smoothly, try microwaving in shorter intervals, about 15 seconds at a time, stirring in between. This helps prevent overheating, which can cause the chocolate to seize. If it does seize, you can add a tiny amount of vegetable oil to help bring it back together.
Are these Chocolate Peanut Butter Rice Krispie Cups suitable for people with nut allergies?
Unfortunately, these cups contain peanuts and are not suitable for individuals with nut allergies. However, you could consider making a similar treat using seeds like sunflower or pumpkin seed butter, adjusting the recipe slightly to incorporate these alternatives.
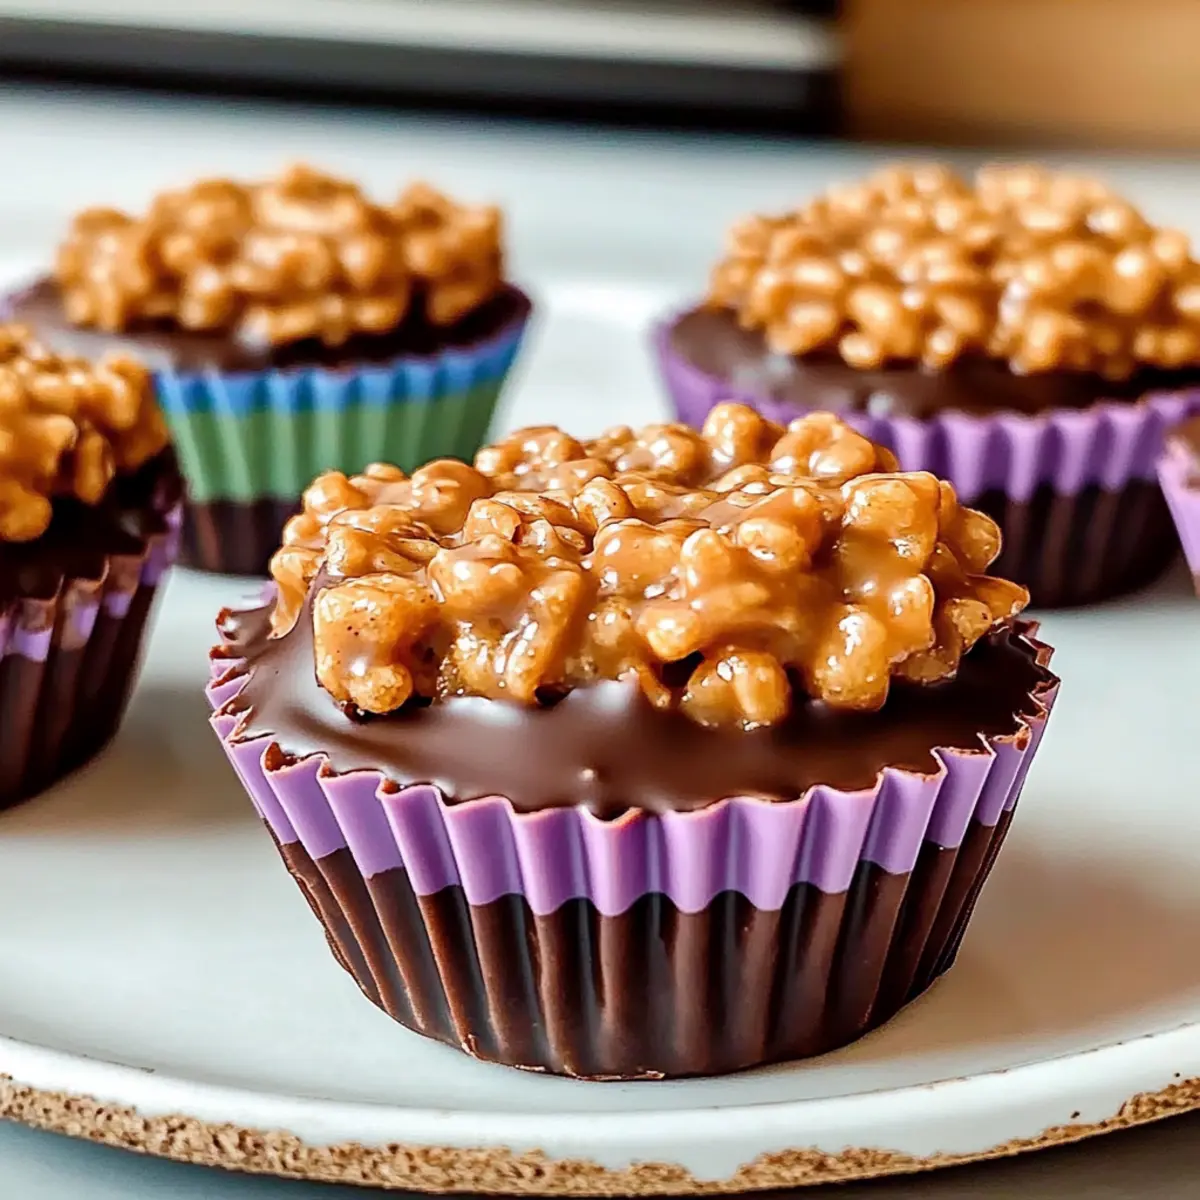
Chocolate Peanut Butter Rice Krispie Cups: Nostalgic No-Bake Treat
Ingredients
Equipment
Method
- In a medium saucepan, combine 1 cup of smooth peanut butter and ½ cup of honey over low heat. Stir continuously for about 3–5 minutes until the mixture is smooth and well-blended, ensuring it doesn't come to a boil.
- Remove the saucepan from heat. Stir in 1 teaspoon of vanilla extract until mixed well.
- In a large mixing bowl, pour the peanut butter mixture over 6 cups of Rice Krispies cereal. Gently fold the cereal into the mixture for about 2 minutes until fully coated.
- Line a standard muffin tin with paper liners. Spoon the mixture into each liner, filling about three-quarters full and pressing down firmly.
- In a microwave-safe bowl, combine 1 cup of semi-sweet chocolate chips and 2 tablespoons of unsalted butter. Microwave in 30-second intervals, stirring until melted and smooth, about 1-2 minutes.
- Drizzle or spread the melted chocolate over each Rice Krispie cup, completely covering them.
- Place the muffin tin in the refrigerator for at least 30 minutes to allow the chocolate to firm up.
- Once set, remove the cups from the muffin tin and serve them chilled or at room temperature.
Leave a Reply