
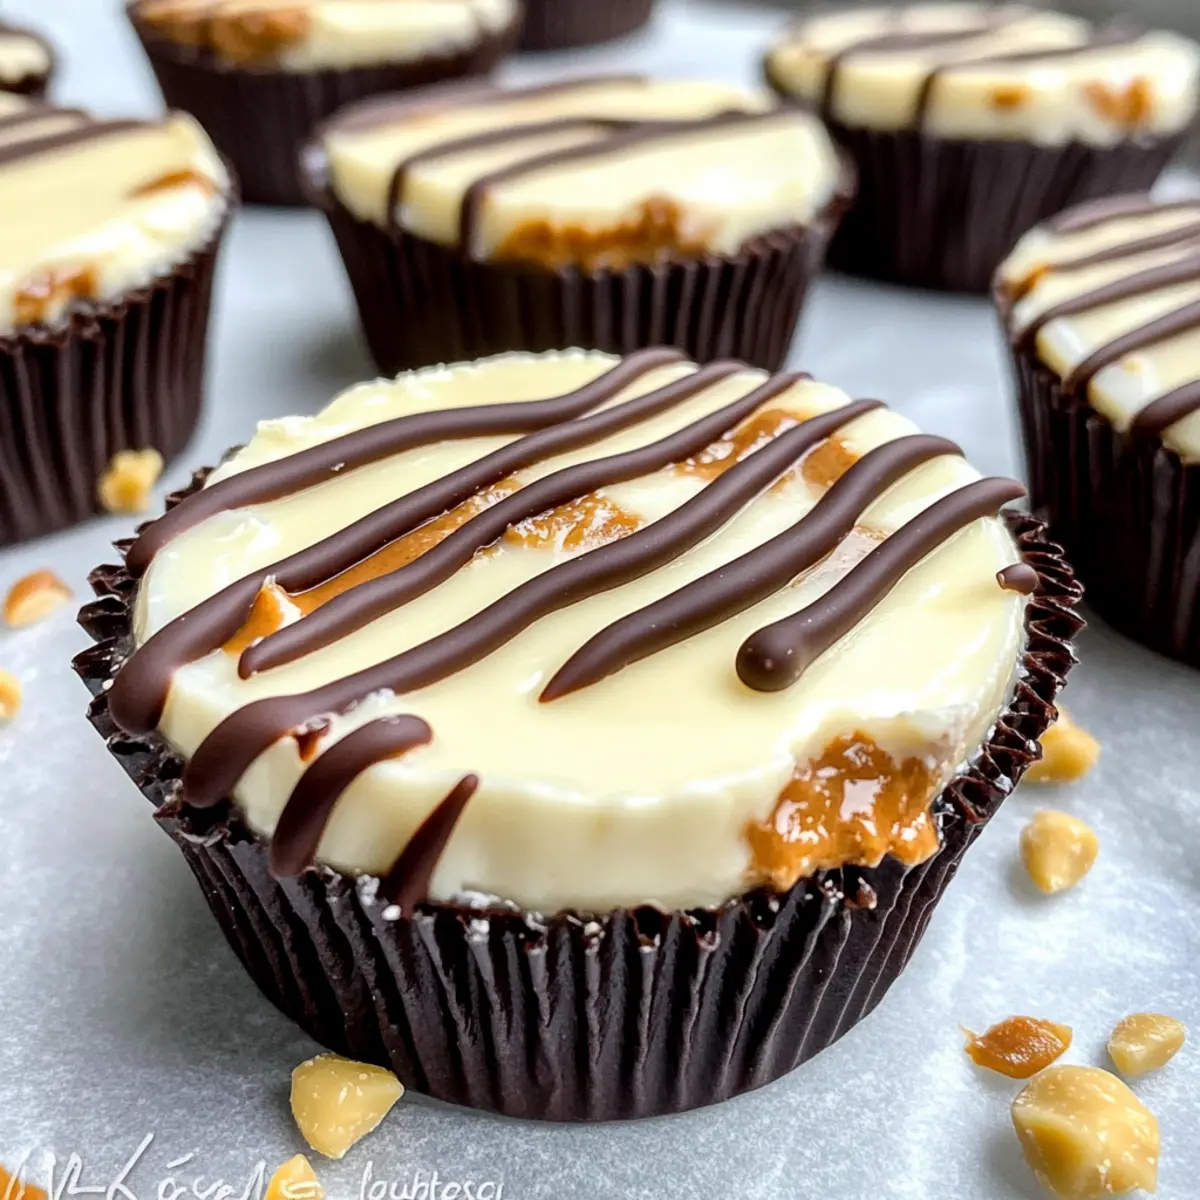
As I sifted through the pantry, I stumbled upon a forgotten jar of creamy peanut butter, and an idea took root—why not create something delightful yet guilt-free? Enter my Chocolate Peanut Butter Cheesecake Protein Cups, a no-bake wonder that combines the indulgence of chocolate and peanut butter while keeping health at the forefront. These creamy, high-protein cups are a game changer: they’re low in carbs, perfect for warm days, and absolutely delicious. I love how flexible they are, inviting variations like vegan or dairy-free options, so everyone can enjoy a taste of this sweet goodness. Ready to treat your taste buds while staying on track with your nutritional goals? Let’s dive into this easy recipe that promises to satisfy your cravings without the fast-food guilt!
Why are these cups a must-try?
Indulgent flavors: The rich combination of chocolate and peanut butter creates a mouthwatering experience that feels indulgent, yet it’s health-conscious!
No-bake convenience: Perfect for warm weather, these cups are simple to whip up without firing up the oven.
Customizable delight: Feel free to swap ingredients like using almond butter or opting for a vegan twist, allowing everyone to enjoy them.
Protein-packed: Each cup boasts a whopping 14g of protein, giving a delicious boost to your snacking!
Perfect for any occasion: Use them as a post-workout treat, a party dessert, or even a guilt-free movie night snack. For a similar indulgence, try my Chocolate Peanut Butter or Peanut Butter Spider recipes!
Chocolate Peanut Butter Cheesecake Protein Cups
• Discover the tasty essentials needed to make these delightful cups from scratch!
For the Chocolate Peanut Butter Layer
- Chocolate Protein Powder – Provides muscle-building protein; try substituting with collagen, rice, pea, or soy protein for versatility.
- Coconut Flour – Adds structure while keeping it low in carbs; if preferred, swap for 1/4 cup of rolled oats for a heartier texture.
- Unsweetened Cocoa Powder – Enhances the chocolate flavor; no direct substitution needed to maintain richness.
- Calorie-Free Sweetener – Offers sweetness without calories; adjust based on the type you use for desired sweetness.
- Unsweetened Cashew Milk – Contributes creaminess; feel free to replace with any milk variety, including dairy-free options.
- Natural Creamy Peanut Butter – Brings richness and flavor; substitute with almond butter, sunflower seed butter, or cashew butter if desired.
For the Cheesecake Layer
- Plain Nonfat Greek Yogurt – Adds creaminess and protein; can be swapped with any yogurt type, including dairy-free alternatives.
- Neufchâtel Cheese or Cream Cheese – Provides the classic cheesecake texture; use dairy-free cream cheese for a vegan option.
- Pure Vanilla Extract – Enhances overall flavor; optional but recommended for a delicious finish.
- Salt – Balances sweetness; it’s optional but can really enhance the flavors.
These Chocolate Peanut Butter Cheesecake Protein Cups are not just a treat; they’re an opportunity to indulge without compromise! Enjoy making them your own!
Step‑by‑Step Instructions for CHOCOLATE PEANUT BUTTER CHEESECAKE PROTEIN CUPS
Step 1: Mix the Chocolate Peanut Butter Layer
In a medium bowl, combine chocolate protein powder, coconut flour, unsweetened cocoa powder, and calorie-free sweetener. Pour in the unsweetened cashew milk and add the natural creamy peanut butter. Stir vigorously until all the ingredients are well-blended and form a smooth, thick mixture that holds together nicely, about 2-3 minutes of mixing.
Step 2: Prepare the Cheesecake Layer
In a separate bowl, whisk together plain nonfat Greek yogurt, neufchâtel cheese (or cream cheese), pure vanilla extract, and salt. Blend these ingredients until the mixture is smooth and creamy, which should take about 2-3 minutes. The cheesecake filling should be thick but spreadable, ready for the next step in creating your CHOCOLATE PEANUT BUTTER CHEESECAKE PROTEIN CUPS.
Step 3: Fill the Muffin Cups
Grab silicone muffin cups or a greased muffin pan for easy release. Begin by scooping about 1 heaping tablespoon of the chocolate peanut butter mixture into each cup, pressing down firmly to create an even layer. Make sure the layer is smooth and well-compacted for the best texture, then move on to preparing the cheesecake layer.
Step 4: Add the Cheesecake Layer
Carefully spoon about 1 heaping tablespoon of the cheesecake mixture on top of each chocolate layer in the muffin cups. Gently flatten the cheesecake layer with the back of a spoon to eliminate any air bubbles and ensure even distribution. The layers should be nicely defined, adding to the visual appeal of your CHOCOLATE PEANUT BUTTER CHEESECAKE PROTEIN CUPS.
Step 5: Freeze Until Firm
Place the filled muffin cups in the freezer and allow them to chill for 20-30 minutes. You’ll know they’re ready once they are firm to the touch but not completely solid. This step is crucial for achieving that perfect, creamy texture once you bite into your delicious cups.
Step 6: Drizzle with Chocolate & Peanut Butter
Melt dark chocolate and natural creamy peanut butter separately in small bowls using the microwave or a double boiler, stirring until smooth. Once the cups have set, carefully drizzle the melted chocolate and peanut butter over the frozen cups using a spoon or a piping bag for a beautiful presentation.
Step 7: Final Chill or Serve
Return the drizzled cups to the freezer for a few more minutes to let the drizzle set. If you prefer, you can also serve them immediately; just note that they may need a few minutes in the fridge to soften slightly before indulging. Your CHOCOLATE PEANUT BUTTER CHEESECAKE PROTEIN CUPS are now ready to be enjoyed!
Make Ahead Options
These Chocolate Peanut Butter Cheesecake Protein Cups are perfect for busy home cooks who love to meal prep! You can prepare both the chocolate peanut butter layer and the cheesecake layer separately up to 24 hours in advance. Simply mix each layer according to the instructions and refrigerate them in airtight containers to maintain their fresh flavors and creamy textures. When you’re ready to assemble, simply fill your muffin cups and freeze them as directed. For an extra touch, drizzle melted chocolate and peanut butter over the cups right before serving, ensuring a delightful treat that’s just as delicious as if made fresh. Enjoy the convenience of having these decadent snacks ready for any occasion!
Storage Tips for Chocolate Peanut Butter Cheesecake Protein Cups
Fridge: Store them in an airtight container for up to 5 days. They can also be enjoyed chilled, but keep them covered to maintain their creaminess.
Freezer: For longer storage, keep the Chocolate Peanut Butter Cheesecake Protein Cups in the freezer in a sealed container for up to 3 months. This ensures they retain their flavor and texture.
Thawing: When ready to enjoy, let the cups thaw in the fridge for about 15 minutes before serving for optimal softness without losing shape.
Reheating: These cups are best served cold or slightly softened; do not microwave them as it may alter the texture. Enjoy them as a frozen treat or at room temperature!
What to Serve with Chocolate Peanut Butter Cheesecake Protein Cups
Looking to create a delightful meal that perfectly complements these decadent treats?
- Fresh Berries: A burst of juicy berries enhances the rich flavors and adds a refreshing touch to your dessert experience. They bring brightness and a hint of tartness, making each bite a well-rounded pleasure.
- Greek Yogurt Parfait: Layer creamy Greek yogurt with granola and fruit for a delightful contrast in textures that balances the indulgent cups perfectly. The protein boost makes it a wholesome addition, turning dessert into a satisfying snack.
- Nutty Granola Bars: Serve alongside chewy granola bars for that crunchy texture contrast. Their wholesome flavors will harmonize beautifully with the creamy sweetness of the cheesecake cups, leaving guests feeling nourished and joyful.
- Iced Herbal Tea: Refreshing iced herbal tea, perhaps with a hint of mint or ginger, offers a cooling effect that pairs perfectly with the richness of the protein cups. It’s a light drink that won’t overshadow the flavors of your dessert.
- Almond Milk Smoothie: A light almond milk smoothie with banana and spinach works wonderfully with these cups, providing an extra nutritional kick while still tasting delightful. This vibrant blend serves as a fun way to introduce some greens!
- Chocolate Almond Milk: For the ultimate indulgence, pair with chilled chocolate almond milk—creamy and rich, it harmonizes stunningly with the flavors of the peanut butter cups while keeping it guilt-free.
Indulge in these pairings and elevate your Chocolate Peanut Butter Cheesecake Protein Cups to the next level of deliciousness!
Chocolate Peanut Butter Cheesecake Protein Cups Variations
Feel free to tailor these delightful protein cups to suit your taste and dietary needs!
-
Vegan Option: Swap Greek yogurt and cream cheese for dairy-free alternatives to keep them cruelty-free and delicious.
For a rich, creamy experience that everyone can enjoy, look for cashew or almond-based cream cheeses. They blend beautifully! -
Nut-Free Version: Use sunflower seed butter in place of peanut butter for a nut-free treat that still packs a punch.
Pairing this with a dairy-free yogurt maintains the creamy texture everyone loves while ensuring it’s safe for those with nut allergies. -
Different Protein Powder: Experiment with flavors by substituting chocolate protein powder with vanilla, peanut butter, or even cookie dough flavored powder!
This simple switch can introduce a fun twist to each cup without compromising on protein content. -
Sweet Surprise: Add mini chocolate chips, chopped nuts, or dried fruit to the layers for an extra burst of texture and flavor.
These delightful little additions can elevate the taste sensation, turning each bite into something unexpected and delightful. -
Lower-Carb Sweeteners: Replace your calorie-free sweetener with erythritol or monk fruit if you prefer options even closer to nature.
Tweak the quantity to find your perfect level of sweetness that keeps those carbs low! -
Fruit Infusion: Swirl in a tablespoon of fruit puree (like raspberry or strawberry) into the cheesecake layer for a fruity twist.
This will not only enhance the flavor but also add a visually appealing pop of color to your cups! -
Crunchy Topping: Enhance the texture by adding crushed graham crackers or keto-friendly crust to the bottom layer for a cheesecake feel.
Imagine that satisfying crunch juxtaposed with the creamy layers—it’s simply irresistible! -
Spicy Kick: Add a pinch of cayenne or chili powder to the chocolate layer for those who love a sweet-and-spicy combo.
It’s the perfect way to awaken your taste buds and offer something boldly different at your dessert table.
For a delightful array of flavors, consider pairing these cups with my Texas Chocolate Pecan or a slice of White Chocolate Raspberry cake for an indulgent dessert spread that’ll impress everyone!
Expert Tips for Chocolate Peanut Butter Cheesecake Protein Cups
-
Layer Consistency: Ensure the cheesecake layer matches the thickness of the chocolate layer to maintain an even bite and satisfying texture.
-
Milk Adjustments: If your layers seem too thick during mixing, adjust the amount of unsweetened cashew milk gradually until you achieve a smooth blend for both layers.
-
Easy Removal: Using silicone muffin cups not only makes serving a breeze but also ensures clean removal, avoiding any heartbreak during dessert time.
-
Storage Savvy: For the best results, keep your Chocolate Peanut Butter Cheesecake Protein Cups in an airtight container in the freezer. They can be refrigerated short-term but are best enjoyed frozen.
-
Vegan Variations: To adapt to dietary preferences, simply substitute Greek yogurt and neufchâtel cheese with your favorite dairy-free options for a creamy, guilt-free treat everyone can enjoy.
Chocolate Peanut Butter Cheesecake Protein Cups Recipe FAQs
How do I choose ripe ingredients for my cups?
Absolutely! When selecting ingredients like bananas (if you choose to incorporate them), look for ones that are speckled with brown spots, indicating they’re ripe and sweet. For the creamy peanut butter and dairy options, choose brands that list peanuts or milk as the first ingredient without unnecessary additives for the healthiest choice.
What’s the best way to store these cheesecake protein cups?
You can keep your Chocolate Peanut Butter Cheesecake Protein Cups in an airtight container in the fridge for up to 5 days. Just make sure to cover them well so they maintain their creamy texture. Alternatively, for longer storage, they can be frozen for up to 3 months. When ready to enjoy, simply thaw them in the fridge for about 15 minutes—this way, they’ll be perfectly soft and ready to indulge!
Can I freeze these protein cups? If so, what’s the process?
Certainly! To freeze your Chocolate Peanut Butter Cheesecake Protein Cups, first, ensure they are in a single layer inside a sealed container or wrap them tightly in plastic wrap. This prevents freezer burn and preserves their flavor. They can stay fresh in the freezer for up to 3 months. When you’re ready to eat one, just remove it from the freezer and let it thaw in the refrigerator for about 15 minutes for the best texture.
What should I do if my layers are too runny?
If you find that the layers are too runny, don’t panic! You can easily fix this by adding more coconut flour to the chocolate layer or more Greek yogurt to the cheesecake layer—just do so gradually, mixing well after each addition until you reach the desired consistency. Aim for a perfect creamy yet thick texture to ensure stable cups when frozen.
Are these protein cups safe for dietary restrictions, such as allergies or pets?
Very! These Chocolate Peanut Butter Cheesecake Protein Cups can be customized to meet different dietary needs. For allergy considerations, always check the labels for any nuts if using different nut butters. If you’d like a pet-friendly version (for your dog, for instance), omit chocolate and sweeteners entirely, as chocolate can be toxic to pets. Always consult with your vet before sharing human food with your furry friend!
Can I make this recipe vegan or gluten-free?
Absolutely! To make a vegan version of the Chocolate Peanut Butter Cheesecake Protein Cups, simply substitute the yogurt and neufchâtel cheese with dairy-free alternatives. For a gluten-free option, ensure that your protein powder and other ingredients are marked gluten-free, which most quality brands will be. This way, everyone can enjoy these delightful cups, no matter their dietary restrictions!
Decadent Chocolate Peanut Butter Cheesecake Protein Cups
Ingredients
Equipment
Method
- In a medium bowl, combine chocolate protein powder, coconut flour, unsweetened cocoa powder, and calorie-free sweetener. Pour in the unsweetened cashew milk and add the natural creamy peanut butter. Stir vigorously until all the ingredients are well-blended and form a smooth, thick mixture that holds together nicely, about 2-3 minutes of mixing.
- In a separate bowl, whisk together plain nonfat Greek yogurt, neufchâtel cheese (or cream cheese), pure vanilla extract, and salt. Blend these ingredients until the mixture is smooth and creamy, which should take about 2-3 minutes.
- Grab silicone muffin cups or a greased muffin pan for easy release. Begin by scooping about 1 heaping tablespoon of the chocolate peanut butter mixture into each cup, pressing down firmly to create an even layer.
- Carefully spoon about 1 heaping tablespoon of the cheesecake mixture on top of each chocolate layer in the muffin cups. Gently flatten the cheesecake layer with the back of a spoon to eliminate any air bubbles and ensure even distribution.
- Place the filled muffin cups in the freezer and allow them to chill for 20-30 minutes until firm to the touch.
- Melt dark chocolate and natural creamy peanut butter separately in small bowls. Once the cups have set, carefully drizzle the melted chocolate and peanut butter over the frozen cups.
- Return the drizzled cups to the freezer for a few more minutes to let the drizzle set. Serve them immediately or after chilling in the fridge for a few minutes.
Leave a Reply