
In a cozy corner of my kitchen, I recently discovered that even weeknight meals can end on a sweet note. This Biscoff Cheesecake is not just any dessert; it’s a dream come true for those who adore creamy, indulgent treats. The harmonious layers of spiced cookie crunch, coupled with smooth cookie butter swirls, elevate any occasion or family gathering. This recipe is a gem for both novice and seasoned bakers alike, featuring an easy-to-follow method that allows for a make-ahead masterpiece. Picture serving this rich delight at your next celebration, where it will surely steal the show! So, are you ready to whip up a slice of bliss?
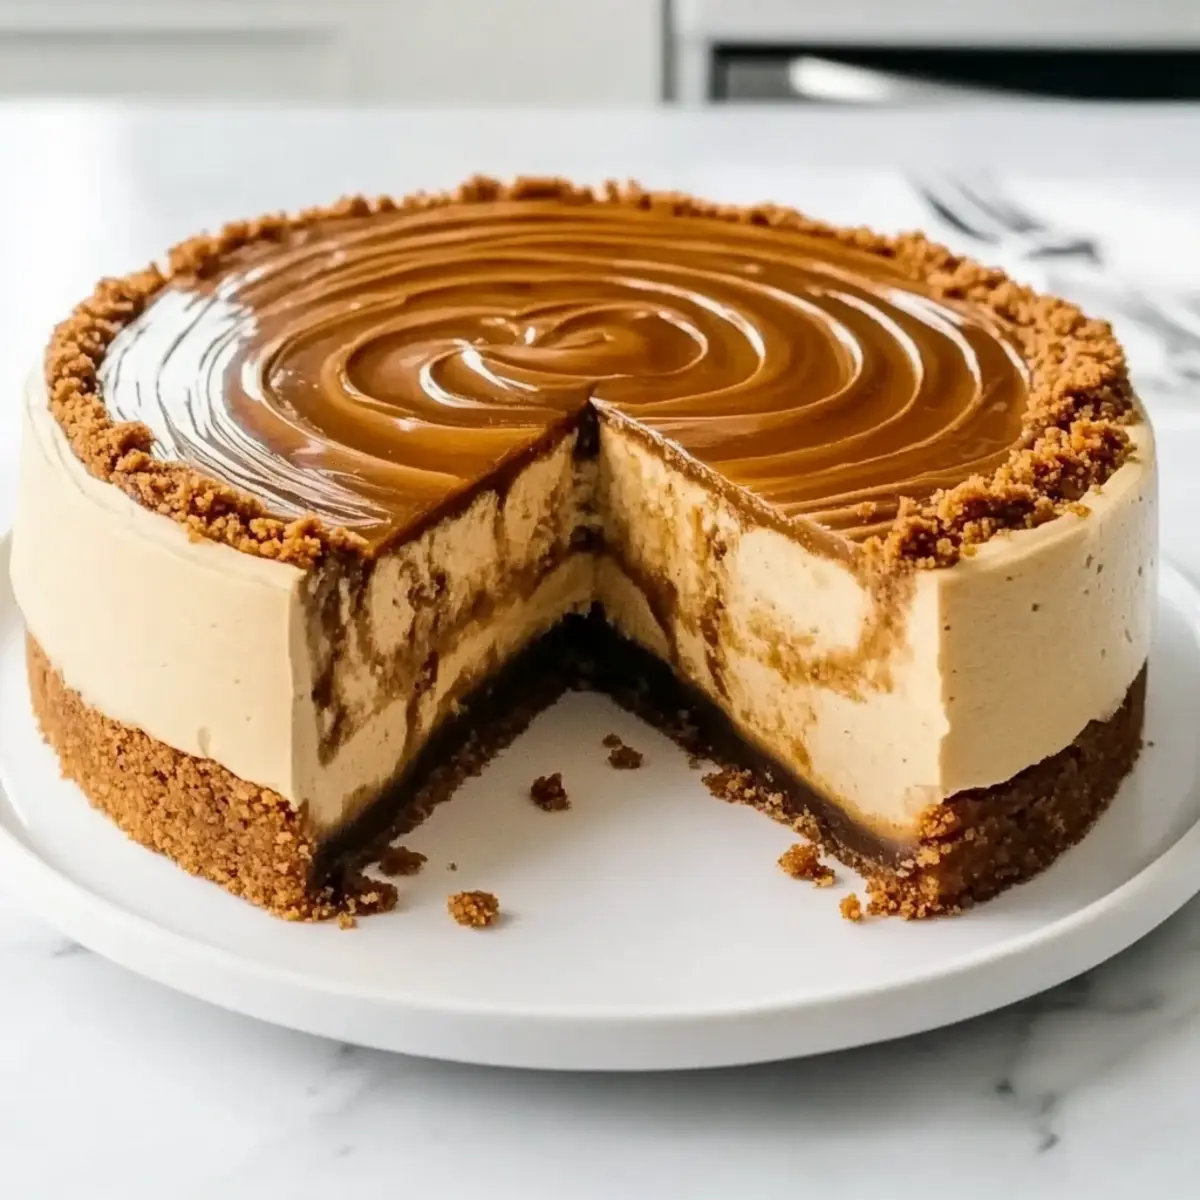
Why is Biscoff Cheesecake so popular?
Irresistible flavors: The unique combination of spiced Biscoff cookies and creamy filling tantalizes your taste buds.
Effortless preparation: This easy-to-follow recipe suits bakers of all levels, perfect for those who want homemade dessert without fuss.
Make-ahead magic: Prepare this cheesecake in advance to save time on special occasions, ensuring you can focus on your guests.
Crowd-pleaser: Impress family and friends at gatherings, as this rich treat becomes the star of the dessert table.
Pair it with a drizzle of salted caramel or fresh berries, and you’ll see why it’s a standout choice, much like the Pistachio Mushroom Cheesecake or Velvet Oreo Cheesecake.
Biscoff Cheesecake Ingredients
For the Crust
• Biscoff Cookies – the base crust ingredient that adds a spiced, buttery flavor; you can substitute with graham crackers or gingersnaps if desired.
• Unsalted Butter – binds cookie crumbs together for the crust; melted butter is necessary for mixing.
For the Filling
• Cream Cheese – the main ingredient for the filling, providing a creamy texture; make sure it’s room temperature to prevent lumps.
• Brown Sugar – adds sweetness and a deep caramel flavor to the filling; can be substituted with coconut sugar for a different flavor.
• Granulated Sugar – contributes additional sweetness to balance the flavors; use fine white sugar for better mixing.
• Sour Cream – adds creaminess and tang to the filling; Greek yogurt can be used as a lower-fat option.
• Vanilla Extract – enhances the flavor profile of the cheesecake; opt for pure vanilla for the best results.
• Salt – enhances flavors and balances sweetness; a pinch is usually enough to elevate the taste.
• Eggs – provide structure and richness to the cheesecake; ensure they are at room temperature for smooth incorporation.
• Biscoff Cookie Butter – infused into the filling and used for topping, giving a signature taste; divide it into portions for proper mixing and topping.
This luscious Biscoff Cheesecake is about to become your family’s new go-to dessert!
Step‑by‑Step Instructions for Biscoff Cheesecake
Step 1: Prepare the Ingredients
Begin by taking the cream cheese, eggs, and sour cream out of the refrigerator 30 to 60 minutes before you start. This will help them reach room temperature, which is crucial for achieving a smooth texture in your Biscoff Cheesecake. Set up your workspace so everything is easily accessible while you prepare the cheesecake.
Step 2: Preheat the Oven
Preheat your oven to 325°F (163°C) and lightly grease a 9-inch springform pan with non-stick spray or butter. The springform pan will allow you to easily remove the cheesecake once it’s set. Make sure you have all the ingredients close by so you can smoothly transition from making the crust to the filling without interruption.
Step 3: Make the Crust
In a food processor, crush Biscoff cookies until they resemble fine crumbs. Combine the crushed cookies with melted unsalted butter in a mixing bowl, stirring until the mixture resembles wet sand. Press this crust mixture firmly into the bottom of the prepared springform pan, creating an even layer. Bake for 8 to 10 minutes, then allow it to cool while you prepare the filling.
Step 4: Lower the Oven Temperature
After removing the crust from the oven, lower the temperature to 300°F (149°C). In a large mixing bowl, beat the cream cheese with an electric mixer until smooth and creamy, about 2 minutes. Gradually add the brown and granulated sugars, continuing to mix until well combined and fluffy, ensuring your Biscoff Cheesecake filling has a silky texture.
Step 5: Add the Dairy and Flavorings
Next, incorporate the sour cream, vanilla extract, and a pinch of salt into the cream cheese mixture. Mix on low speed just until combined, taking care not to overmix as this can lead to cracks in your cheesecake. The filling should be smooth and creamy, invitingly rich—a perfect complement to the Biscoff crust.
Step 6: Incorporate the Eggs
Add the eggs to the mixture one at a time, mixing on low speed just until each egg is incorporated. This helps to prevent the cheesecake from cracking during baking. Make sure to scrape down the sides of the bowl as necessary, allowing for an even blend and ensuring your Biscoff Cheesecake is lush and decadent.
Step 7: Fold in Cookie Butter
Gently warm the Biscoff cookie butter in the microwave until slightly melted, then fold it into the cheesecake batter. Be careful not to overmix; you want to see velvety swirls of cookie butter throughout your filling. Once mixed, pour this luxurious batter over the cooled crust in the springform pan, spreading it evenly.
Step 8: Swirl Cookie Butter on Top
Dollop the remaining Biscoff cookie butter on top of the cheesecake batter. Using a knife or skewer, gently swirl the cookie butter into the top of the filling to create a marbled effect. This adds a lovely decorative touch to your Biscoff Cheesecake while enhancing the flavor profile with more cookie butter goodness.
Step 9: Bake the Cheesecake
Bake the cheesecake in the preheated oven for 60 to 65 minutes, or until the edges are set but the center still jiggles slightly when shaken. This indicates that your Biscoff Cheesecake is creamy and perfectly baked, ready for cooling. Keep an eye on it to prevent overbaking.
Step 10: Cool and Chill
For the best texture, use a water bath, placing the springform pan in a larger pan filled with water. After baking, turn off the oven and crack the door open, allowing the cheesecake to cool in the oven for an hour. Once cooled, refrigerate the cheesecake for at least 6 hours, ideally overnight, to allow it to set properly and develop its flavors.
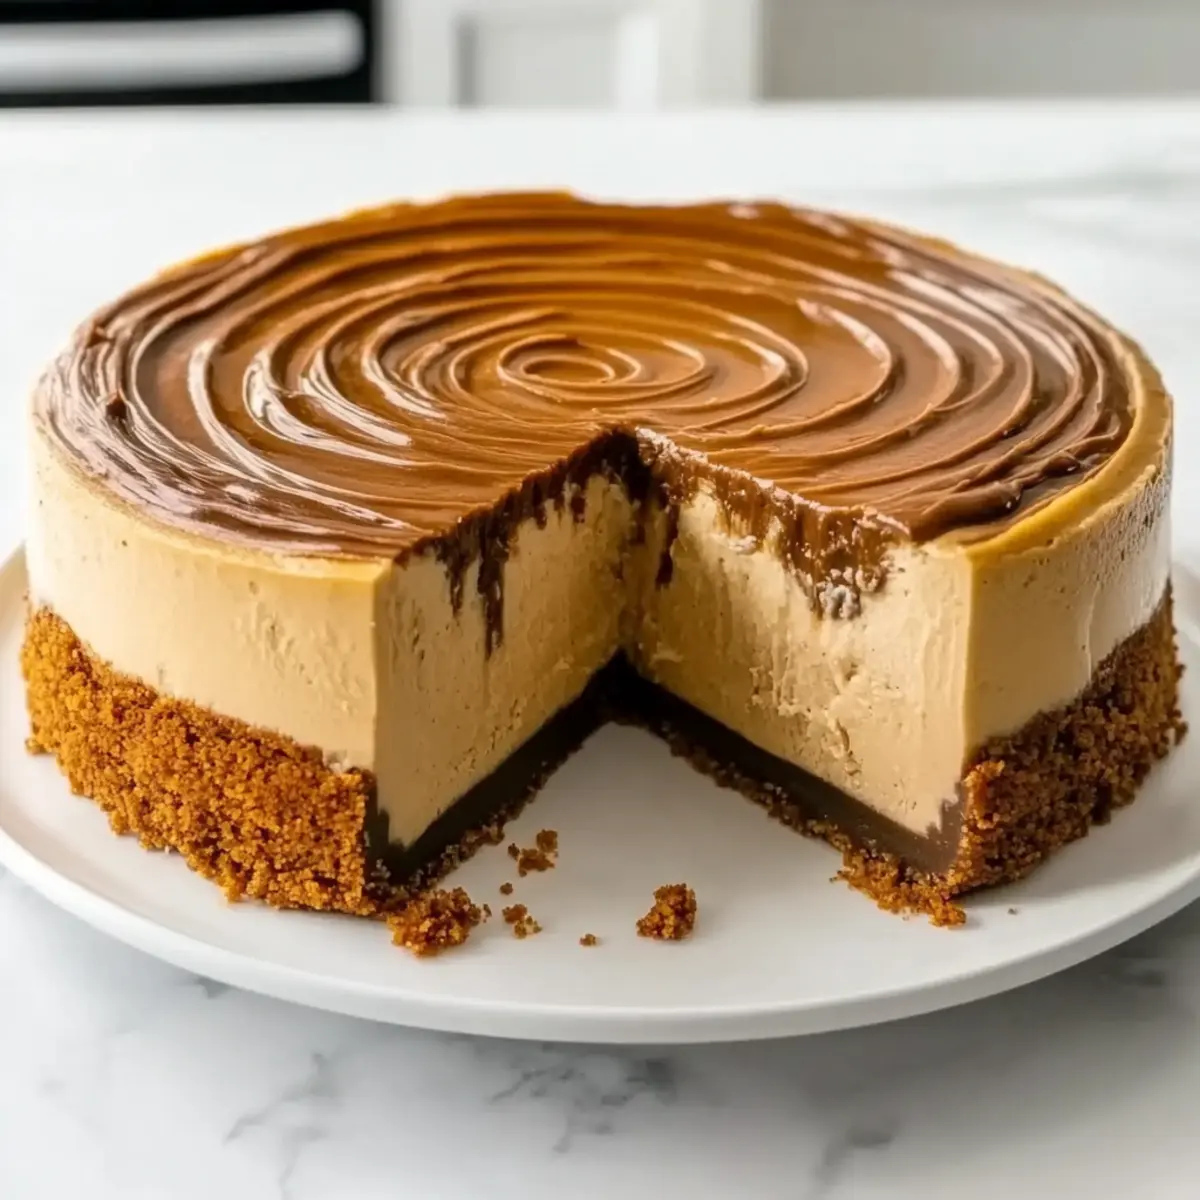
Biscoff Cheesecake Variations & Substitutions
Feel free to personalize this delightful Biscoff cheesecake, making each bite uniquely yours!
- Gluten-Free: Substitute Biscoff cookies with gluten-free cookies or almond flour to create a gluten-friendly version without sacrificing flavor.
- Vegan: Use dairy-free cream cheese and replace eggs with flaxseed meals or silken tofu for a creamy, cruelty-free delight. It’s a fantastic twist that ensures everyone can enjoy a slice!
- Chocolate Lovers: Incorporate mini chocolate chips into the cheesecake batter or top it with chocolate ganache for extra richness. A luscious addition that truly elevates the dessert experience!
- Nutty Crunch: Add crushed nuts like pecans or walnuts to the crust for added texture and a delightful crunch that contrasts beautifully with the creamy filling.
- Spiced Up: Increase warmth by adding a touch of cinnamon or nutmeg to the filling, giving your cheesecake an aromatic flavor that tantalizes the senses. It brings a cozy touch to every slice!
- Fruit Fusion: Top with fresh berries or thinly sliced peaches to introduce a burst of freshness and color—a perfect way to brighten up the dessert table.
- Salted Caramel Drizzle: Elevate your cheesecake by drizzling it with salted caramel before serving, creating a sweet-salty combo that is simply irresistible. What a delightful finishing touch!
For more delicious inspiration, check out this rich Pistachio Mushroom Cheesecake or the decadent Velvet Oreo Cheesecake. Enjoy exploring these exciting variations and make this Biscoff cheesecake your own!
Storage Tips for Biscoff Cheesecake
Fridge: Store covered in the refrigerator for up to 5 days. Make sure it’s in an airtight container or wrapped tightly to maintain its creamy texture.
Freezer: For longer storage, wrap the Biscoff cheesecake tightly in plastic wrap and aluminum foil. It can be frozen for up to 2 months.
Thawing: To enjoy your cheesecake after freezing, thaw it overnight in the fridge. This preserves its smooth, decadent texture.
Serving: When ready to serve, drizzle with warm cookie butter to enhance the rich flavors and bring a delightful warmth to each slice.
What to Serve with Decadent Biscoff Cheesecake?
Indulging in a slice of this creamy cheesecake opens the door to many delightful pairings that can elevate your dessert experience.
-
Fresh Berries: Bright, juicy strawberries or raspberries add a refreshing contrast to the rich cheesecake, enhancing each creamy bite. Their tangy sweetness balances the dessert perfectly.
-
Salted Caramel Sauce: A drizzle of warm salted caramel adds a decadent touch, complementing the Biscoff flavors with a sweet and salty dimension that is simply irresistible.
-
Whipped Cream: Light and fluffy whipped cream creates a beautiful texture contrast. It’s a classic pairing that adds airiness to your dessert table.
-
Hot Chai Tea: The warm spices in chai tea harmonize beautifully with the spiced notes of the Biscoff cheesecake. Sip it to elevate your dessert experience into something even more cozy.
-
Chocolate Ganache: Pouring a rich chocolate ganache over your cheesecake creates an indulgent chocolate experience. The pairing of chocolate and Biscoff is a match made in dessert heaven.
-
Coffee: A robust cup of coffee or an espresso can cut through the richness of the cheesecake, cleansing your palate and enhancing the flavors of both the drink and the dessert.
-
Vanilla Ice Cream: A scoop of creamy vanilla ice cream adds an incredible creaminess and coolness, providing a delightful contrast to the warm notes of the Biscoff.
-
Spiced Apple Compote: Warm, spiced apples drizzled over a slice of cheesecake create a luscious experience, with the sweetness of the apples mingling wonderfully with the creamy filling.
-
Hazelnut Liqueur: For an adult twist, a splash of hazelnut liqueur served alongside the cheesecake provides a nutty flavor that complements the earthiness of Biscoff beautifully.
Make Ahead Options
These Biscoff Cheesake are perfect for meal prep enthusiasts! You can prepare the crust by crushing the Biscoff cookies and mixing them with melted butter up to 24 hours in advance. Simply store the crust in an airtight container in the refrigerator. The cheesecake filling can also be made up to 3 days ahead; just whip everything together, pour it into the prepared crust, and refrigerate until you’re ready to bake. This keeps the flavors fresh and ensures the texture remains creamy. When you’re ready to serve, simply bake the cheesecake as directed, cool, and enjoy restaurant-quality results with minimal effort!
Expert Tips for Biscoff Cheesecake
Cream Cheese Consistency: Allow the cream cheese to sit at room temperature before mixing, preventing lumps in your cheesecake filling.
Gentle Mixing: Overmixing can cause cracks in your Biscoff cheesecake. Mix gently when adding eggs and other ingredients to keep it smooth.
Water Bath Benefits: Using a water bath while baking helps maintain moisture and prevents your cheesecake from cracking—an essential step for a luxurious finish.
Cool Gradually: After baking, cool the cheesecake in the oven with the door cracked to stabilize its structure, enhancing the final creamy texture.
Storage Savvy: To ensure freshness, cover your cheesecake when storing it in the refrigerator for up to 5 days, making it easy to enjoy a slice of joy whenever you please.
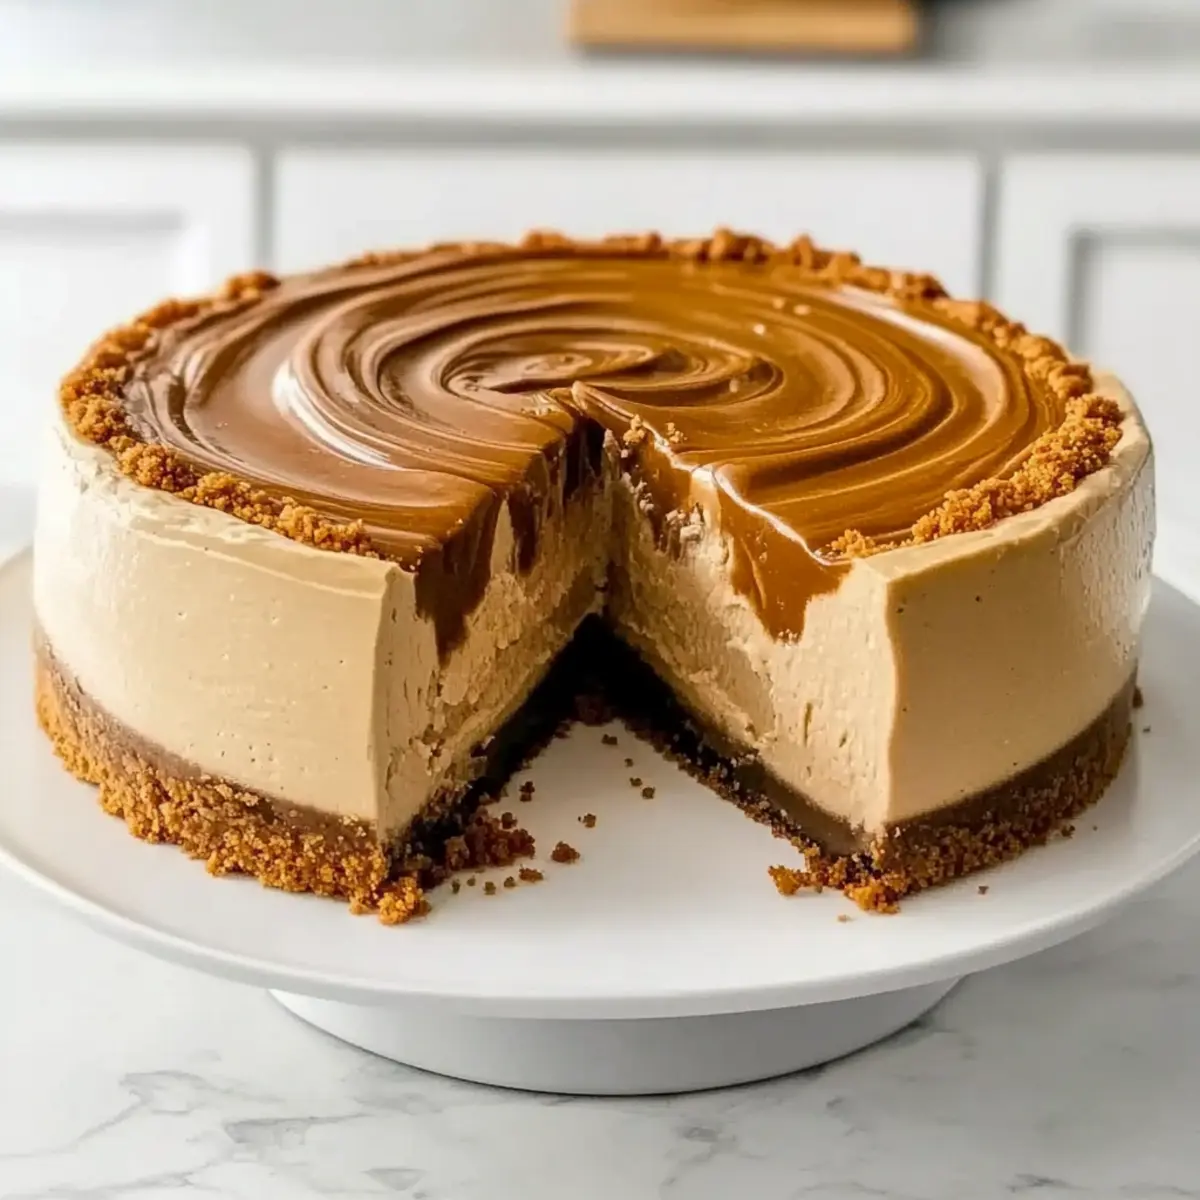
Biscoff Cheesecake Recipe FAQs
How do I choose ripe or perfect ingredients for my Biscoff Cheesecake?
Absolutely! For the best cheesecake, make sure your cream cheese is at room temperature; this helps achieve a smooth mixture and prevents lumps. Eggs should also be room temperature for easy incorporation. You want to select Biscoff cookies that are fresh and not stale—look for those without dark spots or sogginess, as freshness enhances the flavor of your crust.
What are the best storage methods for my Biscoff Cheesecake, and how long does it last?
Very! You can store your Biscoff Cheesecake in the refrigerator for up to 5 days. Keep it in an airtight container or tightly wrapped to prevent it from drying out. If you want to keep it longer, wrap the cheesecake tightly in plastic wrap and aluminum foil and freeze it for up to 2 months. It’s best to thaw in the fridge overnight for ideal texture!
Can I freeze my Biscoff Cheesecake, and what’s the best way to do it?
Certainly! To freeze your cheesecake, follow these steps:
- Allow the cheesecake to cool completely after baking.
- Once cooled, wrap it tightly in plastic wrap, ensuring no air pockets remain.
- Then, wrap it again with aluminum foil for extra protection.
- Label it with the date and place it in the freezer.
When you’re ready to enjoy it, thaw it overnight in the fridge. This method helps maintain that creamy consistency we all love!
What are some common issues when making Biscoff Cheesecake and how can I troubleshoot?
Common troubles include cracking and uneven baking. To prevent cracks, mix your batter gently and avoid overmixing your eggs. If your cheesecake cracks while baking, it might have been overbaked—aim for a center that still jiggles slightly. A water bath can also be a lifesaver, ensuring even cooking and moistness while preventing the surface from drying out.
Are there any dietary considerations or allergies I should be aware of for this Biscoff Cheesecake?
Absolutely! This cheesecake contains dairy and gluten from the Biscoff cookies. If you’re catering to guests with these allergies, you can substitute gluten-free cookies for the crust, and use dairy-free cream cheese or Greek yogurt as a lower-fat option. Always check the specific brands for allergens, especially when incorporating substitutes.
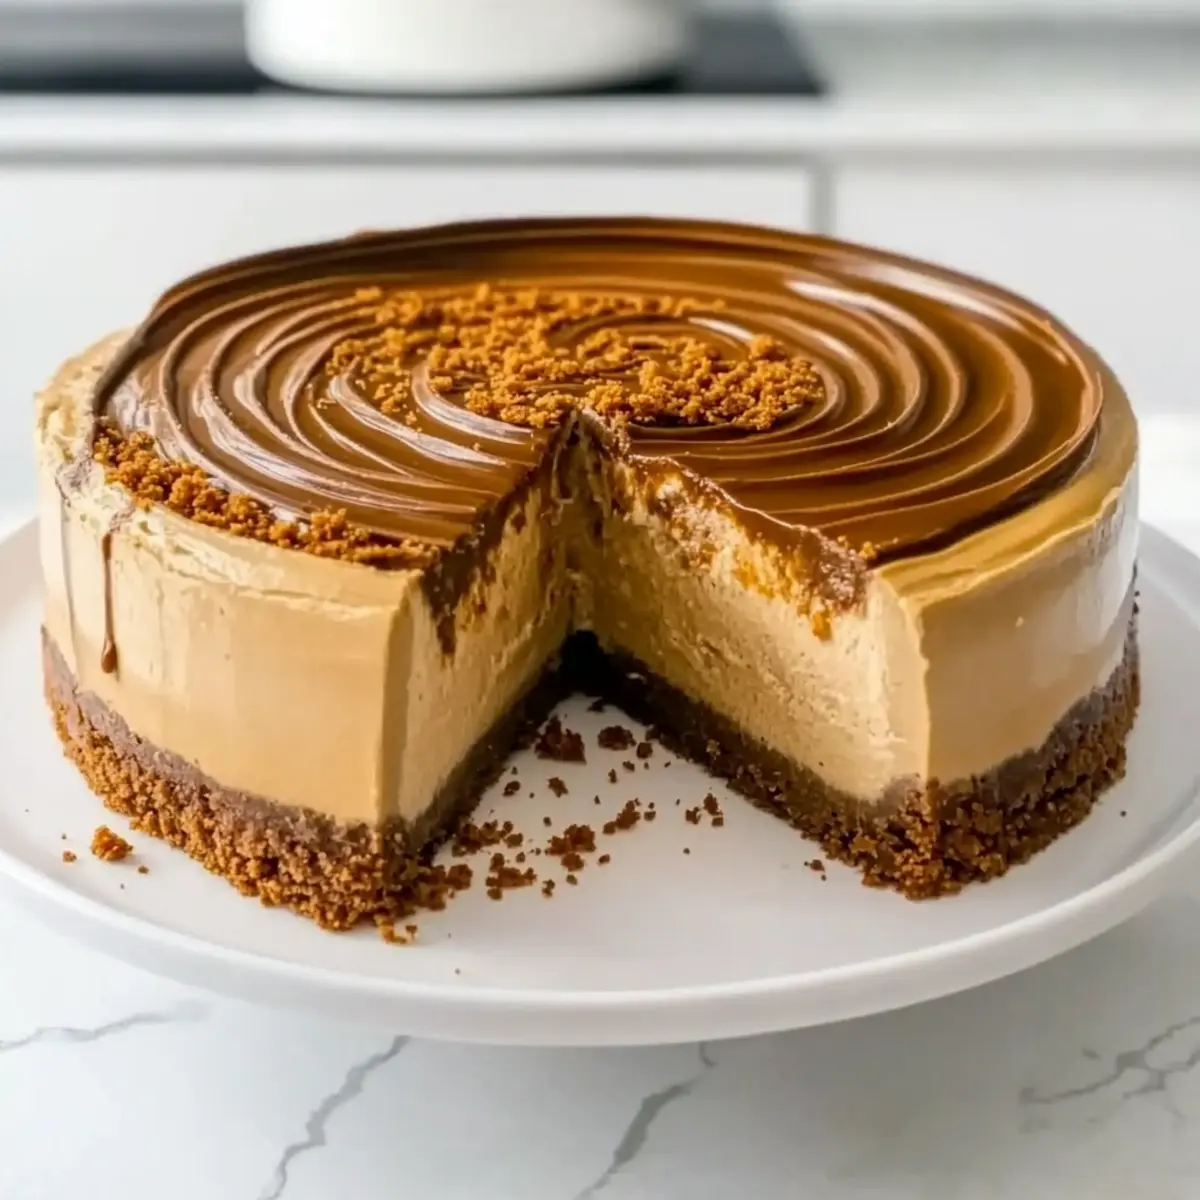
Irresistible Biscoff Cheesecake with Creamy Cookie Swirls
Ingredients
Equipment
Method
- Take the cream cheese, eggs, and sour cream out of the refrigerator 30 to 60 minutes before starting to ensure room temperature.
- Preheat the oven to 325°F (163°C) and lightly grease a 9-inch springform pan.
- Crush Biscoff cookies in a food processor, combine with melted unsalted butter, and press into the prepared pan.
- Bake the crust for 8 to 10 minutes and allow it to cool.
- Lower the oven temperature to 300°F (149°C). Beat the cream cheese until smooth, then gradually add brown and granulated sugars.
- Add sour cream, vanilla extract, and salt, mixing on low speed until combined.
- Incorporate the eggs one at a time, mixing on low speed, scraping the bowl after each addition.
- Warm the Biscoff cookie butter slightly and fold it into the cheesecake batter.
- Pour the batter over the cooled crust, spreading it evenly. Swirl remaining cookie butter on top.
- Bake the cheesecake for 60 to 65 minutes, until the edges are set and the center jiggles slightly.
- Cool in the oven with the door cracked for an hour, then refrigerate for at least 6 hours, ideally overnight.
Leave a Reply