
There’s a special kind of magic that happens when you layer creamy vanilla custard, fresh bananas, and crispy vanilla wafers into a cup. These No-Bake Banana Pudding Cups not only capture the essence of a nostalgic dessert but also offer a make-ahead option that’s perfect for gatherings—or quiet evenings spent at home. With just a handful of simple ingredients, you’ll find yourself creating a customizable treat that caters to every taste. Whether you want to stick to the classic recipe or take it up a notch with fun variations, these cups deliver both deliciousness and versatility without the hassle of baking. Intrigued by the idea of whipping up something that pleases everyone? Let’s get started!
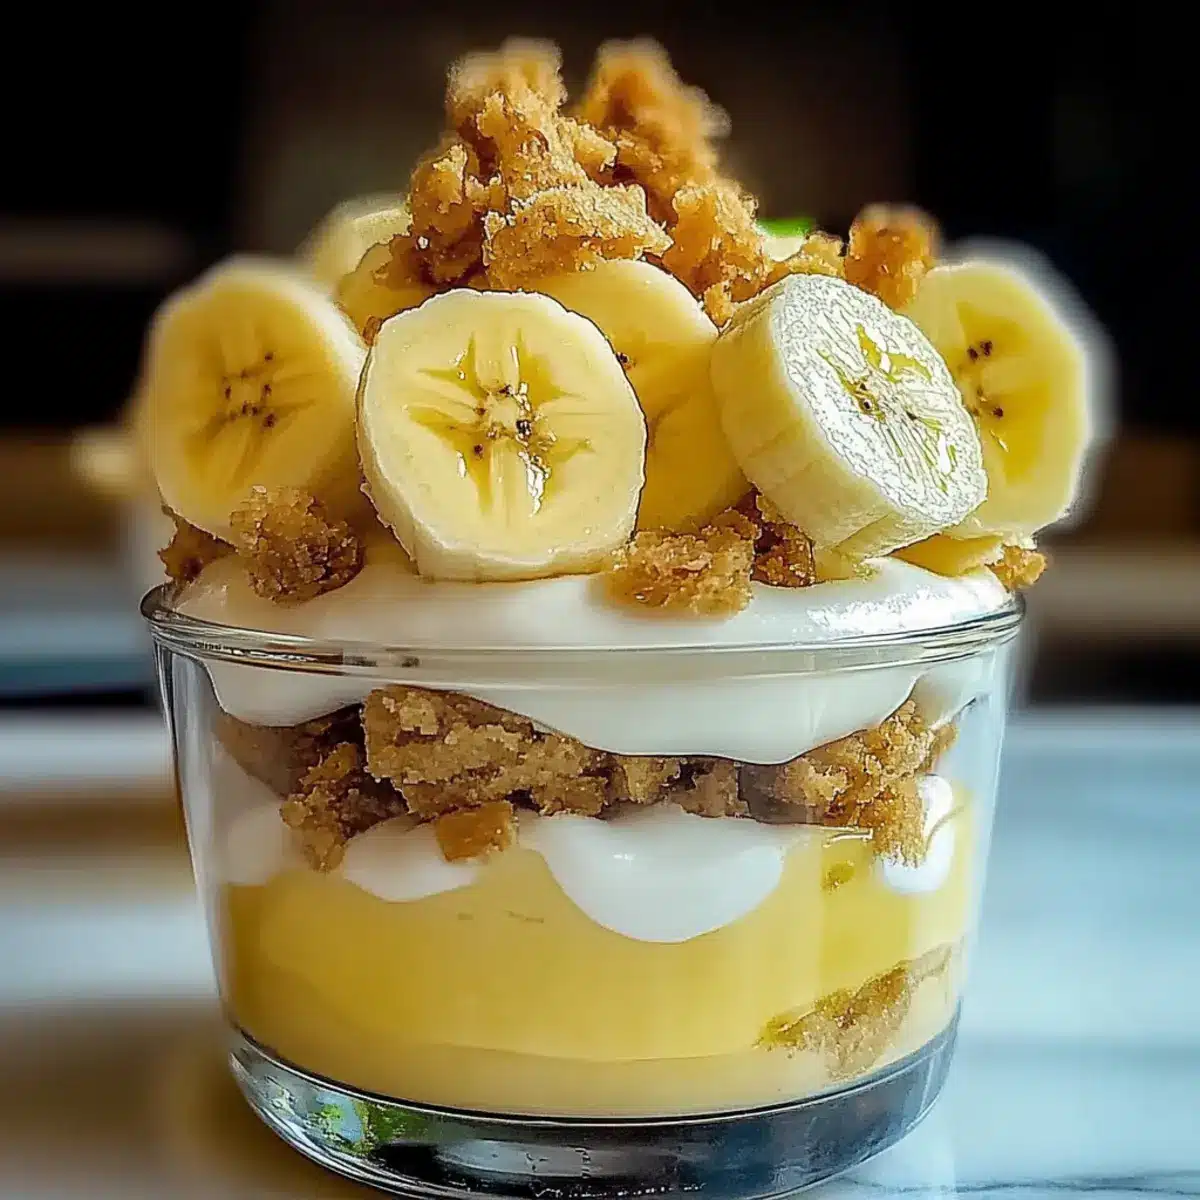
Why Are These Banana Pudding Cups So Irresistible?
Creamy Delight: These Banana Pudding Cups feature a smooth vanilla custard that melts in your mouth, perfectly paired with fresh banana slices.
No-Bake Convenience: Forget about turning on the oven! This easy recipe is a breeze, making it ideal for any day you crave something sweet without the heat.
Customizable Flavors: Whether you prefer classic vanilla wafers or want to try a chocolate twist with cocoa, the possibilities are endless.
Perfect for Any Occasion: Serve these at parties, picnics, or family dinners—everyone will fall in love with their delightful taste and appealing presentation.
Make-Ahead Magic: Prep them ahead of time and impress your guests with a stunning dessert that’s fresh and enjoyable! Consider checking out my Pudding Cookie Cups for another crowd-pleaser!
Banana Pudding Cups Ingredients
For the Pudding Base
• 3 ripe bananas – Adds natural sweetness and moisture; slightly underripe bananas are great for better firmness during assembly.
• 1 box (3.4 oz) vanilla pudding mix – Provides a creamy base; using instant mix makes this recipe quick and easy.
• 2 cups whole milk – Creates the custard’s liquid base; for a richer pudding, substitute with half heavy cream.
• ½ cup granulated sugar – Sweetens the pudding; adjust according to your sweetness preference.
• 3 tbsp cornstarch – Helps thicken the pudding mixture; essential for achieving that velvety texture.
• ¼ tsp salt – Balances sweetness; don’t skip this for the best flavor.
• 2 large egg yolks – Adds richness and depth to the custard.
• 2 tbsp unsalted butter – Enhances creaminess and flavor.
• 1 tsp vanilla extract – Imparts additional vanilla flavor; can make the rich notes in the pudding stand out.
For the Whipped Topping
• 1 cup heavy whipping cream – Used to create a fluffy topping; real whipped cream is ideal, but store-bought is a good substitute.
• 2 tbsp powdered sugar – Sweetens the whipped cream for a delightful finishing touch.
Each ingredient plays a vital role in crafting the perfect Banana Pudding Cups that are sure to please everyone at your table. Enjoy creating this no-bake delight!
Step‑by‑Step Instructions for Banana Pudding Cups
Step 1: Prepare Pudding
In a medium saucepan, combine 2 cups of whole milk, ½ cup of granulated sugar, 3 tablespoons of cornstarch, and ¼ teaspoon of salt. Cook over medium heat, whisking constantly for about 5-7 minutes until the mixture thickens and bubbles form. This creamy base is the foundation for your Banana Pudding Cups, so make sure it reaches a smooth consistency.
Step 2: Temper Egg Yolks
While the milk mixture thickens, whisk 2 large egg yolks in a small bowl until smooth. Gradually add a spoonful of the hot milk mixture into the yolks while whisking vigorously to avoid curdling. This step, known as tempering, helps to prevent any curdles in your custard and ensures velvety Banana Pudding Cups.
Step 3: Combine and Cook
Pour the tempered egg yolk mixture back into the saucepan with the remaining pudding base. Continue to cook for an additional 2-3 minutes, stirring continuously until the mixture is thickened and glossy. Remove the saucepan from heat, then stir in 2 tablespoons of unsalted butter and 1 teaspoon of vanilla extract to enhance the flavor of the custard.
Step 4: Whip Cream
In a separate mixing bowl, pour 1 cup of heavy whipping cream and add 2 tablespoons of powdered sugar. Using an electric mixer, whip the cream on high speed until stiff peaks form, which will take about 3-5 minutes. This fluffy topping will add a delightful lightness to your Banana Pudding Cups, making them even more irresistible.
Step 5: Layer Cups
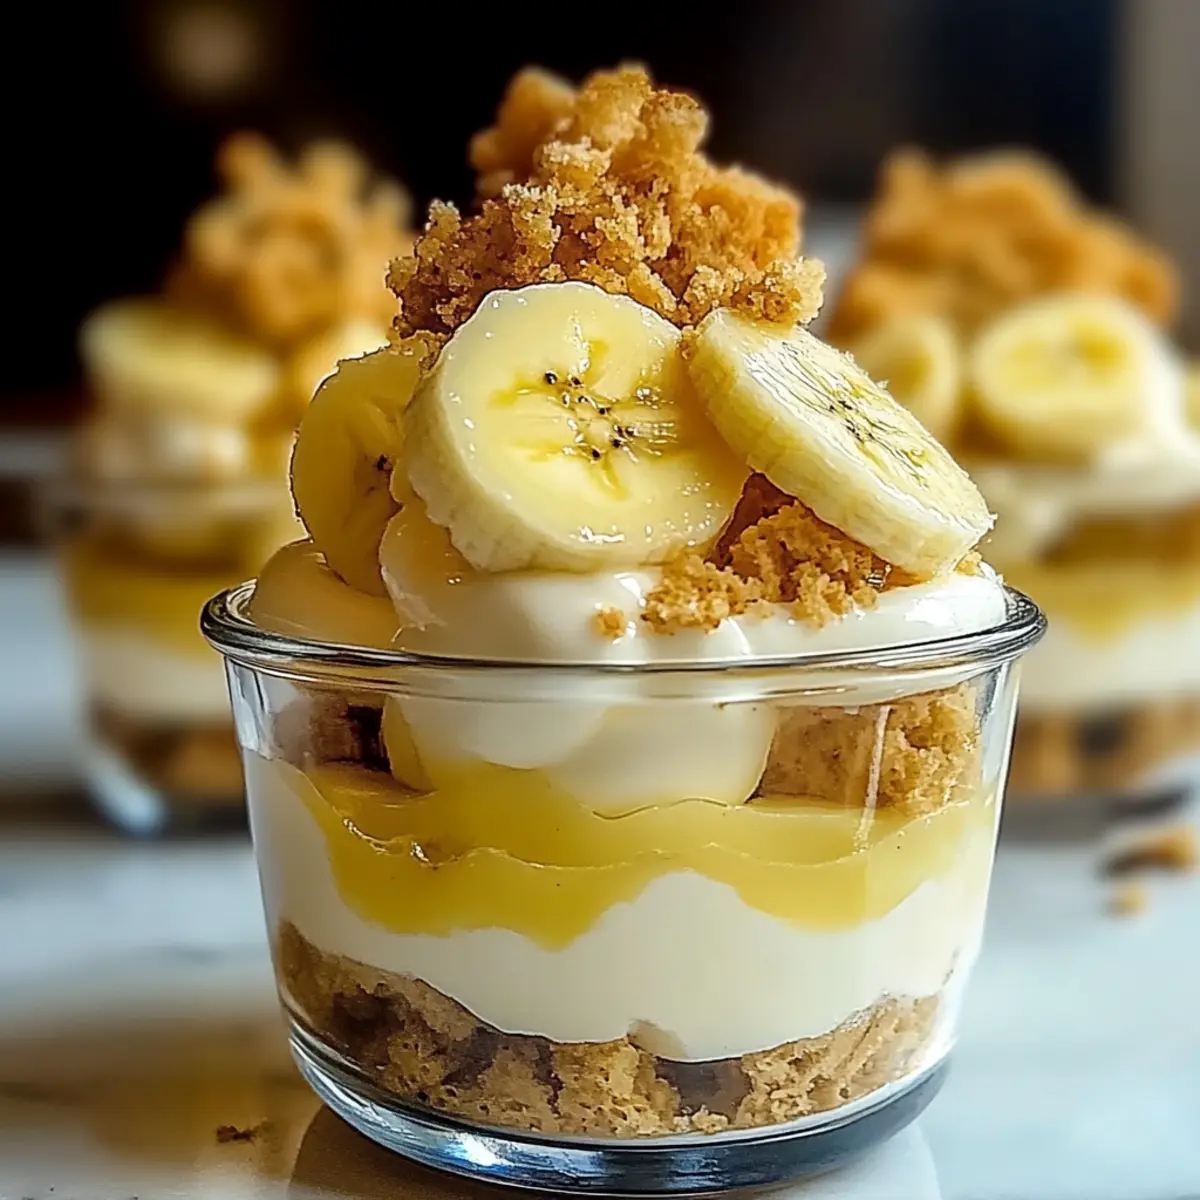
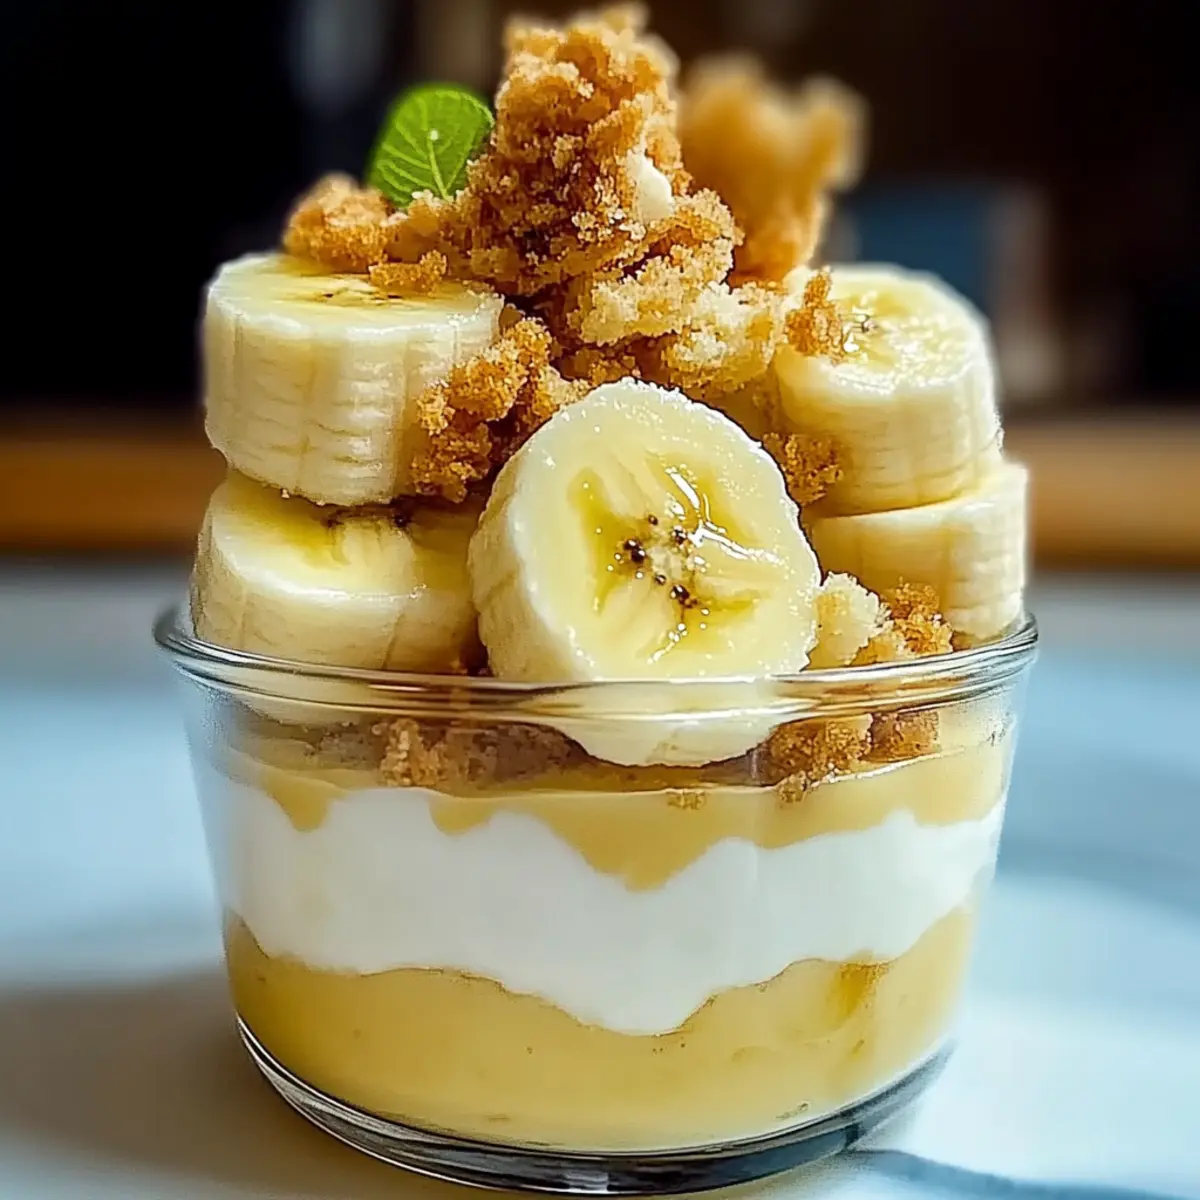
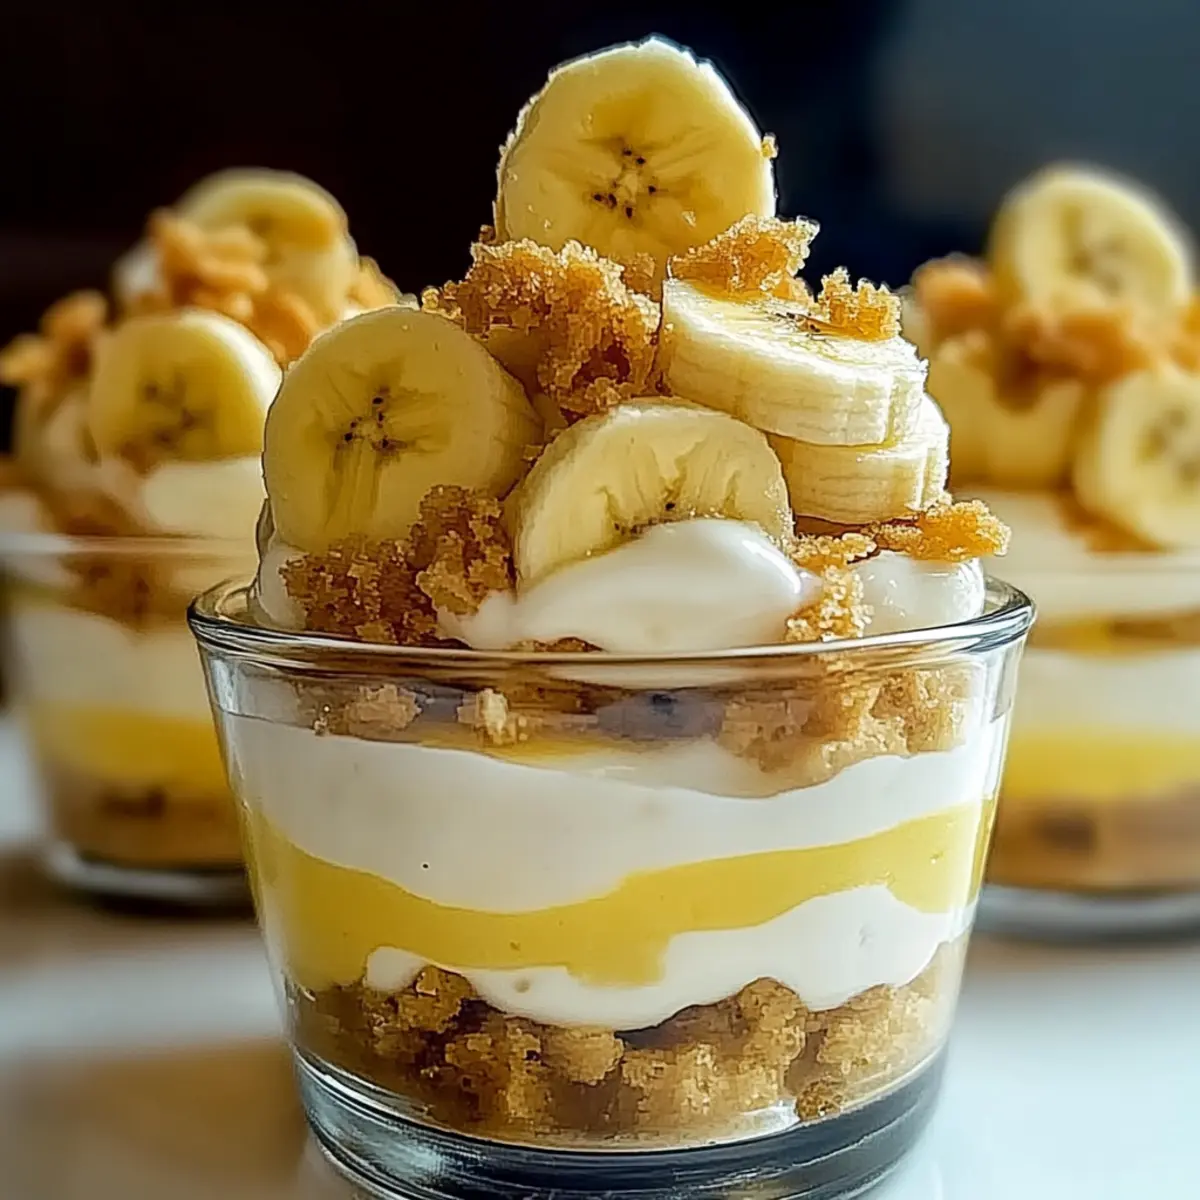
Begin assembling the Banana Pudding Cups by placing a layer of vanilla wafers at the bottom of each serving cup. Next, add a layer of sliced bananas, followed by a generous dollop of the creamy pudding. Repeat the layers until the cups are filled, finishing with a layer of pudding on top. This layered presentation will showcase the beauty of your Banana Pudding Cups.
Step 6: Finish and Chill
Top each cup with a generous helping of the whipped cream, creating a fluffy crown for your Banana Pudding Cups. For an extra touch, garnish with additional banana slices or crushed vanilla wafers. Refrigerate the cups for at least 1 hour before serving to allow the flavors to meld and the layers to set beautifully.
Make Ahead Options
These Banana Pudding Cups are perfect for busy home cooks looking to save time during the week! You can prepare the pudding base (steps 1-4) up to 3 days in advance and store it in an airtight container in the refrigerator. To prevent the bananas from browning, slice them and layer them in the cups just before serving (ideally no more than 4-6 hours in advance). If you need to assemble the cups completely ahead of time, consider refrigerating them for up to 24 hours, but remember that the wafers will soften. When ready to enjoy your delicious Banana Pudding Cups, simply finish with whipped cream and any desired garnishes for a delightful treat that is just as fresh and delicious as if prepared the same day!
Expert Tips for Banana Pudding Cups
-
Banana Selection: Use ripe but firm bananas for the best texture; overly ripe bananas can lead to mushy cups that lose their structure.
-
Prevent Browning: To keep banana slices from browning, add them just before serving or toss them in a bit of lemon juice to slow oxidation.
-
Assemble Wisely: Create your pudding cups no earlier than 4-6 hours before serving for peak freshness and texture; this keeps the vanilla wafers crisp.
-
Storage Secrets: If making ahead, store banana slices separately from the pudding to avoid sogginess and maintain the delightful crunch of the vanilla wafers.
-
Make It Yours: Experiment with different cookies or flavors, such as adding cocoa powder for a chocolate twist; customization is key to making these Banana Pudding Cups your own.
How to Store and Freeze Banana Pudding Cups
- Fridge: Keep your assembled banana pudding cups in the refrigerator for up to 3 days. However, for the best texture, it’s ideal to enjoy them within the first 24 hours, as the wafers will soften over time.
- Separation: If you plan to store them longer, consider keeping the banana slices separate from the pudding to prevent browning and maintain texture.
- Freezer: For longer storage, you can freeze the pudding mixture (without the wafers and bananas) for up to 2 months. Thaw overnight in the fridge before assembling.
- Reheating: There’s no need to reheat; simply layer your fresh vanilla wafers and bananas when ready to serve your delicious Banana Pudding Cups.
What to Serve with Banana Pudding Cups
Elevate your dessert experience with delightful pairings that bring out the best in these creamy, no-bake treats.
-
Fresh Berries: Juicy strawberries or blueberries add a burst of tartness that complements the sweetness of the banana pudding beautifully. Their vibrant colors also enhance the dessert’s presentation.
-
Chocolate Shavings: Sprinkle dark chocolate shavings on top for a rich contrast. The bittersweet chocolate balances the creamy sweetness of the pudding, creating a deliciously decadent touch.
-
Coconut Whipped Cream: For a tropical twist, substitute regular whipped cream with coconut whipped cream. This adds a light, airy texture and a hint of coconut flavor that dances on the palate.
-
Mint Leaves: A few fresh mint leaves on top not only add a touch of color but also a refreshing flavor that elevates the dessert, making it feel light and invigorating.
-
Coffee or Espresso: A smooth cup of coffee or a shot of espresso pairs perfectly with the creamy texture of the pudding. The warm, earthy flavors create a delightful balance, especially after a rich meal.
-
Homemade Caramel Sauce: Drizzle warm caramel sauce over the top for an indulgent touch. The sweet, buttery flavors of caramel bring another layer of luxury to your Banana Pudding Cups.
-
Spiced Nuts: Serve with a small bowl of spiced nuts for a crunch that contrasts the creamy pudding. The warmth of spices like cinnamon and nutmeg adds a cozy, comforting vibe to your meal.
-
Lemonade or Iced Tea: For a refreshing beverage pairing, consider serving chilled lemonade or iced tea. Their acidity and coolness perfectly complement the richness of the dessert.
Banana Pudding Cups Variations & Substitutions
Customize your Banana Pudding Cups with these fun and tasty ideas that will inspire delight in every bite!
-
Cookie Swap: Substitute vanilla wafers with shortbread or graham crackers for a different crunch. Each cookie offers unique flavor profiles, so feel free to experiment!
-
Chocolate Twist: Mix in 2 tablespoons of cocoa powder into the pudding for a rich chocolate version. This twist delivers an irresistible depth that chocolate lovers will adore!
-
Boozy Delight: Add a splash of bourbon or rum to the pudding base for an adult version. The warmth of the spirits pairs beautifully with the creamy layers, making for a delightful dessert.
-
Fruit Fusion: Incorporate other fruits like strawberries or mango slices along with the bananas. The vibrant colors and flavors create a refreshing medley that’s sure to impress.
-
Nutty Surprise: Add crushed almonds or pecans for a delightful crunch in the layers. The nutty flavor nicely complements the creaminess of the pudding.
-
Seasonal Spices: Add a pinch of cinnamon or nutmeg to the pudding for a comforting spiced version that’s perfect for cozy nights. It adds warmth and fullness to each mouthful!
-
Fun Toppings: Experiment with toppings such as caramel drizzle or colorful sprinkles for festive occasions. These simple touches can elevate your dessert presentation.
-
Alternative Cream: Swap heavy cream with coconut cream for a delightful dairy-free version. It provides a unique tropical flavor that pairs perfectly with banana!
For more inspiration, consider creating delightful Pudding Cookie Cups with similar layering techniques, or try out some festive twists with your favorite flavors!
Banana Pudding Cups Recipe FAQs
What kind of bananas should I use for the pudding cups?
Use ripe but firm bananas for the best texture in your Banana Pudding Cups. Slightly underripe bananas work well too, ensuring that they hold their shape during assembly without becoming mushy.
How long can I store the assembled Banana Pudding Cups?
You can keep your assembled banana pudding cups in the refrigerator for up to 3 days. However, for the best flavor and texture, it’s advisable to enjoy them within the first 24 hours as the vanilla wafers will soften over time.
Can I freeze the Banana Pudding Cups?
Absolutely! While it’s best to freeze the pudding mixture separately from the bananas and wafers, you can store the pudding base in an airtight container for up to 2 months. When you’re ready to enjoy, thaw it overnight in the fridge and then layer with fresh vanilla wafers and bananas.
What should I do if the pudding thickens too much?
If your pudding thickens too much while cooking, you can gradually whisk in a bit of extra milk over low heat until you reach your desired consistency. Make sure to stir continuously to ensure an even texture.
Are there any dietary considerations I should keep in mind?
Yes! If you’re serving Banana Pudding Cups to guests with dietary restrictions, keep in mind that the recipe contains dairy and eggs. For a vegan alternative, you can use plant-based milk, substitute the egg yolks with a custard powder or silken tofu, and opt for a vegan whipped cream. Always check for cookie brands that are allergy-friendly too!
What’s the best way to prevent bananas from browning?
Preventing bananas from browning is easy! You can add them just before serving or toss the slices in a little lemon juice to slow oxidation. This way, they’ll stay vibrant and fresh in your Banana Pudding Cups!
Delicious No-Bake Banana Pudding Cups for Instant Joy
Ingredients
Equipment
Method
- In a medium saucepan, combine 2 cups of whole milk, ½ cup of granulated sugar, 3 tablespoons of cornstarch, and ¼ teaspoon of salt. Cook over medium heat, whisking constantly for about 5-7 minutes until the mixture thickens and bubbles form.
- While the milk mixture thickens, whisk 2 large egg yolks in a small bowl until smooth. Gradually add a spoonful of the hot milk mixture into the yolks while whisking vigorously to avoid curdling.
- Pour the tempered egg yolk mixture back into the saucepan with the remaining pudding base. Continue to cook for an additional 2-3 minutes, stirring continuously until the mixture is thickened and glossy. Remove from heat, then stir in 2 tablespoons of unsalted butter and 1 teaspoon of vanilla extract.
- In a separate mixing bowl, pour 1 cup of heavy whipping cream and add 2 tablespoons of powdered sugar. Using an electric mixer, whip the cream on high speed until stiff peaks form, about 3-5 minutes.
- Begin assembling the Banana Pudding Cups by placing a layer of vanilla wafers at the bottom of each serving cup. Next, add a layer of sliced bananas, followed by a generous dollop of the creamy pudding. Repeat the layers until the cups are filled.
- Top each cup with a generous helping of the whipped cream, then refrigerate for at least 1 hour before serving.
Leave a Reply