
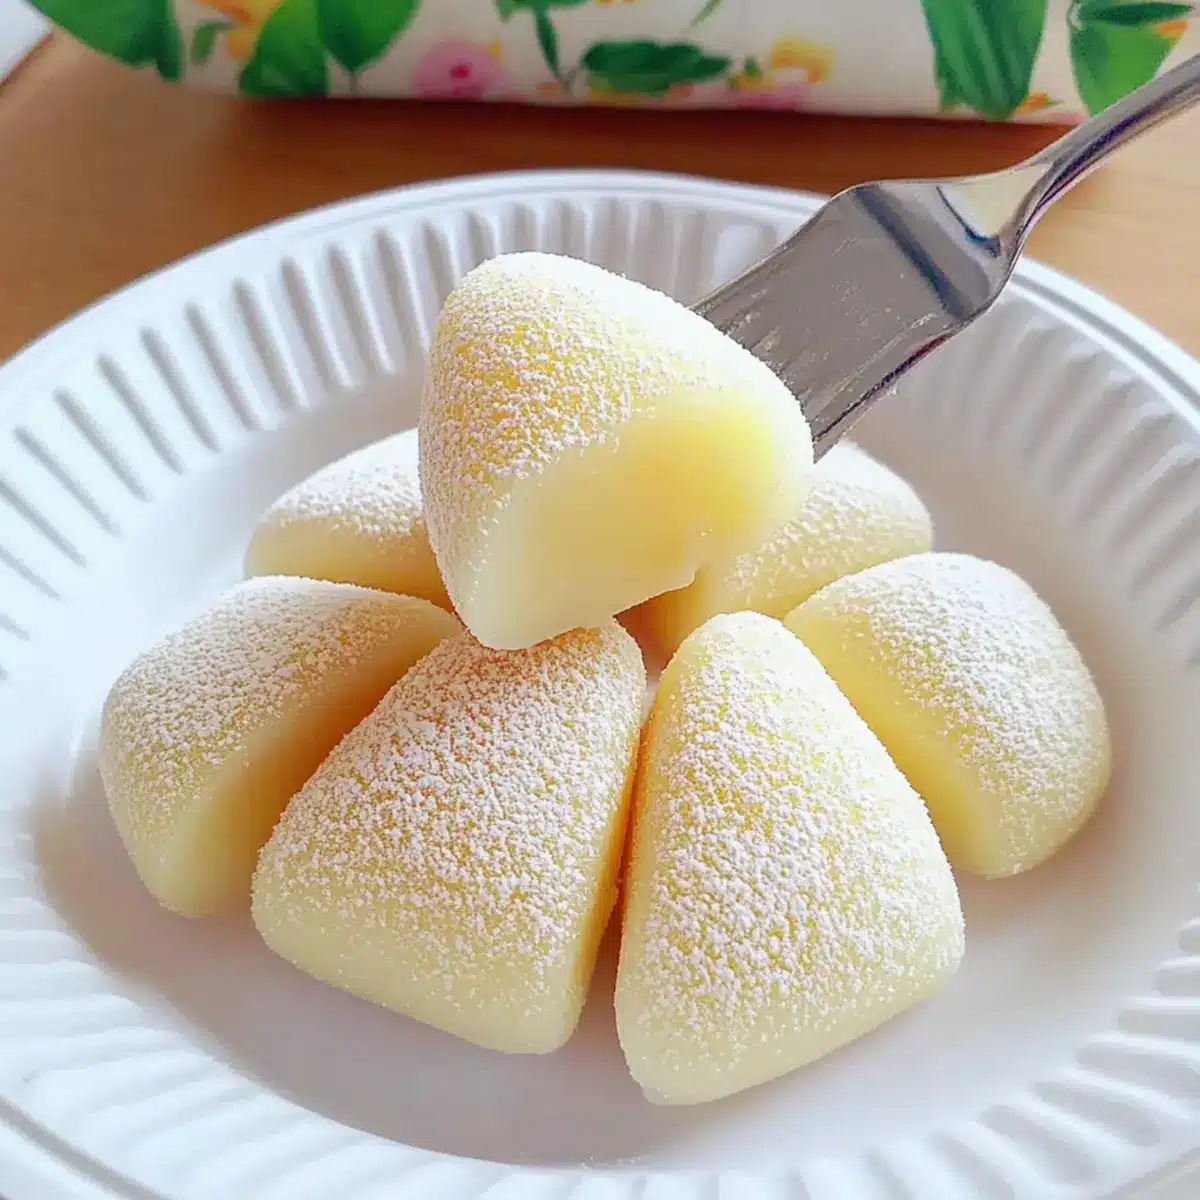
Walking through a vibrant Japanese market, the air fills with the sweet aroma of fresh mochi being prepared right before your eyes. Today, I’m thrilled to bring you my version of Pan-Fried Fresh Milk Mochi, a delightful treat that’s soft, chewy, and incredibly satisfying. Perfect for anyone who craves a homemade dessert without the fuss, this beginner-friendly recipe only requires a handful of ingredients and uses a simple frying pan—no baking necessary! The rich milky flavor paired with that irresistible mochi pull makes each bite an absolute joy. Whether you’re looking for a comforting snack or a unique dessert to impress friends, this mochi is sure to win hearts. Are you ready to stretch your culinary skills and dive into this culinary adventure? Let’s get cooking!
Why is this mochi so irresistible?
Beginner-Friendly: You don’t need to be a pro to whip up this delightful treat. With just a few simple steps, you’ll have a delicious dessert in no time.
Perfectly Soft & Chewy: Experience the unique combination of textures—the tender, stretchy dough is a true delight! It’s like biting into a little cloud.
Versatile Flavor Options: Want to mix things up? Substitute different flavored milks or try various coatings like coconut flakes for an exciting twist!
Minimal Ingredients: Just five staple items make this dish accessible for any home cook. Who doesn’t love simple yet rewarding recipes?
Delightful Pairing: Enjoy this mochi with a comforting cup of tea or even alongside a scoop of your favorite ice cream. It’s a versatile treat perfect for any occasion!
Check out my Coconut Milk Chicken for more easy and tasty recipes that keep you away from fast food.
Pan-Fried Fresh Milk Mochi Ingredients
• For the Mochi Batter
- Glutinous Rice Flour – Provides the chewy texture essential for making Pan-Fried Fresh Milk Mochi.
- Sugar – Adds subtle sweetness; you can reduce or omit it for a less sweet version, especially for kids.
- Cornstarch – Contributes to the smoothness and texture, ensuring your mochi is silky.
- Cooking Oil – Prevents sticking and adds moisture; any neutral oil works well.
- Milk – Enhances richness; whole milk is preferred, but you can substitute with plant-based or formula milk.
• For the Coating
- Roasted Soybean Powder – Gives a classic flavor, but feel free to swap in powdered sugar or coconut flakes for variety.
Step‑by‑Step Instructions for Pan-Fried Fresh Milk Mochi
Step 1: Prepare the Batter
In a large mixing bowl, combine glutinous rice flour, sugar, and cornstarch. Next, add cooking oil and milk, whisking vigorously until the mixture is smooth and completely lump-free. This should take about 2–3 minutes. Ensure the batter has a silky consistency, as this will help create the tender texture of your Pan-Fried Fresh Milk Mochi.
Step 2: Cook the Batter
Pour the batter into a non-stick frying pan placed over low heat. Using a silicone spatula, stir constantly for about 8–10 minutes to prevent the mixture from sticking. You’ll notice the batter thicken and become more elastic, pulling away from the sides of the pan. This is essential for achieving that delightful mochi pull.
Step 3: Form the Dough
Once the mixture has thickened to a smooth, elastic dough, turn off the heat and carefully transfer the dough onto a clean surface using a spatula. Allow it to cool for a few minutes, then gently stretch and knead the dough a couple of times to enhance its elasticity. The texture should be soft and pliable, ready for shaping.
Step 4: Shape the Mochi
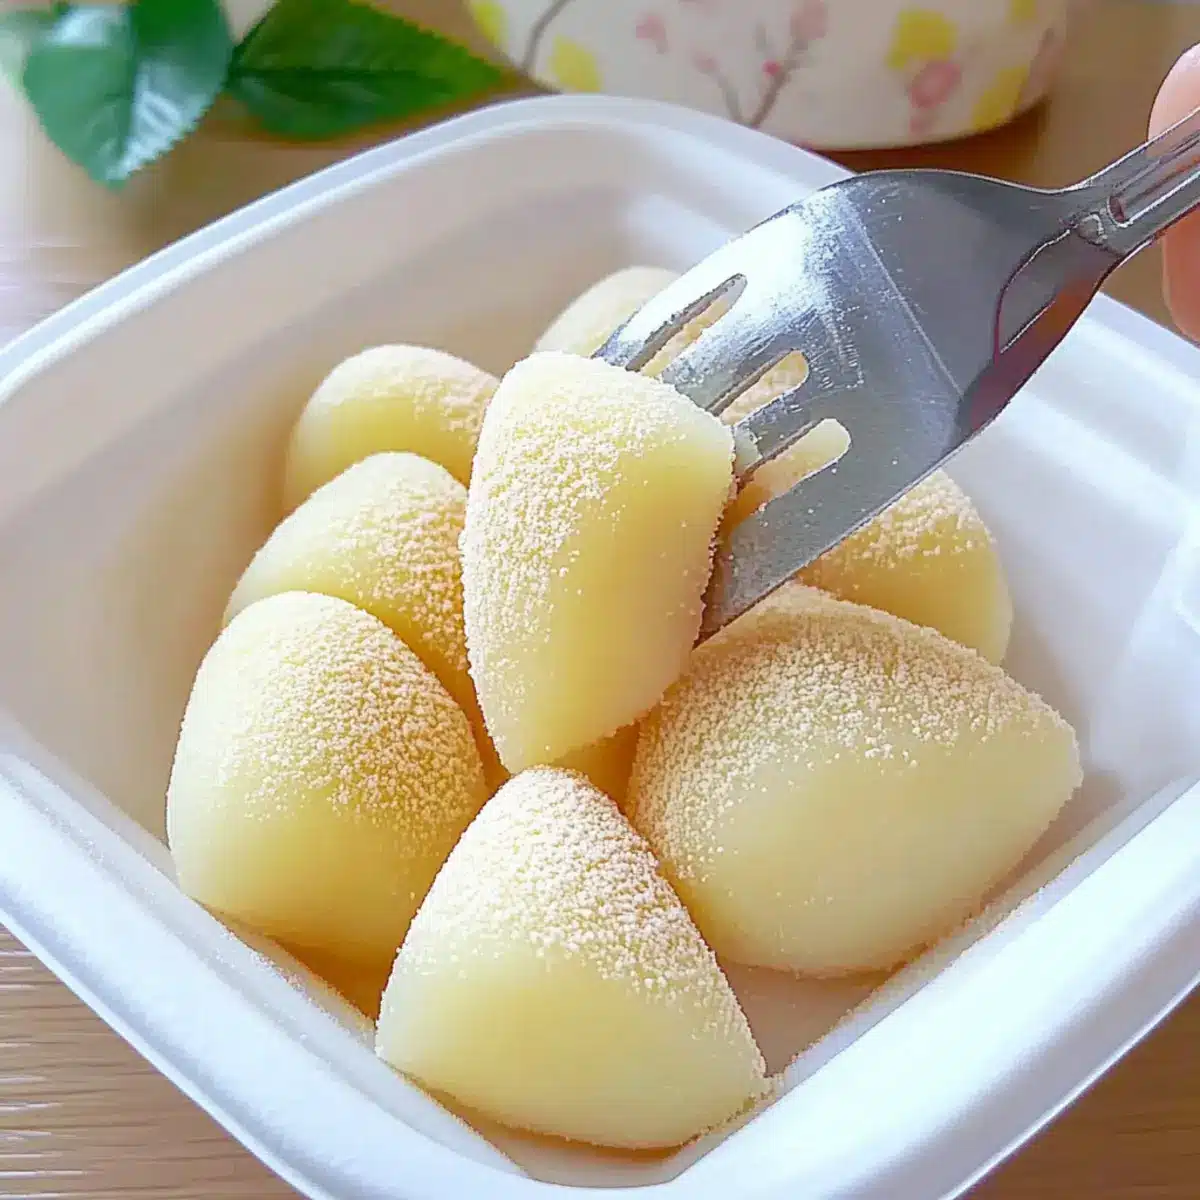
Once the dough has cooled enough to handle, roll it into a log shape about 1 inch thick. Then, using a sharp knife, cut the log into bite-sized pieces, roughly 1 inch each. You should end up with a lovely set of soft pieces of Pan-Fried Fresh Milk Mochi, perfect for coating.
Step 5: Coat the Mochi
To finish, toss each piece of mochi in roasted soybean powder until they are fully coated. This adds a delightful flavor and prevents sticking. Take your time to ensure even coverage, as this will enhance the overall taste of your treats. The contrasting textures will make your Pan-Fried Fresh Milk Mochi even more enjoyable!
Step 6: Serve and Enjoy
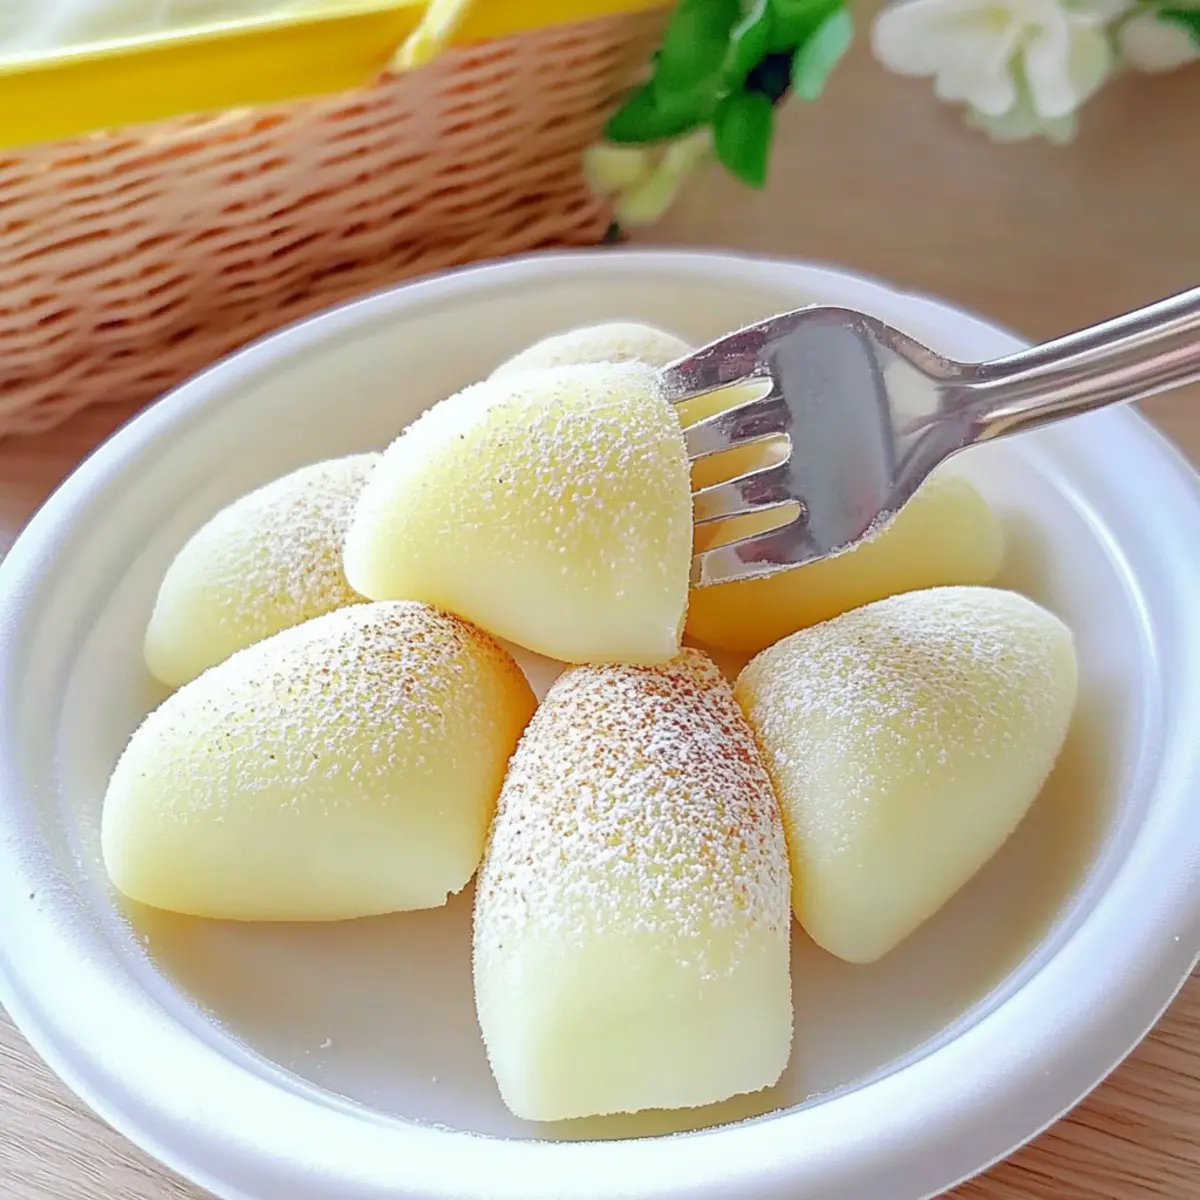
Serve the mochi immediately for the best texture and taste. Arrange them attractively on a plate for a cozy dessert presentation. Pair your Pan-Fried Fresh Milk Mochi with a warm cup of tea or even a scoop of ice cream for an extra special treat. Each piece should be tender, bouncy, and absolutely irresistible!

Storage Tips for Pan-Fried Fresh Milk Mochi
-
Room Temperature: Best enjoyed fresh; consume within a few hours to experience the optimal texture and flavor.
-
Fridge: Store in an airtight container for up to 3 days. To maintain softness, reheat briefly in the microwave before serving.
-
Freezer: For longer storage, freeze the mochi in a single layer on a baking sheet. Once solid, transfer to an airtight container for up to 1 month. Thaw in the fridge before reheating.
-
Reheating: For the best results, reheat in the microwave for 10–15 seconds, checking for softness. Enjoy your Pan-Fried Fresh Milk Mochi with that irresistible chew!
Make Ahead Options
These Pan-Fried Fresh Milk Mochi are perfect for busy cooks looking to save time during the week! You can prepare the mochi dough up to 24 hours in advance, storing it in an airtight container to maintain freshness. Additionally, you can cut the mochi into pieces and coat them in roasted soybean powder, then refrigerate for up to 3 days. When you’re ready to serve, simply take out the mochi and let them sit at room temperature for a few minutes, then enjoy their delightful texture. This way, you’ll have a delicious, homemade dessert ready to go with minimal effort!
What to Serve with Pan-Fried Fresh Milk Mochi
Indulge your senses by crafting a delightful meal that beautifully complements this soft, chewy dessert.
- Matcha Green Tea: A traditional pairing that balances sweetness with earthy tones, enhancing the mochi’s rich flavor.
- Mango Sticky Rice: The tropical sweetness of ripe mango and the chewy texture of sticky rice create a festive and colorful dessert duo!
- Sweetened Black Sesame Sauce: Drizzle a rich black sesame sauce over the mochi for a nutty flavor explosion that elevates each bite.
- Chilled Soba Noodles: Light and refreshing, soba noodles dressed in a sesame or soy sauce bring a contrast to the sweetness of mochi.
- Red Bean Paste: A classic Asian dessert companion, its mild sweetness and creamy texture pair perfectly with the stretchy mochi.
- Coconut Ice Cream: Creamy, cool, and refreshing, coconut ice cream adds a delightful creamy element that complements the mochi’s chewiness.
- Yuzu Citrus Salad: This tangy fruit salad bursts with freshness, cutting through the richness of the mochi for a perfectly balanced treat.
- Fruit Salad with Mint: A light and zesty fruit combination adds refreshing brightness, making each bite of mochi even more delightful.
Enjoy these complementary flavors and textures for a meal that feels both comforting and special!
Variations & Substitutions for Pan-Fried Fresh Milk Mochi
Get creative with this delicious mochi recipe and explore new flavors that tantalize your taste buds!
- Dairy-Free: Substitute whole milk with almond, coconut, or oat milk to delight those avoiding dairy. This adds a pleasant aroma and unique taste.
- Sugar Alternative: Use honey or maple syrup instead of sugar for a natural sweetness that enhances flavor. Just remember to adjust the liquid accordingly!
- Different Coatings: Swap roasted soybean powder with powdered sugar, cocoa powder, or shredded coconut for a fun twist and varied texture. You’ll create a whole new dessert experience!
- Flavor Infusions: Mix in extracts like vanilla or almond to the batter for a fragrant twist that elevates your mochi to gourmet levels. A little goes a long way to tease the senses.
- Matcha Mochi: Incorporate matcha powder into the batter for a vibrant green color and earthy flavor. It’s deliciously eye-catching and perfect for a tea party.
- Fruit Additions: Fold in small fruit pieces or purees, such as strawberries or mangoes, for a burst of freshness in every bite. The fruity surprise will make each piece even more delightful!
- Spicy Kick: Add a hint of chili powder or crushed red pepper to the batter for a surprise heat that contrasts beautifully with the sweetness. This adventurous twist is sure to intrigue!
- Mini Mochis: Shape the dough into bite-sized balls instead of logs for a fun, poppable treat that’s perfect for sharing at gatherings. Everything’s cuter in miniature form!
For a cozy evening treat, serve with complementary flavors like the refreshing taste of my Cilantro Lime Steak for an unforgettable meal. Enjoy experimenting!
Expert Tips for Making Pan-Fried Fresh Milk Mochi
-
Stir Constantly: Stirring continuously while cooking ensures the dough reaches that desirable stretchiness. Avoid high heat to prevent a rubbery texture.
-
Avoid Overcooking: Keep an eye on the cooking time—overcooking can result in a tough mochi. Aim for a smooth, elastic dough that pulls away easily from the pan.
-
Cool Before Shaping: Allow the dough to cool slightly but not too much. This way, it will be pliable enough to easily roll and cut into pieces.
-
Coating Alternatives: Get creative with coatings! While roasted soybean powder is traditional, experimenting with coconut flakes or flavored powdered sugar can bring exciting new flavors to your Pan-Fried Fresh Milk Mochi.
-
Fresh is Best: Enjoy the mochi as soon as possible for the best texture. If you store leftovers, keep them airtight and gently reheat to maintain softness.
Pan-Fried Fresh Milk Mochi Recipe FAQs
What is the best way to select glutinous rice flour for this recipe?
When choosing glutinous rice flour, look for a brand that specifically labels it as “glutinous” or “sweet rice flour.” Check for a fine texture without clumps, as this will ensure a smooth mochi batter.
How should I store leftover Pan-Fried Fresh Milk Mochi?
Store leftover mochi in an airtight container at room temperature for up to a few hours. If you need to keep it longer, place it in the refrigerator, where it can last for about 3 days. Just remember to reheat it briefly in the microwave to restore some of that soft, chewy texture.
Can I freeze Pan-Fried Fresh Milk Mochi? How do I do it?
Absolutely! To freeze your Pan-Fried Fresh Milk Mochi, first lay the pieces in a single layer on a baking sheet. Freeze them until solid — this usually takes about 1–2 hours. Once frozen, transfer the pieces to an airtight container or freezer bag, where they can stay good for up to 1 month. When you’re ready to enjoy, thaw them in the fridge overnight and reheat gently in the microwave for about 10–15 seconds.
What should I do if my mochi dough doesn’t seem stretchy?
If your mochi dough isn’t getting that lovely stretchy texture, it could be due to not stirring enough or cooking at too high a heat. Make sure to cook it over low heat and stir continuously until it thickens and pulls away from the pan. This ensures the starches have time to gelatinize properly, giving you that soft, chewy consistency.
Is this recipe suitable for people with gluten allergies?
Yes, since this Pan-Fried Fresh Milk Mochi is made with glutinous rice flour, it is naturally gluten-free! However, be cautious if you’re serving it to someone with severe allergies, as cross-contamination can occur depending on the production process of the ingredients. Always check labels for gluten-containing additives.
Irresistible Pan-Fried Fresh Milk Mochi: Soft and Chewy Delight
Ingredients
Equipment
Method
- In a large mixing bowl, combine glutinous rice flour, sugar, and cornstarch. Add cooking oil and milk, whisking vigorously until smooth.
- Pour the batter into a non-stick frying pan over low heat, stirring constantly for 8-10 minutes until thickened.
- Transfer the thick mixture to a clean surface and allow it to cool slightly. Stretch and knead for elasticity.
- Roll the dough into a log shape, then cut into bite-sized pieces, about 1 inch each.
- Toss each piece of mochi in roasted soybean powder until fully coated.
- Serve immediately for the best texture, paired with tea or ice cream.
Leave a Reply