
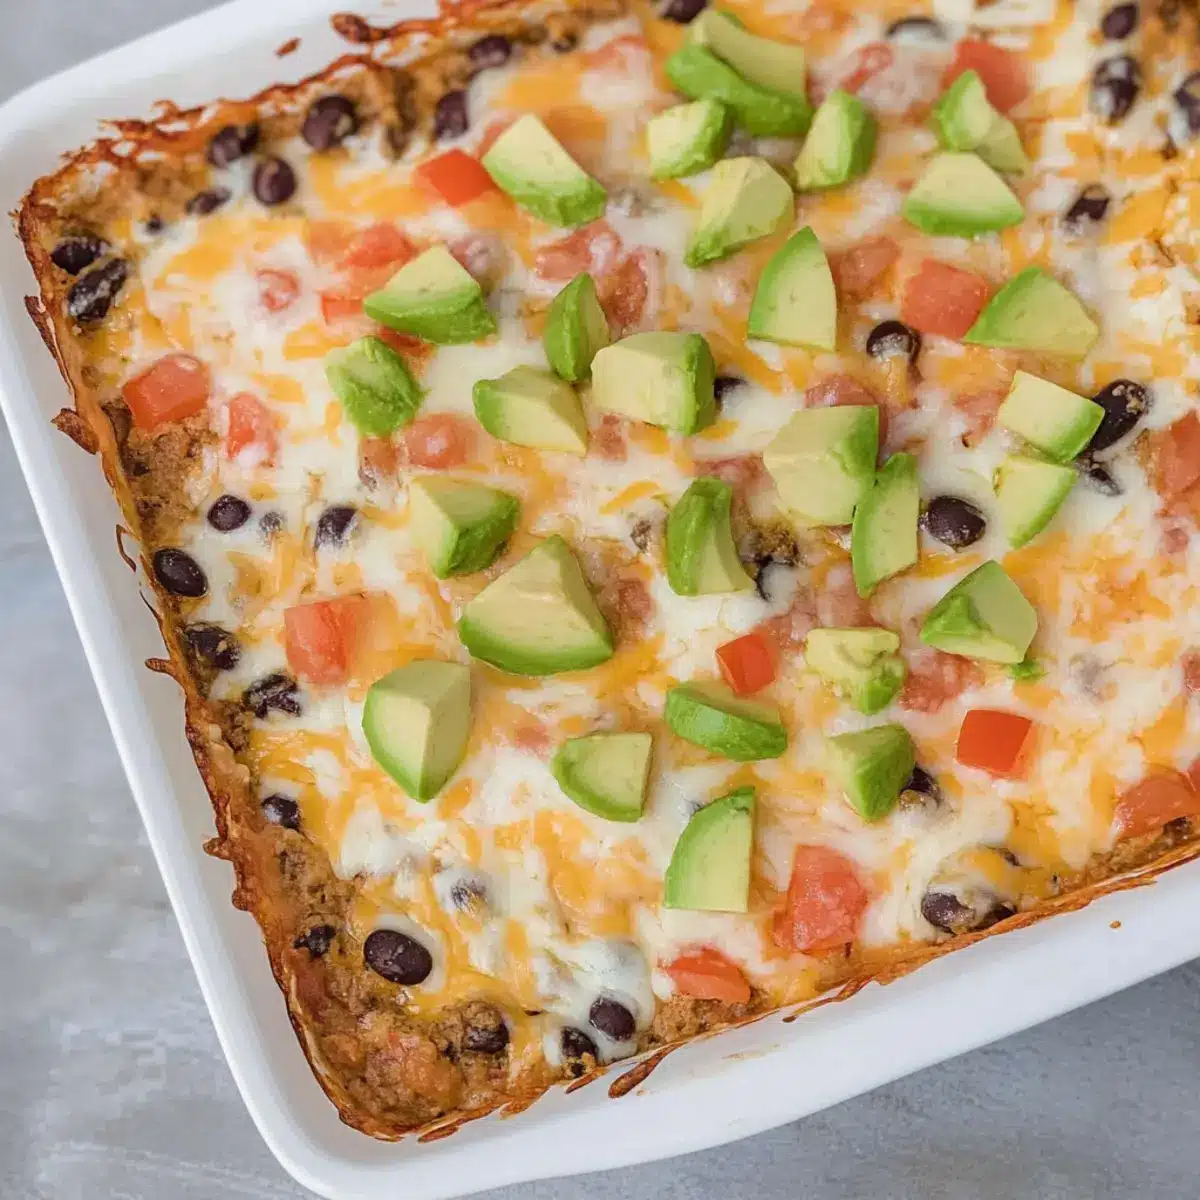
As I whisked the taco seasoning into the sizzling ground beef, a warm wave of nostalgia washed over me—those vibrant family gatherings and friends surrounding the table. This Easy Taco Dip is my go-to recipe, offering a healthy twist on a classic favorite. With no cream cheese in sight, it’s packed with protein and lower in fat, making it the perfect snack for those lazy nights in or lively parties. In just 40 minutes, you can whip up this creamy dip that not only pleases your taste buds but also your health goals. Pair it with crispy tortilla chips or fresh veggies, and you’ll find it hard to resist going back for more. What creative toppings will you try to elevate your dip game?
Why is this the ultimate taco dip?
Delicious, this Easy Taco Dip combines hearty flavors and creamy textures without the guilt of cream cheese. Protein-packed, it offers a healthy boost, making it perfect for both cozy nights and gatherings. Quick and easy, you can whip it up in just 40 minutes, saving you time for fun. Customizable, feel free to switch out ingredients for your taste, like using ground turkey or adding extra spice! Serve it with fresh veggies or your favorite chips to keep everyone coming back for more. For another easy crowd-pleaser, check out my Buffalo Chicken Dip.
Easy Taco Dip Ingredients
• Prepare to delight your taste buds!
-
For the Dip Base
-
Ground Beef – Adds protein and richness; substitute ground turkey or chicken if desired.
-
Onions – Provides flavor and sweetness; finely chop for even cooking.
-
Taco Seasoning – Authentic seasoning for the classic taco flavor; try homemade for lower salt.
-
Nonfat Greek Yogurt – Acts as a creamy base while being lower in fat; sour cream can be used as an alternative.
-
Low Fat Cottage Cheese – Contributes to creaminess and protein; don’t skip if you dislike it, as its taste is masked in the dip.
-
Salsa – Adds moisture and flavor; choose your favorite brand or make it homemade for fresh zest.
-
Cheddar Cheese – Provides melting properties and flavor; grating your own improves melt quality.
-
Optional Add-Ins
-
Black Beans – Adds fiber and texture; rinse and drain well if canned.
-
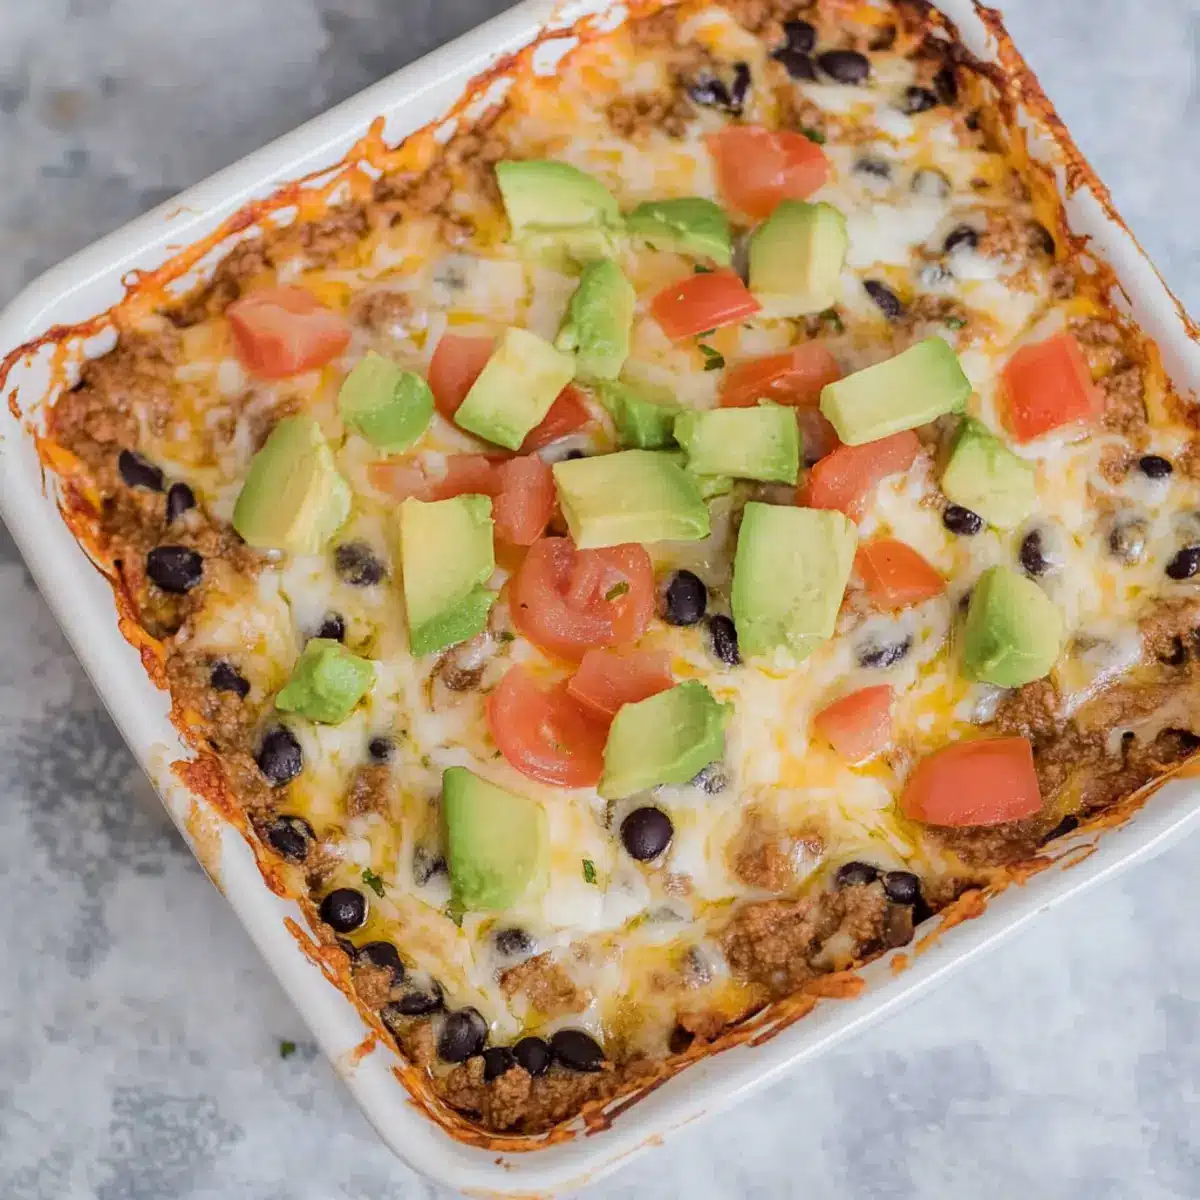
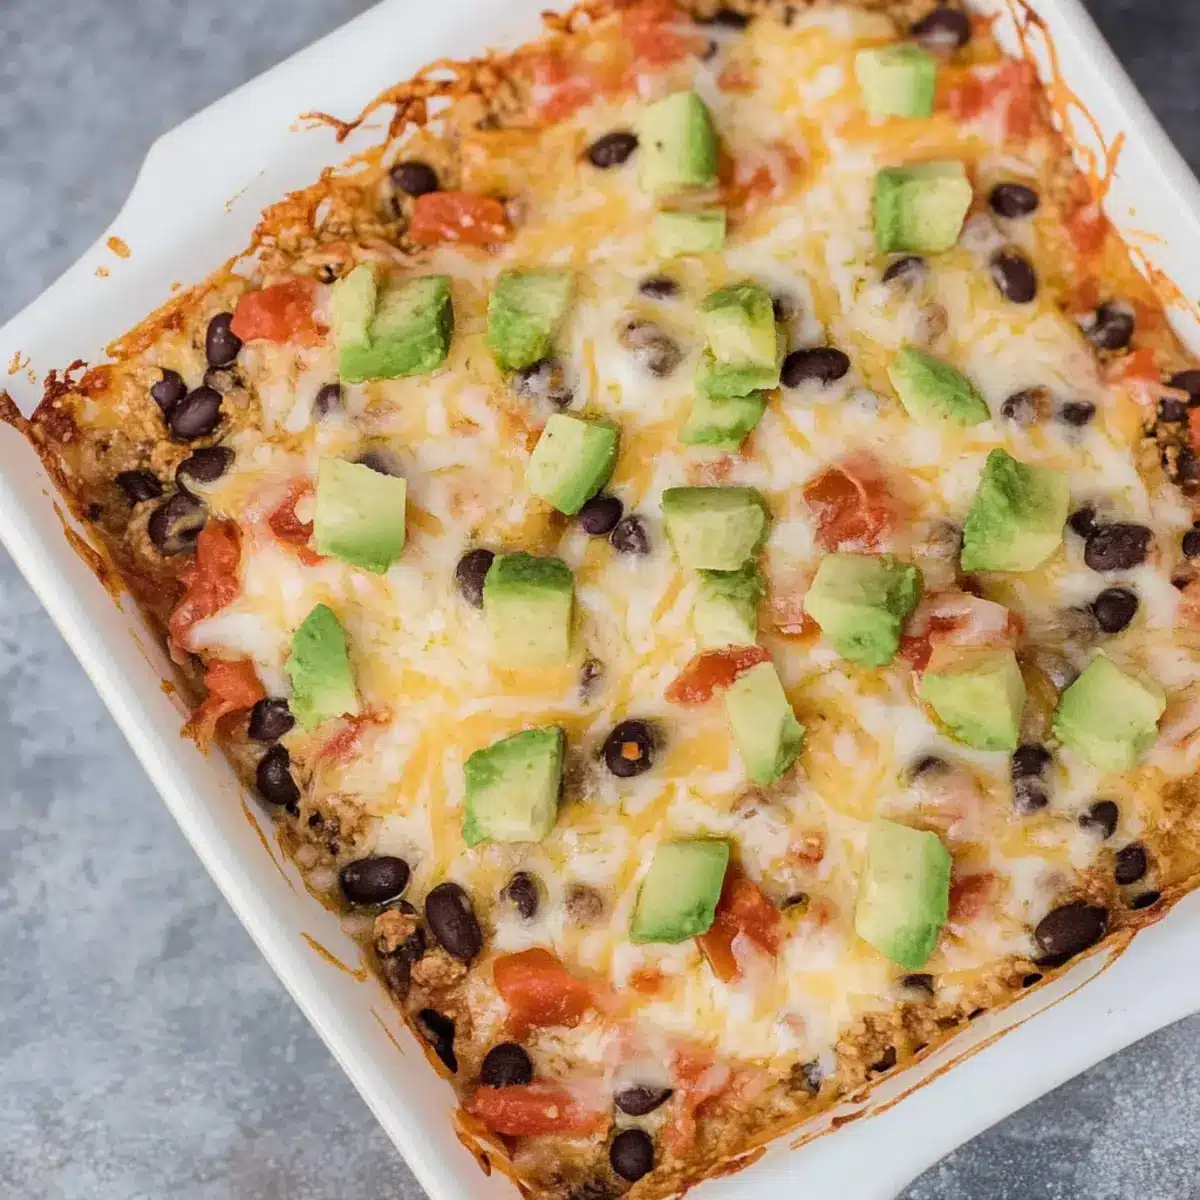
Toppings – Boost freshness with tomatoes, olives, or avocados; customize with guacamole, green onions, or cilantro for a personal touch.
This Easy Taco Dip promises to be an unforgettable treat, filled with flavors and health benefits!
Step‑by‑Step Instructions for Easy Taco Dip
Step 1: Preheat the Oven
Begin by preheating your oven to 350°F (175°C). This ensures that your Easy Taco Dip will bake evenly and reach the perfect bubbling temperature. While the oven warms up, get your other ingredients ready to save time and keep the process smooth.
Step 2: Brown the Beef and Onions
In a large skillet over medium heat, add the ground beef and finely chopped onions, cooking for about 10 minutes. Stir constantly to break the beef into small pieces and ensure even browning. The mixture should be fully cooked with no pink remaining, and the onions should become translucent and fragrant.
Step 3: Add the Taco Seasoning
Once the beef and onions are cooked through, stir in your taco seasoning. Mix well, allowing the spices to coat the meat thoroughly. Let the mixture simmer for about 2-3 minutes, which will help the flavors meld together and create that classic taco taste that defines this Easy Taco Dip.
Step 4: Mix the Dip Ingredients
In a separate mixing bowl, combine the beef mixture with nonfat Greek yogurt, low-fat cottage cheese, salsa, and ¾ cup of grated cheddar cheese. Stir until the mixture is completely smooth and creamy. This combination will give your dip its rich texture while still keeping it healthy and delicious.
Step 5: Transfer and Top
Carefully transfer the creamy taco dip mixture into an 8×8 baking dish, spreading it out evenly. Top the dip with the remaining cheddar cheese, sprinkling it generously across the surface. This will create a delightful cheesy crust that will melt beautifully as it bakes.
Step 6: Bake the Dip
Place the baking dish in the preheated oven and bake for 20-25 minutes. Keep an eye on the dip; you’ll know it’s ready when the top is bubbly and the cheese is melted and golden. This hot and cheesy Easy Taco Dip is perfect for serving straight from the oven!
Step 7: Serve and Enjoy
Remove the dip from the oven and allow it to cool slightly before serving. Pair it with tortilla chips or fresh veggies for a delightful crunch. Consider adding your favorite toppings like diced tomatoes, olives, or avocados to elevate your dip experience!
How to Store and Freeze Easy Taco Dip
-
Fridge: Store leftover Easy Taco Dip in an airtight container for up to 3 days. Allow it to cool before sealing to maintain texture and flavor.
-
Freezer: For longer preservation, freeze the Easy Taco Dip in a freezer-safe container for up to 3 months. Make sure to label the container with the date for easy tracking.
-
Reheating: To reheat, thaw in the fridge overnight if frozen. Heat in the oven at 350°F (175°C) for 15-20 minutes, or until warmed through and bubbly.
-
Serving Tip: For best results, consider adding a sprinkle of fresh cheese on top before reheating to restore that delicious melty layer!
Easy Taco Dip Variations & Substitutions
Feel free to explore these delightful twists to elevate your Easy Taco Dip experience!
-
Vegetarian: Replace ground beef with 2 cans of rinsed black beans for a hearty vegetarian delight that still packs protein.
-
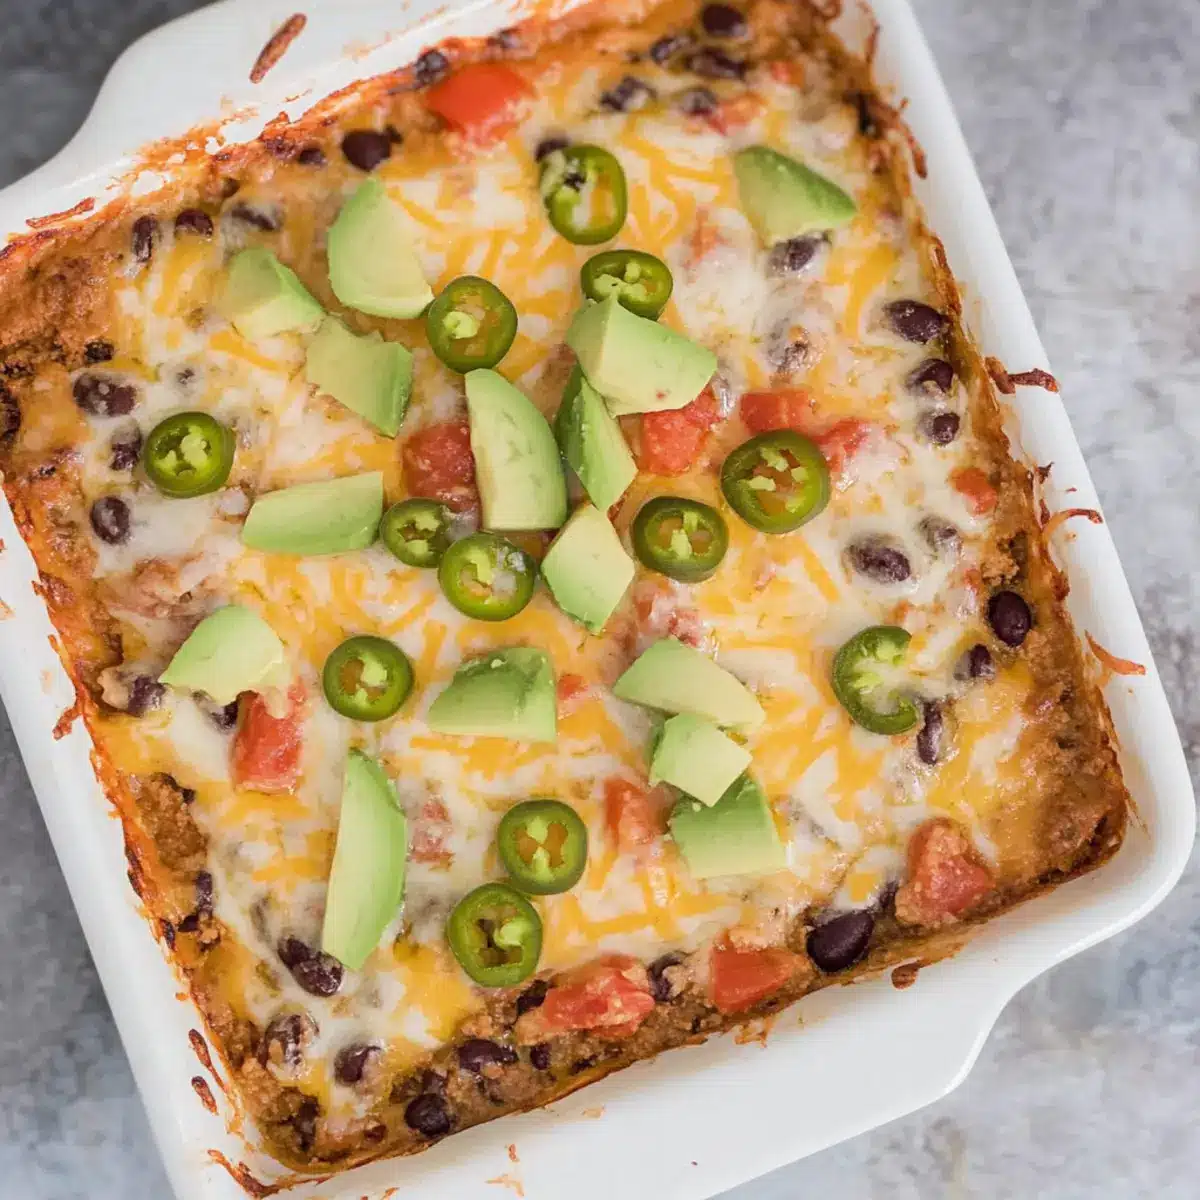
Spicy Kick: Add diced jalapeños or a pinch of cayenne pepper for an extra layer of heat that will wake up your taste buds!
-
Different Cheeses: Experiment with Monterey Jack or Colby Jack for a unique flavor twist that adds a creamy texture and delightful taste.
-
Creamy Avocado: Swap Greek yogurt for mashed avocado for a rich, nutrient-packed alternative that brings a fresh elevation to the dip.
-
Fire-Roasted Salsa: Use fire-roasted salsa instead of regular salsa to introduce a smoky depth that perfectly complements the other ingredients.
-
Taco-Flavored Cream Cheese: For a richer base, blend taco-flavored cream cheese into your dip for an upscale twist on texture and flavor.
-
Herb Infusion: Add fresh cilantro or chopped chives to the dip mixture before baking, lending a bright, herbaceous note that enhances each bite.
-
Cheesy Layer: Mix in additional shredded cheese before baking and top the dip with a mixture of panko breadcrumbs and Parmesan for a crunchy, cheesy topping.
As you craft your dip, remember to pair it with some crunchy tortilla chips or fresh veggies. This way, you can enjoy your creations and revisit your favorites, like my Whipped Pumpkin Dip or a cozy Korean Ground Beef Bowl. Happy dipping!
Make Ahead Options
These Easy Taco Dip is a fantastic choice for meal prep, allowing you to enjoy their deliciousness without the last-minute rush! You can prepare the dip mixture (ground beef, Greek yogurt, cottage cheese, salsa, and cheese) and store it in an airtight container in the refrigerator for up to 24 hours. This way, you can save precious time during busy weeknights. When you’re ready to serve, simply spread the mixture into a baking dish, top with additional cheese, and bake for 20-25 minutes until golden and bubbly. For optimal quality, keep the dip components separate until just before baking to maintain the creamy texture and flavors. Enjoy a stress-free gathering or cozy night in with this Easy Taco Dip!
What to Serve with Easy Taco Dip?
Elevate your taco dip experience with these delightful pairings that ensure a memorable meal around the table.
-
Crispy Tortilla Chips: These provide the perfect crunch, contrasting beautifully with the creamy dip, making every bite a delight.
-
Fresh Veggie Platters: Carrot sticks, cucumber slices, and bell pepper strips add a refreshing crunch and are great for scooping.
-
Guacamole: This creamy avocado dip adds a rich, buttery flavor that complements the spicy kick of the taco dip perfectly.
-
Pico de Gallo: The fresh and zesty flavors of chopped tomatoes, onions, and cilantro enhance the taco vibe, brightening the entire dish.
-
Baked Sweet Potato Wedges: Their sweetness offers a contrasting flavor profile and heartiness, making them a healthy, delightful side option.
-
Spicy Salsa Verde: A zippy verde salsa balances the richness of the cheese and meat while adding extra layers of flavor to your feast.
-
Sour Cream: A dollop of tangy sour cream brings creaminess and lightens up the overall taste, making it even more irresistible.
-
Craft Beer or Margaritas: Whether you prefer a refreshing craft brew or a classic margarita, these drinks pair beautifully with the bold flavors of the dip.
-
Chocolate Chip Cookies: For dessert, end on a sweet note with warm, gooey chocolate chip cookies that everyone will love after a savory feast!
Expert Tips for Easy Taco Dip
-
Finely Crumble Beef: Ensure ground beef is finely crumbled while browning; this helps in achieving even cooking and a smoother texture in your Easy Taco Dip.
-
Use Fresh Cheese: Opt for freshly grated cheese over pre-shredded to enhance melting quality, giving your dip that delightful gooeyness we all love.
-
Customize Spice Levels: Adjust taco seasoning according to your spice preference. If you like it spicy, add additional seasoning or fresh jalapeños for a kick.
-
Serve Immediately: This dip is best enjoyed straight out of the oven, as the creamy texture and melted cheese are most enticing right after baking.
-
Store Smartly: If you have leftovers, store them in an airtight container and consume within 3 days for best freshness. Reheat gently for optimal texture.
Easy Taco Dip Recipe FAQs
How do I choose the best ground beef for this recipe?
Absolutely! Look for ground beef that is 80/20 for the best flavor and richness. If you’re health-conscious, you might opt for leaner options, such as 90/10. Whatever you choose, make sure the meat is fresh with a bright red color and no dark spots, indicating it’s past its prime.
Can I store the leftovers in the fridge?
Very! Store your Easy Taco Dip in an airtight container for up to 3 days. Allow it to cool completely before sealing to preserve the flavors and texture. Reheat gently in the oven at 350°F (175°C) until warmed through.
What’s the best way to freeze Easy Taco Dip?
To freeze your Easy Taco Dip successfully, let it cool completely. Transfer it to a freezer-safe container, label it with the date, and seal tightly. You can freeze it for up to 3 months. When you’re ready to enjoy it again, thaw it overnight in the fridge before reheating.
What if my taco dip is too watery?
If your Easy Taco Dip turns out too watery, this can happen if too much moisture is present from the salsa or cottage cheese. You can remedy this by cooking the mixture a bit longer in the skillet to allow excess liquid to evaporate. Alternatively, add a little extra cottage cheese or Greek yogurt to help absorb the excess moisture, stirring well.
Is this Easy Taco Dip safe for my pet?
While your furry friend might love the smell of taco dip, it’s best not to share this dish with them. Ingredients like onions, certain cheeses, and taco seasoning can be harmful to pets. Always stick to pet-friendly treats to keep your furry companions safe!
Can I make this Easy Taco Dip vegetarian?
Absolutely! You can replace the ground beef with 2 cans of rinsed black beans or another bean of your choice for added protein. Mix in some chopped veggies like bell peppers or corn for extra flavor and nutrition. Enjoy creating your tailored version!
Irresistible Easy Taco Dip That Everyone Will Love
Ingredients
Equipment
Method
- Preheat your oven to 350°F (175°C).
- In a large skillet over medium heat, add ground beef and finely chopped onions, cooking for about 10 minutes.
- Once cooked through, stir in taco seasoning and let simmer for 2-3 minutes.
- In a mixing bowl, combine beef mixture with Greek yogurt, cottage cheese, salsa, and ¾ cup cheddar cheese until smooth.
- Transfer the mixture into an 8x8 baking dish and top with the remaining cheddar cheese.
- Bake for 20-25 minutes until bubbly and the cheese is melted.
- Allow it to cool slightly before serving with tortilla chips or veggies.
Leave a Reply