
“Did you hear about the dessert that has everyone talking at summer gatherings?” Trust me, once you whip up this Creamy No-Bake Peanut Butter Pie, it’ll be the sweet sensation at your next get-together! Imagine a silky filling that melts in your mouth, perfectly paired with a delightful, crunchy graham cracker crust. What I love most is that it requires only 15 minutes of your time and no oven—so you can beat the heat and still impress your friends and family with a stunning treat. Plus, the flexibility of this recipe allows for easy substitutions and toppings, whether you prefer a classic peanut butter flavor or want to add a chocolate twist. Are you ready to dive into this chilled delight? Let’s get started!
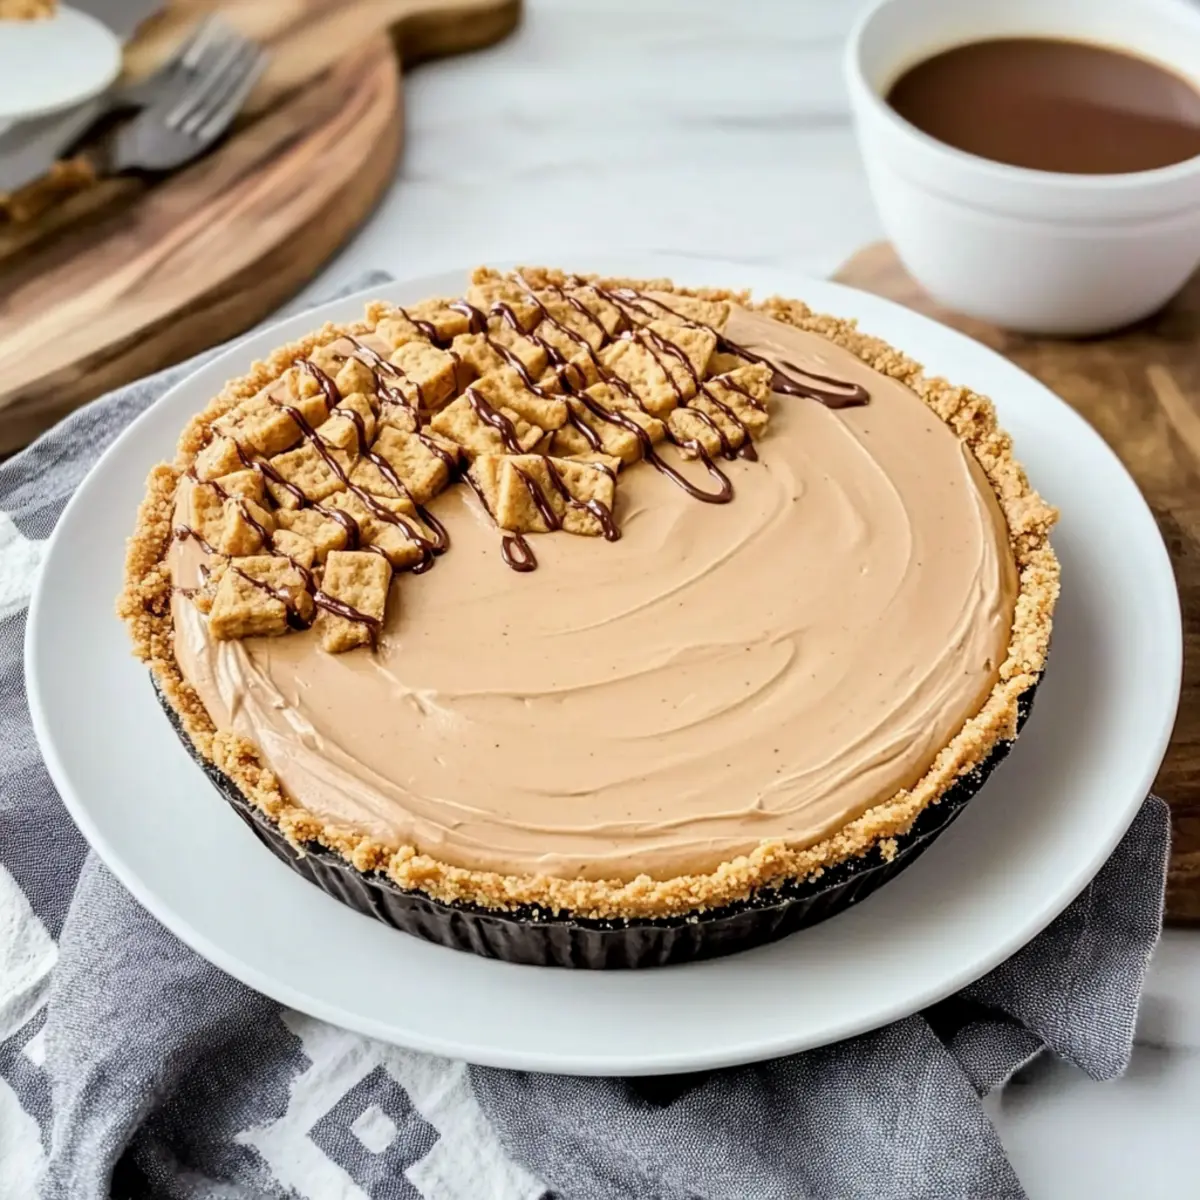
Why is this pie so irresistible?
Simplicity at Its Best: With just 15 minutes of active prep time, this no-bake dessert is super easy for anyone, whether you’re a seasoned chef or a home cook.
Creamy, Dreamy Filling: The combination of cream cheese and peanut butter creates a velvety smooth texture that simply melts in your mouth.
Versatile Variations: Feel free to swap the graham cracker crust for an Oreo crust or add your favorite toppings like chocolate sauce or chopped peanut butter cups—endless possibilities to impress!
Perfect for Hot Days: Chilled and refreshing, this pie is the ideal treat to enjoy during summer gatherings, ensuring you and your guests stay cool.
Crowd-Pleasing Treat: Impress family and friends alike; the rich peanut flavor and creamy texture make it a guaranteed hit at parties, similar to other favorites like Chocolate Peanut Butter or Cowboy Butter Chicken.
Make Ahead Friendly: You can prepare this pie a day or two in advance, making it a go-to dessert for those busy summer nights!
Creamy No-Bake Peanut Butter Pie Ingredients
• Get ready to experience the magic of this Creamy No-Bake Peanut Butter Pie with these simple yet essential ingredients!
For the Crust
- Graham Cracker Crust – The perfect sweet, crumbly base; consider an Oreo crust for a chocolaty twist.
For the Filling
- Cream Cheese – Adds a luscious richness; make sure it’s softened to ensure everything blends smoothly.
- Creamy Peanut Butter – The star flavor that makes this pie irresistible; choose a no-stir variety for the best texture.
- Powdered Sugar – Sweetens the filling and helps achieve that smooth consistency.
- Vanilla Extract – Elevates the overall flavor profile subtly without overpowering the peanut butter.
- Whipped Topping – Lightens the filling with airiness; use thawed Cool Whip or stabilize your own whipped cream for a homemade touch.
For Garnish (Optional)
- Chocolate Sauce – A sweet drizzle that elevates each slice; don’t skip this if you’re a chocolate lover.
- Chopped Peanut Butter Cups – Adds that extra peanut butter flavor and delightful crunch—perfect for any peanut butter fanatic!
- Chopped Peanuts – Offers a satisfying crunch that contrasts beautifully with the creamy filling.
Step‑by‑Step Instructions for Creamy No-Bake Peanut Butter Pie
Step 1: Make the Filling
In a large mixing bowl, use an electric mixer to beat together 8 ounces of softened cream cheese and 1 cup of creamy peanut butter until the mixture is completely smooth and free of lumps, which should take about 2 minutes. Add in 1 cup of powdered sugar and 1 teaspoon of vanilla extract, mixing until the filling is silky and fully combined, about another 1 to 2 minutes.
Step 2: Fold in Whipped Topping
Using a spatula, gently fold in 1 tub of thawed whipped topping into the creamy peanut butter mixture. Do this carefully to maintain that light, airy texture. Continue folding until no white streaks remain and the filling is uniformly blended. This should take around 1 minute, ensuring that the mixture is fluffy yet evenly mixed.
Step 3: Fill and Chill
Take your prepared graham cracker crust and spoon the fluffy peanut butter filling into it, spreading it evenly with a spatula. Aim for a slight mound in the center, as the filling will set nicely once chilled. Cover the pie with plastic wrap and refrigerate for at least 4 hours, preferably overnight, to allow it to firm up and achieve beautiful slices.
Step 4: Serve
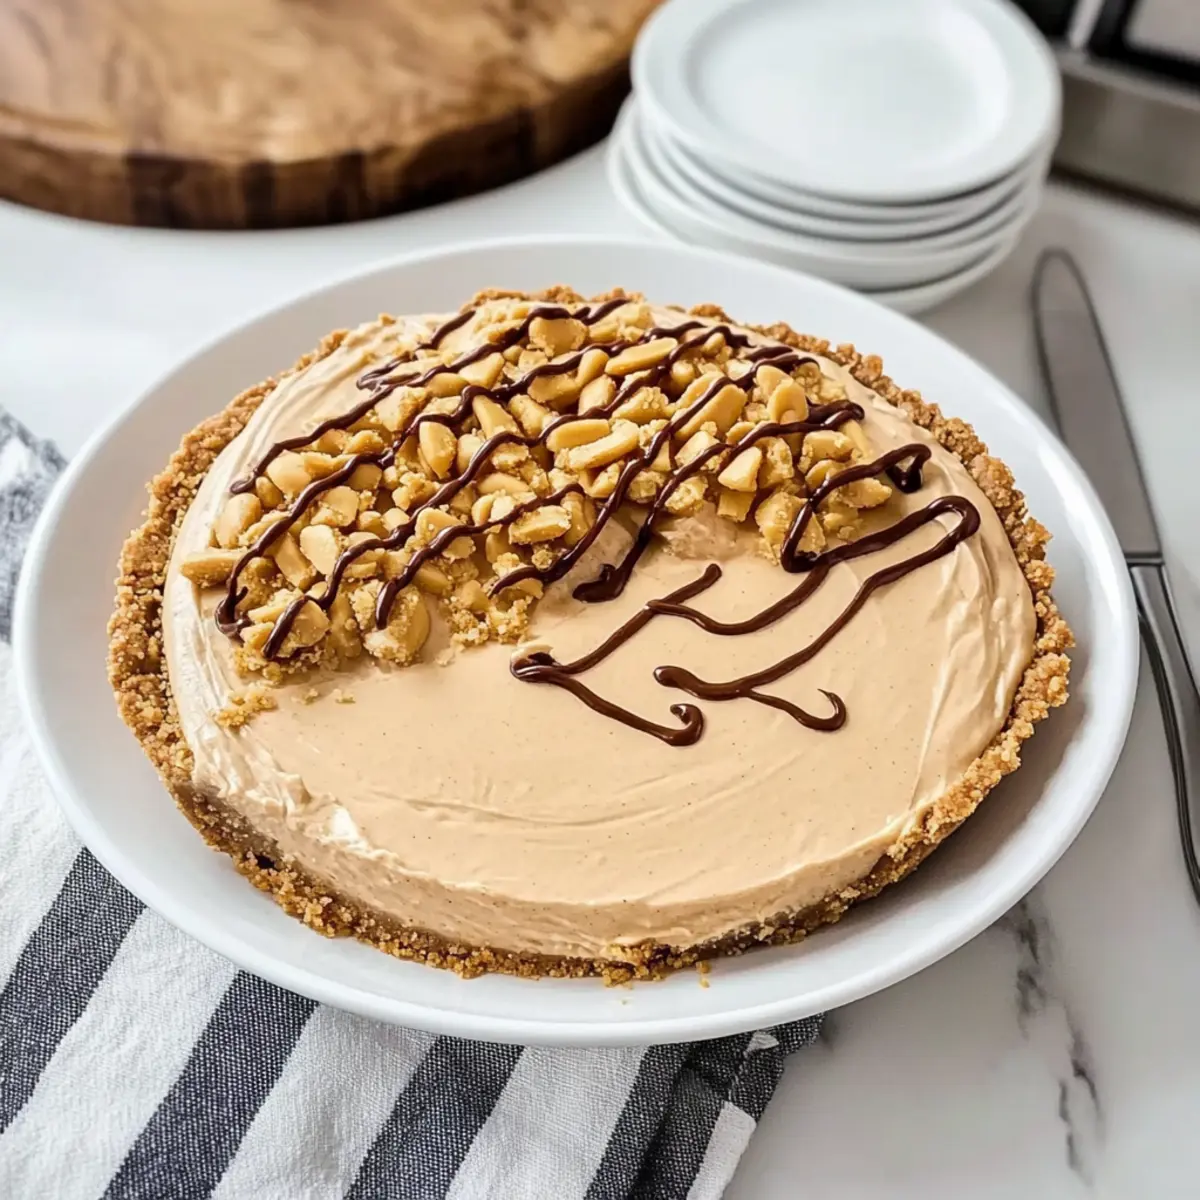
Once chilled, remove the Creamy No-Bake Peanut Butter Pie from the fridge. For an extra touch, drizzle chocolate sauce over the top and sprinkle with chopped peanut butter cups or peanuts for garnish if desired. Slice with a warm knife for clean cuts, and serve chilled for the best texture and flavor experience.
Tips for the Best Creamy No-Bake Peanut Butter Pie
-
Room Temperature Cream Cheese: Ensure your cream cheese is softened to avoid lumps in the filling, creating a smooth and creamy texture.
-
No-Stir Peanut Butter: Stick to no-stir peanut butter for optimal consistency; it ensures the filling sets well and maintains a velvety texture.
-
Chill Time Matters: Allow the pie to chill for at least 4 hours (or overnight) for cleaner slices; this step is key to achieving that perfect slice!
-
Garnish Wisely: Consider your garnishes carefully; a drizzle of chocolate sauce or chopped peanut butter cups can elevate flavors while adding a delightful crunch.
-
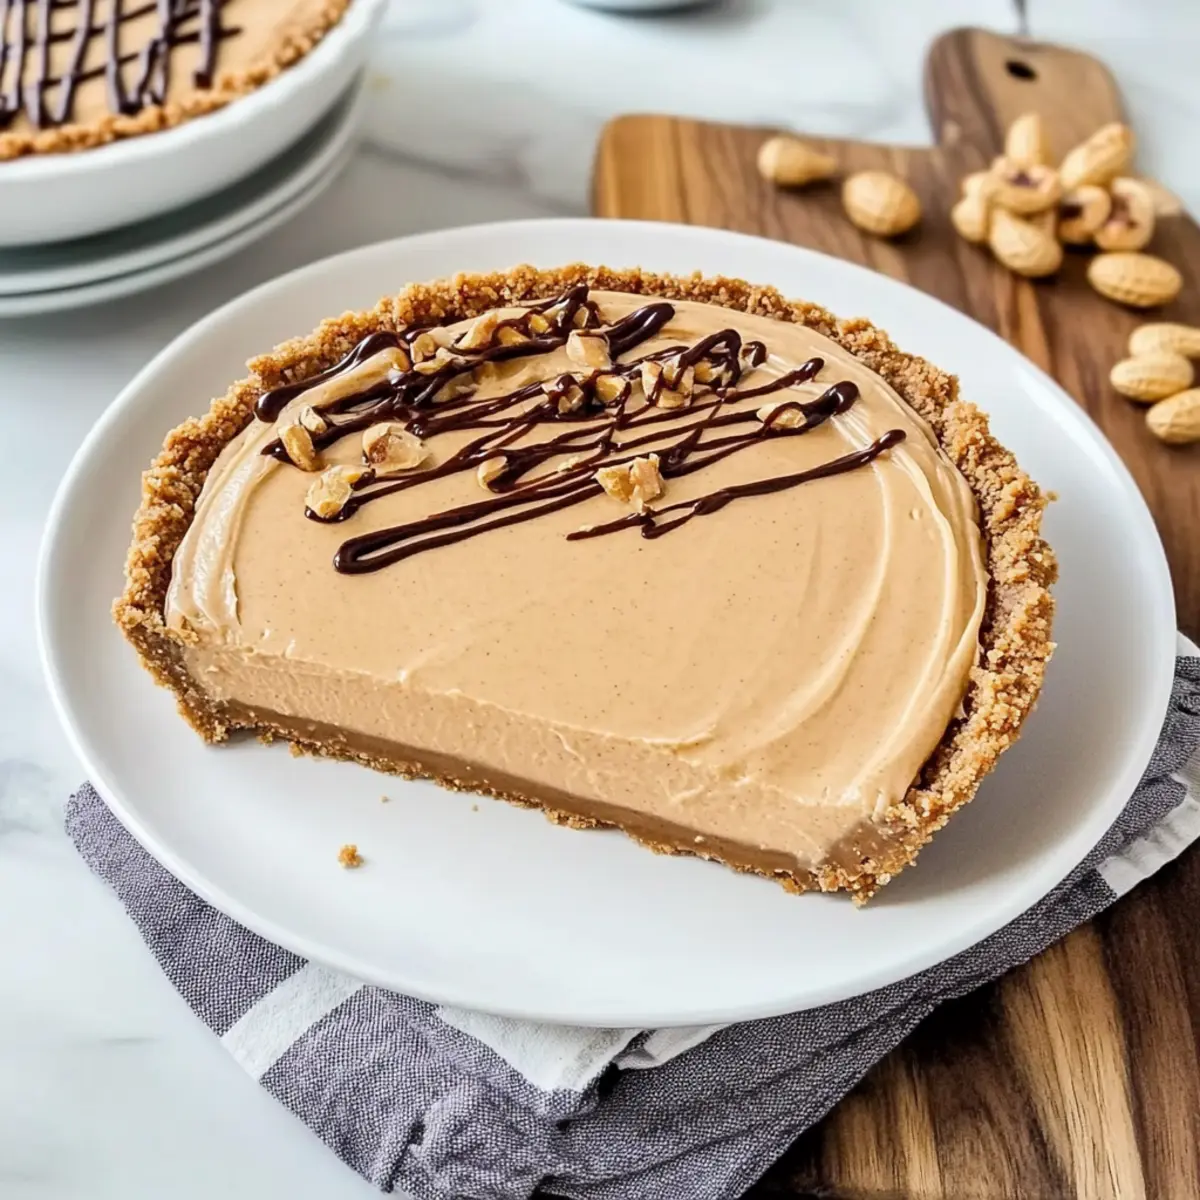
Seamless Slicing: Use a warm knife to slice through the creamy no-bake peanut butter pie, ensuring each piece comes out beautifully for serving.
Creamy No-Bake Peanut Butter Pie Variations
Feel free to unleash your creativity and customize this delightful pie to suit your taste buds!
-
Almond Butter: Substitute peanut butter with almond butter for a subtly sweet and nutty twist. This change will offer a unique flavor profile that surprises your guests.
-
Chocolate Crust: Opt for a chocolate crust instead of graham cracker for a decadent combination. The contrasting flavors of chocolate and peanut butter are simply irresistible!
-
Flavored Whipped Topping: Use chocolate or vanilla bean flavored whipped topping to give an extra kick to the filling. This small change can elevate the taste dramatically!
-
Crunchier Texture: Incorporate crushed pretzels or nuts into the filling for an unexpected crunch. The salty element pairs fabulously with the creamy sweetness, a delightful contrast!
-
Spiced Up: Add a dash of cinnamon or nutmeg to the filling for a warm flavor note that complements the peanut butter’s richness beautifully. It’s an inviting twist perfect for fall!
-
Heat It Up: For a spicy kick, sprinkle a bit of cayenne pepper on top before serving. This will surprise your taste buds with an exciting flavor burst alongside the sweetness!
-
Fruit Enhancements: Consider adding banana slices or berries on top for a refreshing element. These fruits add brightness and balance, tying the dessert together wonderfully!
If you love peanut butter as much as I do, you might also enjoy this Peanut Butter Spider treat or how about trying it alongside some delicious Chicken Pot Pie? The options are endless!
What to Serve with Creamy No-Bake Peanut Butter Pie
Looking to create a memorable meal that complements the delightful richness of your dessert? Let’s explore some delicious pairings that will elevate your dining experience!
- Fresh Berries: A mix of strawberries, raspberries, and blueberries adds a burst of freshness and natural sweetness that balances the pie’s richness.
- Vanilla Ice Cream: Creamy vanilla ice cream enhances the pie’s flavors while adding a delightful cold contrast to the creamy filling.
- Chocolate Ganache: Drizzling warm chocolate ganache over each slice brings a luscious, gooey texture that chocolate lovers crave.
- Whipped Cream: Light, airy whipped cream on top provides a smooth finish, making each bite feel indulgent and luxurious.
- Chilled Lemonade: A refreshing glass of lemonade will cleanse the palate between bites, adding a zesty twist to your dessert experience.
- Coconut Macaroons: The chewy texture and subtle coconut flavor of these cookies create a lovely contrast with the pie’s creamy filling.
- Espresso or Coffee: The deep, rich flavors of coffee perfectly complement the nutty sweetness of the pie, making it a delightful after-dinner pairing.
- Chocolate-Covered Pretzels: Crunchy, salty pretzels dipped in chocolate offer a fun texture contrast and make for a sweet-savory snack alongside your dessert.
- Fruit Salad: A mix of seasonal fruits adds a lightness and brightness that perfectly offsets the density of the creamy pie.
These pairings ensure your Creamy No-Bake Peanut Butter Pie not only shines on its own but also harmonizes beautifully with a host of delightful flavors and textures!
How to Store and Freeze Creamy No-Bake Peanut Butter Pie
Fridge: Store the pie covered in the refrigerator for up to 2 days. This helps maintain its creamy texture and flavors.
Freezer: Wrap the pie tightly in plastic wrap and foil before freezing to preserve freshness. It can be kept in the freezer for up to a month.
Thawing: When ready to enjoy, remove the pie from the freezer and let it thaw at room temperature for 10-15 minutes before slicing for a delightful, creamy experience.
Leftovers: If you have any leftover slices, keep them refrigerated, covered with plastic wrap, for up to 3 days to enjoy later.
Make Ahead Options
These delicious Creamy No-Bake Peanut Butter Pie slices are perfect for meal prep enthusiasts! You can prepare the filling up to 24 hours in advance—simply mix the cream cheese, peanut butter, powdered sugar, and vanilla, then fold in the whipped topping and store it in an airtight container in the refrigerator. To maintain quality, ensure that you cover the crust tightly with plastic wrap before filling to prevent it from becoming soggy. When you’re ready to serve, spoon the filling into the prepared crust and let it chill for at least 4 hours or overnight for optimal firmness. This way, you can enjoy a stunning dessert with minimal day-of effort, perfect for those busy summer nights!
Creamy No-Bake Peanut Butter Pie Recipe FAQs
What type of peanut butter is best for this pie?
Absolutely! Using a creamy, no-stir peanut butter is crucial for achieving the best texture in your filling. This variety blends smoothly without any separation, which ensures your pie has that delightful velvety consistency that melts in your mouth.
How should I store leftovers of the pie?
For the best results, store your Creamy No-Bake Peanut Butter Pie covered in the refrigerator for up to 2 days. This keeps it fresh and maintains that creamy texture. Just make sure to wrap it well to prevent any unwanted odors from the fridge affecting your dessert!
Can I freeze the pie for later?
Certainly! This pie can be frozen for up to a month. Wrap it tightly in plastic wrap and then in foil to prevent freezer burn. When you’re ready to enjoy it, simply let it thaw at room temperature for about 10-15 minutes before slicing. You’ll still get that delicious creamy experience you love!
What if my filling doesn’t blend smoothly?
Oh no! If your filling has lumps, it may be because your cream cheese wasn’t softened enough. To fix this, let your cream cheese sit at room temperature for about 30 minutes before use, or microwave it in 10-second intervals until softened. Be sure to mix thoroughly for a silky texture. If you still have lumps, a quick blitz with an immersion blender can save the day!
Are there any dietary considerations to keep in mind?
Very! For those with peanut allergies, you may substitute creamy almond butter or sunflower seed butter instead. Just be sure to check that all other ingredients in your topping and crust are allergy-friendly, especially if you’re using store-bought products, which might contain traces of allergens.
How can I achieve clean slices when serving?
What I recommend is using a warm knife for slicing through your pie. Just dip your knife in hot water, wipe off the excess, and cut into the pie. This way, you’ll get those beautiful, clean cuts that make serving a breeze, showcasing the stunning layers of your Creamy No-Bake Peanut Butter Pie!
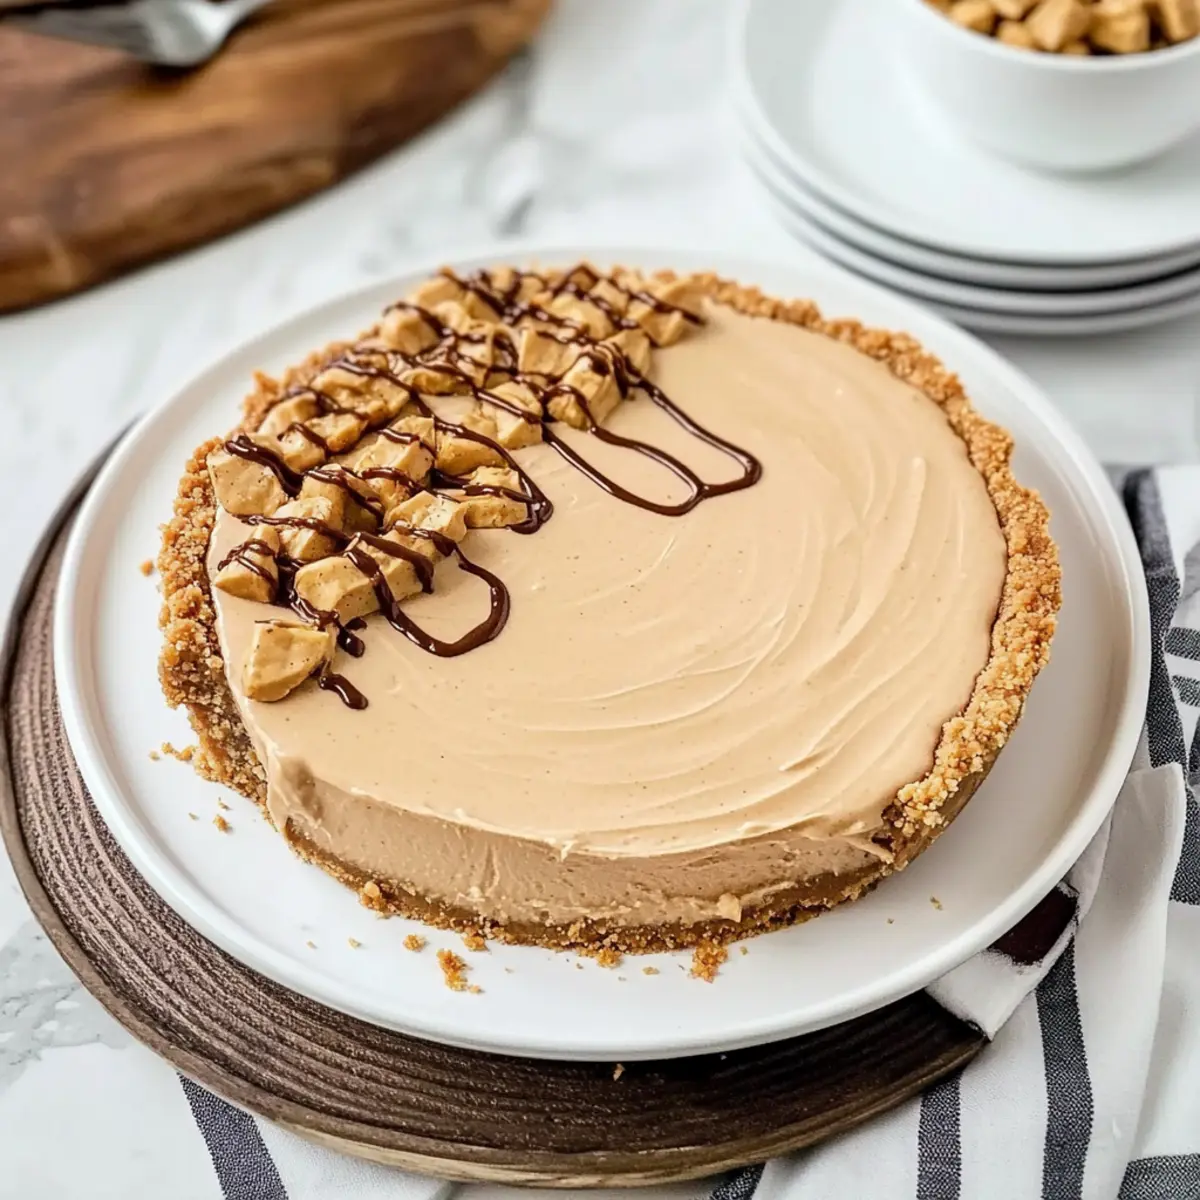
Creamy No-Bake Peanut Butter Pie That Melts in Your Mouth
Ingredients
Equipment
Method
- In a large mixing bowl, beat together cream cheese and creamy peanut butter until smooth, about 2 minutes.
- Add powdered sugar and vanilla extract, mixing for another 1 to 2 minutes until silky.
- Gently fold in the whipped topping with a spatula until no white streaks remain.
- Spoon the filling into the graham cracker crust, creating a slight mound in the center.
- Cover with plastic wrap and refrigerate for at least 4 hours or overnight.
- Remove from fridge, drizzle with chocolate sauce, and sprinkle with toppings as desired.
- Slice with a warm knife and serve chilled.
Leave a Reply