
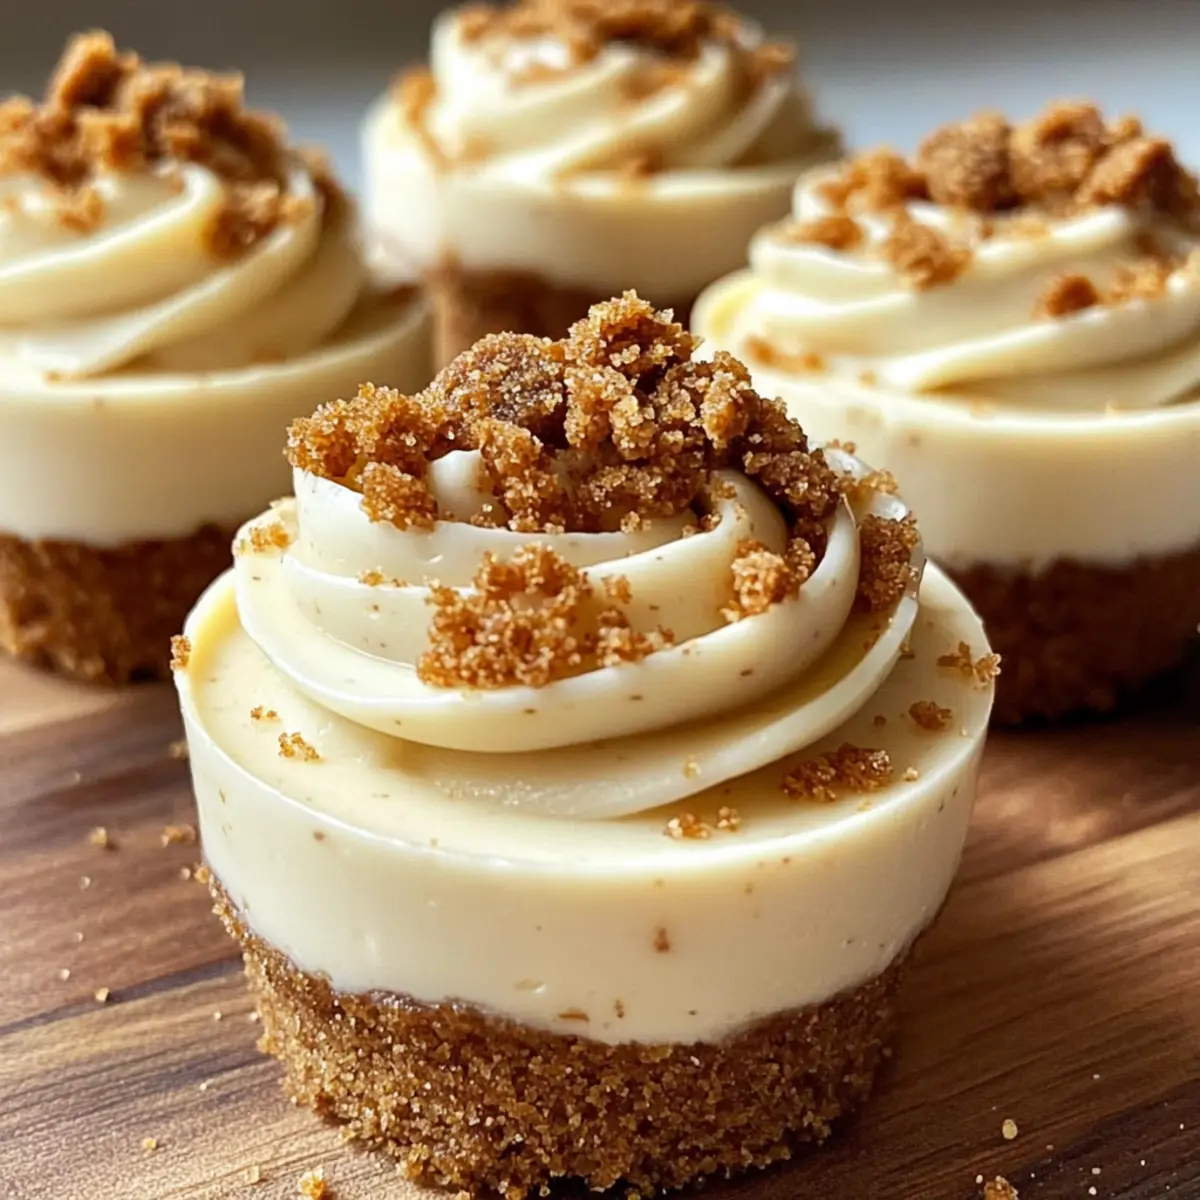
As I opened the fridge to grab a snack, a delightful idea struck me: why not whip up some Easy No-Bake Biscoff Cheesecake Cups? These little gems are not just desserts; they embody the perfect marriage of creamy sweetness and the distinctive flavor of Biscoff cookie butter. With minimal effort and no baking required, you can create a crowd-pleasing treat that’s ideal for any occasion—and that’s just one of the perks! They’re also make-ahead friendly, allowing you to have a delicious dessert ready to impress at a moment’s notice. So, if you’re ready to elevate your dessert game with this fuss-free recipe, let’s dive into the delicious world of Biscoff cheesecake! Ready to get started?
Why Are No-Bake Desserts So Popular?
Simplicity: These Easy No-Bake Biscoff Cheesecake Cups require minimal effort, making them perfect for those busy days when you crave something sweet.
Versatile Flavors: Enjoy the rich Biscoff flavor, or switch things up by trying alternatives like peanut butter for a twist.
Creamy Texture: The luxurious creaminess combined with a crunchy cookie crust delivers a delightful contrast that will have everyone coming back for seconds.
Make-Ahead Convenience: Prep these cups in advance and save time on event day. They chill in the fridge, ready to serve whenever you are!
Crowd-Pleasing Appeal: These cheesecake cups are a guaranteed hit at parties, gatherings, or weeknight dessert cravings. Don’t forget to check out my Pistachio Mushroom Cheesecake for another fabulous dessert option!
No-Bake Biscoff Cheesecake Cups Ingredients
For the Cheesecake Filling
- Biscoff Cookie Butter – Creates the rich, delectable flavor that makes these no-bake Biscoff cheesecake cups unforgettable.
- Cream Cheese – Provides a creamy, smooth texture; remember to soften it for easy blending!
- Whipped Cream – Lightens the filling, making it fluffy and delightful; feel free to use homemade or store-bought.
For the Crust
- Biscoff Cookies – Offers the perfect crunchy base with that signature Biscoff taste; you can swap these out for graham crackers if you prefer.
- Butter – Binds the crust ingredients together, adding richness; dairy-free butter works well for a substitution.
Optional Garnishes
- Biscoff Cookie Crumbs – Sprinkle on top for an extra touch of flavor and decoration before serving.
- Drizzled Melted Chocolate – Adds a decadent element; perfect for chocolate lovers looking to elevate their dessert game.
Step‑by‑Step Instructions for No-Bake Biscoff Cheesecake Cups
Step 1: Prepare the Crust
Begin by crushing around 15 Biscoff cookies into fine crumbs using a food processor or a rolling pin. In a mixing bowl, combine the cookie crumbs with 4 tablespoons of melted butter until fully integrated. Press this mixture firmly into the bottom of small serving cups, ensuring an even layer. Refrigerate for about 30 minutes to allow the crust to firm up.
Step 2: Make the Cheesecake Filling
In a large mixing bowl, beat 8 ounces of softened cream cheese using an electric mixer on medium speed until smooth, about 2 minutes. Gradually add in 1 cup of Biscoff cookie butter, mixing until the mixture is creamy and well combined. Take a moment to admire the wonderful aroma before proceeding to the next step.
Step 3: Incorporate Whipped Cream
Gently fold in 1 cup of whipped cream to the Biscoff and cream cheese mixture using a spatula. Be careful not to overmix; you want to maintain that light, airy texture. The goal is a smooth and fluffy filling that embodies the essence of these No-Bake Biscoff Cheesecake Cups, so take your time with this step.
Step 4: Assemble
Using a spoon or pastry bag, delicately spoon or pipe the creamy cheesecake filling over the chilled crusts in the cups. Smooth the tops with the back of a spoon for a polished look. Once your cups are filled, return them to the refrigerator and let them chill for at least 4 hours, or until fully set and ready for enjoyment.
Step 5: Serve
When you’re ready to serve these delightful No-Bake Biscoff Cheesecake Cups, remove them from the refrigerator. Optionally, sprinkle additional Biscoff cookie crumbs on top or drizzle melted chocolate for an added touch of decadence. Your guests will be wowed by the deliciousness awaiting them!
No-Bake Biscoff Cheesecake Cups Variations
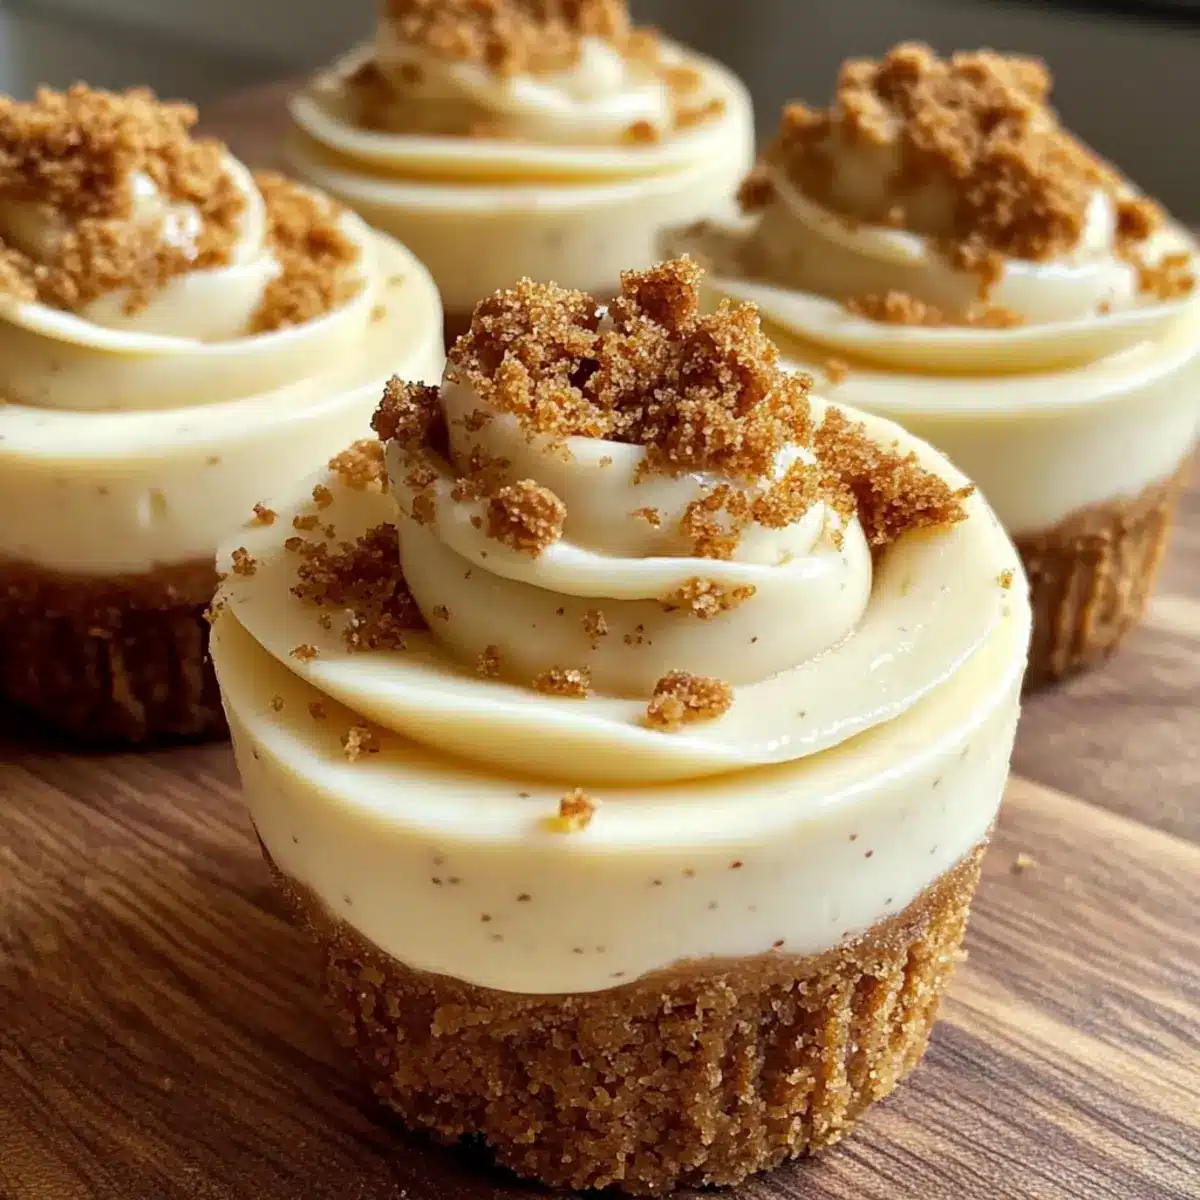
Feel free to explore these delicious twists on your creamy no-bake Biscoff cheesecake cups for a delightful surprise in every bite!
-
Peanut Butter: Swap Biscoff cookie butter with creamy peanut butter for a nutty delight that’s irresistibly rich and flavorsome.
-
Chocolate Swirl: Drizzle melted chocolate into the cheesecake filling before chilling for an added layer of luxury that tantalizes the taste buds.
-
Caramel Infusion: Stir in caramel sauce to the filling for an extra sweetness, creating a decadent flavor profile that balances the creamy texture beautifully.
-
Nutty Crunch: Fold in some crushed hazelnuts or almonds for texture and a delightful nutty flavor that adds character to each cup.
-
Vegan Option: Use dairy-free cream cheese and coconut whipped cream to craft a vegan version that’s still wonderfully creamy and indulgent.
-
Graham Cracker Crust: For a classic twist, substitute Biscoff cookies with graham crackers for the crust—still crunchy with a different flavor that pairs wonderfully with cheese.
-
Spicy Kick: Add a pinch of cinnamon or a dash of cayenne pepper to the filling for a unique flavor twist that warms the palate with excitement.
-
Mini Cheesecake Forms: Instead of cups, pour the mixture into a muffin tin lined with cupcake liners for adorable, bite-sized cheesecakes that are fun to share at gatherings.
Discovering new ways to enjoy no-bake cheesecake makes every gathering more memorable! For another delightful treat, check out my Pudding Cookie Cups or indulge in a smooth slice of Velvet Oreo Cheesecake. Enjoy your culinary adventures!
Make Ahead Options
These Easy No-Bake Biscoff Cheesecake Cups are perfect for busy individuals looking to save time while impressing guests! You can prepare the crust up to 2 days in advance by crushing the Biscoff cookies and mixing them with butter, then refrigerate until ready to use. The cheesecake filling can also be made up to 24 hours ahead; just ensure you mix the cream cheese and Biscoff cookie butter smoothly before gently folding in whipped cream. To maintain quality, keep the crust and filling stored separately in the refrigerator. When it’s time to serve, simply assemble the cups by topping the crust with the cheesecake filling, and you’ll enjoy a hassle-free dessert that’s just as delicious as if made fresh!
How to Store and Freeze No-Bake Biscoff Cheesecake Cups
Fridge: Store your cheesecake cups in an airtight container for up to 5 days to keep them fresh. This ensures they maintain their creamy texture and rich flavor.
Freezer: For longer storage, place the cups in a freezer-safe container and freeze for up to 2 months. Thaw in the refrigerator overnight before serving for the best taste and texture.
Assembling Later: You can prepare the crust and filling up to 2 days ahead. Just assemble the cups before serving to ensure they stay fresh and delightful.
Reheating: There’s no need to reheat these no-bake cheesecake cups. Enjoy them chilled, as they are meant to be a refreshing treat!
Expert Tips for No-Bake Biscoff Cheesecake Cups
-
Softened Cream Cheese: Always start with room temperature cream cheese to ensure a smooth filling. Cold cream cheese can lead to lumps in your cheesecake mixture.
-
Gentle Folding: When incorporating whipped cream, fold gently to retain airiness. Overmixing can deflate the fluffy texture you desire in these no-bake Biscoff cheesecake cups.
-
Chill Time is Crucial: Patience is key! Allow the cheesecake cups to chill for at least 4 hours to achieve the best flavor and texture. This lets the filling set perfectly.
-
Customize Your Crust: Feel free to experiment by using graham crackers or even almond flour for a gluten-free option. Choose what you love to elevate your no-bake cheesecake experience!
-
Garnish Ideas: Elevate your dessert by garnishing with fresh whipped cream or a drizzle of caramel sauce. It adds an exquisite touch to your presentation!
What to Serve with Easy No-Bake Biscoff Cheesecake Cups
The perfect dessert deserves companions that elevate its deliciousness and charm, creating a memorable dining experience.
- Fresh Berries: Bright, tart raspberries or strawberries provide a refreshing contrast to the creamy sweetness, making each bite a burst of flavor.
- Chocolate Drizzle: A rich, warm chocolate sauce enhances the decadent experience. Drizzling it on the cheesecake cups adds an extra layer of indulgence.
- Coffee or Espresso: The rich, bitter notes of a strong coffee beautifully balance the sweetness of the cheesecake, making it a perfect pairing for a post-meal treat.
- Whipped Cream: Light and airy, a dollop of fresh whipped cream enhances the creamy texture of the cheesecake while adding a fluffy element to each spoonful.
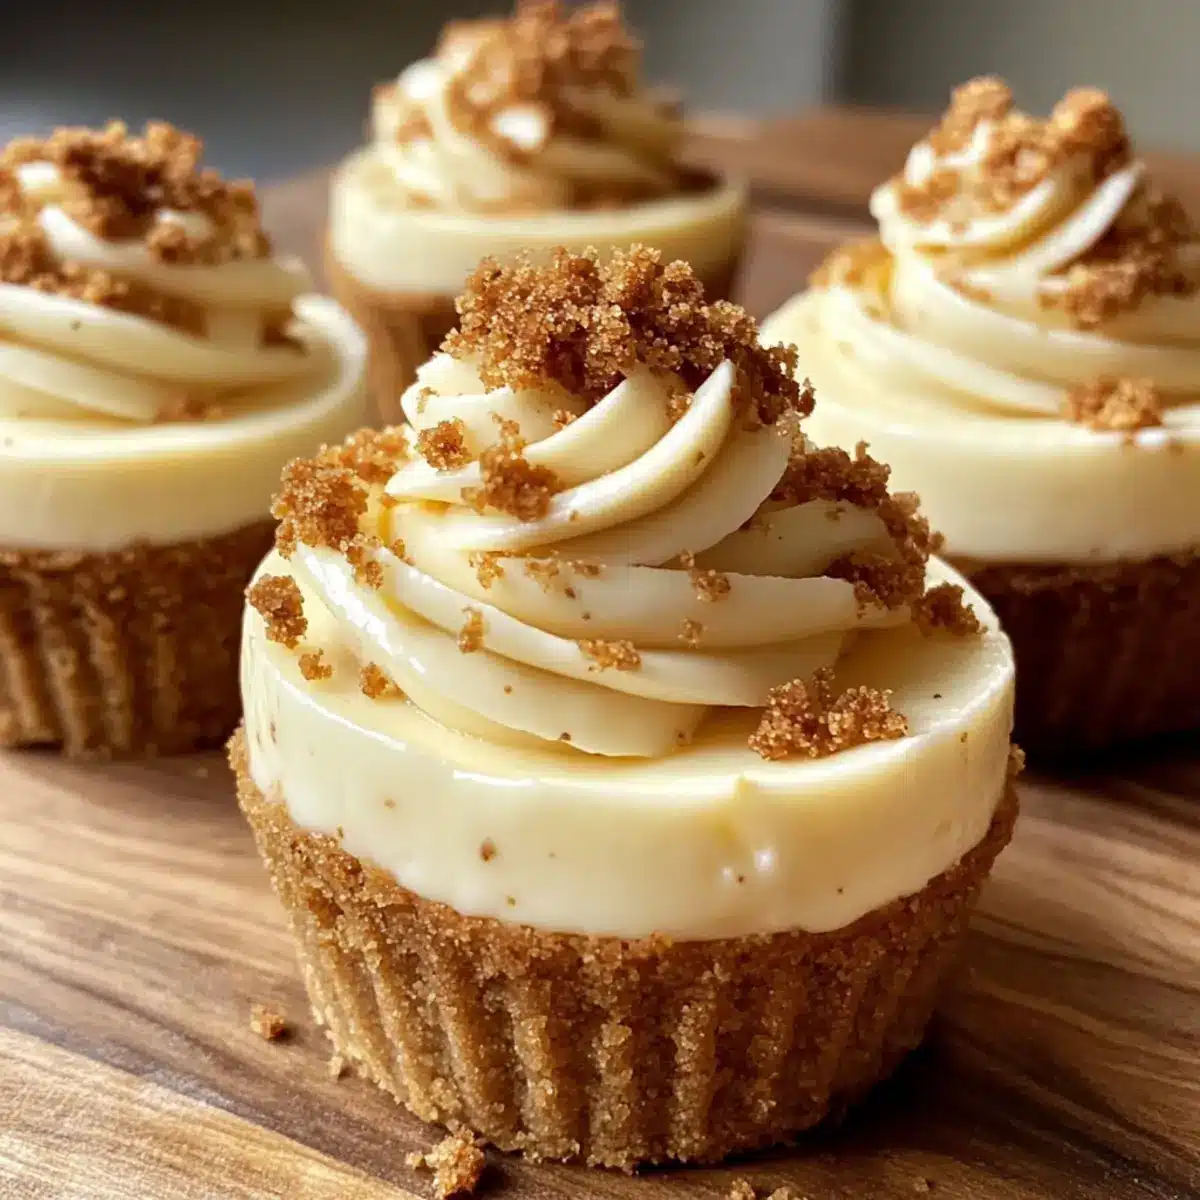
Serve these cheesecake cups at your next gathering, and don’t be surprised when your guests ask for seconds! Their creamy, dreamy texture paired with these delightful accompaniments will have everyone enchanted.
Easy No-Bake Biscoff Cheesecake Cups Recipe FAQs
How do I choose ripe ingredients for the Best No-Bake Biscoff Cheesecake Cups?
Absolutely! For the best results, make sure to select quality ingredients. Use fresh cream cheese that’s smooth and creamy. The Biscoff cookie butter should be at room temperature for easier mixing. When it comes to Biscoff cookies, check for freshness; avoid any with visible dark spots or crumbling.
What’s the best way to store these cheesecake cups?
Very! Store your No-Bake Biscoff Cheesecake Cups in an airtight container in the fridge for up to 5 days. This helps to maintain their delightful texture while keeping that rich flavor intact. If they’re in individual cups, just place a lid or wrap them well with plastic wrap.
Can I freeze No-Bake Biscoff Cheesecake Cups?
Certainly! For longer storage, you can freeze these cheesecake cups. Place them in a single layer in a freezer-safe container, ensuring they don’t touch to maintain shape. They can be frozen for up to 2 months. When you’re ready to enjoy, simply thaw them in the fridge overnight before serving.
What if my cheesecake filling is too thick?
If your filling seems too thick, don’t stress! Try adding a couple of tablespoons of room temperature heavy cream or milk to loosen it up. Gently fold it in until you reach the desired creamy consistency. Make sure to use gentle folding techniques to keep the mixture light and fluffy!
Are these cheesecake cups suitable for those with dietary restrictions?
Absolutely! You can easily adapt these No-Bake Biscoff Cheesecake Cups for dietary needs. Use dairy-free cream cheese and butter if you’re looking for a vegan option. For gluten-free alternatives, swap the Biscoff cookies with gluten-free cookies or crushed nuts for the crust. Just keep an eye out for any allergens in the products you choose!
Creamy No-Bake Biscoff Cheesecake Cups You’ll Crave Forever
Ingredients
Equipment
Method
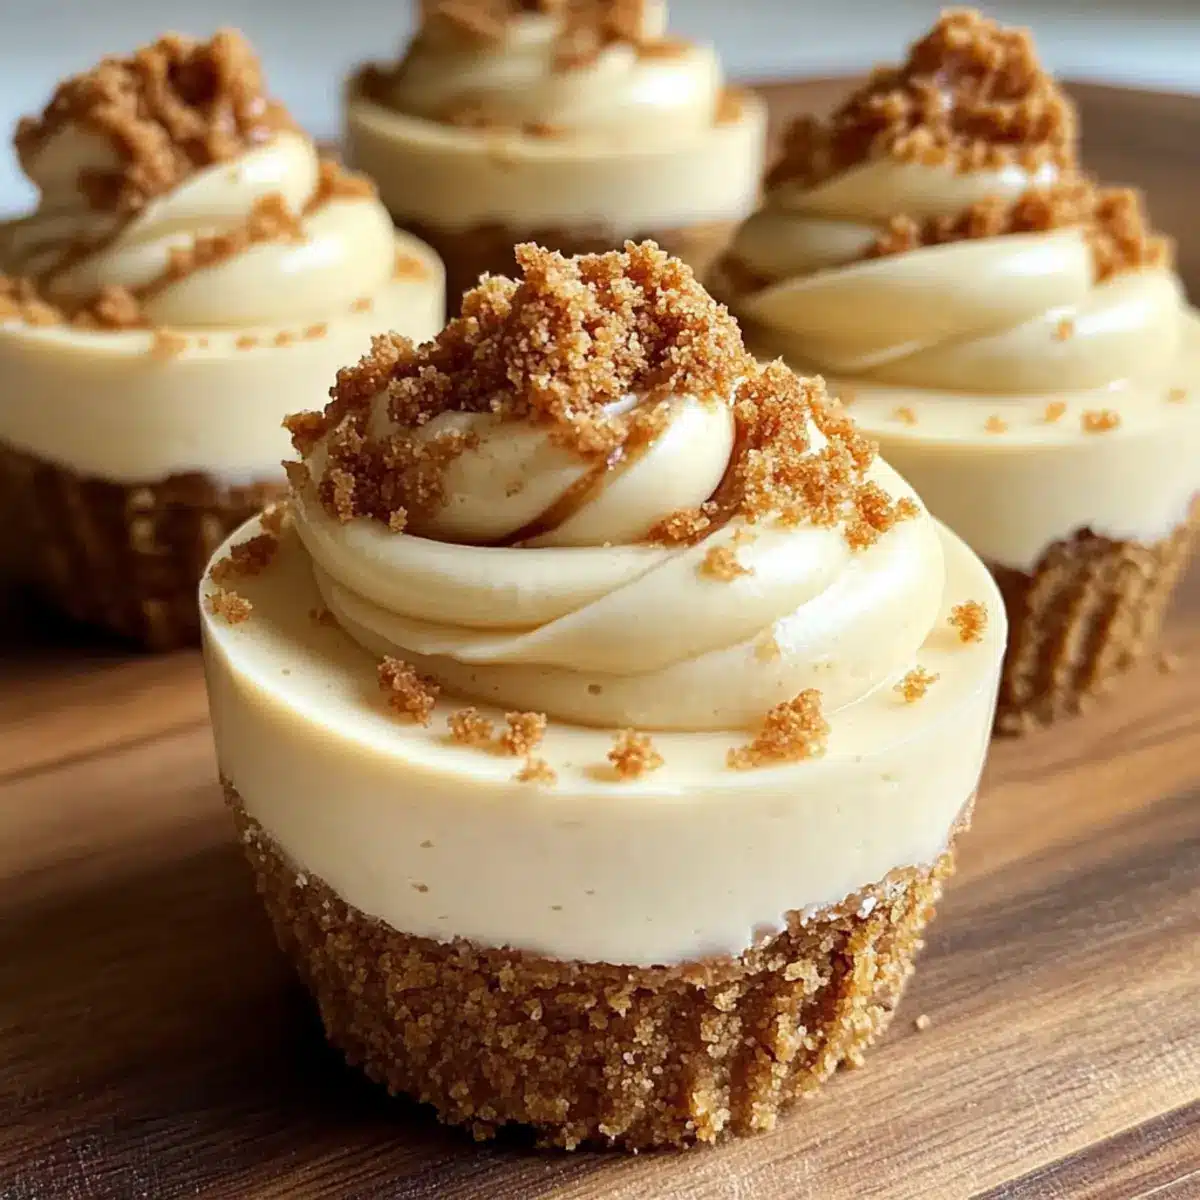
- Crush about 15 Biscoff cookies into fine crumbs and mix with 4 tablespoons of melted butter. Press into cups and refrigerate for 30 minutes.
- Beat 8 ounces of softened cream cheese until smooth, then gradually add 1 cup of Biscoff cookie butter, mixing until creamy.
- Gently fold in 1 cup of whipped cream to the mixture, maintaining a smooth and fluffy texture.
- Spoon or pipe the cheesecake filling over the crusts in cups, smooth the tops, and chill for at least 4 hours.
- Serve chilled, optionally garnished with more Biscoff crumbs or drizzled chocolate.
Leave a Reply