
The moment I pulled these Soft Garlic Breadsticks from the oven, the buttery aroma filled my kitchen, instantly whisking me away to my childhood dinner table. There’s something magical about freshly baked bread, especially when it’s fluffy and warm, waiting to be slathered in garlic butter. This beginner-friendly recipe uses basic pantry ingredients and offers a comforting homemade touch that’s perfect for any meal. Plus, it’s incredibly versatile; whether you decide on a cheesy twist or a spicy kick, these breadsticks can elevate your dinner and even impress your guests! Ready to indulge in a cozy baking session? Let’s dive in and create the perfect side to complement your favorite dishes.
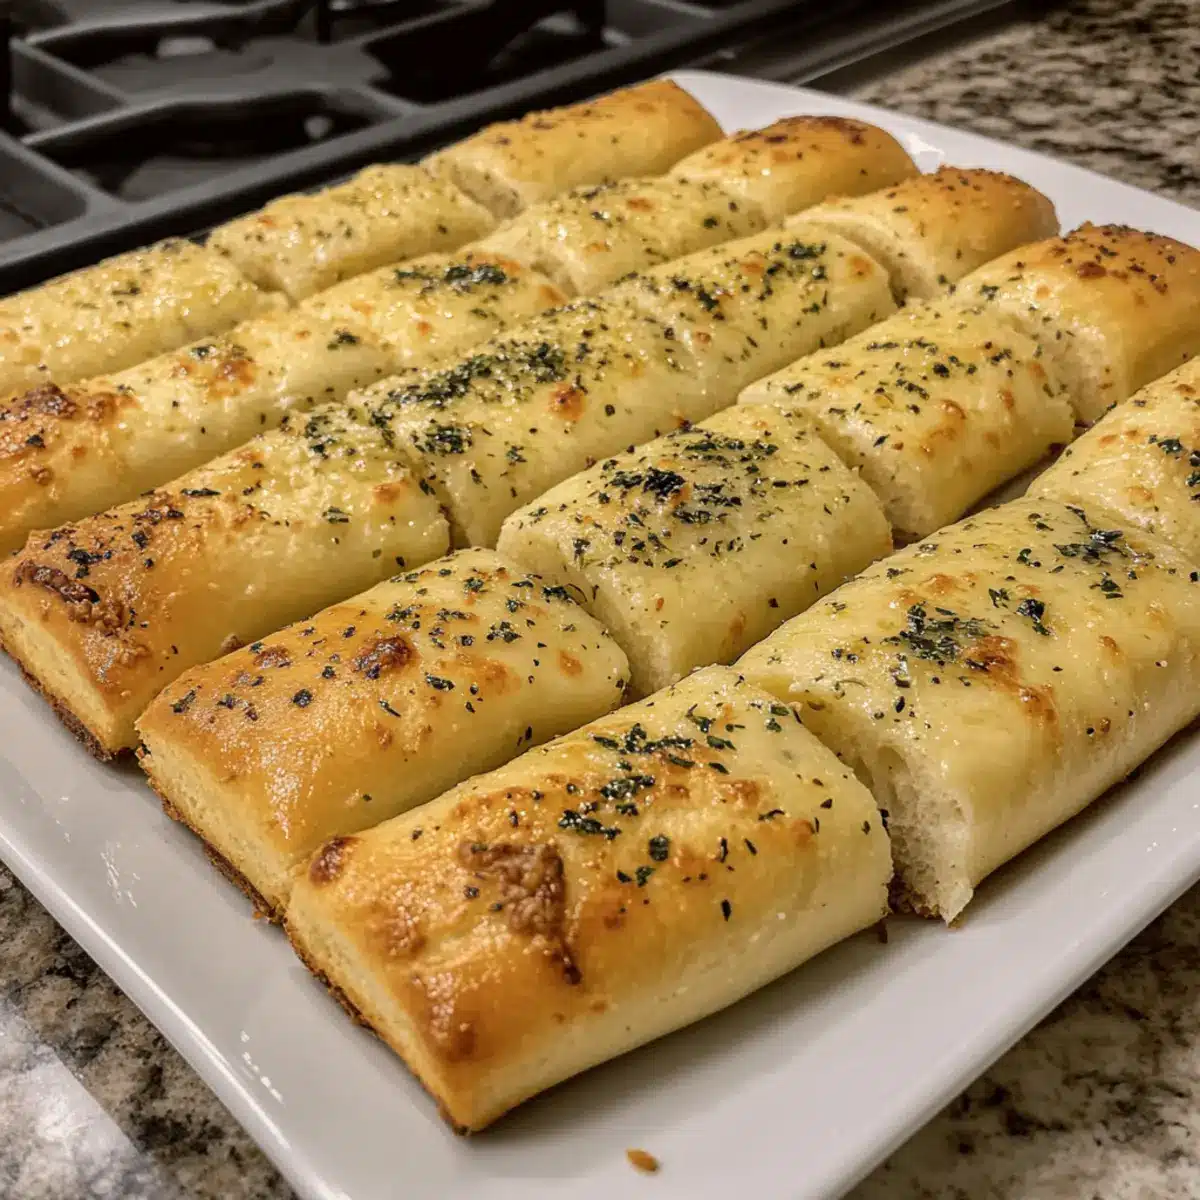
Why are Soft Garlic Breadsticks a Must-Try?
Soft, Fluffy Texture: Baked to perfection, these breadsticks feature a light, airy inside that melts in your mouth.
Beginner-Friendly: No specialty skills required—just mix, knead, and enjoy!
Versatile Variations: From cheesy to spicy, customize them to suit any palate. If you’re a fan of garlic flavor, try pairing them with Garlic Parmesan Chicken or serving alongside a warm bowl of Tomato Basil soup.
Budget-Friendly: Made with simple pantry staples, you’ll save money without compromising on flavor.
Crowd-Pleasing: Perfect for family dinners or gatherings, these breadsticks are sure to impress!
Soft Garlic Breadsticks Ingredients
-
For the Dough
• Warm Water – Activates yeast; ensure it’s about 110°F/43°C for best results.
• Active Dry Yeast – Provides leavening; make sure it’s fresh for optimal fluffiness.
• Granulated Sugar – Feeds the yeast, helping the dough rise effectively.
• Unsalted Butter – Adds richness to the breadsticks; melt first and let it cool slightly.
• Salt – Enhances flavor; essential for tasty bread.
• All-Purpose Flour – Forms the structure; spoon it into your measuring cup to avoid packing. -
For the Topping
• Garlic (Fresh and Powder) – Infuses that irresistible garlic flavor; fresh is best, but powder can boost taste.
• Dried Parsley & Oregano – Adds herby notes to the topping for extra flavor.
• Parmesan Cheese (Optional) – Sprinkled on top for a savory, cheesy finish.
• Fresh Parsley (for garnish) – Brightens up the presentation and gives a fresh touch.
Step‑by‑Step Instructions for Soft Garlic Breadsticks
Step 1: Activate Yeast
In a mixing bowl, combine warm water (around 110°F/43°C), sugar, and active dry yeast. Allow the mixture to sit for about 5-10 minutes until it becomes foamy, indicating that the yeast is activated. This crucial step ensures your Soft Garlic Breadsticks will rise beautifully.
Step 2: Mix Wet Ingredients
Once the yeast is frothy, add melted unsalted butter and salt to the bowl. Stir the mixture until well combined. The warm butter will enhance the flavor of your breadsticks while ensuring a soft, fluffy texture.
Step 3: Form Dough
Gradually add all-purpose flour, one cup at a time, to the yeast mixture, stirring until a shaggy dough forms. It’s normal for the dough to be slightly sticky at this stage. Just be sure it doesn’t overly adhere to the bowl, as this will make it difficult to knead later.
Step 4: Knead Dough
Transfer the shaggy dough onto a floured surface and knead it for about 8 minutes. Work the dough until it becomes smooth and elastic, which is key for achieving that irresistible texture in your Soft Garlic Breadsticks.
Step 5: First Rise
Place the kneaded dough in a lightly greased bowl, cover it with a damp cloth, and let it rise in a warm location for approximately 1 hour or until it has doubled in size. This rising phase develops the dough’s flavor and texture.
Step 6: Prepare Baking Sheet
While the dough is rising, preheat your oven to 400°F (200°C) and line a baking sheet with parchment paper or grease it lightly. Having the baking surface ready allows for a seamless transition when it’s time to shape your Soft Garlic Breadsticks.
Step 7: Punch Down Dough
After the dough has risen, gently punch it down to release any trapped air. This step helps to reshape the dough for the next stage and ensures your breadsticks don’t become too airy during baking.
Step 8: Shape Breadsticks
Divide the dough into 12 equal portions, then roll each piece into ropes that are about 7-8 inches long. Arrange the shaped breadsticks on your prepared baking sheet, leaving some space between them to allow for further rising.
Step 9: Second Rise
Cover the breadsticks with a clean kitchen towel and let them rise for another 30 minutes until they become slightly puffy. This step is essential for achieving that soft and fluffy crumb in your finished Soft Garlic Breadsticks.
Step 10: Prepare Garlic Butter
While the breadsticks are rising, melt additional unsalted butter in a bowl and mix in minced garlic, garlic powder, dried parsley, oregano, and salt. This flavorful garlic butter will be brushed on the sticks to enhance their aroma and taste.
Step 11: Brush with Garlic Butter
Once the breadsticks have completed their second rise, use a pastry brush to apply half of the garlic butter mixture generously over the tops. Reserve the remaining butter for brushing after baking to add extra flavor.
Step 12: Bake
Transfer the baking sheet to the preheated oven and bake the breadsticks for 12-15 minutes, or until they turn lightly golden brown. Check for a beautiful golden color on the outside; that’s your cue they’re ready.
Step 13: Finish with Garlic Butter
Remove the Soft Garlic Breadsticks from the oven and immediately brush with the reserved garlic butter mixture. This final touch adds a delicious richness and keeps them moist and flavorful.
Step 14: Garnish with Parmesan
If you’d like a cheesy finish, sprinkle grated Parmesan cheese over the warm breadsticks. Then, add a touch of fresh parsley for garnish to liven up the presentation, making your Soft Garlic Breadsticks look inviting and appetizing.
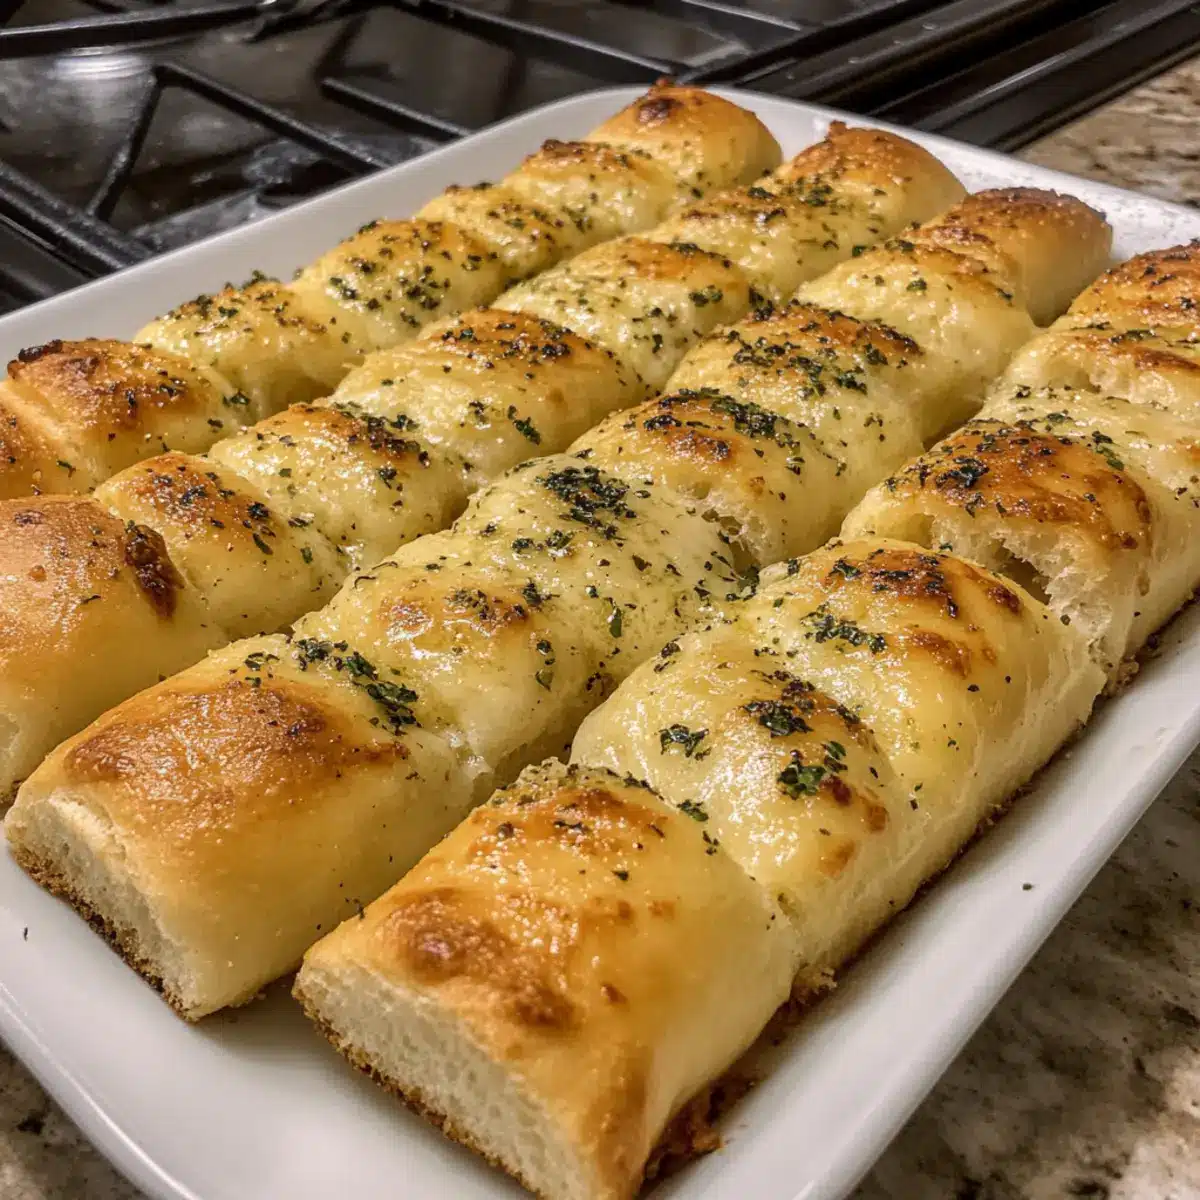
What to Serve with Soft Garlic Breadsticks?
Nothing elevates a meal quite like the warm, buttery delight of freshly baked soft garlic breadsticks.
- Creamy Pasta Dishes: Pair with fettuccine Alfredo or spaghetti Bolognese for a comforting feast that is rich and satisfying, each bite enhancing the other’s flavors.
- Hearty Soups: Serve alongside a steaming bowl of tomato basil soup or chicken noodle soup—your breadsticks will soak up every delicious drop!
- Fresh Salads: Enjoy with a Caesar salad or mixed greens topped with balsamic vinaigrette to balance the richness of the breadsticks with a crisp, refreshing crunch.
- Savory Dips: Offer marinara sauce or garlic yogurt for dipping; the savory flavors add another layer of taste, making your breadsticks even more irresistible.
- Meaty Dishes: These breadsticks complement roasted chicken or grilled steak beautifully, absorbing the juices and enhancing the overall experience of a hearty meal.
- Sweet Treats: For a delightful dessert experience, consider pairing with a luscious chocolate mousse or fruit tart—this contrast brings a touch of sweetness to your dining table.
How to Store and Freeze Soft Garlic Breadsticks
Room Temperature: Store breadsticks in an airtight container at room temperature for up to 2 days to keep them soft and fresh.
Fridge: If you need to keep them longer, refrigerate in an airtight container for up to 5 days. Reheat in the oven for optimal texture.
Freezer: For longer storage, wrap breadsticks tightly in plastic wrap and foil, then freeze for up to 3 months. Freezing keeps your Soft Garlic Breadsticks ready for future meals.
Reheating: To reheat, place frozen breadsticks directly in a preheated 350°F (175°C) oven for 10-15 minutes, or until heated through. This method helps to restore their soft and fluffy texture.
Expert Tips for Soft Garlic Breadsticks
- Proper Water Temperature: Use warm water around 110°F/43°C to activate the yeast. Too hot or too cold can prevent proper rising, affecting the texture of your Soft Garlic Breadsticks.
- Gentle Kneading: Knead the dough until smooth and elastic, about 8 minutes. Over-kneading can make it tough, while under-kneading may result in dense breadsticks.
- Watch the Rising Time: Allow enough time for both rises. Rushing this process may lead to flat breadsticks that lack softness.
- Avoid Over-Flouring: Too much flour will yield a dry texture. Measure carefully using the spoon-and-level method for your all-purpose flour.
- Store Wisely: Leftover breadsticks should be stored in an airtight container at room temperature for up to 2 days to maintain their softness.
Make Ahead Options
These Soft Garlic Breadsticks are fantastic for meal prep! You can prepare the dough and let it rise (up to 24 hours) in the refrigerator, tightly covered to prevent drying out. Alternatively, after shaping the breadsticks, you can refrigerate them for up to 3 days before the second rise. When you’re ready to serve, simply remove them from the fridge, let them rise for about 30 minutes at room temperature, and proceed with the baking instructions. To maintain their quality, avoid over-flouring and ensure the garlic butter is brushed on right after baking for that buttery richness. With these make-ahead tips, you won’t just save time, but you’ll also enjoy freshly baked Soft Garlic Breadsticks any night of the week!
Soft Garlic Breadsticks Variations & Substitutions
Feel free to get creative with these Soft Garlic Breadsticks and customize them to match your taste preferences!
-
Cheesy Breadsticks: Add shredded mozzarella or cheddar on top before baking for a gooey, cheesy delight. Imagine tearing into a breadstick with melted cheese stretching with each bite—pure comfort!
-
Herb-Infused: Mix fresh herbs like basil or thyme into the dough for an aromatic twist. The fragrant herbs will elevate the garlic flavor, making each breadstick a mini herb garden in your hands.
-
Spicy: Stir in red pepper flakes or diced jalapeños into the garlic butter for a fiery kick. Spice lovers will revel in the heat while enjoying the fluffy texture you’ve created!
-
Whole Wheat: Substitute half of the all-purpose flour with whole wheat flour for a nutty flavor and extra fiber. This hearty twist keeps the breadsticks wholesome without losing their soft, delightful charm.
-
Stuffed Breadsticks: Encase mozzarella or your favorite cheese inside the dough before shaping. The cheesy surprise will ooze out as you tear into your breadsticks, offering an irresistible treat!
-
Garlic Knots: Instead of rolling out sticks, tie the dough into beautiful knots. This playful shape not only looks charming but also allows more surface area for the garlic butter to cling to.
-
Sweet Garlic Breadsticks: Add a sprinkle of cinnamon and a drizzle of honey to the tops before baking for a sweet contrast. Paired with a cup of coffee, these sweet rolls are perfect for brunch!
-
Topping Alternatives: Swap out the garlic butter for pesto or herbed olive oil for a Mediterranean twist. A drizzle of fresh pesto adds a vibrant color and flavor that pairs wonderfully with dinner.
If you’re looking for further inspiration, try pairing these breadsticks with a side of rich Bourbon Garlic Cream for dipping, or enjoy them with comforting dishes like Garlic Parmesan Sweet potato wedges. The possibilities are endless!
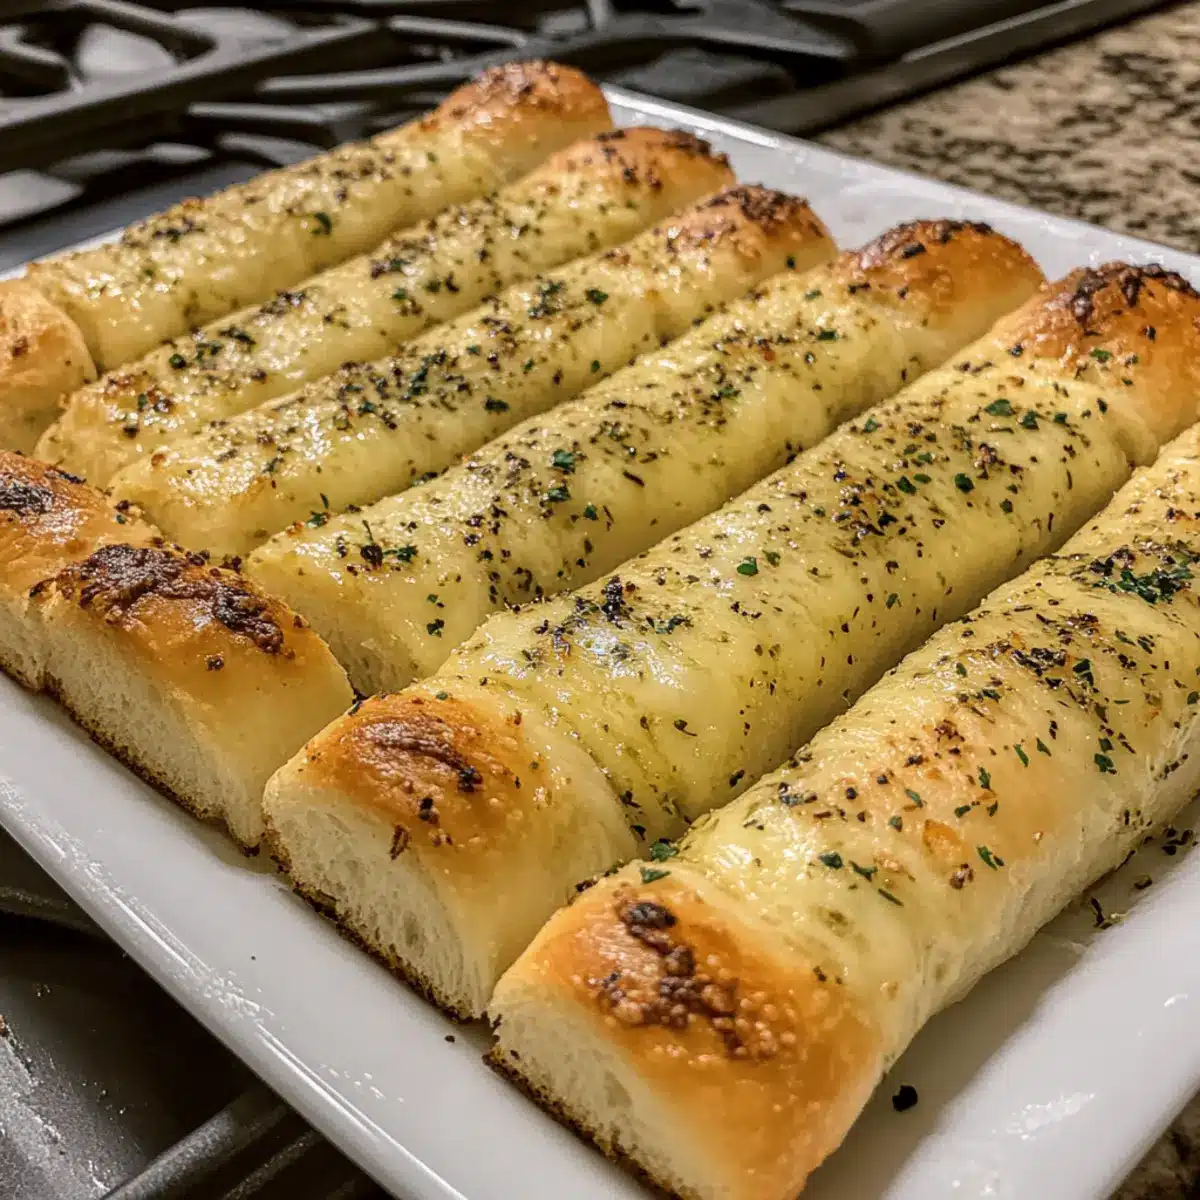
Soft Garlic Breadsticks Recipe FAQs
How do I choose the right garlic for the breadsticks?
Absolutely! For the best flavor, opt for fresh garlic. It has a stronger aroma and taste compared to garlic powder. If you’re in a pinch, garlic powder can enhance the flavor too, but nothing beats the fresh stuff. Just remember to mince it well for even distribution in your breadsticks!
How long can I store leftover Soft Garlic Breadsticks?
You can store leftover breadsticks in an airtight container at room temperature for 2 days, but for optimal softness, transfer them to the fridge, where they will keep for up to 5 days. Just make sure to reheat them in the oven for the best results!
Can I freeze Soft Garlic Breadsticks?
Definitely! To freeze them, wrap the completely cooled breadsticks tightly in plastic wrap, then in aluminum foil. Place them in a freezer-safe bag and they will last up to 3 months. When you’re ready to enjoy them, simply bake from frozen at 350°F (175°C) for 10-15 minutes until warmed through.
What should I do if my dough isn’t rising?
If your dough isn’t rising, check that your yeast is still active. You can test this by combining it with warm water and sugar—as mentioned in the recipe—and waiting for it to foam up. If it doesn’t, then unfortunately, it’s time for a new packet of yeast! Also, ensure your environment is warm enough; if your kitchen is too cold, consider placing the dough in a slightly warmed oven with the light on for a boost.
Can I make these Garlic Breadsticks gluten-free?
Yes, you can! To make gluten-free Soft Garlic Breadsticks, simply substitute regular all-purpose flour with a gluten-free blend that contains xanthan gum. You may need to adjust the liquid slightly, as gluten-free flours can absorb moisture differently. Make sure to follow the same process, and you’ll still have delicious breadsticks!
Are these breadsticks suitable for pets or those with allergies?
While Soft Garlic Breadsticks are delicious for humans, they’re not suitable for pets, especially dogs, as garlic can be toxic to them. If you have guests with allergies, check for specific sensitivities, especially related to gluten, dairy, or specific herbs used. Enjoying these breadsticks can be modified to meet dietary needs—just swap in ingredients that cater to your guests!
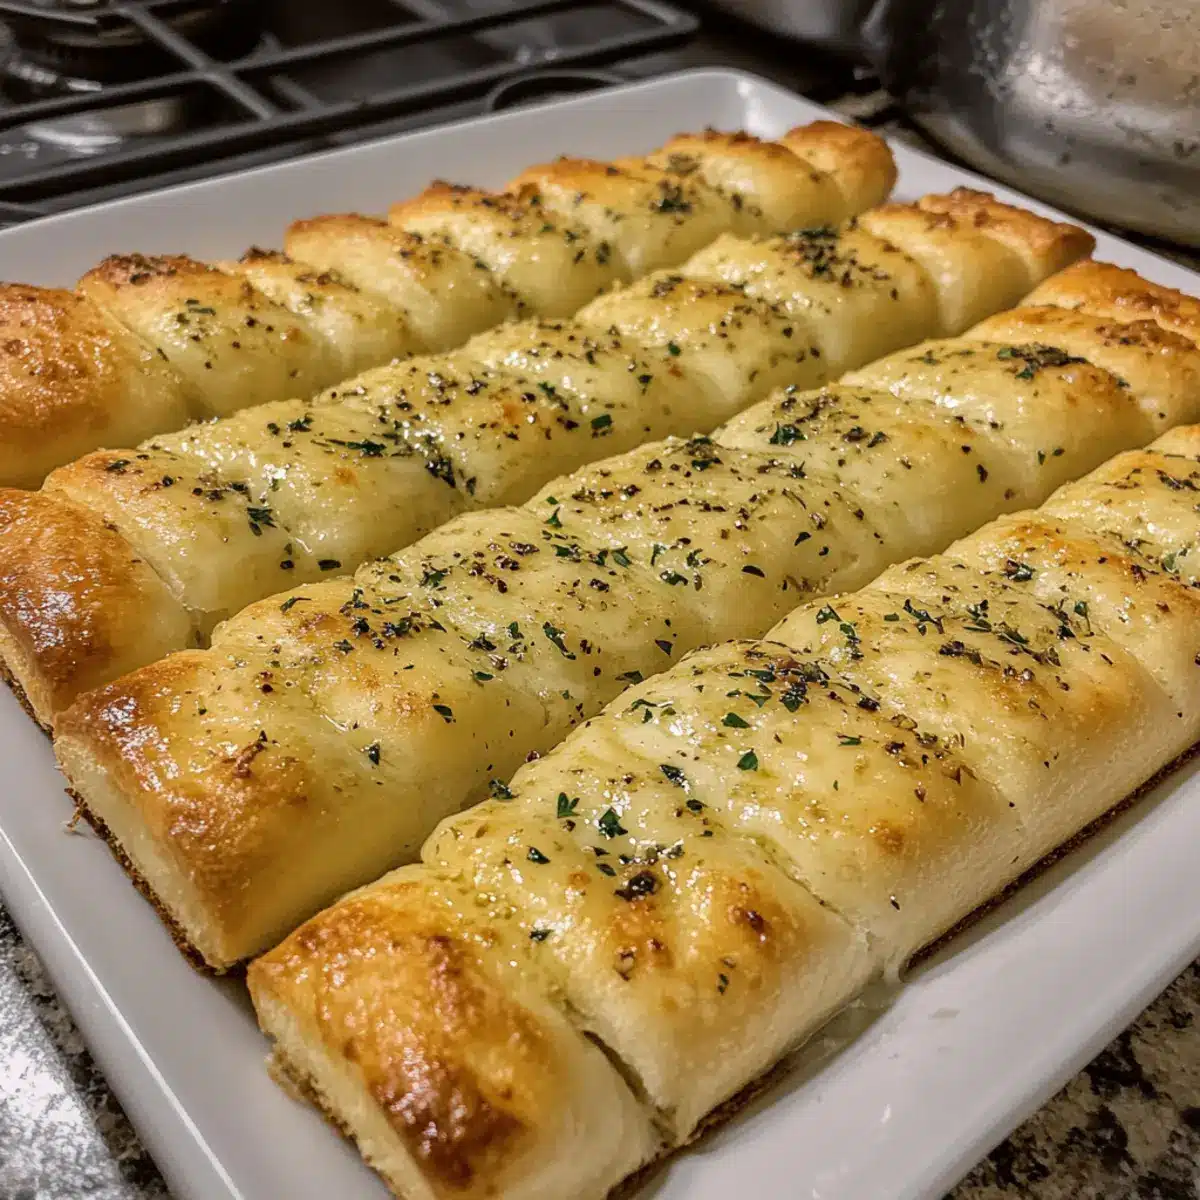
Soft Garlic Breadsticks: Fluffy, Buttery Delight for All
Ingredients
Equipment
Method
- In a mixing bowl, combine warm water, sugar, and active dry yeast. Let sit for 5-10 minutes until foamy.
- Add melted unsalted butter and salt to the yeast mixture and stir to combine.
- Gradually add all-purpose flour, stirring until a shaggy dough forms.
- Transfer dough to a floured surface and knead for about 8 minutes until smooth and elastic.
- Place dough in a greased bowl, cover with a damp cloth, and let rise for about 1 hour.
- Preheat your oven to 400°F (200°C) and prepare a baking sheet.
- Gently punch down the risen dough to release air and reshape.
- Divide the dough into 12 portions, roll into ropes, and arrange on the baking sheet.
- Cover with a towel and let the breadsticks rise for another 30 minutes.
- Melt additional unsalted butter and mix with minced garlic, garlic powder, parsley, oregano, and salt.
- Brush half of the garlic butter mixture over the tops of the breadsticks.
- Bake for 12-15 minutes, checking for a golden brown color.
- Remove from oven and brush with reserved garlic butter.
- Sprinkle with grated Parmesan and garnish with fresh parsley.
Leave a Reply