
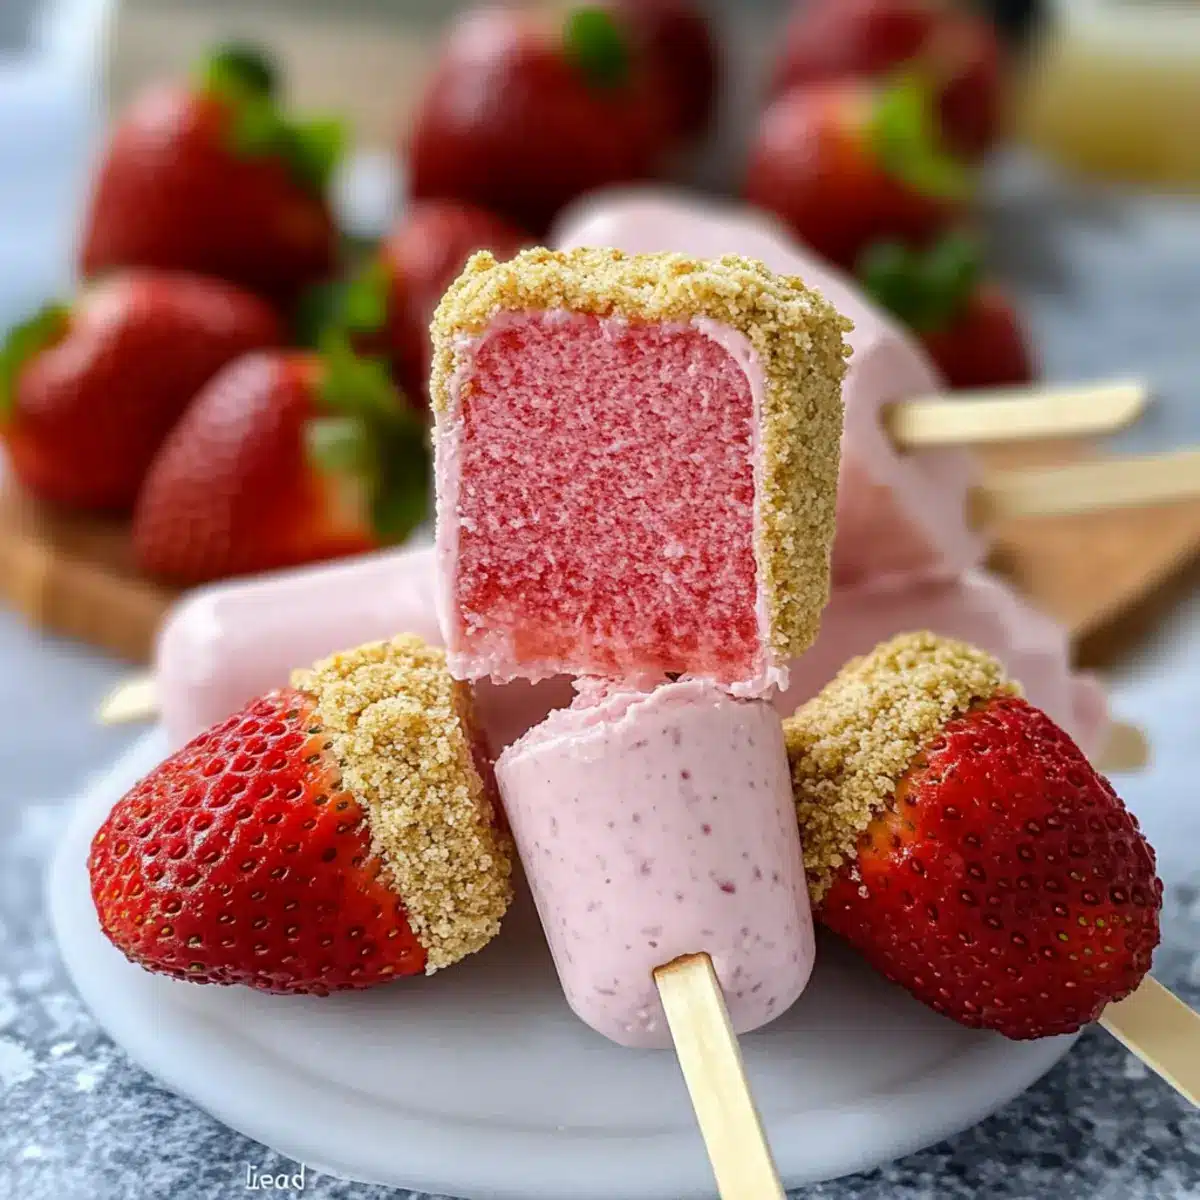
As the sun pours down and the heat rises, I find myself dreaming about cool, refreshing sweets that carry the essence of summer. That’s where these No-Bake Strawberry Cheesecake Pops come in, a delightful answer to the question of what to whip up when the temperatures soar. With just twenty minutes of prep time, these quick and easy pops marry the indulgent creaminess of cheesecake with the vibrant sweetness of fresh strawberries—all without turning on the oven! They’re not only a fun treat for the whole family but also a perfect make-ahead dessert to surprise your guests at summer gatherings. Want to learn how to keep cool and keep the dessert table filled with smiles? Let’s dive in!
Why Are These Pops a Must-Try?
Quick and Easy: With only twenty minutes to whip these pops together, you’ll spend less time in the kitchen and more time enjoying the sun.
No-Bake Convenience: Say goodbye to oven heat and hello to a cool, refreshing treat that’s perfect for hot summer days!
Fresh Fruit Flavor: The vibrant taste of fresh strawberries shines through in each bite, offering a burst of summer sweetness that feels truly indulgent.
Versatile Variations: Feel free to switch up the fruit or crust to suit your taste—try chocolate cookies for a decadent twist or go berry crazy! For more delicious ideas, check out my Pistachio Mushroom Cheesecake and Velvet Oreo Cheesecake.
Crowd-Pleaser: These pops are an instant hit at BBQs, birthday parties, or just to keep the kids happy on a hot day! Enjoying a sweet treat has never been so effortless.
No-Bake Strawberry Cheesecake Pops Ingredients
For the Cheesecake Mixture
- Cream Cheese – Provides richness and creaminess; use full-fat cream cheese for best results.
- Powdered Sugar – Adds sweetness and smooth texture; ensure it’s sifted to avoid lumps.
- Vanilla Extract – Enhances flavor depth; pure vanilla extract is recommended for optimal taste.
- Heavy Cream – Whipped to stiff peaks for lightness and volume; substitute with coconut cream for a dairy-free version.
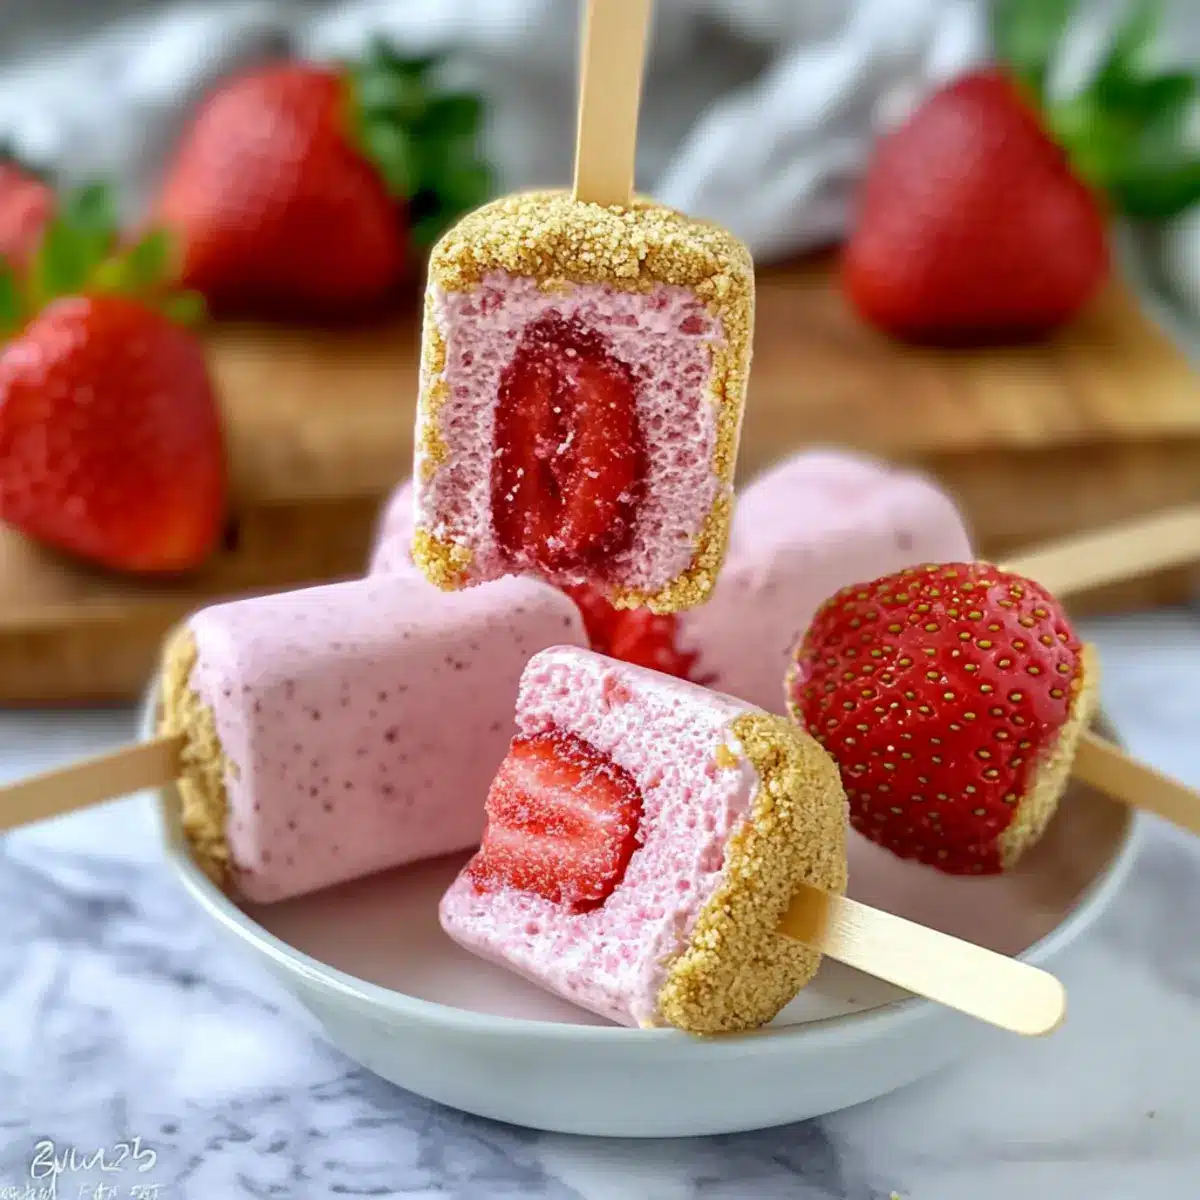
- Fresh Strawberries – Offers natural sweetness and vibrant flavor; frozen berries can be used, just thaw and drain to avoid excess moisture.
For the Crust
- Graham Cracker Crumbs – Creates a crunchy crust; can be substituted with crushed cookies or gluten-free alternatives.
- Unsalted Butter – Binds the cracker crumbs together; use margarine or coconut oil as a substitute for a dairy-free option.
These No-Bake Strawberry Cheesecake Pops come together quickly, making them a delightful dessert that everyone will adore!
Step-by-Step Instructions for No-Bake Strawberry Cheesecake Pops
Step 1: Prepare the Cream Cheese Mixture
In a large mixing bowl, beat 8 ounces of softened cream cheese and ½ cup of sifted powdered sugar together until the mixture is smooth and creamy, about 2-3 minutes. You want to ensure there are no lumps left; it should be velvety. This creamy base is the foundation of your No-Bake Strawberry Cheesecake Pops, ready to embrace the fresh flavors to come.
Step 2: Add Flavor
To the cream cheese mixture, mix in 1 teaspoon of pure vanilla extract and 1 cup of fresh strawberry puree, blending until everything is well combined. The strawberry puree adds a natural sweetness and vibrant color to the mixture. Make sure to scrape down the sides of the bowl to fully incorporate all ingredients, achieving a luscious pink hue that hints at the deliciousness to come.
Step 3: Whip the Cream
In a separate chilled bowl, whip 1 cup of heavy cream using an electric mixer until stiff peaks form, which typically takes about 3-5 minutes. You’ll know it’s ready when the cream holds its shape and looks fluffy, providing that light texture we desire in the No-Bake Strawberry Cheesecake Pops. Be careful not to overmix, as you want to keep it airy and delightful.
Step 4: Combine Mixtures
Gently fold the whipped cream into the strawberry cheesecake mixture using a spatula, mixing just until combined. This step is crucial, as it ensures your No-Bake Strawberry Cheesecake Pops maintain a light and airy texture. Your mixture should look fluffy and well-blended with a few visible streaks of white cream.
Step 5: Prepare the Crust
In a small bowl, mix 1 cup of graham cracker crumbs with 4 tablespoons of melted unsalted butter until the crumbs are evenly coated. This mixture should resemble wet sand and will form a delightful, crunchy base for your treats. Set this aside to allow the crumbs to soak in the butter flavor while you prepare the molds.
Step 6: Fill the Molds
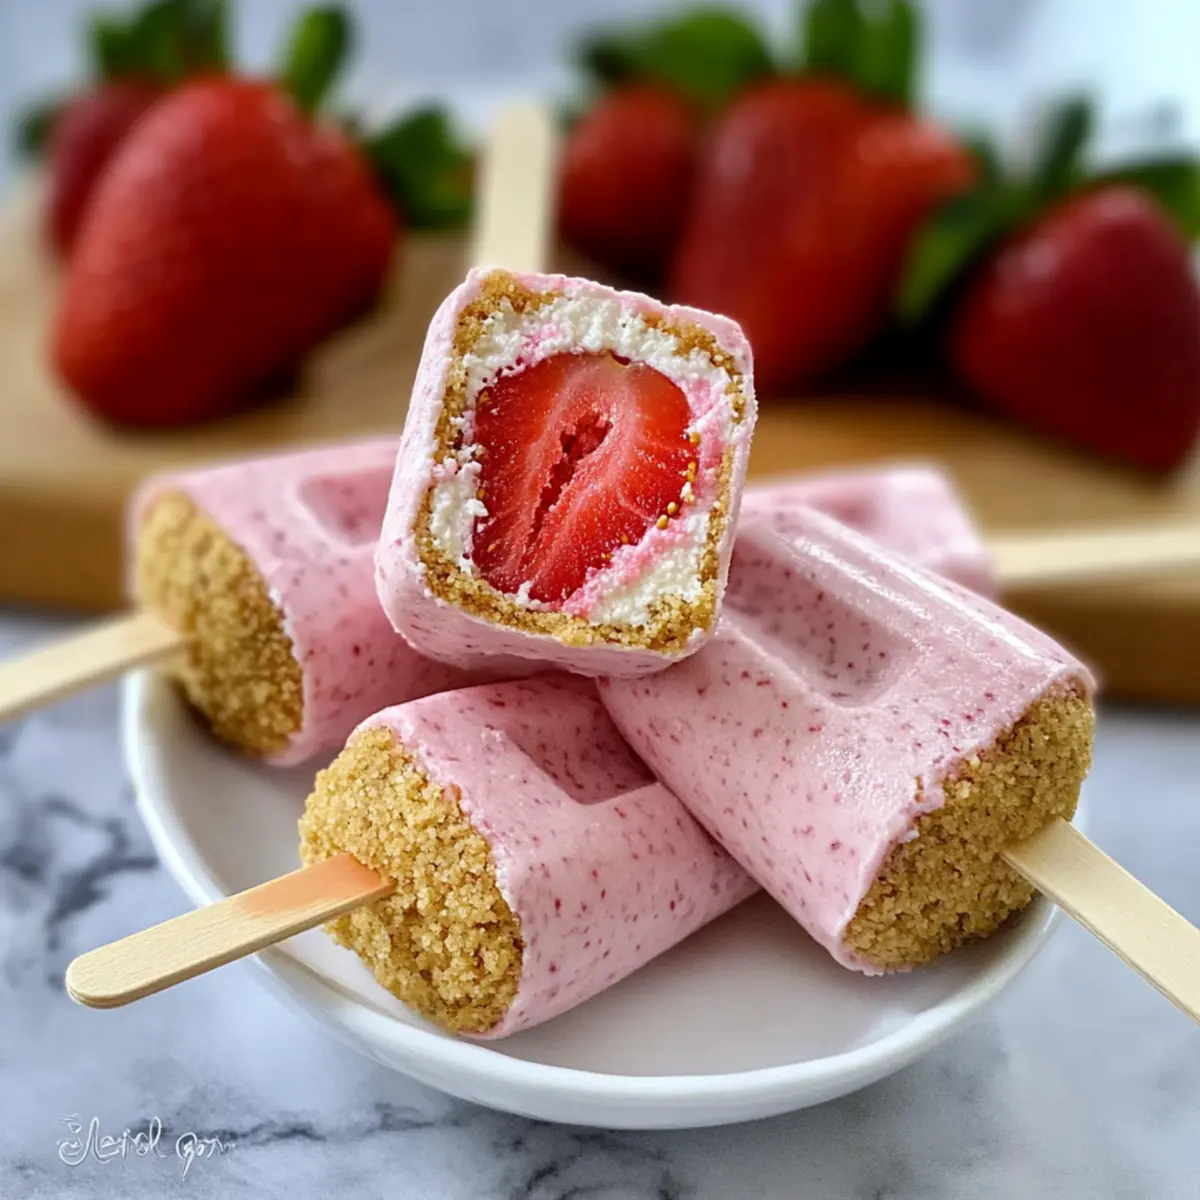
Carefully spoon the cheesecake mixture into popsicle molds, filling them about three-quarters full to leave space for the crust. Use a small spatula or the back of a spoon to press the mixture down for an even layer. This creates a solid foundation for your No-Bake Strawberry Cheesecake Pops, ensuring they hold their shape once frozen.
Step 7: Add the Crust
Top each filled mold with the graham cracker crust mixture, pressing it down gently with your fingers to create a compact layer. This gives your pops a satisfying crunchy texture that beautifully contrasts with the creamy cheesecake. Make sure to distribute the crust evenly across all molds for consistent flavor.
Step 8: Insert Sticks and Freeze
Insert popsicle sticks into the center of each mold, making sure they are secure. Place the molds in the freezer and allow them to freeze for at least 4 hours or until completely solid. You’ll know they are ready when they are firm to the touch, promising a cool and refreshing bite on a hot day.
Step 9: Unmold and Serve
Once frozen, run the molds under warm water for about 10 seconds to loosen the pops, then gently pull them out. Take care not to rush this step, as you want to preserve the integrity of your No-Bake Strawberry Cheesecake Pops. Serve immediately or store in a sealed freezer bag for up to two weeks of delicious enjoyment.
How to Store and Freeze No-Bake Strawberry Cheesecake Pops
Fridge: Keep the pops in the refrigerator for up to 30 minutes if you plan to serve them soon. However, they are best stored in the freezer.
Freezer: Store the pops in a sealed freezer bag or airtight container for up to 2 weeks. Be sure to wrap each pop in parchment paper to prevent freezer burn!
Unmolding Tips: If you need to thaw them a bit before serving, let them sit at room temperature for about 5 minutes after removing from the freezer, making it easier to enjoy these delightful No-Bake Strawberry Cheesecake Pops.
Reheating: There’s no need to reheat, as these pops are delightful served straight from the freezer for a refreshing treat!
No-Bake Strawberry Cheesecake Pops Variations
Feel free to let your creativity shine and savor these delightful pops in your own way!
-
Dairy-Free: Substitute heavy cream with coconut cream and use dairy-free cream cheese for a luscious alternative.
-
Chocolate Lovers: Replace graham cracker crumbs with crushed chocolate cookies for a decadent chocolate base. It’s a delightful twist reminiscent of indulgent desserts!
-
Berry Mix: Try blending purees; swap strawberries for blueberries or raspberries to create a mixed berry sensation that’s bursting with flavor.
-
Nutty Addition: Fold in chopped almonds or walnuts into the mixture for a satisfying crunch. This elevates the texture and adds a lovely nutty depth.
-
Spicy Kick: Add a pinch of cayenne pepper or chili powder to the mixture for a surprising yet delightful heat that contrasts well with the sweetness.
-
Mini Chocolate Chips: Stir in mini chocolate chips for playful bites of chocolate throughout your cheesecake pops. This will thrill chocolate lovers of all ages!
-
Vegan Version: Use vegan cream cheese and whipped coconut cream, and switch out butter with a plant-based alternative for a tasty vegan treat.
-
Layered Pops: Create layers by alternating between layers of strawberry cheesecake and a raspberry or mango puree for a beautiful color contrast and a full flavor experience.
Don’t forget to enjoy these variations alongside other delightful desserts like my No-Bake Chocolate Oatmeal Cookies or the decadent Velvet Oreo Cheesecake! Each option brings its own unique touch to the table, ensuring your dessert spread dazzles all summer long.
Expert Tips for No-Bake Strawberry Cheesecake Pops
-
Soften the Cream Cheese: Ensure your cream cheese is fully softened to room temperature before mixing. This will yield a perfectly smooth and creamy texture for your pops.
-
Avoid Overwhipping: When whipping the heavy cream, stop as soon as stiff peaks form. Overwhipping can cause the cream to become grainy, compromising the lightness of your No-Bake Strawberry Cheesecake Pops.
-
Layering the Mixture: Fill your popsicle molds carefully, leaving room at the top for the graham cracker crust. This ensures an even layering effect, making each bite enjoyable.
-
Freezing Time Matters: Allow at least 4 hours of freezing time, but for best results, freeze overnight if you can! This helps your pops achieve a perfectly solid texture.
-
Creative Variations: Feel free to experiment with different fruits or crusts! Swapping out strawberries for blueberries or adding chocolate cookie crumbs can take your No-Bake Strawberry Cheesecake Pops to a whole new level.
What to Serve with No-Bake Strawberry Cheesecake Pops
As you’re preparing these delightful treats, consider pairing them with fresh flavors and textures that enhance the sweet experience.
- Zesty Lemonade: This refreshing drink balances the sweetness of the pops with a tangy kick, perfect for summer gatherings.
- Berry Fruit Salad: A mix of vibrant berries complements the strawberry flavor beautifully, adding freshness and color to the table. It’s a delightful mix of textures that everyone will enjoy!
- Chocolate Dipped Pretzels: These sweet and salty treats provide a fun crunch, making for a playful contrast to the creamy pops. Serve them alongside for a delightful snack combo!
- Minty Iced Tea: Its refreshing quality elevates the dessert experience with herbal notes that cleanse the palate. Consider garnishing with fresh mint leaves for an extra burst of aroma.
- Vanilla Ice Cream: A scoop of smooth vanilla ice cream adds an extra level of creaminess that pairs wonderfully with the cheesecake pops. Enjoy the harmony of textures in each bite!
- Graham Cracker Crust Cups: Use leftover crust mixture to create mini cups filled with fruit-flavored yogurt for a tasty, bite-sized afterthought that echoes the pops’ flavors.
- Fresh Whipped Cream: Top the pops with a dollop of lightly sweetened whipped cream for an indulgently soft touch that enhances their creamy texture.
- Margaritas (Non-Alcoholic Version): Blend lime, sparkling water, and a hint of sweetness for a refreshing mocktail that complements the fruity pops effortlessly.
These pairings ensure a balanced and delightful dessert spread, perfect for warm weather celebrations!
Make Ahead Options
These No-Bake Strawberry Cheesecake Pops are perfect for meal prep! You can prepare the cheesecake mixture and graham cracker crust up to 24 hours in advance. Simply whip the cream and fold it into the strawberry mixture, then store it in an airtight container in the refrigerator. The crust can be made and kept in a separate bag or container until you’re ready to assemble. When you’re ready to serve, spoon the cheesecake mixture into the molds, top with the crust, and freeze for at least 4 hours. This way, you ensure maximum flavor and freshness—just as delicious even after being prepped ahead! Enjoy a stress-free dessert that’s ready to impress!

No-Bake Strawberry Cheesecake Pops Recipe FAQs
How do I select ripe strawberries?
Absolutely! When choosing fresh strawberries, look for ones that are bright red, plump, and free from any dark spots or bruises. The green tops should be vibrant and fresh, indicating they’re at their peak. If you spot any mold or shriveling, it’s best to select another batch!
How long can I store the popsicles in the freezer?
You can keep your No-Bake Strawberry Cheesecake Pops in the freezer for up to 2 weeks. Ensure they are stored in a sealed freezer bag or an airtight container to avoid freezer burn. I recommend wrapping each pop in parchment paper before placing them in the bag—it really helps maintain their delicious flavor!
Can I freeze the pops for longer?
While I wouldn’t recommend keeping them for longer than 2 weeks to maintain optimal freshness, if you must, they can last up to 3 months in the freezer. Just wrap them tightly in plastic wrap or parchment paper, and place them in a heavy-duty freezer bag or container. When ready to enjoy, simply let them thaw in the refrigerator for a few hours.
What can I do if my pops don’t come out of the mold easily?
Very! If you’re having trouble removing your pops from the molds, run them under warm water for about 10 seconds. This should loosen the pops just enough to pull them out gently without any breakage. If they’re still stubborn, twist slightly while pulling them out. Patience is key here—your delicious treat will be worth the wait!
Are these pops safe for my pets or people with allergies?
It’s important to be mindful! These No-Bake Strawberry Cheesecake Pops contain ingredients like cream cheese and heavy cream that may not be safe for pets. If you have allergies, especially to dairy or gluten, consider using non-dairy alternatives like coconut cream and gluten-free cookie crumbs. Always check the labels and consult with a professional regarding any dietary concerns.
Can I make a dairy-free version of these pops?
Absolutely! To create a dairy-free No-Bake Strawberry Cheesecake Pop, substitute the cream cheese with a vegan cream cheese, and replace the heavy cream with coconut cream or a non-dairy whipped topping. Make sure to use dairy-free chocolate cookies for the crust if you’re looking for that crucial crunch.
No-Bake Strawberry Cheesecake Pops for Effortless Summer Bliss
Ingredients
Equipment
Method
- In a large mixing bowl, beat 8 ounces of softened cream cheese and ½ cup of sifted powdered sugar together until smooth, about 2-3 minutes.
- Mix in 1 teaspoon of pure vanilla extract and 1 cup of fresh strawberry puree until well combined.
- Whip 1 cup of heavy cream in a separate bowl until stiff peaks form, about 3-5 minutes.
- Gently fold the whipped cream into the strawberry cheesecake mixture.
- In a small bowl, mix 1 cup of graham cracker crumbs with 4 tablespoons of melted unsalted butter.
- Spoon the cheesecake mixture into popsicle molds, filling them three-quarters full.
- Top each filled mold with the graham cracker crust mixture and press down gently.
- Insert popsicle sticks and freeze for at least 4 hours or until solid.
- Run molds under warm water for 10 seconds to loosen pops, then gently pull them out.
Leave a Reply