
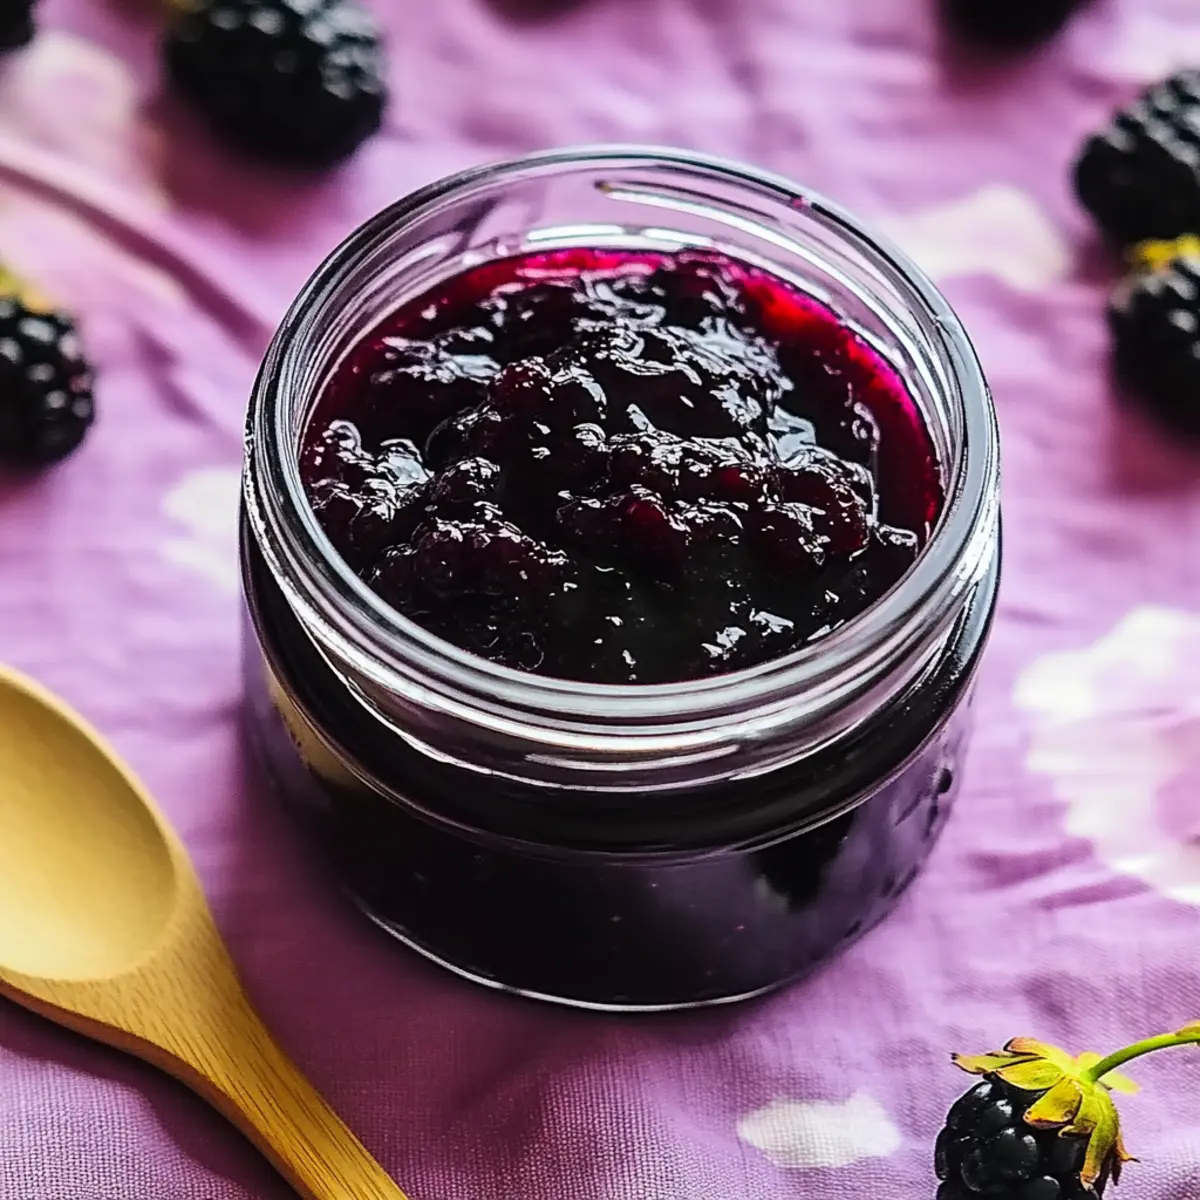
As I stood by my kitchen window, I spotted a branch heavy with ripe mulberries, lazily swaying in the afternoon breeze. There’s something truly magical about these little gems, reminiscent of carefree summers spent under the sun. With just 30 minutes of your time, you can whip up a delightful batch of Quick and Easy Mulberry Jam that brings that nostalgia straight to your breakfast table. This homemade jam not only adds a tangy sweetness to your favorite dishes, but it’s also a fabulous way to preserve those fleeting berry-filled moments, making it a perfect crowd-pleaser for both casual breakfasts and decadent desserts. Curious about how to capture the essence of summer in a jar? Let’s dive into making this scrumptious jam together!
Why is Mulberry Jam a Must-Try?
Deliciously Simple: This Quick and Easy Mulberry Jam recipe takes just 30 minutes, making it perfect for those busy mornings when you crave a homemade touch.
Bursting with Flavor: Each spoonful delivers a vibrant, sweet, and tangy taste that elevates any breakfast or dessert.
Versatile Spread: Spread it on toast, use it as a topping for pancakes, or even as a filling for cookies – the options are endless!
Nostalgic Memories: Relish the delightful essence of summer with every jar, perfect for sharing at brunches or family gatherings.
Made with Love: Creating this jam is not just about preserving fruit; it’s about making memories with loved ones around the table. Hence, you might want to check out our guide on preserving summer fruits for more delightful recipes to explore!
Mulberry Jam Ingredients
• Here’s what you need for a delightful batch!
For the Jam
- Mulberries – 350 g – Provides the main flavor and sweetness; choose ripe and clean berries free of stems.
- Sugar – 300 g – Acts as a preservative and sweetener; adjust to taste if you prefer less sweetness.
- Lemon Juice – ½ tbsp – Enhances flavor and balances sweetness; fresh juice is recommended.
Step‑by‑Step Instructions for Quick and Easy Mulberry Jam
Step 1: Prepare Ingredients
Start by gathering all your ingredients: 350g of ripe mulberries, 300g of sugar, and ½ tablespoon of fresh lemon juice. You’ll also need a large pot, a wooden spoon, and sterilized jars for storing your jam. Ensure that your mulberries are clean and free from stems, setting the stage for a delicious mulberry jam that bursts with flavor.
Step 2: Mix and Heat
In a large pot, combine the prepared mulberries, sugar, and lemon juice. Set your heat to medium, and gently stir the mixture until the sugar is fully dissolved, which should take about 5 minutes. This initial blending is crucial for developing the sweet-tangy flavor profile that defines your homemade mulberry jam.
Step 3: Bring to a Boil
Once the sugar has dissolved, increase the heat to bring the mixture to a gentle boil. Keep an eye on it while stirring regularly to prevent any sticking. You’ll know it’s time to move to the next step when the mixture bubbles energetically and becomes fragrant, which should take around 5 minutes.
Step 4: Let It Simmer
Reduce the heat to low, allowing the mixture to simmer steadily for about 20 to 30 minutes. Stir often to ensure it cooks evenly, and watch as the colorful blend transforms into a thickened consistency. The jam will start to bubble less aggressively, and you’ll see a rich, vibrant hue develop throughout.
Step 5: Test Consistency
To check if your quick and easy mulberry jam is ready, use a chilled plate and drop a spoonful of jam onto it. If the jam wrinkles slightly when nudged, it’s ready for jarring. If it remains runny, continue simmering for another few minutes. This step is vital in achieving the perfect spreadable texture.
Step 6: Jar It Up
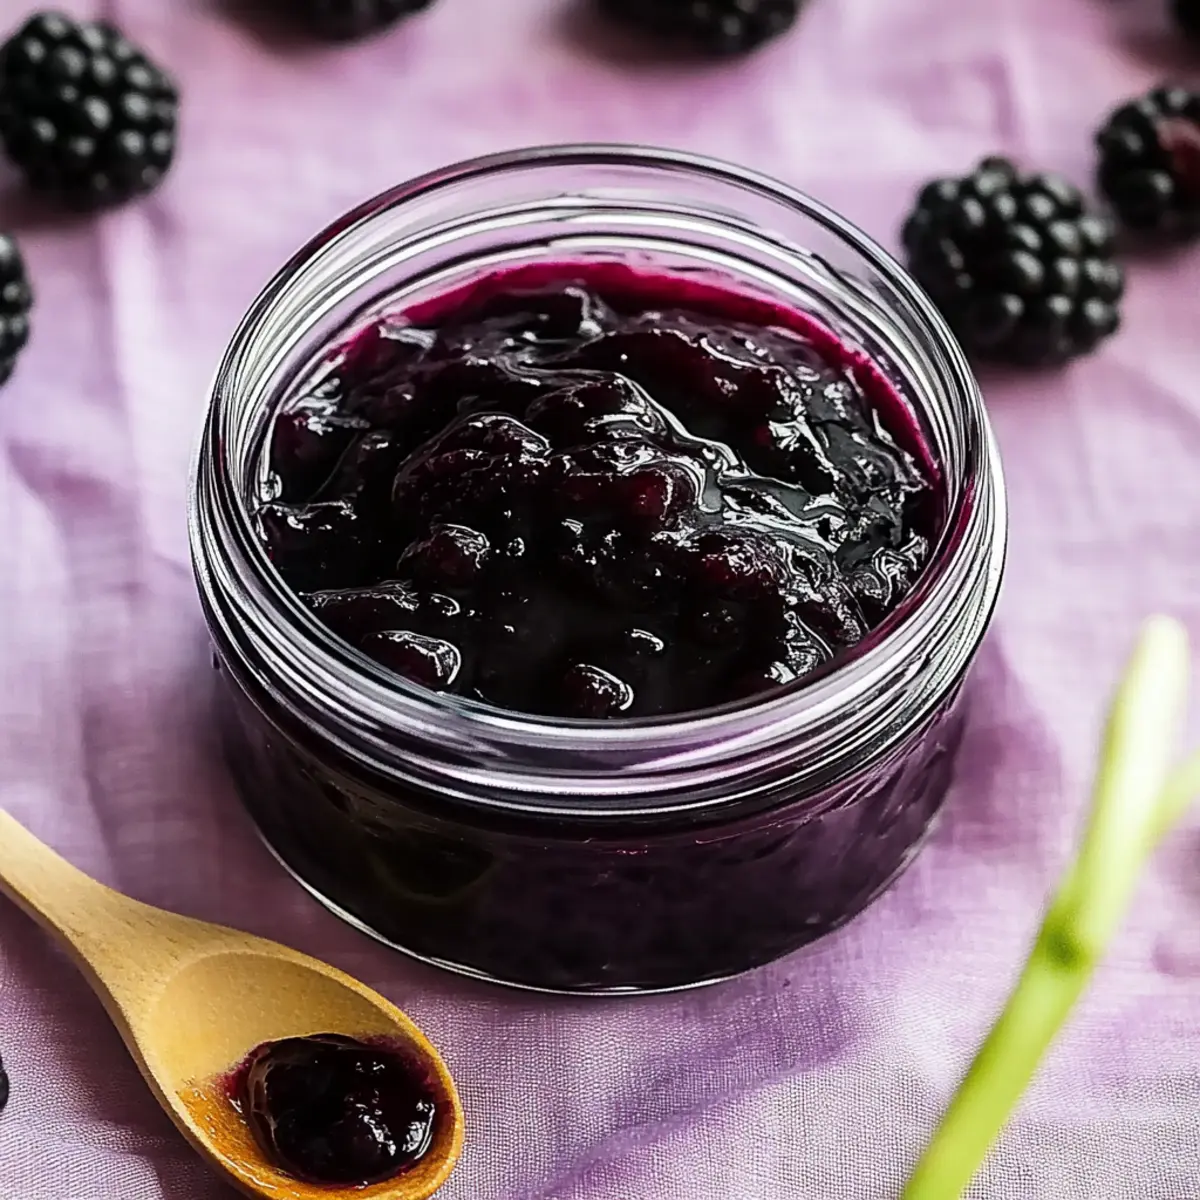
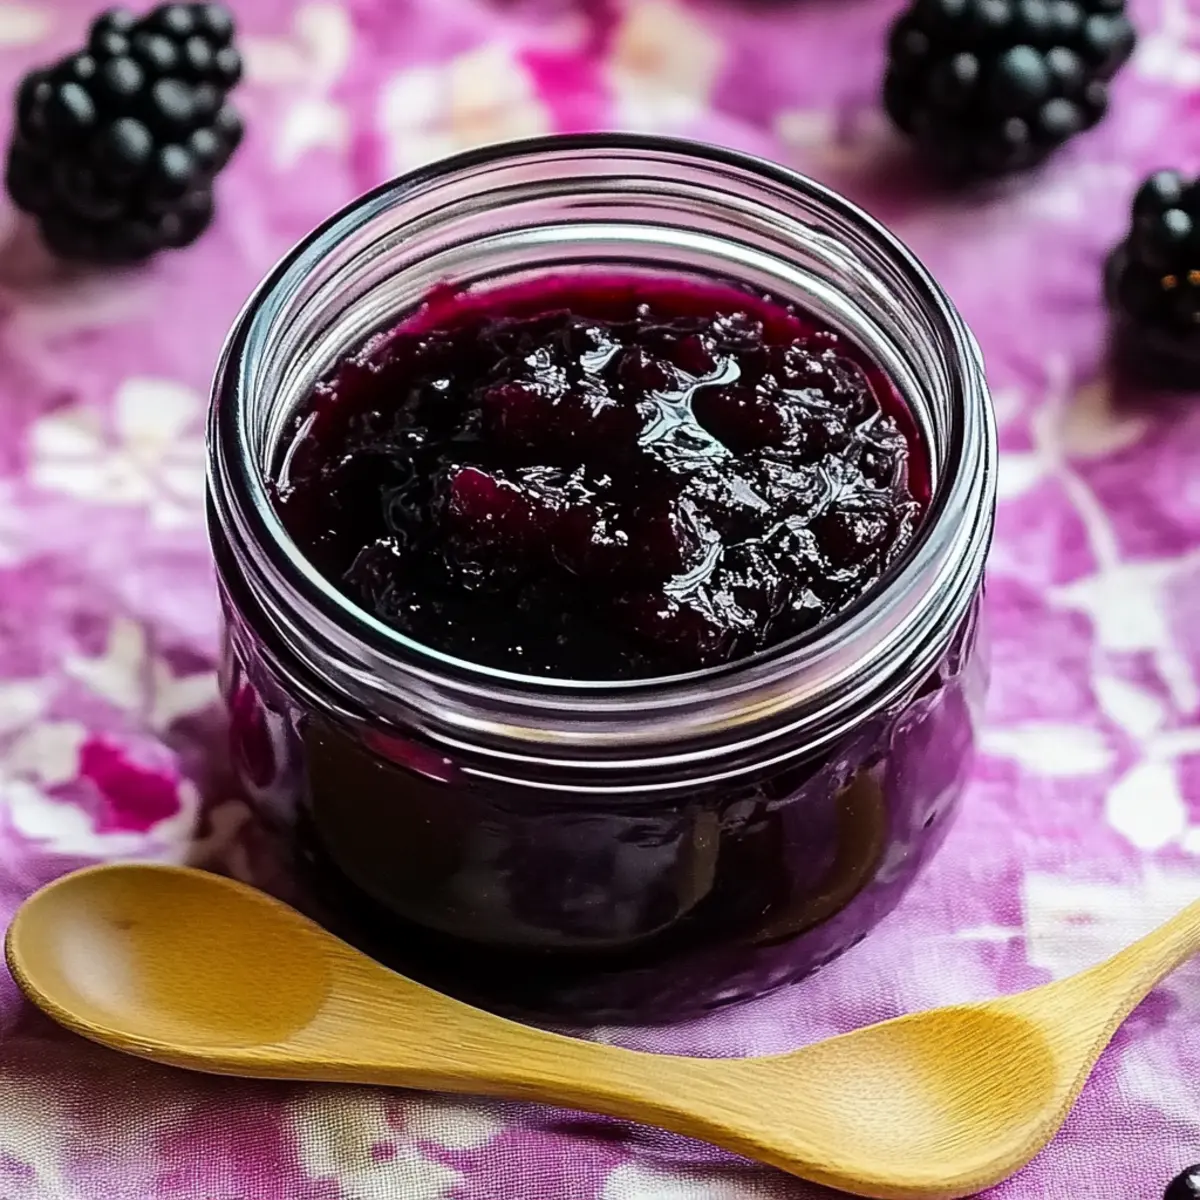
Once the jam has reached the desired consistency, carefully transfer it into your sterilized jars. Using a funnel can help minimize mess. Allow the jam to cool slightly before sealing the jars tightly. This homemade mulberry jam is sure to bring joy and nostalgia to your breakfast or dessert table.

How to Store and Freeze Mulberry Jam
-
Room Temperature: Store sealed jars of mulberry jam in a cool, dark place for up to 1 month. Ensure jars are completely cooled before sealing to maintain freshness.
-
Fridge: Once opened, keep your mulberry jam in the refrigerator for up to 3 weeks. Always use a clean spoon to avoid contamination and extend shelf life.
-
Freezer: For longer storage, freeze mulberry jam in airtight containers or freezer-safe jars, where it will last for up to a year. Thaw in the fridge before use.
-
Reheating: If the jam thickens too much after freezing, gently reheat it in a saucepan over low heat, stirring until it reaches your desired consistency.
Expert Tips for Mulberry Jam
- Choose Fresh Berries: Ensure your mulberries are ripe and clean, free from stems to achieve a pure, sweet flavor in your homemade jam.
- Mind the Heat: Keep a close watch on the heating process to avoid sticking or burning; stirring regularly helps maintain an even consistency.
- Testing for Doneness: Always use a chilled plate to test your jam’s consistency; it’s the best way to know when it’s ready without guesswork.
- Storage Solutions: Store your mulberry jam in sterilized jars, and remember to let it cool before sealing for the best preservation results.
- Adjust Sweetness: Feel free to tweak the amount of sugar based on your taste preference—this can make your quick and easy mulberry jam just right for you!
Make Ahead Options
Making Quick and Easy Mulberry Jam is a breeze when you prep ahead! You can wash and stem the mulberries up to 24 hours in advance; simply refrigerate them in an airtight container to maintain their freshness. Additionally, you can measure out the sugar and lemon juice, ensuring a seamless cooking experience when you’re ready to make the jam. When it comes time to cook, just combine the prepared ingredients and follow the steps as usual. This approach saves you time on busy mornings while still delivering delicious and vibrant mulberry jam that’s just as delightful as if you made it all at once!
What to Serve with Quick and Easy Mulberry Jam
Indulge in delightful combinations that elevate your homemade mulberry jam experience to new heights of deliciousness.
-
Creamy Yogurt: The smoothness of yogurt perfectly balances the sweetness of mulberry jam, creating a heavenly breakfast or snack option.
-
Fluffy Scones: Freshly baked scones offer a buttery backdrop to the vibrant jam, making for a truly comforting afternoon tea treat. The crumbly texture complements the smoothness of the jam beautifully.
-
Crisp Toast: Simple yet satisfying, warm, crispy toast allows the luscious jam to spread easily, enhancing your breakfast with every bite.
-
Savory Cheese Platter: Pair with a selection of cheeses like brie or goat cheese for an unexpected sweet-savory contrast that will surprise your taste buds. It’s an ideal appetizer for gatherings!
-
Oatmeal Delight: Swirl a spoonful of mulberry jam into your morning oatmeal for a burst of fruity flavor that transforms a mundane bowl into a gourmet delight.
-
Homemade Pancakes: Elevate fluffy pancakes by drizzling warm mulberry jam on top, creating a sweet and nostalgic breakfast that kids and adults will adore.
-
Refreshing Lemonade: Serve a glass of homemade lemonade alongside your jam for a bright, refreshing drink that complements the sweet-tart nature of mulberries perfectly.
-
Decadent Cheesecake: Use mulberry jam as a luscious topping for your favorite cheesecake, adding a splash of color and fruity flavor to a classic dessert.
-
Chocolate Chip Cookies: Bake your cookies with a surprise filling of mulberry jam for an extraordinary twist that combines the rich flavor of chocolate with fruity sweetness.
Mulberry Jam Variations & Substitutions
Embrace the joys of kitchen creativity and let these variations inspire you to make this mulberry jam your own!
-
Spicy Kick: Add a pinch of cayenne or black pepper for a surprising heat that complements the sweetness beautifully. Just a dash can transform your jam into a bold spread!
-
Herbal Twist: Infuse your jam with fresh herbs like rosemary or mint for an aromatic layer of flavor. It’s a delightful way to impress guests at brunch.
-
Fruity Fusion: Mix in other berries, like raspberries or blackberries, to create a blended fruit jam bursting with flavor. Each berry brings its own charm to the jar!
-
No Sugar: Substitute with natural sweeteners such as agave nectar or honey. Adjust the quantity to taste as these sweeteners are often sweeter than sugar.
-
Citrus Burst: Swap lemon juice for orange or lime juice to brighten the flavor profile. This will give your jam a zesty punch that dances on your taste buds.
-
Chunky Style: Leave some mulberries whole for a chunky jam texture that offers delightful bites of fruit. It’s like a summer picnic in every spoonful.
-
Chia Jam: For a healthy twist, add chia seeds during the simmering process to create a nutritious, superfood jam packed with fiber. It thickens beautifully without additional sugar!
-
Vegan-Friendly: Use maple syrup or coconut sugar instead of regular sugar to embrace a vegan-friendly approach. This brings a unique, caramel-like flavor to your jam!
Have fun tailoring your mulberry jam! Each twist not only keeps the essence of summer alive in your kitchen but allows you to create something truly personal. For even more inspiration, be sure to check out our guide on preserving summer fruits for a sweet adventure!
Quick and Easy Mulberry Jam Recipe FAQs
How do I choose the best mulberries for my jam?
Absolutely! When selecting mulberries, look for berries that are fully ripe, plump, and free from dark spots or blemishes. Ripe mulberries will have a deep color and should give slightly when you press them gently. This ensures your jam will be sweet and flavorful!
How should I store my homemade mulberry jam?
Once you’ve filled your jars, let them cool completely before sealing. Store the sealed jars in a cool, dark place for up to 1 month. After opening, keep the jam refrigerated, where it’s good for about 3 weeks. Using a clean spoon each time you dip will help avoid any contamination!
Can I freeze mulberry jam?
Certainly! To freeze your mulberry jam, transfer it into freezer-safe jars or airtight containers, leaving about half an inch of space at the top for expansion. Your jam can be frozen for up to 1 year. Remember to thaw it in the refrigerator before use, and if it thickens too much, gently reheat it on low heat in a saucepan, stirring until you reach your preferred consistency.
My jam turned out runny. What should I do?
Very! If your jam hasn’t thickened as you expected, don’t worry! Simply return it to the pot, bring it back to a gentle boil, and simmer again for 5-10 minutes, stirring constantly. You can also try testing the consistency again using the chilled plate method. It might just need a little extra cooking time to achieve that perfect spreadable texture!
Are there any dietary considerations with this jam?
Yes, it’s important to note that this quick and easy mulberry jam is made with sugar and lemon juice, which is generally safe for most diets. If you have specific dietary concerns, such as sugar restrictions or allergies, consider using alternative sweeteners that are suitable for your needs. Always check the labels of your ingredients to ensure they’re safe for you and your loved ones.
How can I tell if my mulberry jam is still good?
To check the freshness of your mulberry jam, look for any signs of mold or off smells. If the lid pops up when pressed, it likely means the jar has lost its seal and should be discarded. As a good rule of thumb, an opened jar stored in the fridge should be consumed within 3 weeks to ensure the best taste and safety. Enjoy your homemade creation!
Quick Mulberry Jam Recipe for Sweet Summer Memories
Ingredients
Equipment
Method
- Start by gathering all your ingredients: 350g of ripe mulberries, 300g of sugar, and ½ tablespoon of fresh lemon juice. Ensure that your mulberries are clean and free from stems.
- In a large pot, combine the prepared mulberries, sugar, and lemon juice. Set your heat to medium, and gently stir the mixture until the sugar is fully dissolved, which should take about 5 minutes.
- Once the sugar has dissolved, increase the heat to bring the mixture to a gentle boil, stirring regularly to prevent sticking. This should take around 5 minutes.
- Reduce the heat to low, allowing the mixture to simmer steadily for about 20 to 30 minutes. Stir often to ensure it cooks evenly.
- To check if your quick and easy mulberry jam is ready, use a chilled plate and drop a spoonful of jam onto it. If the jam wrinkles slightly when nudged, it’s ready to jar.
- Carefully transfer the jam into your sterilized jars, allowing it to cool slightly before sealing tightly.
Leave a Reply