
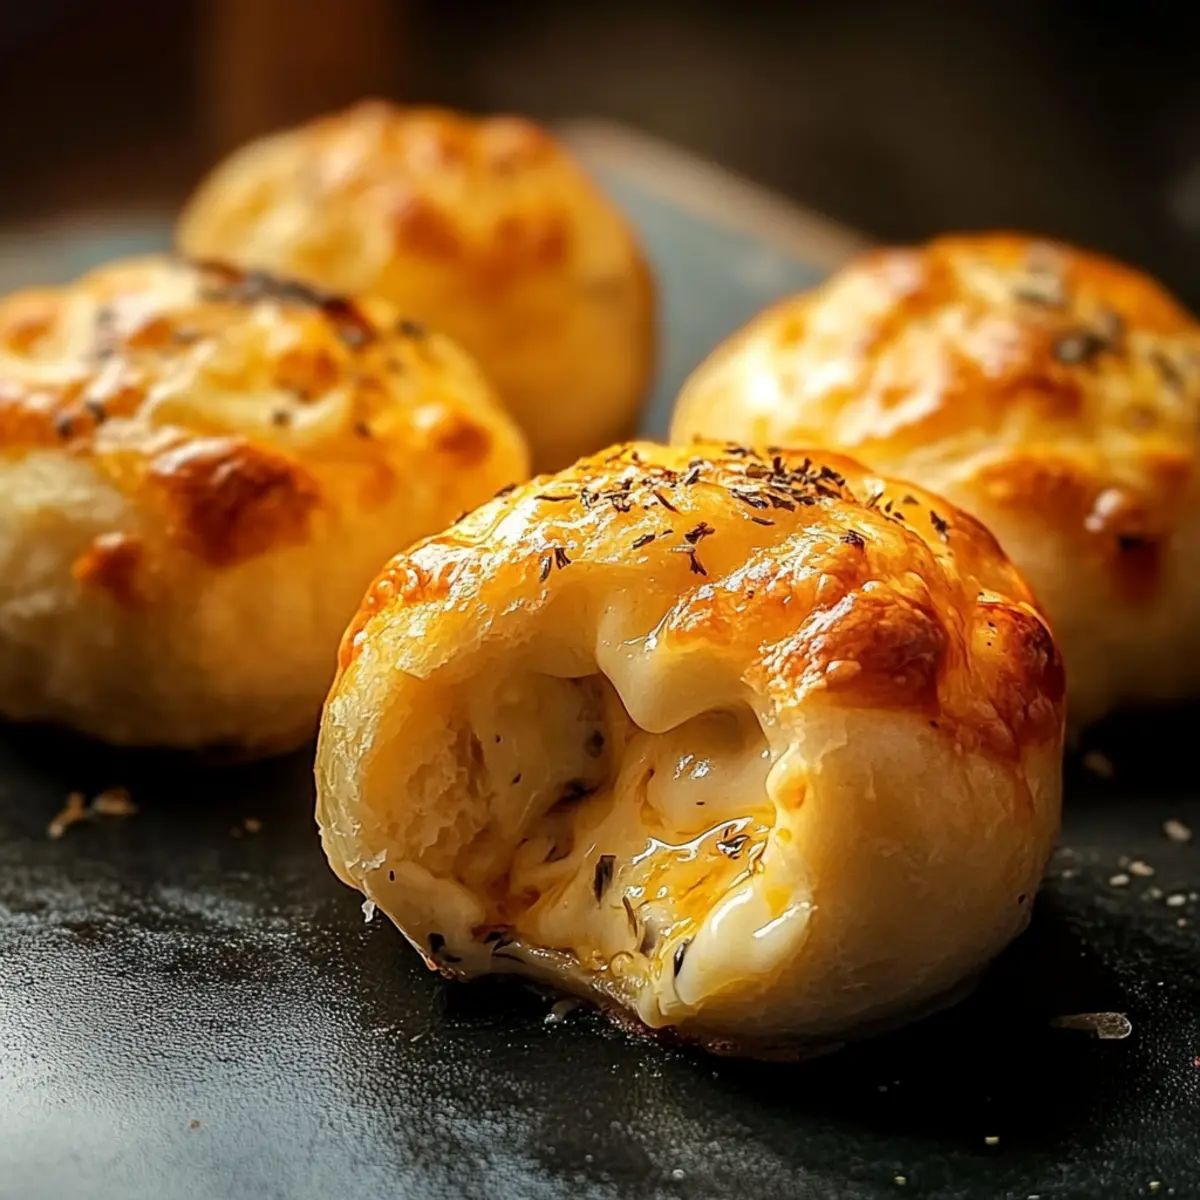
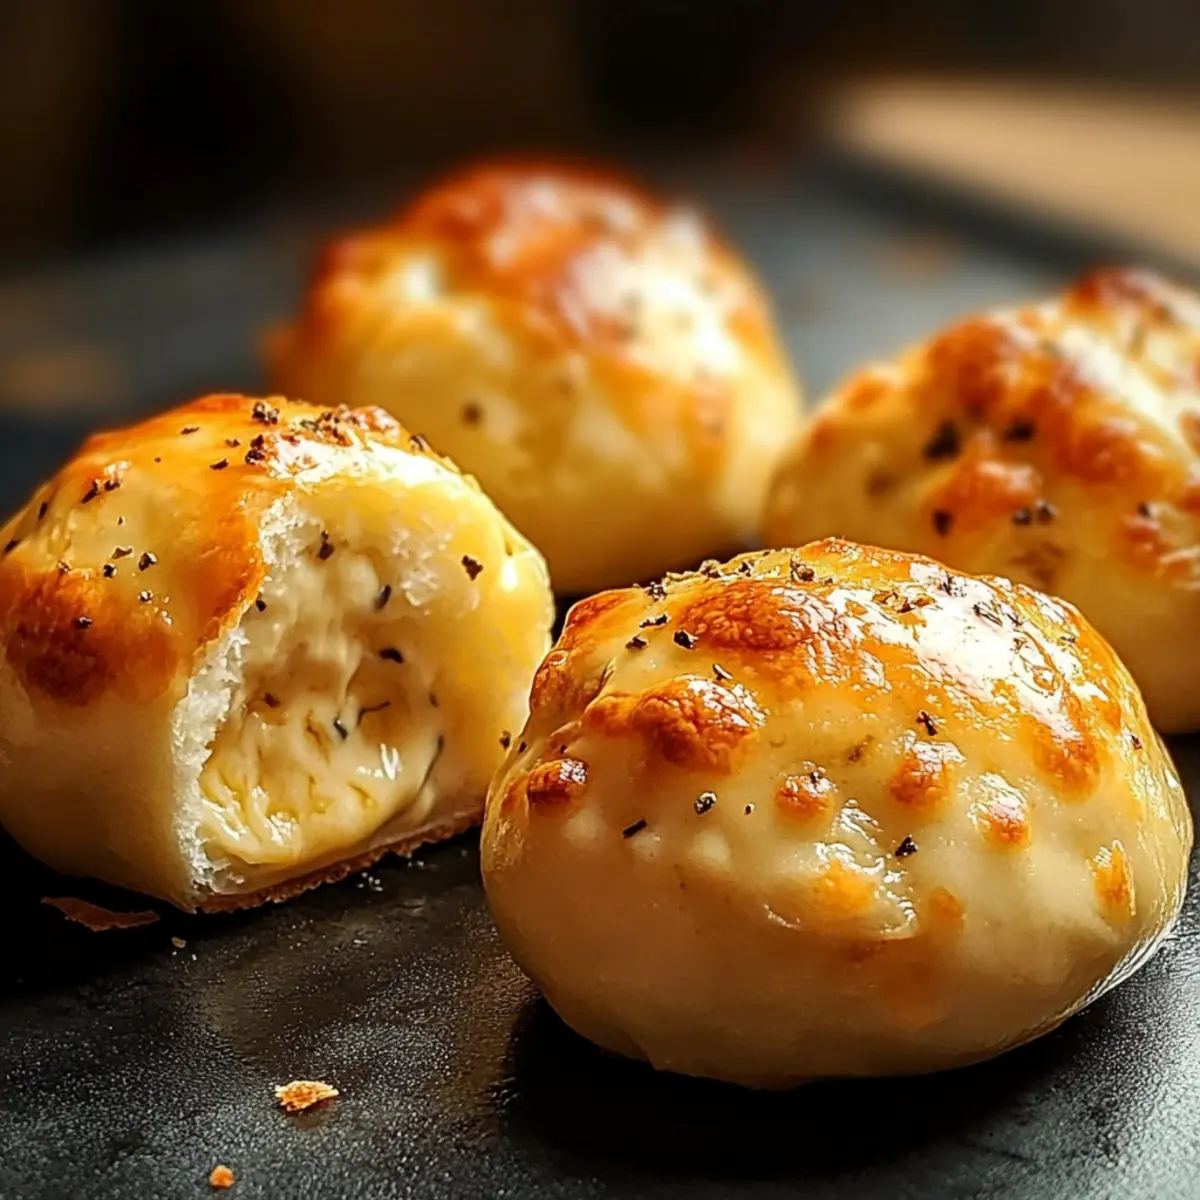
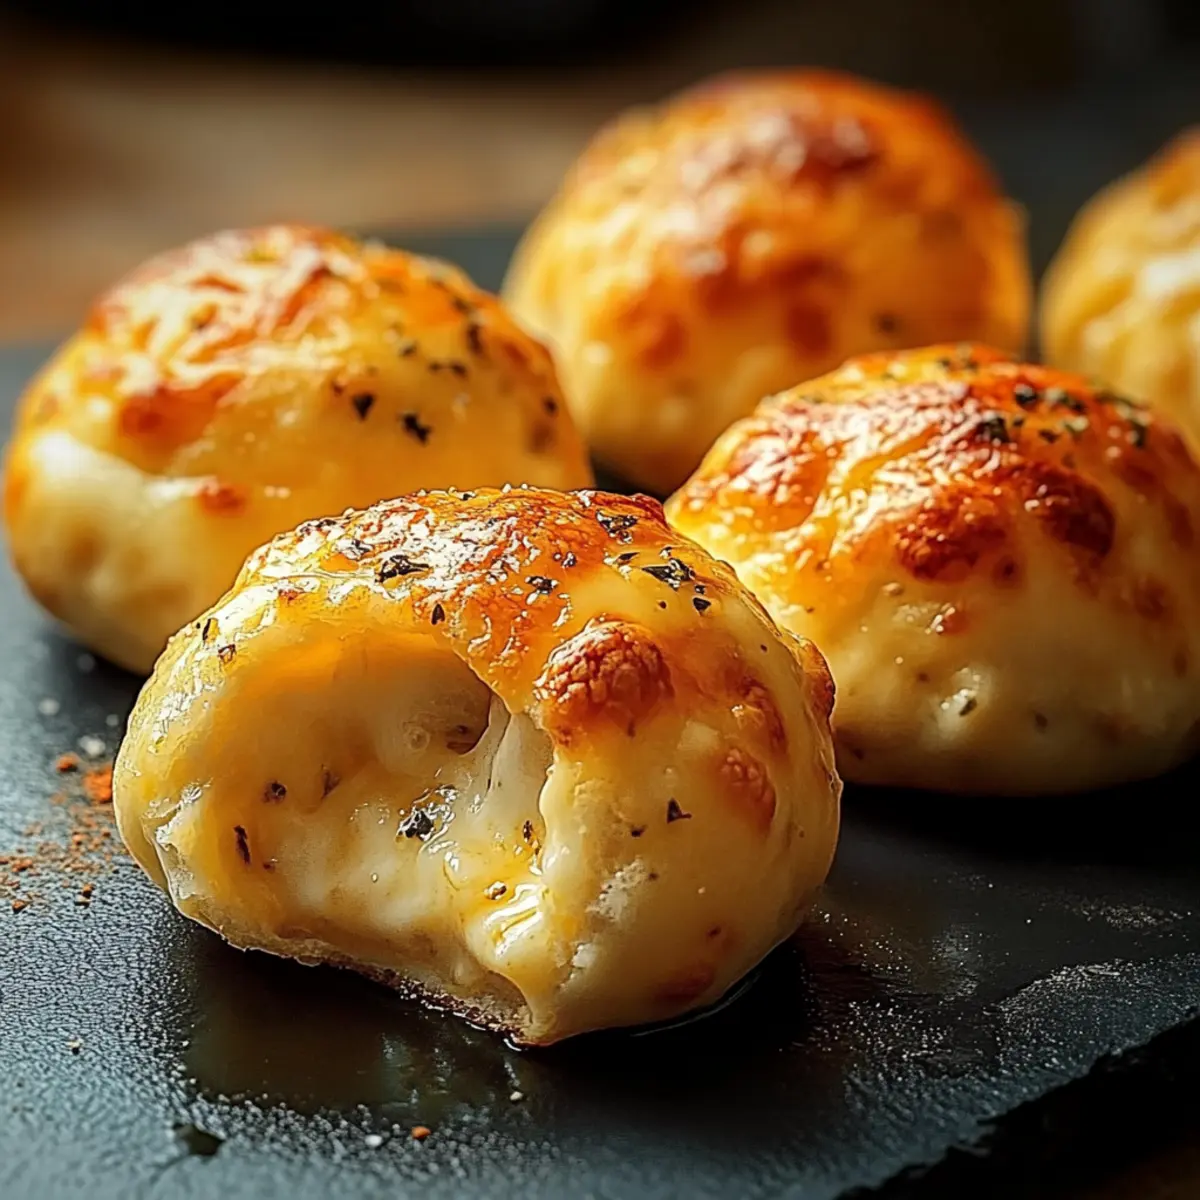
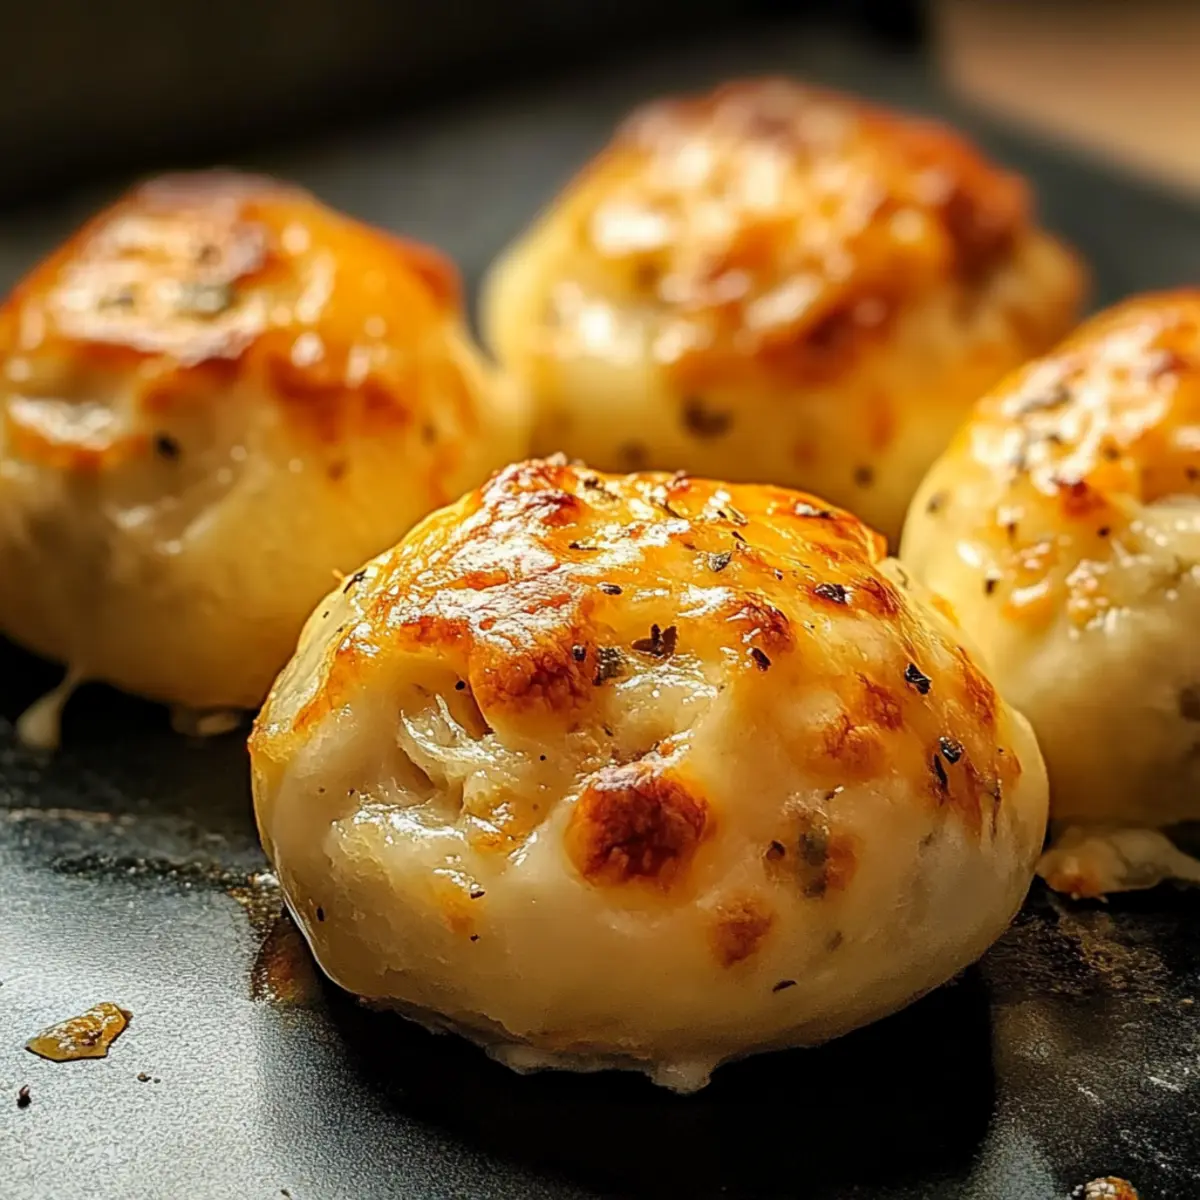
The aroma wafting through my kitchen is nothing short of magical, like a cozy embrace on a chilly evening—meet my Easy Garlic Cheese Bombs! These delightful cheesy snacks are not just irresistibly gooey but also incredibly quick to whip up, making them the perfect antidote to fast food fatigue. Picture sinking your teeth into a crispy exterior that gives way to a warm, stretchy cheese center; it’s comfort food at its finest. Plus, you can easily customize your garlic cheese bombs with a variety of fillings, like bacon or fresh herbs, adding a personal touch to this already fantastic treat. So, why not treat yourself to something homemade and heartwarming tonight? Trust me, your taste buds will thank you!
Why are Garlic Cheese Bombs a Must-Try?
Comforting, these Garlic Cheese Bombs redefine snacking with their gooey cheese center and crispy exterior. Quick to make, they are designed for busy cooks craving homemade goodness. Versatile options allow you to mix in your favorite cheeses or add crispy bacon for extra flavor. Perfect for sharing, serve them alongside a warm soup or as finger food at gatherings. Don’t forget to try them with a rich dip like Bourbon Garlic Cream for an indulgent twist!
Garlic Cheese Bombs Ingredients
For the Filling
- Garlic – Freshly minced garlic amplifies the flavor and gives these bombs their signature taste.
- Cheese (Mozzarella) – This essential ingredient provides that gooey, stretchy center; feel free to swap it for sharp cheddar if you’re looking for a different flavor profile.
- Bacon (optional) – Crispy bacon bits can elevate the flavor for a savory touch, making the bombs even more indulgent.
For the Dough
- Pizza Dough – A versatile base that adds structure and is perfect for wrapping around the cheesy goodness; store-bought makes it super easy!
- Butter – Melted butter creates a rich finish and helps achieve that beautiful golden crust; using unsalted allows for better control of saltiness.
For the Seasoning
- Italian Seasoning – A blend of herbs that perfectly complements the garlic; for a fresh option, consider using chopped parsley or basil instead.
- Salt – Essential for enhancing all other flavors; don’t forget to adjust based on your chosen cheese!
Feel free to get creative and experiment with additional ingredients to make these Garlic Cheese Bombs your own!
Step‑by‑Step Instructions for Garlic Cheese Bombs
Step 1: Preheat the Oven
Begin by preheating your oven to 350°F (175°C). This ensures that your Garlic Cheese Bombs will bake evenly and achieve that perfect golden brown color. While the oven heats up, gather your ingredients and prepare your baking sheet by lining it with parchment paper for easy cleanup later.
Step 2: Prepare the Dough
If you’re using pizza dough, roll it out on a lightly floured surface until it’s about ¼ inch thick. Cut the dough into squares, roughly 3 inches on each side. These squares will be the perfect wrappers for your cheesy filling. If using biscuit dough, simply separate the pieces and flatten them a bit with your hands.
Step 3: Assemble the Bombs
Take a square of dough and place a generous piece of mozzarella cheese in the center. Add a pinch of minced garlic and any optional ingredients, like cooked bacon or Italian herbs, on top of the cheese. Carefully fold the edges of the dough together, pinching them to seal the filling within. This step is crucial—ensure the bombs are well-sealed to prevent any delicious cheese from escaping during baking.
Step 4: Coat the Bombs
Once all the Garlic Cheese Bombs are assembled, melt about a tablespoon of butter and brush it generously over the tops of each bomb. This will create a rich, golden crust. Next, sprinkle a mixture of Italian seasoning and a dash of salt on top for added flavor. The melted butter will help these seasonings adhere beautifully.
Step 5: Bake
Place your coated Garlic Cheese Bombs on the prepared baking sheet, making sure they have enough space between them to expand. Bake in the preheated oven for 12 to 15 minutes, or until the bombs are puffed and golden brown. Keep an eye on them; you want that perfect crispness without over-baking.
Step 6: Cool and Serve
Once the Garlic Cheese Bombs are out of the oven, let them rest for about 5 minutes. This cooling time enhances the flavor and makes them easier to handle. Serve warm as an irresistible snack or appetizer, and don’t forget to have some marinara sauce on hand for dipping!
Garlic Cheese Bombs Variations
Feel free to get creative with these Garlic Cheese Bombs by adding your favorite ingredients and flavors!
- Spicy Kick: Add crushed red pepper flakes to the filling for a zesty heat that livens up each bite.
- Creamy Center: Swap mozzarella for burrata, which creates a delightfully creamy, decadent center that melts beautifully.
- Vegetarian Twist: Incorporate spinach or fresh herbs into the mixture for a pop of color and freshness that brightens the dish.
- Bacon Lovers: Mix in some crispy bacon bits for that savory, smoky flavor that pairs exceedingly well with the cheesy goodness.
- Herb Infusion: Try using fresh basil or parsley instead of Italian seasoning to give your bombs an aromatic lift.
- Cheese Medley: Combine several cheese types like cheddar and pepper jack for a flavorful explosion that elevates your snacking experience.
- Nutty Texture: Consider adding chopped nuts, like walnuts or pecans, for unexpected crunch and depth of flavor.
- Sweet Surprise: For a unique twist, add a spoonful of honey inside before sealing; it complements the savory elements beautifully.
These variations allow you to tailor the recipe to your personal taste and dietary needs. Don’t hesitate to experiment and find the perfect combination for your next snack attack! And if you love garlic and cheese, you might enjoy pairing these bombs with some Garlic Parmesan Chicken or serving with some delicious Garlic Parmesan Sweet Potato Wedges.
How to Store and Freeze Garlic Cheese Bombs
Fridge: Store leftover Garlic Cheese Bombs in an airtight container for up to 2 days. This helps maintain their deliciousness, so you can enjoy them as a quick snack later!
Freezer: For longer storage, freeze the bombs individually wrapped in plastic wrap and then place them in a freezer-safe bag for up to 2 weeks. This keeps them fresh and ready for a quick treat.
Reheating: When you’re ready to savor those frozen Garlic Cheese Bombs, preheat the oven to 350°F (175°C) and bake for about 10-15 minutes until heated through and crispy again. Enjoy the warmth!
What to Serve with Easy Garlic Cheese Bombs
Enhance your cozy cooking experience by pairing these delightful snacks with complementary flavors and textures.
- Zesty Marinara Sauce: The tangy tomato flavor provides a perfect contrast to the cheesy bites, enhancing every mouthful with vibrant freshness.
- Creamy Tomato Basil Soup: A warm, comforting soup that balances the richness of the cheese bombs with its creamy texture and fresh herbs.
- Garlic Butter Pasta: This dish echoes the garlic theme, enveloping the palate with a buttery taste, making it an indulgent pairing.
- Crisp Green Salad: A fresh salad with mixed greens and a tangy vinaigrette offers a light, refreshing counterpart to the savory cheese bombs.
Pairing these garlic cheese bombs with any of these options not only brings more depth to your meal but also turns a simple snack into a memorable feast. Happy cooking!
Make Ahead Options
These Easy Garlic Cheese Bombs are a dream for meal prep enthusiasts! You can assemble the bombs up to 24 hours in advance; just wrap them tightly in plastic wrap or store them in an airtight container to keep them fresh. Additionally, if you’re looking to prep even further ahead, you can freeze them for up to 2 weeks. Just make sure to place parchment paper between layers to prevent sticking. When you’re ready to bake, there’s no need to thaw them—simply brush with melted butter and bake from frozen at the same temperature for a few extra minutes. This way, you’ll enjoy those golden, cheesy delights just as delicious as if they were freshly made!
Expert Tips for Garlic Cheese Bombs
- Dough Sealing: Ensure each bomb is tightly sealed to prevent gooey cheese from leaking during baking. A good pinch will do the trick!
- Cheese Choices: Experiment with different cheeses. While mozzarella is classic, adding pepper jack or sharp cheddar brings exciting flavors to your garlic cheese bombs.
- Baking Watch: Keep a close eye on baking time; a perfect bomb should be golden brown but avoid over-baking to retain that gooey center.
- Additional Flavor: Consider adding a dash of your favorite hot sauce to the filling for a spicy kick that complements the cheesy goodness.
- Serving Warm: Serve these bombs warm for the best texture and flavor. They’re best right out of the oven but can be reheated briefly if needed.
Garlic Cheese Bombs Recipe FAQs
How do I choose the best garlic for my Garlic Cheese Bombs?
Absolutely! For the best flavor, use fresh garlic cloves instead of pre-minced garlic. Look for firm cloves with a papery skin that’s intact. Avoid any cloves with dark spots as they may be starting to sprout or spoil, affecting the dish’s overall taste.
How do I store leftovers of Garlic Cheese Bombs?
Very well! Place any uneaten Garlic Cheese Bombs in an airtight container in the fridge. They’ll stay fresh for about 2 days. To maintain their crispiness, reheat in the oven rather than the microwave. This way, you’ll enjoy a delightful texture with every bite!
Can I freeze Garlic Cheese Bombs? What’s the best way?
Absolutely! To freeze them, first, let the cooked Garlic Cheese Bombs cool completely. Then, wrap each bomb individually in plastic wrap, and place them into a freezer-safe ziplock bag. They can be stored in the freezer for up to 2 weeks. When you’re ready to eat, bake them from frozen at 350°F (175°C) for about 10-15 minutes until warm and crispy.
Why do my Garlic Cheese Bombs leak cheese while baking?
No worries! This can happen if the dough is not sealed tightly enough. Make sure to pinch the edges firmly after folding to secure the filling inside. If you notice a leak, it could also be due to overfilling them. Stick to a moderate amount of filling to prevent spills and maintain that delightful cheese pull!
Are Garlic Cheese Bombs safe for kids or those with dairy allergies?
The more the merrier! While Garlic Cheese Bombs are a fantastic treat for kids, keep in mind they contain cheese and dairy. If you’re preparing for someone with dairy allergies, consider using dairy-free cheese alternatives available in stores, which can still make for a delicious experience while accommodating dietary restrictions.
Garlic Cheese Bombs: Your New Obsession for Easy Snacking
Ingredients
Equipment
Method
- Preheat your oven to 350°F (175°C) and prepare a baking sheet lined with parchment paper.
- Roll out the pizza dough on a lightly floured surface to about ¼ inch thick and cut into squares.
- Assemble the bombs by placing cheese, garlic, and optional bacon in the dough squares before sealing.
- Brush the assembled bombs with melted butter and sprinkle with Italian seasoning and salt.
- Bake for 12-15 minutes until golden brown and puffed.
- Let cool for 5 minutes before serving warm with marinara sauce.
Leave a Reply