
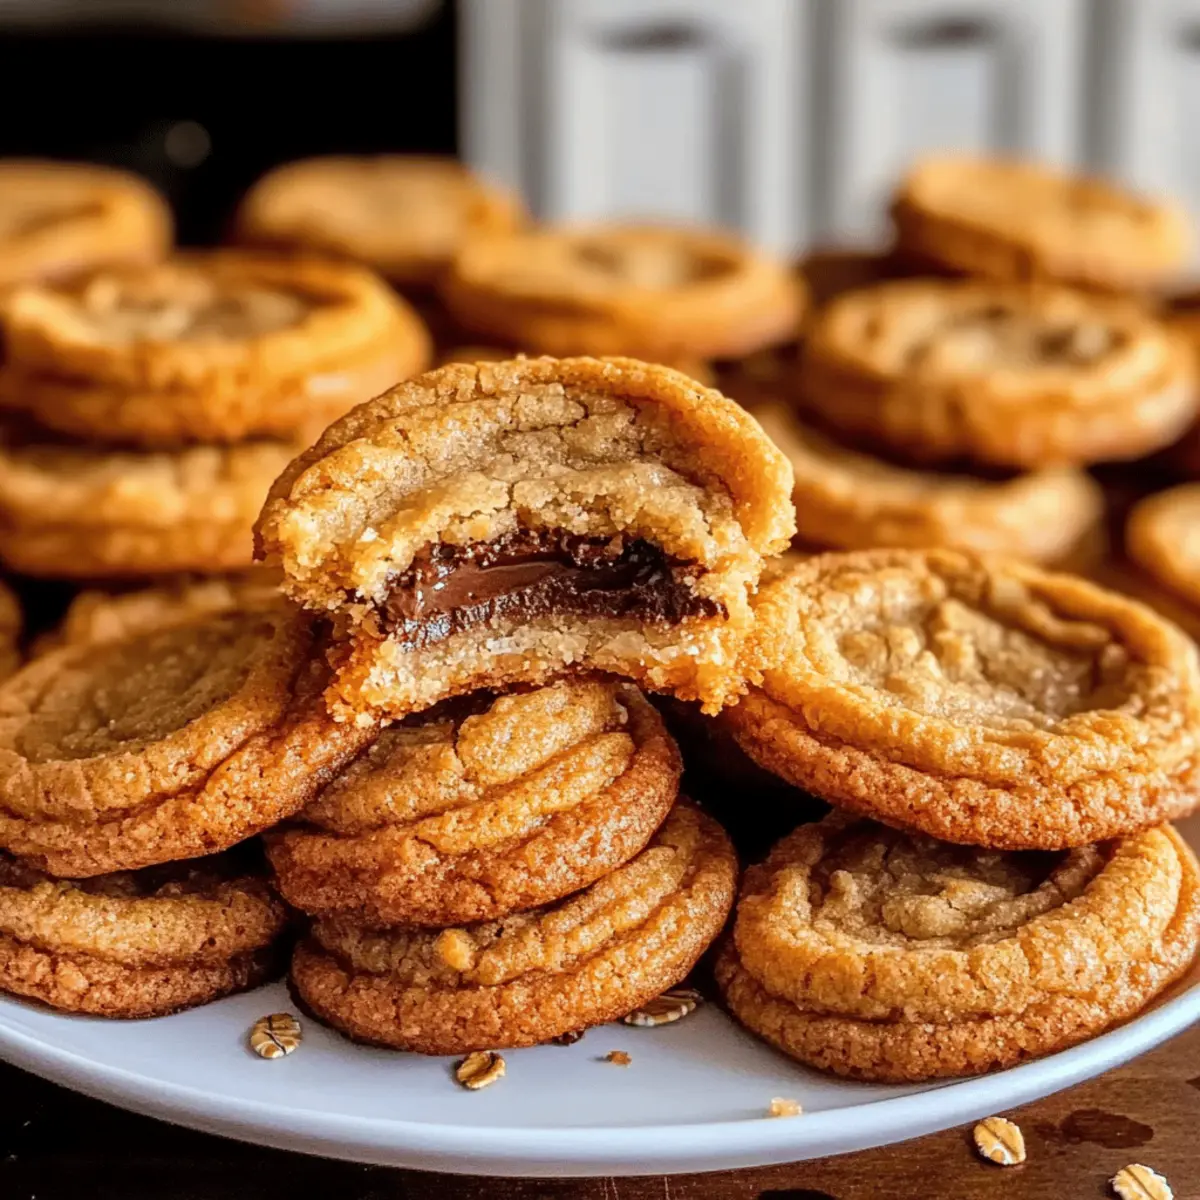
As I stood in my kitchen, I couldn’t help but smile at the aroma wafting through the air—an unmistakable blend of rich chocolate and toasted oats that made my taste buds dance with anticipation. Today, I’m thrilled to share my recipe for 4-Ingredient Crispy Chocolate Oat Cookies, a delightful treat that combines wholesome ingredients with indulgent flavor. These cookies are not only easy to make but also gluten-free, making them a perfect option for everyone craving something sweet without the guilt. With a satisfying crunch and a chewy center, these cookies strike the ideal balance between healthy snacking and satisfying your dessert cravings. Curious to see how this simple recipe can transform your kitchen into a haven of deliciousness? Let’s dive in!

Why Are These Cookies So Addictive?
Simplicity: With just four ingredients, these Chocolate Oat Cookies come together in no time, making them ideal for busy schedules.
Flavor Explosion: The rich cocoa paired with creamy nut butter creates a mouthwatering experience that will have you reaching for seconds.
Diet-Friendly: Naturally gluten-free and customizable, you can tweak the recipe to suit dietary needs, making them a hit for everyone.
Moments of Joy: Perfect for sharing at gatherings, these cookies are sure to bring smiles and compliments from friends and family alike. Enjoy them alongside a festive drink or try them with a cozy cup of coffee like when you whip up Cinnamon Roll Cookies for an extra treat!
Chocolate Oat Cookies Ingredients
Get ready to whip up something amazing!
For the Cookies
• Oats – Perfect for adding bulk and a lovely texture; choose gluten-free oats if needed.
• Cocoa Powder – For that rich chocolatey essence; unsweetened cocoa gives the best balance without too much sweetness.
• Nut Butter (e.g., almond or peanut) – Binds the mixture while adding creaminess; use sunflower seed butter for a nut-free alternative.
• Sweetener (e.g., maple syrup or honey) – Adds sweetness and helps keep cookies moist; agave syrup works great for vegan options.
Optional Mix-Ins
• Chocolate Chips – For a burst of sweet chocolate flavor; pair perfectly with the oat texture.
• Dried Fruits – Adds a fruity twist; think raisins or cranberries for a chewiness that complements the cookies.
• Spices (e.g., cinnamon) – Sprinkle some in for warmth and depth of flavor; gives an aromatic touch to your cookies that’s irresistible.
These Chocolate Oat Cookies bring together health and indulgence, satisfying that sweet craving without the guilt!
Step‑by‑Step Instructions for 4-Ingredient Crispy Chocolate Oat Cookies
Step 1: Prep the Oven
Begin by preheating your oven to 350°F (175°C). This is crucial for ensuring that your cookies bake evenly. While the oven heats, line a baking sheet with parchment paper to prevent the cookies from sticking and make cleanup a breeze.
Step 2: Mix Dry Ingredients
In a large mixing bowl, combine the oats and unsweetened cocoa powder. Stir them together until they are evenly mixed, creating a beautiful chocolatey blend. This dry mixture forms the foundation of your 4-Ingredient Crispy Chocolate Oat Cookies, providing texture and flavor.
Step 3: Incorporate Wet Ingredients
Now, add your choice of nut butter—like almond or peanut—and your sweetener, such as maple syrup or honey, to the dry ingredients. Mix everything together until a dough begins to form, ensuring it is well combined, yet still retains a slightly sticky texture. This smooth mixture is essential for the perfect cookie consistency.
Step 4: Shape Cookies
Using a spoon or cookie scoop, portion out the dough and place it onto the prepared baking sheet. Flatten each portion gently to form cookie shapes, leaving about two inches between each cookie for spreading. This step is key for achieving the ideal crunch on the outside while keeping a chewy center in your Chocolate Oat Cookies.
Step 5: Bake
Carefully place the baking sheet in your preheated oven and bake for 10-12 minutes. Keep an eye on the cookies as they bake; you’ll know they’re ready when the edges are crisp, and the centers are slightly set but still soft. This is the perfect time to enjoy that irresistible chocolate aroma filling your kitchen.
Step 6: Cool
Once baked, remove the cookies from the oven and let them sit on the baking sheet for about 5 minutes. This allows them to firm up slightly. Then, transfer the cookies to a wire rack to cool completely. This cooling process is crucial to ensure that your Chocolate Oat Cookies maintain their delightful texture.
Storage Tips for Chocolate Oat Cookies
- Room Temperature: Store the cookies in an airtight container at room temperature for up to 1 week to keep them fresh and delicious.
- Fridge: If you prefer colder cookies, place them in the fridge where they can stay good for up to 2 weeks; just allow them to come to room temperature before enjoying.
- Freezer: For longer storage, freeze the cookies in a single layer on a baking sheet, then transfer them to a freezer bag or container. They can be frozen for up to 3 months.
- Reheating: If you’re craving a warm cookie, reheat them in the microwave for about 10-15 seconds or in a preheated oven at 350°F for a few minutes. Enjoy your Chocolate Oat Cookies warm for a nostalgic treat!
Expert Tips for Chocolate Oat Cookies
- Oven Temperature Check: Ensure your oven is correctly preheated to 350°F; this vital step ensures even baking and a lovely texture.
- Mixing Wisely: Avoid overmixing the dough; gently combine ingredients to keep your Chocolate Oat Cookies light and airy.
- Baking Precision: Keep a close eye on the cookies while baking; they can go from perfect to overbaked in moments, losing that chewy center.
- Cool Down Time: Allow cookies to cool on the baking sheet briefly; this helps them firm up while retaining that satisfying crunch on the outside.
- Storing Right: Store your cookies in an airtight container to maintain freshness; they’ll stay delightful for up to a week at room temperature.
Chocolate Oat Cookies Variations & Substitutions
Feel free to explore these tempting twists that allow you to make these delightful cookies uniquely yours!
- Nut-Free: Swap nut butter with sunflower seed butter for a delicious, allergy-friendly option that maintains the same creamy texture.
- Vegan Delight: Use agave syrup instead of honey for a fully vegan cookie that’s just as sweet and satisfying.
- Oat Flour Twist: Replace oats with oat flour for a finer texture that enhances the cookie’s chewiness and creates a different mouthfeel.
- Chocolate Chip Burst: Stir in dairy-free chocolate chips for an extra rich chocolatey experience that will surely please your sweet tooth.
- Cinnamon Kick: Add a pinch of cinnamon to the dry ingredients for a warm, spiced flavor that pairs wonderfully with chocolate.
- Crunchy Add-Ins: Toss in chopped nuts or seeds for a delightful crunch and added nutrition; pecans or pumpkin seeds work beautifully!
- Fruit Fusion: Incorporate dried cranberries or raisins into the dough for a fruity twist that adds a chewiness that balances the cookie beautifully.
- Spicy Twist: Mix in a pinch of cayenne or chili powder for a surprising spicy kick that balances the sweetness perfectly.
Each variation not only enhances flavor but brings new textures, ensuring that every batch of your Chocolate Oat Cookies is a delightful adventure. For a similar wholesome treat, consider trying Pistachio Mushroom Cheesecake or indulge in the festive joy of homemade Pumpkin Pie Twists. Happy baking!
What to Serve With 4-Ingredient Crispy Chocolate Oat Cookies
Indulge your senses as you prepare to create the perfect accompaniment for your delightful cookies, elevating your snack time into a complete culinary experience.
-
Cold Glass of Milk: There’s nothing quite like the classic pairing! The creamy texture of milk complements the rich chocolatey cookies perfectly, enhancing every bite.
-
Fluffy Whipped Cream: A light dollop of whipped cream atop the cookies adds a luscious touch. It balances the cookie’s richness, creating a delightful contrast that feels indulgent.
-
Fresh Berries: Bright strawberries or raspberries introduce a refreshing burst of flavor. Their natural acidity cuts through the sweetness, creating a well-rounded snack.
-
Coconut Yogurt: For a healthy twist, try pairing with coconut yogurt. Its creaminess and subtle sweetness are a wonderful match, making for a satisfying treat.
-
Dark Hot Cocoa: Dive into coziness with a warm cup of dark hot cocoa. The deep chocolate flavor will resonate beautifully with your cookies, amplifying their indulgent taste.
-
Nut Butter Dip: Spread some almond or peanut butter on the side for a protein-rich dip. This ties in beautifully with the nutty notes of the cookies, offering even more satisfaction.
Enjoying these delightful pairings will not only enhance your cookie experience but also transform snack time into a moment of pure joy!
Make Ahead Options
These 4-Ingredient Crispy Chocolate Oat Cookies are a fantastic choice for busy home cooks looking to save time during the week! You can prepare the cookie dough up to 24 hours in advance; simply mix all ingredients as directed, then cover the bowl and refrigerate until you’re ready to bake. This not only allows the flavors to meld together beautifully but also ensures a fresher taste. When you’re ready to enjoy these delightful treats, scoop the chilled dough onto your baking sheet and bake them straight from the fridge—just remember they may need an extra minute in the oven. This make-ahead strategy guarantees you’ll have delicious cookies at your fingertips with minimal last-minute effort!

Chocolate Oat Cookies Recipe FAQs
How do I choose the right oats for these cookies?
Absolutely! When selecting oats, opt for gluten-free oats if you have celiac concerns or gluten sensitivity. Look for whole grain oats that are free from any additives. If you’re aiming for a finer texture, you can also consider using oat flour instead.
How should I store my Chocolate Oat Cookies?
These cookies can be stored in an airtight container at room temperature for up to 1 week. If you prefer them chilled, the fridge is also a great option, lasting up to 2 weeks. Just be sure to let them come to room temperature before savoring!
Can I freeze Chocolate Oat Cookies for later?
Certainly! To freeze, place the cookies in a single layer on a baking sheet and freeze until solid. Then, transfer them to a freezer-safe bag or container, sealing tightly. They can be frozen for up to 3 months. When you’re ready to enjoy one, just heat it in the microwave for about 10-15 seconds or pop it in a preheated oven at 350°F for a few minutes to bring back that delicious warmth.
What if my cookie dough is too dry or too wet?
If your dough is too dry, consider adding a bit more nut butter or sweetener until you reach the desired consistency. On the other hand, if it’s too wet, incorporate a bit more oats or cocoa powder to help bind it together. Just make sure to mix gently for the best results!
Are these cookies safe for pets or people with allergies?
While the Chocolate Oat Cookies primarily use safe ingredients, be cautious with nuts if you or someone in your household has allergies. If you have pets, it’s best to keep these cookies away; chocolate is harmful to dogs. For nut allergies, substitute with sunflower seed butter to keep the recipe nut-free!
What are some fun variations of this recipe?
Very! You can elevate your Chocolate Oat Cookies by mixing in chocolate chips, dried fruits, or even spices like cinnamon for an extra flavor kick. Feel free to get creative and adapt the recipe based on your tastes or what’s available in your pantry!

Irresistibly Creamy Pumpkin Cheesecake Cookies You’ll Love
Ingredients
Equipment
Method
- Preheat your oven to 350°F (175°C) and line a baking sheet with parchment paper.

- In a large mixing bowl, combine the oats and cocoa powder until mixed.
- Add your choice of nut butter and sweetener to the dry ingredients and mix until a dough forms.
- Scoop and flatten the dough onto the prepared baking sheet, leaving space between cookies.
- Bake for 10-12 minutes until edges are crisp and centers are slightly soft.
- Allow cookies to cool on the baking sheet for 5 minutes before transferring to a wire rack.
Leave a Reply