
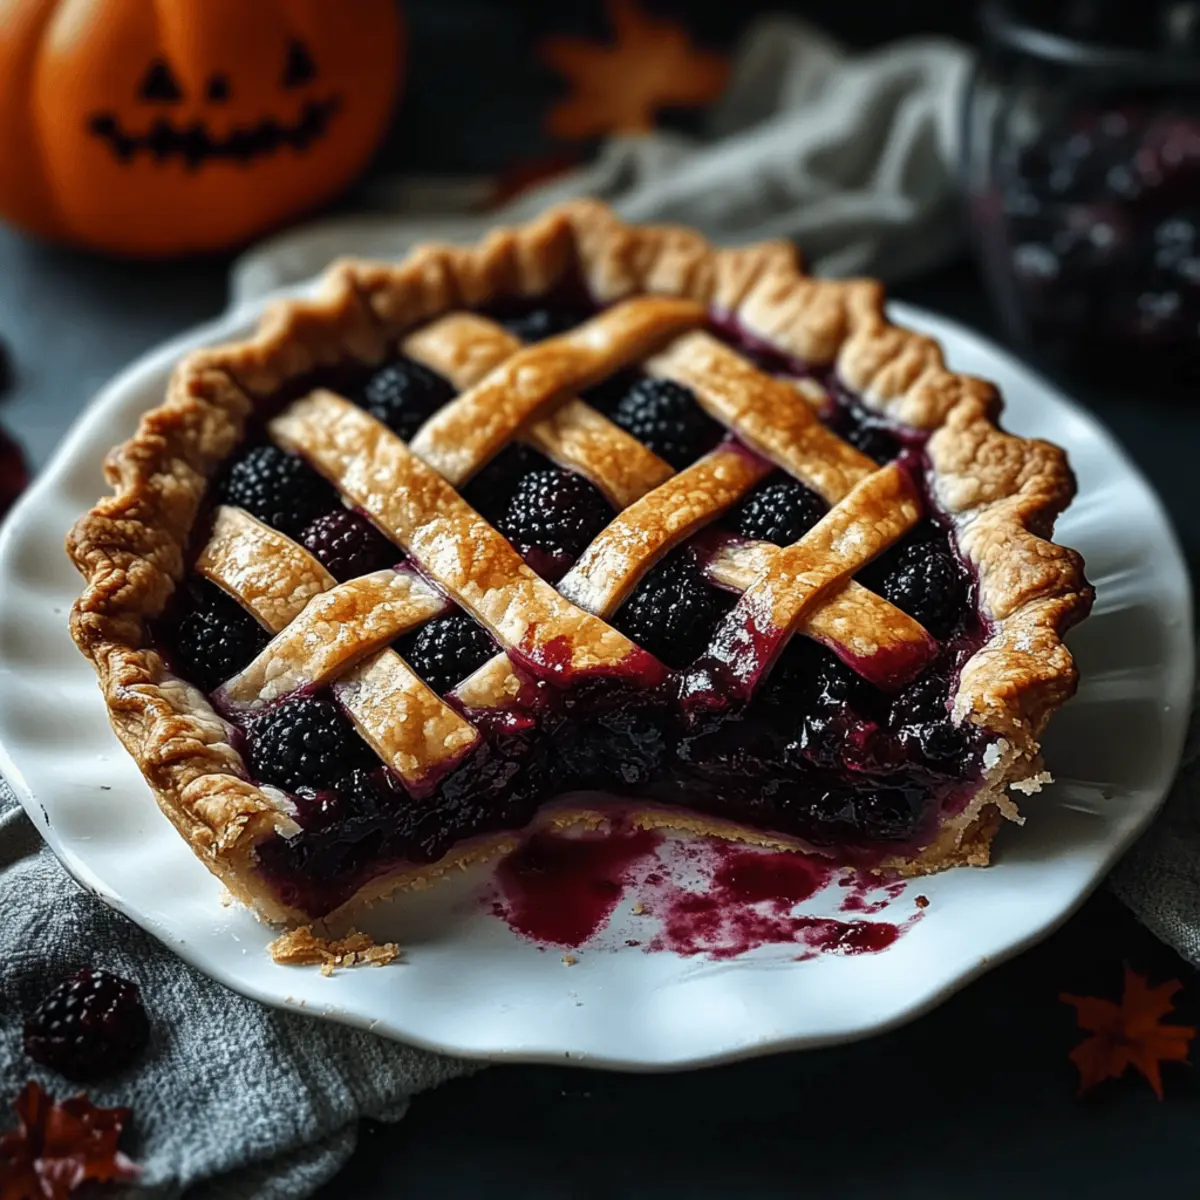
As a chill creeps into the air and cobwebs nestle in every corner, it’s time to conjure up some Halloween magic in the kitchen! Enter my Zombie Berry Pie, a delightfully spooky dessert packed with tender mixed berries—think raspberries, gooseberries, and blackberries. This pie isn’t just a feast for the eyes with its gory, bubbling filling; it also shines for its quick prep and crowd-pleasing charm, making it perfect for last-minute gatherings or haunted parties. With a flaky homemade crust that cradles all that juicy goodness, each slice promises to be a showstopper at your spooky soirée. Curious about how to create this eerie yet delicious treat? Let’s dive in!

Why is Zombie Berry Pie a must-try?
Deliciously Spooky: This pie transforms the classic berry filling into a Halloween masterpiece, making it visually stunning for all your festive gatherings.
Quick Prep Time: With straightforward instructions, you can whip this up in no time, perfect for those last-minute Halloween parties.
Customizable Flavors: Feel free to mix your favorite berries or seasonal fruits, allowing you to get creative in the kitchen.
Crowd-Pleasing Appeal: The combination of sweet, tangy filling and flaky crust ensures that everyone will be raving about this dessert! Pair it with a scoop of vanilla ice cream for an extra special treat.
Make-Ahead Magic: Prepare the crust and filling a day in advance, saving you time while still serving up fresh, homemade goodness.
Zombie Berry Pie Ingredients
For the Filling
• Mixed Berries – 5 cups of assorted berries provide a natural sweetness and tartness; use fresh or frozen for rich flavor.
• Orange Juice – 1 tbsp enhances the brightness of the berries.
• Lemon Juice – 1 tbsp amplifies tartness for balance.
• Granulated Sugar – 1 cup sweetens the filling; adjust based on berry sweetness.
• ClearJel Starch (or Tapioca Starch) – ⅓ cup thickens the filling to create a luscious texture.
• Salt – A dash enhances flavor.
• Egg + Water – 1 egg and 1 tbsp water create an egg wash for achieving a glossy crust.
For the Crust
• All-purpose Flour – 2 cups provide structure and flakiness.
• Salt – 1 tsp balances sweetness.
• Sugar – 1–2 tbsp adds a hint of sweetness to the crust.
• Baking Powder – ⅛ tsp supports a lighter texture in the crust.
• Shortening – 1 cup helps produce a tender crust.
• Cold Water – ½ cup binds the dough for the perfect crust.
This delightful Zombie Berry Pie is not only the star of your Halloween dessert table but also brings together beloved flavors and a spooky presentation!
Step‑by‑Step Instructions for Zombie Berry Pie
Step 1: Prepare the Pie Crust
In a large mixing bowl, combine 2 cups of all-purpose flour, 1 tsp salt, 1–2 tbsp sugar, and ⅛ tsp baking powder. Using a pastry cutter, cut in 1 cup of shortening until the mixture resembles coarse crumbs. Gradually add ½ cup of cold water, mixing until a dough forms. Divide the dough in half, shape into discs, wrap in plastic, and refrigerate for at least 30 minutes to firm up.
Step 2: Make the Berry Filling
In a medium bowl, mix together 1 cup of granulated sugar, ⅓ cup ClearJel starch, and a pinch of salt. Gently fold in 5 cups of mixed berries, along with 1 tbsp of orange juice and 1 tbsp of lemon juice, ensuring every berry is evenly coated. Let the filling sit for about 10 minutes so the flavors meld, while you prepare the crust for baking.
Step 3: Preheat the Oven and Roll Out Crust
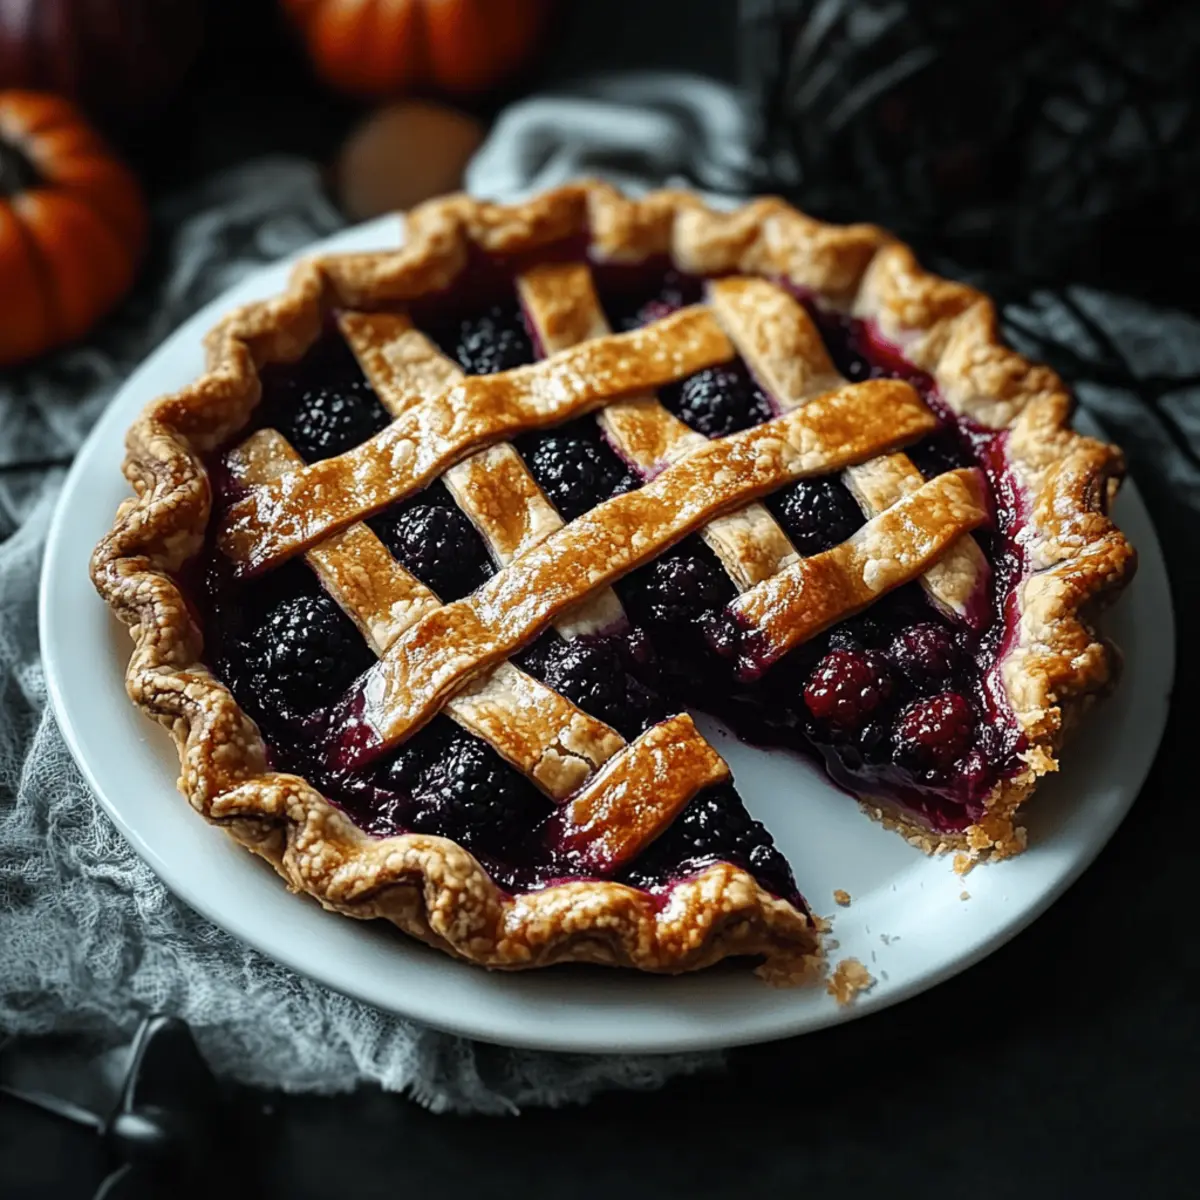
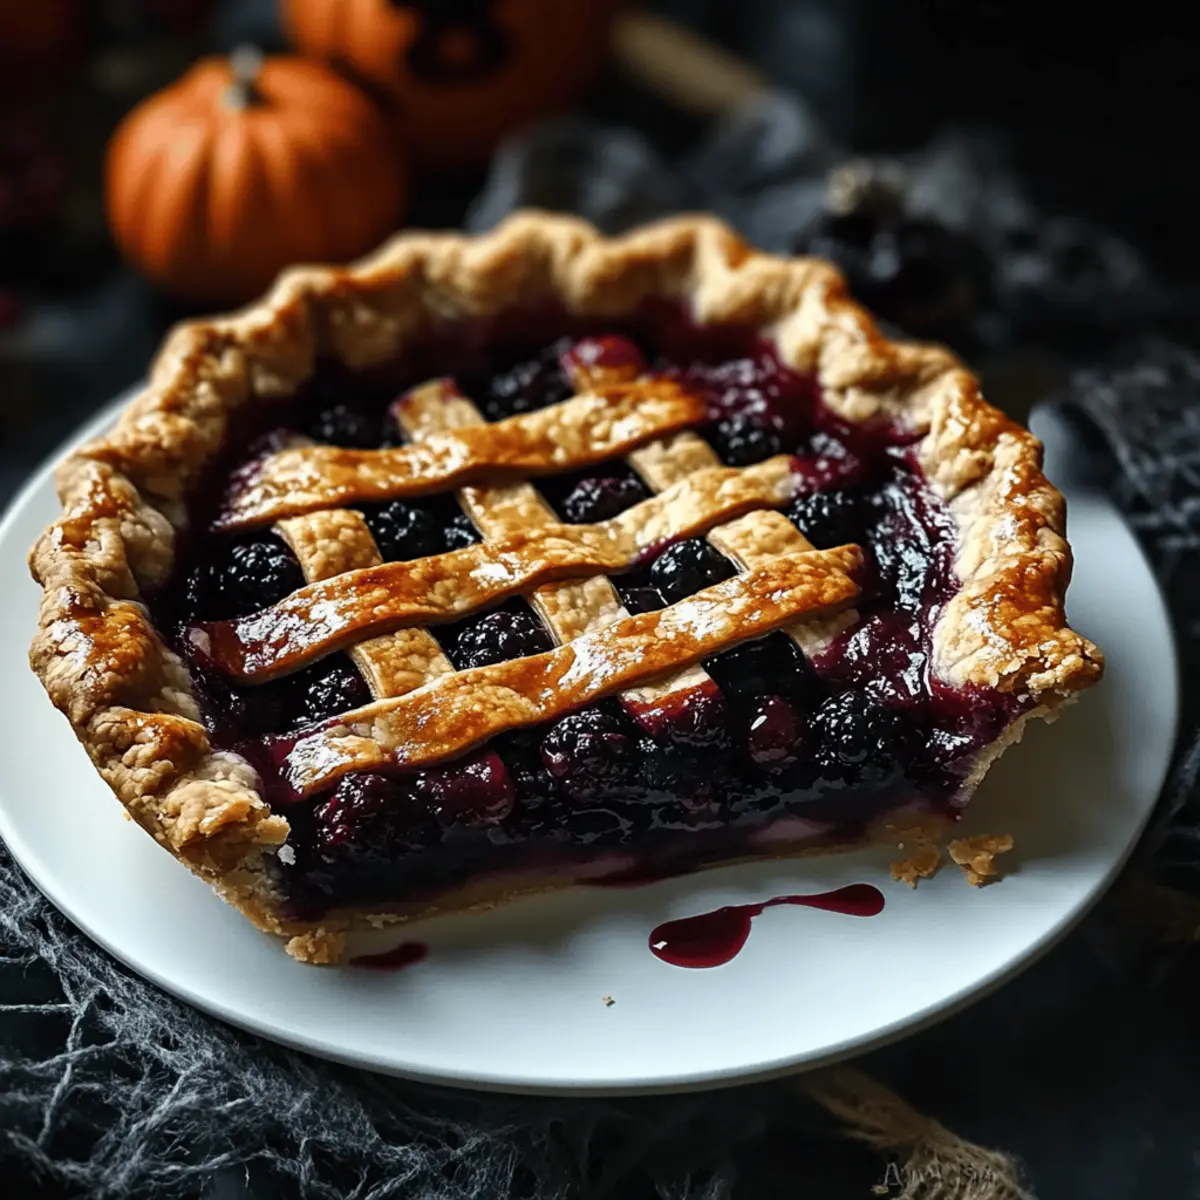
As the berry filling rests, preheat your oven to 375°F (190°C). On a lightly floured surface, roll out one disc of the chilled dough into a 12-inch circle. Carefully transfer it to a 9-inch pie pan, letting the excess dough hang over the edges. Pour the mixed berry filling into the crust, allowing it to mound slightly in the center for that inviting, bubbling effect.
Step 4: Create the Topping
Roll out the second disc of dough, then cut it into strips to create a lattice top or go for a fun Halloween-themed design, like jagged edges or spooky cutouts. Lay your lattice over the berry filling, pressing the edges of the top and bottom crust to seal. Trim off excess dough, crimp the edges for a pretty finish, and brush it all with a mixture of 1 egg and 1 tbsp of water for a glossy shine.
Step 5: Sprinkle Sugar and Bake
Before placing your Zombie Berry Pie in the oven, sprinkle a bit of sugar over the lattice top for extra sweetness and crunch. Bake the pie in the preheated oven for about 45–50 minutes, or until the crust is beautifully golden and the filling is bubbling up through the lattice. Keep an eye on it to ensure the edges don’t brown too quickly; cover them with foil if necessary.
Step 6: Cool and Serve
Once baked, remove the pie from the oven and let it cool on a wire rack for at least 30 minutes. This cooling period helps the filling to set, making slicing much easier later. Serve your Zombie Berry Pie warm, and watch as it captivates your Halloween guests with its deliciously spooky appearance!
Expert Tips for Zombie Berry Pie
-
Chill Your Dough: Always refrigerate your crust dough for at least 30 minutes. This helps achieve a flaky texture and prevents it from shrinking during baking.
-
Berry Selection: Mixing fresh or frozen berries enhances the flavor of your Zombie Berry Pie. Don’t hesitate to try different combinations, but remember—if using frozen berries, thaw and drain excess juices before mixing.
-
Sugar Adjustment: Taste your berry mixture before adding the full cup of sugar. The natural sweetness can vary, so adjust the amount accordingly to keep your pie perfectly balanced.
-
Creative Presentation: Use fun Halloween-themed shapes for your crust or a lattice design. This not only elevates the spooky aesthetic but also gives a playful twist to your pie.
-
Oven Check: Keep an eye on your pie while it bakes. If the crust edges brown too quickly, cover them with foil to prevent burning and ensure a lovely golden finish on your Zombie Berry Pie.
How to Store and Freeze Zombie Berry Pie
Fridge: Keep your Zombie Berry Pie covered with plastic wrap or aluminum foil in the refrigerator for up to 3 days to maintain freshness.
Freezer: If you’d like to store your pie for longer, wrap it tightly in plastic wrap and then aluminum foil or a freezer-safe bag. It can stay in the freezer for up to 3 months.
Reheating: To enjoy leftover pie, reheat slices in the oven at 350°F for about 10-15 minutes until warmed through and the crust regains its crispiness.
Make-Ahead: You can prepare the crust and filling a day in advance. Store them separately in the fridge for convenience, then assemble and bake when ready!
Make Ahead Options
These Zombie Berry Pie preparations are perfect for those busy Halloween weeks! You can make the pie crust up to 3 days in advance. Simply prepare the dough, wrap it tightly in plastic, and refrigerate; this keeps it fresh and easy to roll out later. The filling can also be prepared up to 24 hours ahead; combine the mixed berries, sugar, and starch, then store in an airtight container in the refrigerator to maintain flavor and prevent excess moisture. When you’re ready to bake, simply assemble your pie and enjoy the delight of a homemade dessert with minimal last-minute effort, ensuring it tastes just as delicious as when freshly made!
Zombie Berry Pie: Fun Twists Await!
Feel free to make this delightful Zombie Berry Pie your own by incorporating these creative variations!
-
Flavor Flexibility: Mix in seasonal fruits like strawberries or blueberries for a unique take on the classic filling.
-
Sugar Substitute: Try using honey or maple syrup instead of granulated sugar for a naturally sweetened approach.
-
Crispy Crust: Swap the shortening for cold butter or coconut oil to create a more aromatic, flavorful crust that’s delectably crisp.
-
Vegan Version: Replace the egg wash with a plant-based milk wash to achieve a lovely sheen without eggs.
-
Hearty Fiber Boost: Add a handful of oats to the crust mixture for a heartier texture, offering a nutty flavor.
-
Zingy Addition: Stir in a teaspoon of ginger or cinnamon to the berry filling for a warm spice that perfectly complements the fruit.
-
Lattice Makeover: Experiment with different crust shapes! Use fun cookie cutters to make spooky figures or create a lattice design with ghostly cutouts.
-
Berry Punch: To kick up the flavor, add a splash of your favorite liqueur to the berry mixture for an adult version of this festive treat.
Enjoy these variations and make your Zombie Berry Pie a deliciously spooky sensation that’s perfect for your Halloween gatherings! If you’re looking for more inspiration, consider pairing it with a scoop of vanilla ice cream or trying out other seasonal treats like Pumpkin Pie Twists for an extended dessert experience!
What to Serve with Zombie Berry Pie
As you whip up this spooky dessert, consider these delightful pairings to make your Halloween gathering unforgettable.
-
Vanilla Ice Cream: A scoop of creamy goodness perfectly contrasts the sweet-tart filling, enhancing the overall flavor with every bite.
-
Whipped Cream: Light and airy, this classic topping adds a touch of elegance, making each slice even more indulgent.
-
Chocolate Drizzle: Rich chocolate complements the berries beautifully, elevating your pie’s decadence with a dash of sweetness. The combination is sure to delight both kids and adults!
-
Caramel Sauce: Pouring a warm caramel sauce adds a sweet, buttery note that balances the tangy berry filling, creating a luscious experience.
-
Fresh Mint Leaves: Adding a sprig of mint not only brings a pop of color but also a refreshing contrast to the pie’s richness.
-
Cinnamon Sugar Dusting: Sprinkling a blend of cinnamon and sugar on top adds warmth and a spice element, perfect for autumn vibes.
-
Chilled Red Wine: A glass of fruity red wine can enhance the berry flavors, making for a sophisticated pairing that adults will enjoy.
-
Apple Cider: Serve steaming hot apple cider alongside your pie for a cozy, fall-inspired drink that pairs perfectly with the pie’s fruitiness.
-
Pumpkin Spice Latte: This seasonal favorite can also be a fun accompaniment, bringing a festive spirit to your dessert table.
Zombie Berry Pie Recipe FAQs
What type of berries should I use for the filling?
Absolutely! For the best flavor, I recommend using a mix of fresh and frozen berries like raspberries, gooseberries, and blackberries. If you opt for frozen berries, always thaw and strain excess juices to avoid a watery filling.
How should I store leftover Zombie Berry Pie?
Leftovers can be stored in the refrigerator for up to 3 days. Make sure to cover the pie with plastic wrap or aluminum foil to maintain its freshness and prevent it from drying out.
Can I freeze my Zombie Berry Pie?
Yes, you can! To freeze your pie, wrap it tightly in plastic wrap, followed by aluminum foil or place it in a freezer-safe bag. It will stay fresh for up to 3 months. When ready to enjoy, simply thaw in the fridge overnight and reheat in the oven at 350°F for about 10-15 minutes.
What should I do if my pie filling is too runny?
If you find your filling is too runny, ensure you use enough thickening agent like ClearJel starch or tapioca starch. Mix the starch with sugar before adding it to the berries for proper thickening. If you’ve already baked the pie and it turned out runny, let it cool for a bit and it might set up as it cools.
Can dogs eat Zombie Berry Pie?
It’s best to avoid giving your dog any pie, especially if it contains sugar and other ingredients like citrus that may not be suitable for them. Always check for any allergies before sharing your homemade treats with pets!
Is there a way to make this pie gluten-free?
Definitely! You can substitute all-purpose flour with a 1:1 gluten-free baking flour blend for the crust. Just make sure that all other ingredients you use are gluten-free as well to keep it safe for those with gluten sensitivities.
Deliciously Spooky Zombie Berry Pie for Your Halloween Fun
Ingredients
Equipment
Method
- In a large mixing bowl, combine 2 cups of all-purpose flour, 1 tsp salt, 1–2 tbsp sugar, and ⅛ tsp baking powder. Using a pastry cutter, cut in 1 cup of shortening until the mixture resembles coarse crumbs. Gradually add ½ cup of cold water, mixing until a dough forms. Divide the dough in half, shape into discs, wrap in plastic, and refrigerate for at least 30 minutes to firm up.
- In a medium bowl, mix together 1 cup of granulated sugar, ⅓ cup ClearJel starch, and a pinch of salt. Gently fold in 5 cups of mixed berries, along with 1 tbsp of orange juice and 1 tbsp of lemon juice, ensuring every berry is evenly coated. Let the filling sit for about 10 minutes.
- Preheat your oven to 375°F (190°C). On a lightly floured surface, roll out one disc of the chilled dough into a 12-inch circle. Carefully transfer it to a 9-inch pie pan and pour in the mixed berry filling.
- Roll out the second disc of dough, cut it into strips to create a lattice top, or create a fun Halloween-themed design. Lay your lattice over the berry filling, sealing the edges. Brush with an egg wash.
- Sprinkle sugar over the lattice top and bake for about 45–50 minutes, or until the crust is golden and the filling bubbles.
- Once baked, remove the pie from the oven and let it cool on a wire rack for at least 30 minutes before serving.
Leave a Reply