
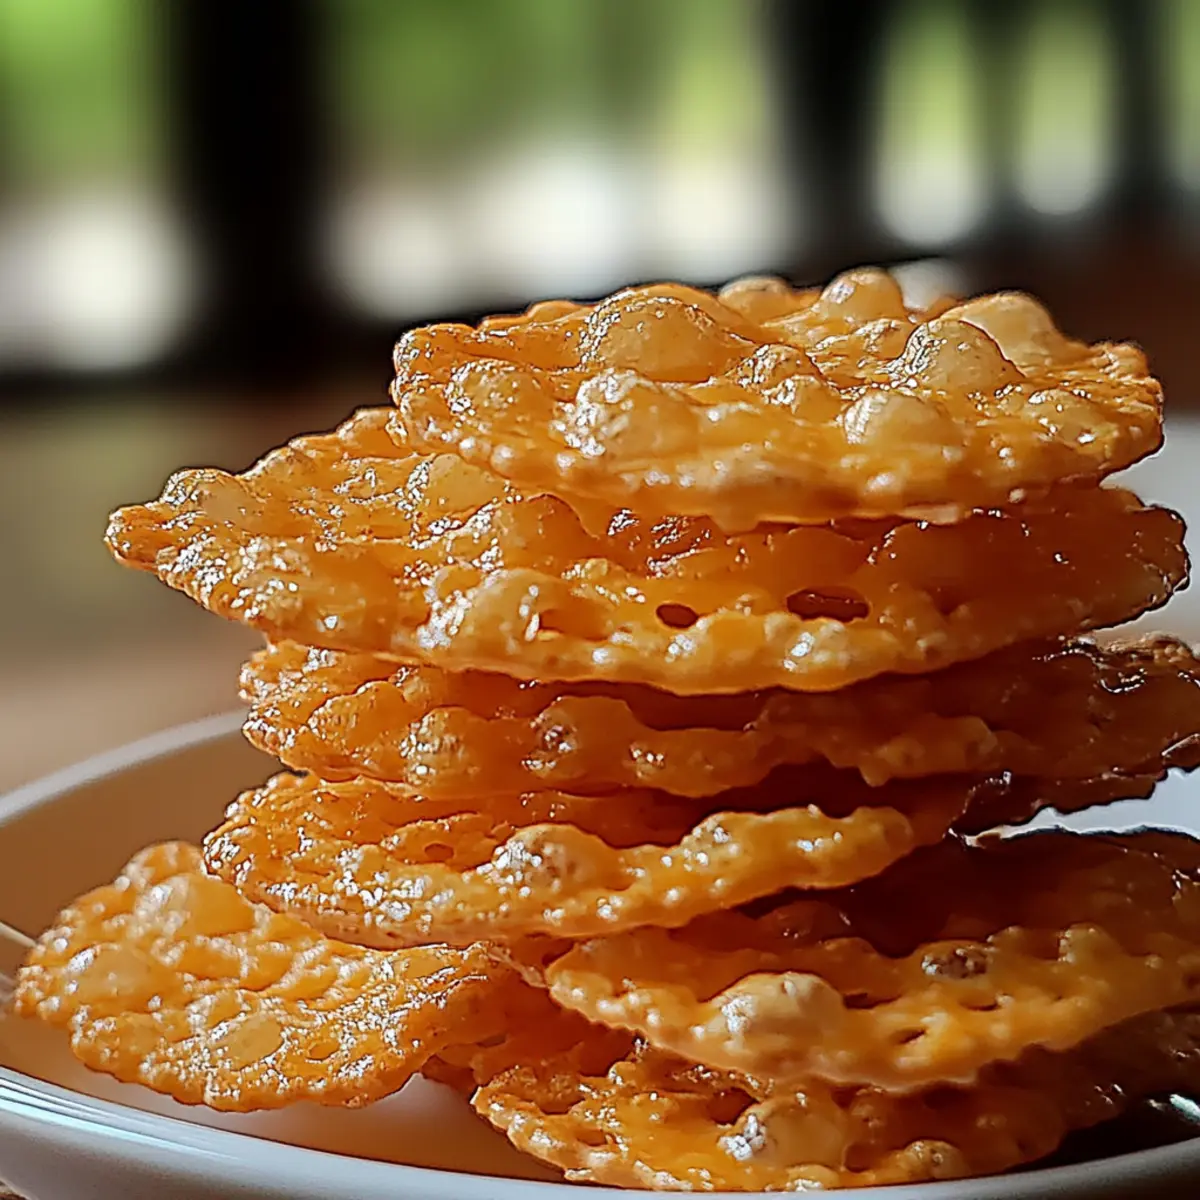
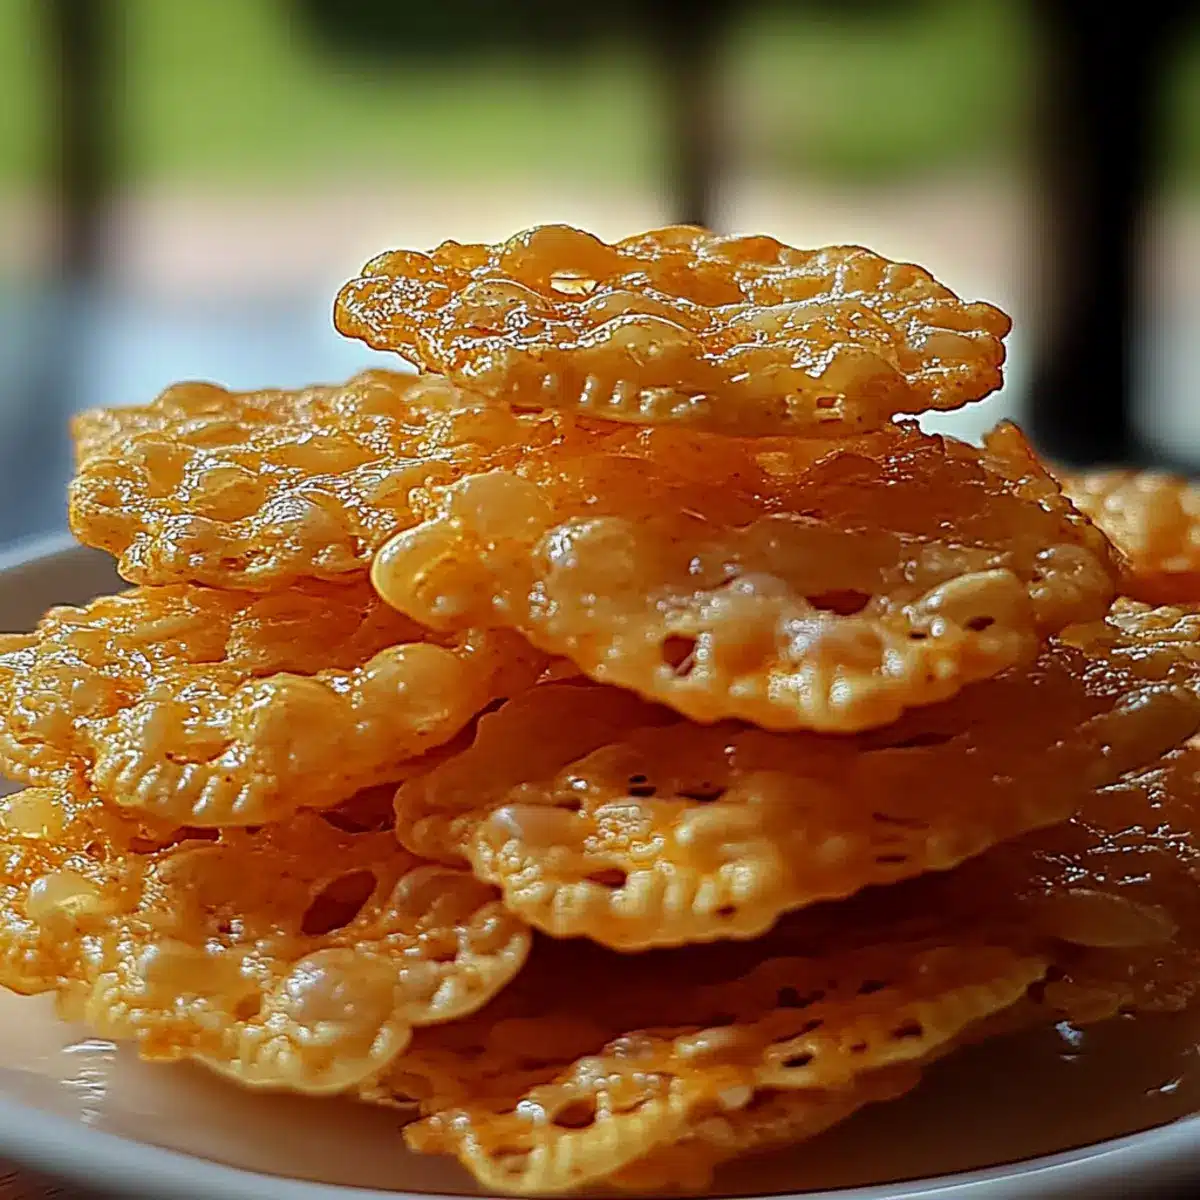
If you’ve ever craved a snack that’s not just satisfying but also joyfully crunchy, let me introduce you to a delightful champion in the snack world: Rice Krispie Cheddar Crackers! These irresistible homemade bites combine the nutty texture of puffed rice cereal with the bold richness of aged cheddar, creating a snack that’s ideal for any occasion. What I love most? They’re not only quick to whip up but also gluten-free if you choose the right ingredients, catering to various dietary needs without skimping on flavor. Whether you’re hosting a gathering, indulging in a movie night, or simply looking for a flavorful treat to nibble on, these crackers will have everyone reaching for seconds. Curious about how to achieve that perfect crispy texture? Let’s dive into the recipe together!

Why are Rice Krispie Cheddar Crackers a Must?
Irresistible Crunch: Each cracker delivers a delightful crisp texture that’s hard to resist, making them perfect for snacking anytime.
Savory Satisfaction: The combination of aged cheddar and Worcestershire sauce creates a robust flavor that elevates these crackers above the ordinary.
Quick & Easy: This recipe is not only simple to make but also takes less than 30 minutes from start to finish, ideal for busy days.
Versatile Treats: Whether served as appetizers at parties or as comfort snacks enjoyed during movie nights, these crackers can fit into any occasion effortlessly.
Diet-Friendly: Opt for gluten-free ingredients to whip up these delicious bites that cater to various dietary needs, without compromising taste.
Rice Krispie Cheddar Crackers Ingredients
• Discover the secret behind these irresistible homemade snacks!
For the Dough
- Sharp Cheddar Cheese – Freshly shredded for a bold flavor; avoids fillers found in pre-shredded varieties.
- All-Purpose Flour – Gives the dough its structure; sift before use to prevent dryness.
- Unsalted Butter – Creams well with cheese for a smooth base; choose unsalted for better control over salt levels.
- Worcestershire Sauce – Adds tang and umami, enhancing the flavor profile of the Rice Krispie Cheddar Crackers.
- Cayenne Pepper – Introduces heat; adjust according to your spice preference.
- Salt – Balances the richness; consider reducing if using salted butter.
- Garlic Powder – Provides depth without overpowering; onion powder can serve as a substitute.
For the Crunch
- Rice Krispie Cereal – This key ingredient ensures crunchiness; it maintains its texture even after baking.
Enjoy crafting these delightful Rice Krispie Cheddar Crackers that will surely be a hit!
Step‑by‑Step Instructions for Rice Krispie Cheddar Crackers : Irresistibly Crispy Homemade Snack
Step 1: Preheat the Oven
Begin by preheating your oven to 375°F (190°C). While the oven warms up, line a baking sheet with parchment paper to ensure your Rice Krispie Cheddar Crackers don’t stick during baking. This preparation step sets the stage for the perfect bake, allowing for even cooking and easy cleanup later.
Step 2: Cream the Butter and Cheese
In a large mixing bowl, combine 1 cup of unsalted butter, softened to room temperature, with 1 ½ cups of sharp cheddar cheese, freshly shredded. Use a hand mixer or wooden spoon to cream them together until the mixture is smooth and homogenous. This process should take about 2–3 minutes and will create a rich and creamy base that’s essential for your cracker dough.
Step 3: Add Flavorful Ingredients
Next, mix in 1 tablespoon of Worcestershire sauce, ½ teaspoon of cayenne pepper, a pinch of salt, and ½ teaspoon of garlic powder into your cheese and butter mixture. Stir these ingredients in well to ensure they are evenly distributed. This step infuses your Rice Krispie Cheddar Crackers with a delightful savory flavor that will keep everyone coming back for more.
Step 4: Incorporate the Flour
Gradually sift in 2 cups of all-purpose flour, stirring gently to combine without overworking the dough. This process will form a cohesive mixture. Aim for a dough-like consistency, which should take about 1–2 minutes of mixing. Be mindful not to overmix, as this can lead to tougher crackers. You want that perfect light texture!
Step 5: Fold in the Rice Krispies
Once you have your dough, carefully fold in 3 cups of Rice Krispie cereal. Use a spatula to gently mix, maintaining the crispness of the cereal. It’s crucial to ensure all parts of the dough have the cereal incorporated, but be gentle to prevent crushing the Rice Krispies. This step adds the signature crunch to your homemade snack.
Step 6: Shape the Crackers
Scoop out tablespoon-sized portions of the dough and roll them into balls in the palm of your hands. Place these balls evenly on the prepared baking sheet, leaving enough space between each to allow for spreading. This action should yield around 24 balls, which will transform into crispy crackers once baked.
Step 7: Flatten and Season
Using a fork, gently flatten each ball to form disks about ¼ inch thick. Optionally, sprinkle a tiny pinch of cayenne pepper on top for extra spice. This step not only shapes the crackers but also ensures that they bake more evenly, achieving that perfect irresistibly crispy texture.
Step 8: Bake to Perfection
Transfer the baking sheet to the preheated oven and bake for 13 to 15 minutes, or until the edges turn a rich golden brown. Keep an eye on them; the crackers should become beautifully crisp and slightly puffed. The delightful aroma will fill your kitchen as they bake, whetting your appetite for the treat ahead.
Step 9: Cool and Store
After baking, allow the Rice Krispie Cheddar Crackers to cool on the baking sheet for about 5 minutes. Then, transfer them to a wire rack to cool completely. Proper cooling helps to maximize their crispy texture. Once cooled, store them in an airtight container to keep them fresh for up to a week, if they last that long!
What to Serve with Rice Krispie Cheddar Crackers
Imagine a cozy gathering where the savory aroma of homemade snacks fills the air, inviting everyone to indulge in delightful bites.
- Creamy Tomato Soup: A warm bowl complements the crunchiness of the crackers, creating a comforting pairing perfect for dipping.
- Fresh Vegetable Crudités: Bright, crisp vegetables add a refreshing crunch, contrasting the rich cheddar flavor and balancing the palate.
- Spicy Guacamole: The creamy texture of guacamole offers a flavorful dip, while its kick complements the heat from the cayenne pepper.
- Zesty Spinach Salad: Tossed with lemon vinaigrette, this vibrant salad provides a fresh burst of flavor, enhancing the savory crackers even further.
- Wine Pairing: A chilled Sauvignon Blanc or a light-bodied Chardonnay pairs nicely, brightening the richness of the cheese without overwhelming your taste buds.
- Cheese Platter: Create a charming cheese board with assorted cheeses, crackers, and olives, celebrating the cheese theme and elevating snack time.
- Roasted Red Pepper Hummus: This savory dip infuses the crackers with a robust flavor, leading to a wonderful symphony of taste in every bite.
- Herbed Cream Cheese Spread: A dollop of herbed cream cheese offers a creamy, tangy counterpoint to the crunchy texture, making every bite delightful.
Expert Tips for Rice Krispie Cheddar Crackers
- Room Temperature Butter: Ensure your butter is at room temperature for easy creaming with cheese—this creates a smooth dough that bakes evenly.
- Chill If Needed: If your kitchen is warm, consider chilling the dough before shaping to help the crackers hold their shape during baking.
- Gentle Folding: Be cautious when folding in the Rice Krispies; avoid crushing them to maintain that delightful crunch in your Rice Krispie Cheddar Crackers.
- Uniform Sizing: Use a cookie scoop for portioning dough to ensure evenly sized crackers, which bake consistently for the perfect texture.
- Cool Completely: Allow the crackers to cool completely on a wire rack; this step locks in their crispy goodness before storing.
Make Ahead Options
These Rice Krispie Cheddar Crackers are perfect for busy home cooks looking to save time without sacrificing flavor! You can prepare the dough up to 24 hours in advance; simply follow the first four steps, then wrap the formed dough tightly in plastic wrap and refrigerate. If you want to prep even earlier, shape the dough balls and refrigerate them for up to 3 days. To maintain their crispy texture, avoid baking until you’re ready to enjoy them. When you’re ready to serve, just preheat the oven and bake the crackers for 13 to 15 minutes, ensuring they come out just as delicious and crisp as if they were freshly made!
How to Store and Freeze Rice Krispie Cheddar Crackers
Airtight Container: Keep your Rice Krispie Cheddar Crackers in an airtight container at room temperature for up to 5 to 7 days to maintain their delicious crunch.
Freezing: For longer storage, freeze the crackers in a zip-top bag, ensuring to remove as much air as possible; they can be stored for up to 3 months.
Reheating: To re-crisp frozen crackers, bake them straight from the freezer in a preheated oven at 300°F (150°C) for about 5–10 minutes, allowing their texture to return to that irresistible crunch.
Thawing: If preferred, allow the crackers to thaw at room temperature before reheating; this helps them regain their delicious flavor and crispy texture.
Rice Krispie Cheddar Crackers: Customizable Delights
Feel free to get creative with these crunchy snacks—there’s something for everyone to enjoy!
- Cheese Swap: Replace sharp cheddar with gouda or smoked cheddar for a different flavor twist.
- Herb Infusion: Mix in fresh herbs like rosemary or thyme to elevate the taste and add a fragrant touch.
- Mini Bites: Roll dough into smaller balls for bite-sized crackers—perfect for parties or snacking!
- Gluten-Free: Use a gluten-free flour blend and certified gluten-free Rice Krispies to cater to dietary preferences without losing texture.
- Extra Flavor: Enhance the savory profile by adding bacon bits or crumbles of blue cheese into the dough for a savory punch.
- Spice Level: Adjust the cayenne pepper according to your heat tolerance, or compliment it with a sprinkle of smoked paprika for a richer taste.
- Crunchy Coating: After shaping, roll the balls in poppy seeds or sesame seeds before baking for added crunch and visual appeal.
- Sweet Twist: For a unique dessert-like snack, add a hint of honey or maple syrup to balance the savory elements and create a complex flavor.
As you enjoy these Rice Krispie Cheddar Crackers, consider pairing them with rich dips like homemade hummus or indulging in a glass of wine. If you’re in the mood for more homemade goodness, check out my recipes for Bang Bang Salmon and Cheesy Steak Rice, both sure to satisfy!
Rice Krispie Cheddar Crackers Recipe FAQs
What is the best way to select sharp cheddar cheese?
To achieve the best flavor in your Rice Krispie Cheddar Crackers, always opt for freshly shredded sharp cheddar cheese. This avoids the fillers that often come with pre-shredded varieties and ensures a richer, bolder taste. Look for cheese that has a vibrant color and firm texture without any dark spots, which indicate aging.
How should I store Rice Krispie Cheddar Crackers once baked?
To maintain their crispiness, store your Rice Krispie Cheddar Crackers in an airtight container at room temperature for 5 to 7 days. If you want them to last longer, freezing is a great option; simply place them in a zip-top bag, remove as much air as possible, and keep them in the freezer for up to 3 months.
Can I freeze Rice Krispie Cheddar Crackers, and how do I reheat them?
Absolutely! You can freeze your Rice Krispie Cheddar Crackers for up to 3 months. When you’re ready to enjoy them again, bake them straight from the freezer in a preheated oven at 300°F (150°C) for about 5–10 minutes until they’re crisp. This method helps restore their delightful crunch and flavor effectively.
What should I do if my dough is too warm and sticky?
If your dough feels too warm and sticky, it may be helpful to chill it in the refrigerator for about 30 minutes before shaping. This will make it much easier to handle and help maintain the shape of your crackers while baking. Remember, the key is to handle the dough gently to preserve the Rice Krispies’ crispness!
Are there any dietary considerations with these crackers?
Good question! If you’re catering to gluten-sensitive friends or family, simply swap out all-purpose flour for a gluten-free flour blend and ensure your Rice Krispies are certified gluten-free. Additionally, the crackers can be adjusted for various dietary needs by experimenting with alternative cheeses or adjusting spices to avoid allergens.
Do Rice Krispie Cheddar Crackers make a good gift?
Very! These homemade crackers are perfect for gifting, especially when placed in decorative tins or bags. Their unique taste and crunchy texture will surely impress anyone lucky enough to receive them, making them not just a delightful snack but also a thoughtful homemade present!

Rice Krispie Cheddar Crackers: Irresistibly Crispy Snack
Ingredients
Equipment
Method
- Preheat your oven to 375°F (190°C) and line a baking sheet with parchment paper.
- In a mixing bowl, cream together 1 cup of unsalted butter and 1.5 cups of shredded sharp cheddar cheese until smooth.
- Mix in 1 tablespoon of Worcestershire sauce, 0.5 teaspoon of cayenne pepper, a pinch of salt, and 0.5 teaspoon of garlic powder until evenly combined.
- Gradually sift in 2 cups of all-purpose flour, mixing gently to form a cohesive dough without overworking it.
- Fold in 3 cups of Rice Krispie cereal carefully to maintain its crispness.
- Scoop tablespoon-sized portions and roll them into balls, placing them on the baking sheet.
- Flatten each ball with a fork to form disks about ¼ inch thick and optionally sprinkle with cayenne pepper.
- Bake for 13 to 15 minutes until edges are golden brown and crisp.
- Allow to cool on the baking sheet for 5 minutes, then transfer to a wire rack to cool completely.
Leave a Reply