
I once stumbled upon a recipe that transported me back to childhood playgrounds, where dirt meant adventures and sweet indulgences danced on the palate. Enter the delightful Oreo Dirt Dessert—an easy, no-bake treat that’s perfect for gatherings and especially adored by kids! Combining a rich blend of creamy pudding, velvety cream cheese, and clouds of fluffy Cool Whip, this dessert is as fun to make as it is to eat. Plus, it’s a crowd-pleaser that’s both visually stunning and effortlessly simple, elevating any celebration to new heights. Whether you’re dressing it up with colorful gummy worms for a birthday party or creating a whimsical beach scene for summer gatherings, this Oreo Dirt Dessert is bound to be the star of the table. Are you ready to dig into this sweet adventure?
Why is this dessert a crowd favorite?
Fun and Whimsical: The Oreo Dirt Dessert is a playful twist on traditional treats, delighting kids and adults alike with its imaginative presentation.
No-Bake Convenience: With simple, no-bake instructions, this dessert fits perfectly into any busy schedule, making it easy for everyone to whip up.
Creamy and Crunchy Delight: The contrasting textures of creamy pudding and crunchy Oreo crumbs make every bite a flavor explosion that keeps everyone coming back for more.
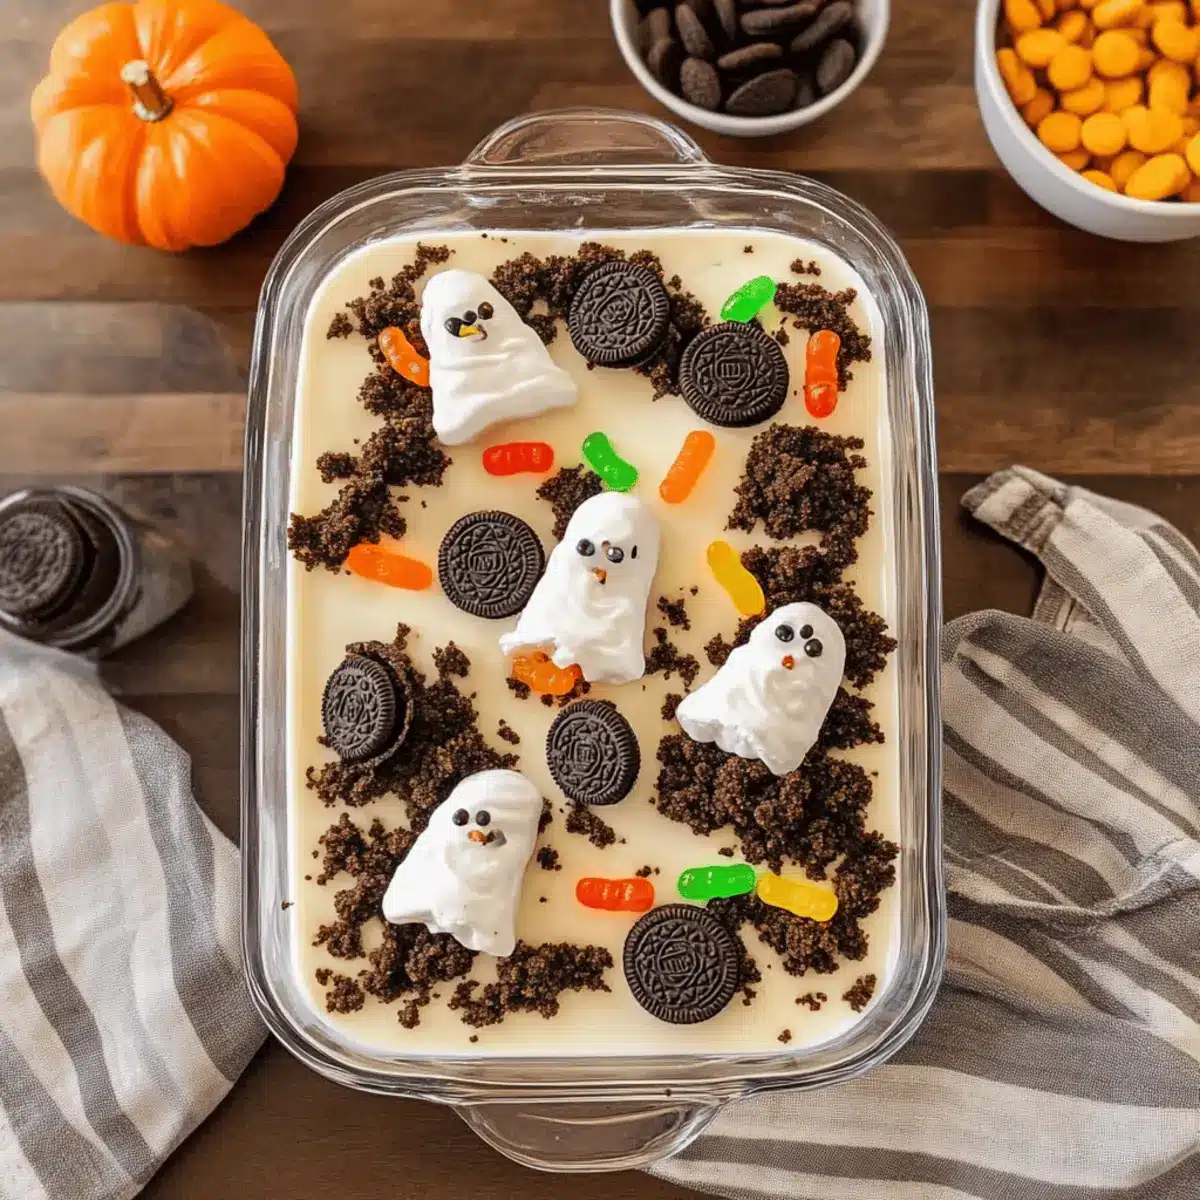
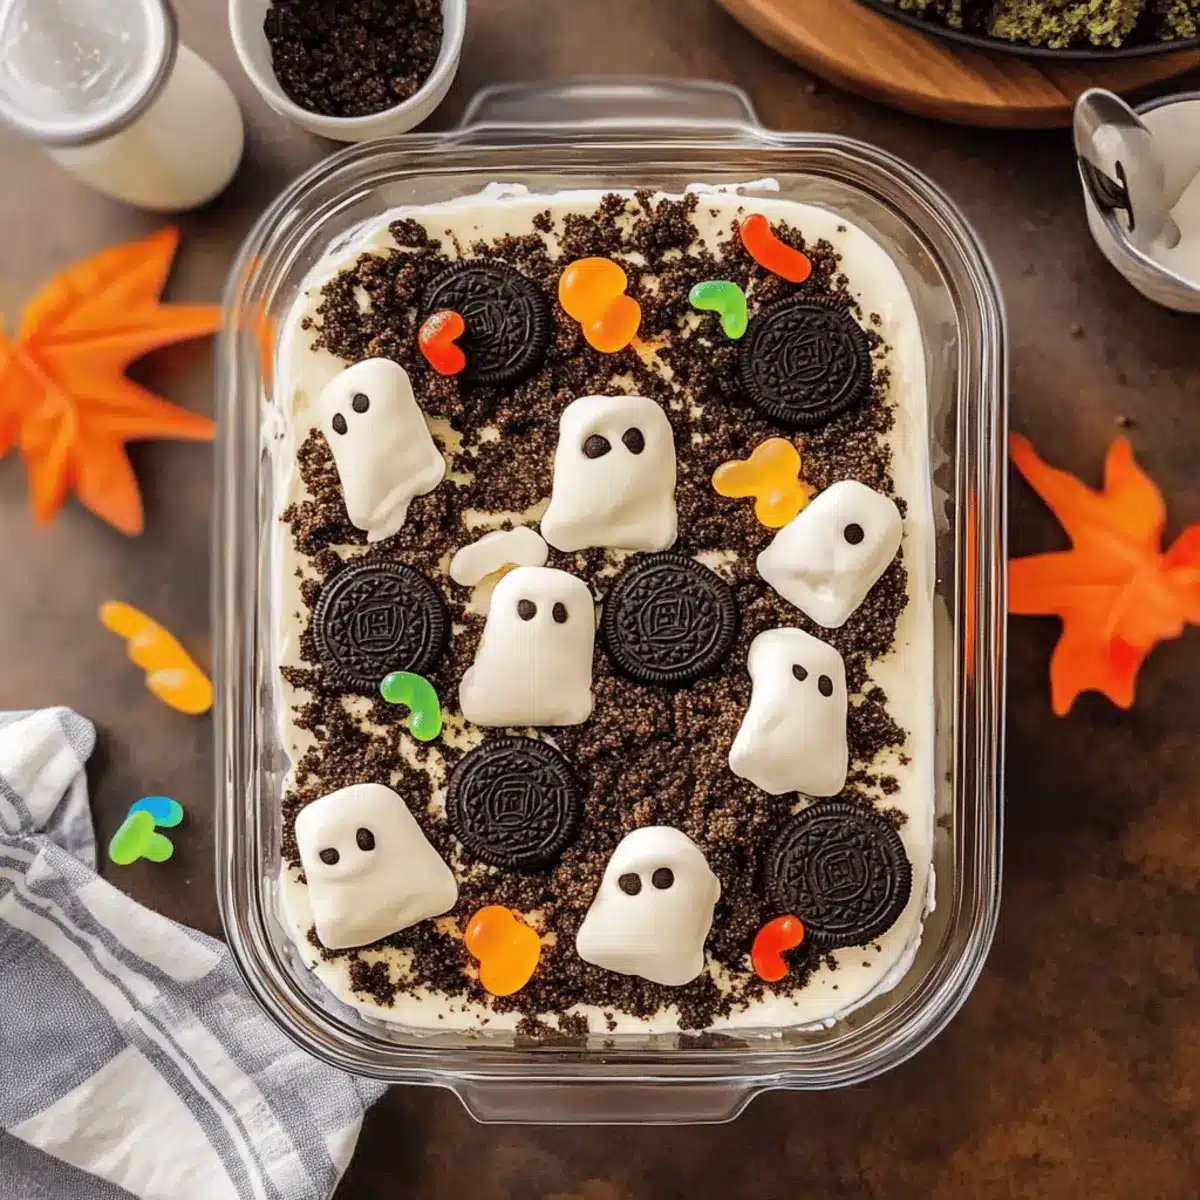
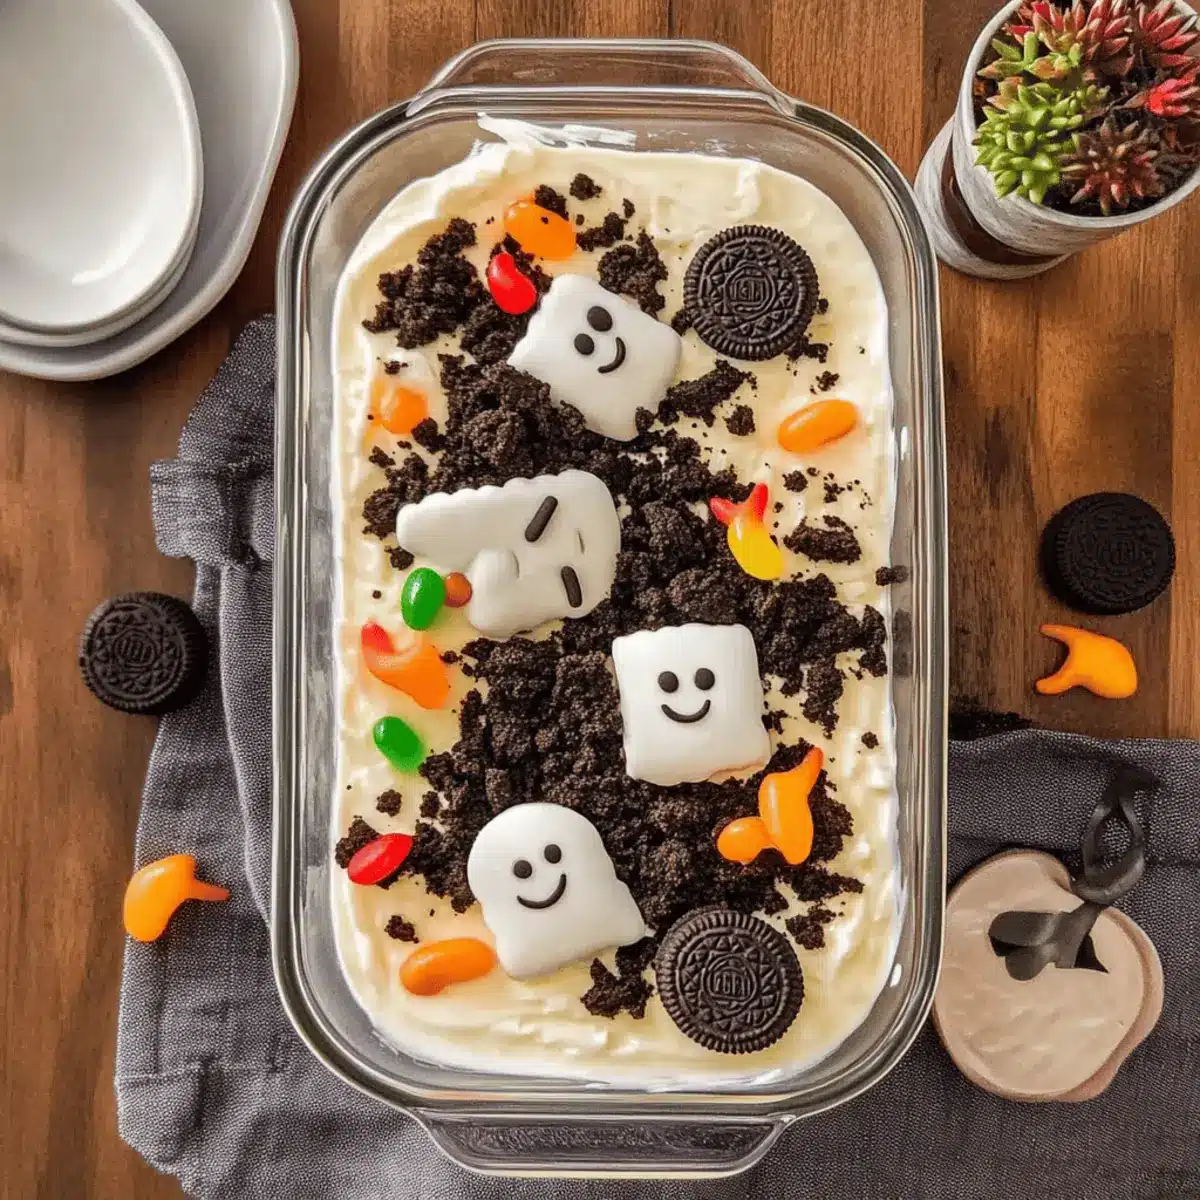
Versatile Theming: Easily customize this dessert for any occasion—from Halloween with gummy ghosts to vibrant beach themes—ensuring it stands out at every gathering.
Quick Assembly: Just a few simple layers come together swiftly, meaning you’ll spend less time in the kitchen and more time enjoying the party!
Kid-Friendly Fun: Let the kids help assemble and decorate, turning dessert prep into a fun family activity that creates sweet memories. For more delicious ideas, check out our Kid-Friendly Dessert Recipes.
Oreo Dirt Dessert Ingredients
For the Cream Mixture
- Cream Cheese – Adds richness and creaminess; use Philadelphia brand for best results; can reduce by substituting half with Greek yogurt.
- Cool Whip – Provides a light, fluffy texture; can use homemade whipped cream if preferred.
- Instant Vanilla Pudding – Creates the pudding layer that binds the dessert together; instant pudding is essential for the filling to set properly; do not use regular pudding mix.
- Milk – Needed to prepare the vanilla pudding; almond, oat, or soy milk can be used as alternatives.
For the Dirt Layer
- Oreos – Forms the “dirt” layer of the dessert, adding crunch; party-size package ensures plenty of crumbs; can substitute with vanilla Oreos for a lighter appearance.
For the Topping
- Gummy Worms – Fun topping that enhances the dirt theme; optional — other edible decorations can be used for different themes.
Step‑by‑Step Instructions for Oreo Dirt Dessert
Step 1: Blend Cream Mixture
In a mixing bowl, combine 2 cups of cold milk with 1 package of instant vanilla pudding, whisking for about 2 minutes until smooth and thickened. Next, add 8 oz of softened cream cheese and blend for another 2 minutes until fully incorporated and creamy. This vibrant mix will serve as the rich filling for your Oreo Dirt Dessert.
Step 2: Fold in Cool Whip
Gently fold in 12 oz of Cool Whip until the mixture becomes light and fluffy. Be careful not to deflate the mixture; this is what gives your dessert its delightful texture. Once well combined, cover the bowl with plastic wrap and refrigerate for about 30 minutes, allowing the flavors to meld beautifully before you assemble your dessert.
Step 3: Prepare Oreo Crumbs
While the cream mixture chills, take a package of Oreos and crush them into fine crumbs. You can do this by placing them in a food processor or sealing them in a plastic bag and crushing them with a rolling pin. Aim for a texture that resembles coarse dirt—this will create the essential dirt layer in your Oreo Dirt Dessert.
Step 4: Assemble Layers
Grab a trifle bowl or individual serving cups and start layering your dessert. Begin by adding a layer of crushed Oreos, followed by a generous layer of the cream mixture. Repeat this process, creating at least two layers, and finish with a final topping of Oreo crumbs to create a beautiful “dirt” effect at the top.
Step 5: Add Toppings and Serve
Just before serving your delicious Oreo Dirt Dessert, fun up the presentation by adding gummy worms or other thematic toppings. This playful touch enhances the whimsical feel of the dessert and makes it even more appealing to kids. Enjoy this delightful treat at parties or family gatherings!
Storage Tips for Oreo Dirt Dessert
-
Room Temperature: Best enjoyed fresh, but if needed, you can let it sit out for up to 1 hour during serving. Keep it covered to maintain freshness.
-
Fridge: Store any leftovers in an airtight container in the refrigerator for up to 2 days. Be mindful that the Oreos may become soft over time.
-
Freezer: For longer storage, freeze the layered dessert for up to 1 month. Wrap it tightly in plastic wrap and foil to prevent freezer burn. Thaw in the fridge before serving.
-
Reheating: Not necessary for this dessert; simply serve cold! If any assembly was done directly in a bowl, enjoy straight from the fridge or after thawing if frozen.
What to Serve with Oreo Dirt Dessert
Create an unforgettable dining experience by pairing delightful sides and drinks with this fun dessert.
-
Fruit Salad: A refreshing burst of sweet and tart flavors that balances the richness of the dessert, adding a light touch to the meal. Fresh strawberries, blueberries, and a splash of lime juice bring vibrant color and taste.
-
Chocolate Dipped Strawberries: These indulgent bites complement the Oreo Dirt Dessert’s chocolaty elements beautifully. The combination of smooth chocolate with ripe strawberries creates a divine pairing!
-
Ice Cream Floats: A bubbly treat mixed with soda and vanilla ice cream is a fun, nostalgic way to enjoy a variety of textures. The fizz adds excitement to your dessert experience!
-
Mini Cupcakes: These adorable bites can be customized with sprinkles or themed decorations, echoing the playful spirit of the Oreo Dirt Dessert while providing additional sweetness that please kids and adults alike.
-
Punch or Lemonade: A vibrant and refreshing drink can elevate your dessert experience. Opt for a fizzy fruit punch or homemade lemonade to offer a zesty counterbalance to the sweetness of the dessert.
-
Chocolate Chip Cookies: The classic chewy cookie brings a familiar taste that many adore, and the extra crunch from the chips pairs pleasantly with the creamy layers of the dessert.
-
Candy Bar Platter: Create a fun candy display with assorted chocolates and gummy candies. It mirrors the whimsical theme of the dessert; guests can mix and match their treats to their heart’s content!
-
Whipped Cream and Berries: Simple, yet elegant—topping your Oreo Dirt Dessert with whipped cream and fresh berries adds a lovely contrast, both in texture and flavor, making each bite a little more luxurious.
-
Milkshake: A classic vanilla or chocolate milkshake fits perfectly with the dessert theme, enhancing the “dirt” experience with its creamy consistency and making every scoop an even more delightful adventure.
Make Ahead Options
These Easy Oreo Dirt Dessert preparations are perfect for busy home cooks looking to save time! You can make the cream mixture and refrigerate it up to 24 hours in advance, ensuring the flavors meld beautifully. Simply blend your milk, instant pudding, and cream cheese, then fold in the Cool Whip before storing it covered in the fridge. You can also crush the Oreos a day ahead, keeping them in an airtight container to maintain their crunch. When you’re ready to serve, layer the prepped ingredients and add your fun toppings like gummy worms just before serving to keep everything fresh and delightful. Enjoy the confidence of thoughtful meal prep while still delighting everyone with this whimsical dessert!
Expert Tips for Oreo Dirt Dessert
-
Instant Pudding is Key: Use only instant vanilla pudding to ensure a creamy texture. Regular pudding won’t set properly and can leave you with a runny mess.
-
Keep Oreos Crunchy: Assemble the dessert just before serving to maintain the crunchy “dirt” layer. Soggy Oreos can spoil the fun of this delightful treat.
-
Layering with Love: For an impressive look, use a trifle bowl. The transparent sides highlight the beautiful layers of the Oreo Dirt Dessert, making it even more tempting.
-
Chill for Flavor: Don’t skip the chilling step! Refrigerating the cream mixture for 30 minutes allows the flavors to meld and develop a richer taste.
-
Creative Toppings: Get imaginative! For special occasions, consider using gummies, sprinkles, or themed decorations to personalize the dessert; it’s a simple way to elevate your Oreo Dirt Dessert game.
-
Scale Up or Down: Whether it’s a small family gathering or a big birthday party, this recipe is easily adaptable. Adjust the serving sizes while keeping the ingredients proportional to maintain flavor.
Oreo Dirt Dessert Variations & Substitutions
Get ready to personalize your dessert with some fun twists and replacements that will delight your friends and family!
-
Dairy-Free Delight: Substitute cream cheese with a dairy-free cream cheese and use coconut whipped cream for a vegan-friendly option.
-
Gluten-Free Goodness: Use gluten-free Oreos to make this dessert suitable for those with gluten sensitivities while retaining that delicious crunch.
-
Nutty Boost: Incorporate crushed nuts, like pecans or almonds, between the layers for a delightful texture and flavor contrast that adds a nutty richness.
-
Fruit Layer: Layer in some fresh berries or sliced bananas to introduce a fruity twist and natural sweetness, elevating the dessert to a new level of deliciousness.
-
Chocolate Lovers: For an added chocolatey burst, replace some crushed Oreos with chocolate wafer cookies, giving the dessert a richer undertone.
-
Spicy Kick: Add a dash of cinnamon or a sprinkle of cayenne pepper to the cream mixture for an unexpected yet exciting spicy layer that dances on the palate.
-
Cookie Crust: Transform this dessert into a pie by using crushed Oreos mixed with melted butter as a crust. Layer your cream mixture on top and refrigerate for a delightful sliceable treat.
-
Layered Theme: For special occasions, try creating themed layers—like using crushed graham crackers for a s’mores version or colorful sprinkles for a festive birthday presentation.
Feel free to experiment with these ideas! And if you’re looking for more sweet inspirations, don’t miss our Kid-Friendly Dessert Recipes.
Oreo Dirt Dessert Recipe FAQs
What type of Oreos should I use for the dessert?
Absolutely! It’s best to use regular Oreos for that classic taste, but you can also opt for vanilla Oreos if you want a lighter appearance. Just make sure to get a party-size package—this ensures you have plenty of crumbs to create that delightful “dirt” layer.
How long can I store Oreo Dirt Dessert in the refrigerator?
Very! You can store the assembled Oreo Dirt Dessert in the refrigerator for up to 2 days. However, keep in mind that the Oreos may become soft over time, which can affect the texture of the dessert. If you can, enjoy it fresh for the best crunch!
Can I freeze Oreo Dirt Dessert for later?
Absolutely! To freeze, wrap the assembled dessert tightly in plastic wrap and then in foil to prevent freezer burn. You can keep it in the freezer for up to 1 month. When you’re ready to enjoy it, simply thaw it in the refrigerator for several hours before serving.
What can I do if my pudding mixture is too runny?
If your pudding mixture isn’t thickening as it should, this could be due to using regular pudding instead of instant. To troubleshoot, you can beat in a little more cream cheese to help thicken it. If you’ve already layered, take it out and add an extra layer of crushed Oreos—they’ll absorb some moisture!
Are there any dietary considerations for this dessert?
Yes! If you’re making this for kids or guests with dietary restrictions, it’s wise to check for allergies, especially with cream cheese and Cool Whip. You can also make it dairy-free by substituting cream cheese with a non-dairy version and using plant-based whipped cream. The more the merrier when it comes to inclusive dessert options!
How can I tell if the dessert has gone bad?
Look for any changes in texture or smell. If the dessert has been in the refrigerator for over 2 days, and you notice any off odors or a watery texture, it’s best to err on the side of caution and discard it. Always trust your senses!
These FAQs should help you create a delightful Oreo Dirt Dessert that is sure to be a hit at any gathering!

Delicious Oreo Dirt Dessert: A Fun No-Bake Treat for All
Ingredients
Equipment
Method
- In a mixing bowl, combine 2 cups of cold milk with 1 package of instant vanilla pudding, whisking for about 2 minutes until smooth and thickened. Next, add 8 oz of softened cream cheese and blend for another 2 minutes until fully incorporated and creamy.

- Gently fold in 12 oz of Cool Whip until the mixture becomes light and fluffy. Cover with plastic wrap and refrigerate for about 30 minutes.
- While the cream mixture chills, crush 1 package of Oreos into fine crumbs for the dirt layer.
- In a trifle bowl or individual cups, layer crushed Oreos followed by the cream mixture. Repeat to create at least two layers.
- Add gummy worms or other toppings just before serving to enhance presentation.
Leave a Reply