
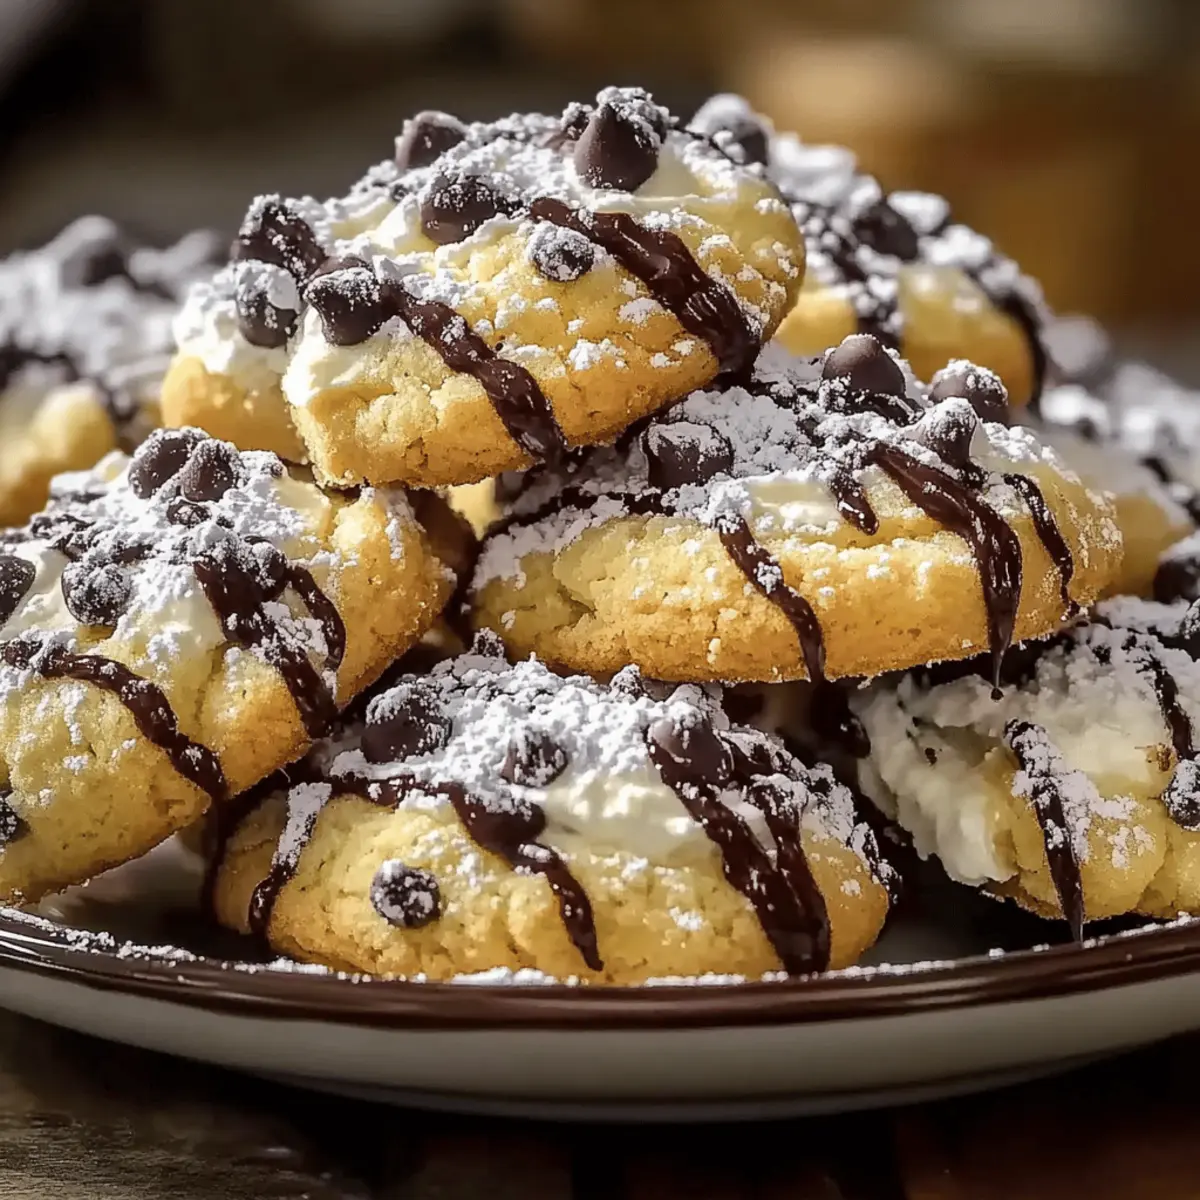
As I crunched down on that first bite, my taste buds danced with delight, uncovering a familiar yet surprising flavor adventure. These Cannoli Cookies transport me straight to my Nonna’s kitchen, where the magic of Italian traditions weaved through every dessert, leaving a sweet legacy. What makes these cookies even more special is their perfect balance of comfort and creativity—quick to prepare and a guaranteed crowd-pleaser. With a delicate, crisp exterior giving way to a luscious filling of sweet ricotta and chocolatey surprises, they evoke cherished memories while being versatile enough for any dietary preference. Ready to indulge in a slice of nostalgia? Let’s dive into this delightful recipe that’s easy to personalize and sure to win hearts!
Why are Cannoli Cookies a Must-Make?
Unforgettable Flavor: Each bite bursts with delightfully rich ricotta and sweet vanilla, creating a flavor profile that transports you to Italy.
Quick and Easy: With a simple preparation process, you can whip up these cookies in under an hour, making them perfect for spontaneous cravings.
Versatile Options: Feeling adventurous? Swap ricotta for mascarpone or mix in your favorite nuts and dried fruits for a personalized twist.
Crowd-Pleasing Treat: These cookies are bound to impress family and friends at any gathering, just as universal favorites like Chocolate Chip Cookies do—but with a delightful Italian flair.
Comforting Tradition: Each bite evokes warm memories and culinary heritage, offering a comforting treat that’s reminiscent of your favorite family recipes.
Cannoli Cookies Ingredients
For the Cookie Dough
- All-purpose flour – Provides structure for the cookies; you can use gluten-free flour for a gluten-free version.
- Baking powder – Ensures the cookies rise beautifully.
- Salt – Balances sweetness and enhances flavor.
- Unsalted butter – Adds richness and moisture to the dough.
- Granulated sugar – Sweetens the dough and contributes to its tenderness.
- Egg – Binds the ingredients and adds moisture.
- Vanilla extract – Elevates the overall flavor profile with depth.
For the Filling
- Ricotta cheese – Creates a creamy, delightful filling; swap for mascarpone for a richer experience.
- Powdered sugar – Sweetens the filling and lends a smooth texture.
- Cinnamon – Enhances the flavor; this is optional for the filling.
- Mini chocolate chips – Add sweetness and texture to the creamy filling.
For Rolling
- Granulated sugar – Coats cookies for added sweetness and a delightful crunch.
- Cinnamon – An optional spice for a tasty flavor boost in the cookie coating.
Dive into the irresistible world of Cannoli Cookies and experience a delightful treat that you’ll want to share with family and friends!
Step‑by‑Step Instructions for Cannoli Cookies
Step 1: Preheat the Oven
Begin by preheating your oven to 350°F (175°C). While the oven is heating, line a baking sheet with parchment paper, ensuring it’s ready for your delicious Cannoli Cookies. This preparation sets the stage for even baking and prevents sticking, allowing your cookies to come out perfectly crisp and golden.
Step 2: Prepare the Dry Ingredients
In a medium bowl, whisk together the all-purpose flour, baking powder, and salt. This step is crucial for incorporating air and ensuring your cookies rise beautifully. Once evenly mixed, set the bowl aside and allow the dry ingredients to settle, preparing for their delightful blend into the dough.
Step 3: Cream Butter and Sugar
In a large bowl, beat the softened unsalted butter and granulated sugar together until the mixture becomes light and fluffy, usually about 2-3 minutes. Next, add in the egg and vanilla extract, mixing until well combined. This creamy base is the backbone of your Cannoli Cookies, providing richness and structure.
Step 4: Combine Mixtures
Gradually stir the prepared dry ingredients into the wet mixture, continuing to mix until just combined. Avoid over-mixing; you want the dough to hold together without becoming tough. As the dough begins to form, you’ll see a soft, slightly sticky texture that’s perfect for shaping into cookies.
Step 5: Make the Filling
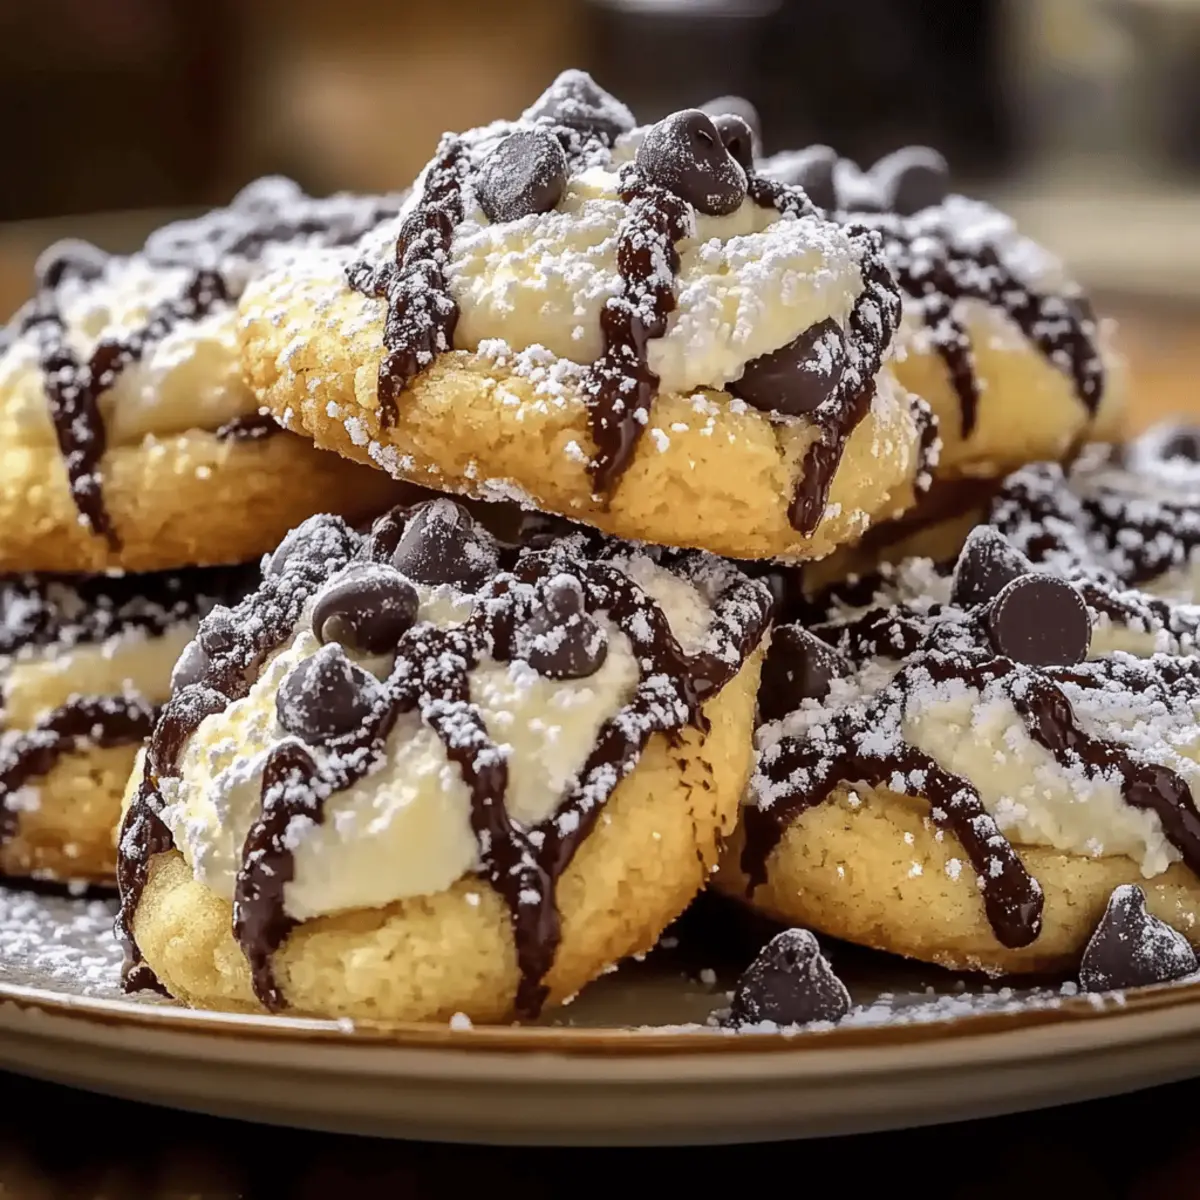
In a separate bowl, mix the ricotta cheese, powdered sugar, cinnamon (if using), and mini chocolate chips until thoroughly combined. Ensure the ricotta is well-drained to achieve a creamy filling that doesn’t run. The filling should be sweet, rich, and inviting, embodying the essence of traditional cannoli.
Step 6: Form the Cookies
Using your hands, roll the cookie dough into 1-inch balls and then coat them in a mixture of granulated sugar and cinnamon, if desired. Place them on the prepared baking sheet, flattening each ball slightly with your palm. This shaping will help them bake evenly while creating that tempting crispiness on the outside.
Step 7: Bake the Cookies
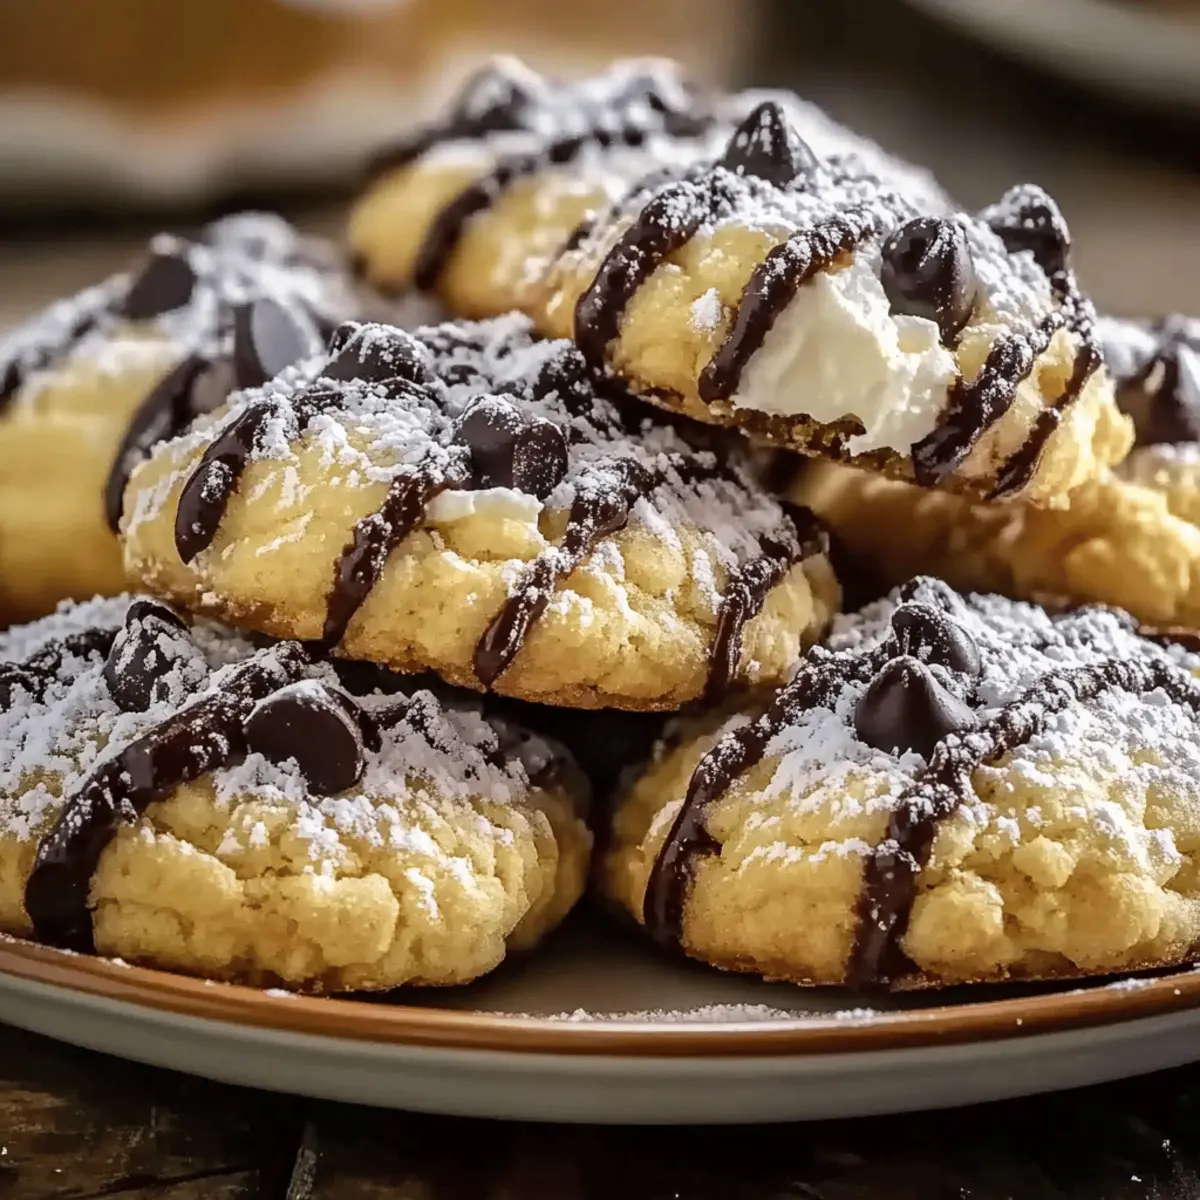
Bake the cookies in the preheated oven for about 10-12 minutes, or until the edges turn golden brown. Keep an eye on them to avoid over-baking, as you want that perfect crisp yet chewy texture reminiscent of classic Cannoli Cookies. The aroma will fill your kitchen with a delightful fragrance, signaling that they’re almost ready.
Step 8: Cool and Assemble
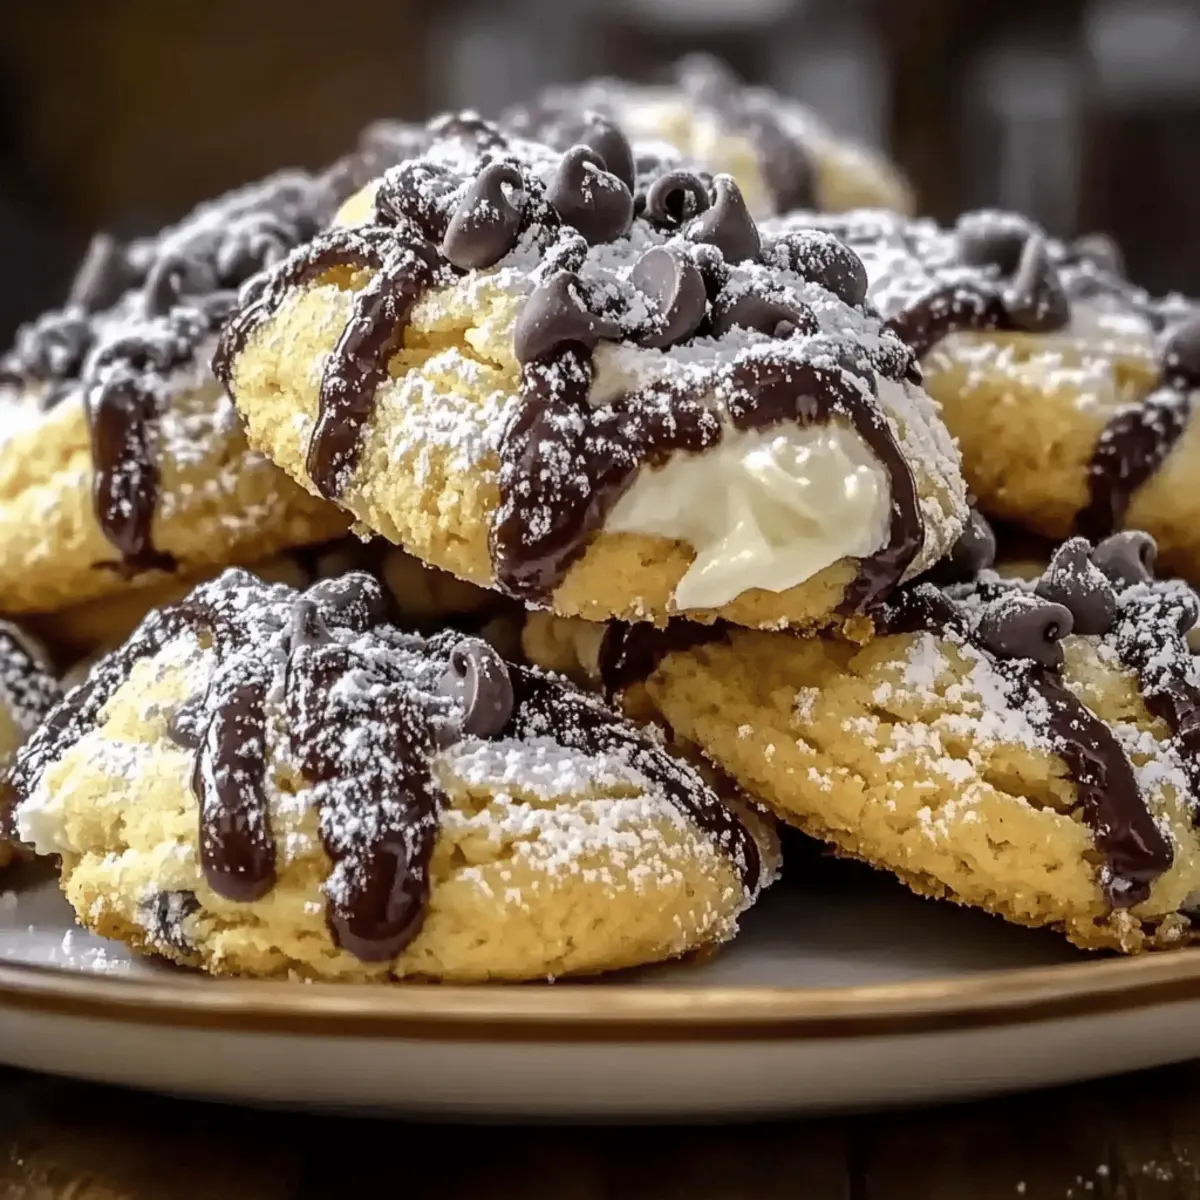
Once baked, remove the cookies from the oven and let them cool on the baking sheet for a few minutes. After that, transfer them to a wire rack to cool completely. Once cooled, sandwich a generous dollop of the ricotta filling between two cookies, creating delightful little treats that capture the essence of Italian tradition.
How to Store and Freeze Cannoli Cookies
Room Temperature: Store cookies in an airtight container at room temperature for up to 3 days. This keeps the exterior crisp while maintaining the creamy filling’s freshness.
Fridge: If you prefer, place the cookies in the fridge for up to a week. Just remember to use parchment paper between layers to prevent sticking and preserve texture.
Freezer: For long-term storage, freeze the cookies in a single layer on a baking sheet for an hour, then transfer to an airtight container. They can be frozen for up to a month.
Thawing: When ready to enjoy, thaw the Cannoli Cookies in the fridge overnight or at room temperature for a few hours for the best texture and flavor.
Make Ahead Options
These Cannoli Cookies are perfect for meal prep enthusiasts! You can prepare the cookie dough up to 24 hours in advance by rolling it into balls and refrigerating them, which helps the flavors meld beautifully. The ricotta filling can also be made up to 3 days ahead; just be sure to store it in an airtight container in the fridge to maintain its creamy texture and prevent any drying out. When you’re ready to bake, simply coat the chilled dough balls in sugar and cinnamon, flatten them slightly, and bake as directed. This way, you’ll enjoy delectable, fresh-baked Cannoli Cookies with minimal effort, perfect for busy weeknights!
Cannoli Cookies Variations & Substitutions
Feel free to explore the delightful possibilities that let you tailor these Cannoli Cookies to your taste!
- Gluten-Free: Use almond flour or a gluten-free flour blend to make the cookies suitable for gluten-sensitive friends without losing the delicious taste.
- Nut-Free: Omit the pistachios entirely or replace them with sunflower seeds for that satisfying crunch without the nuts.
- Dairy-Free: Substitute dairy ingredients with coconut cream for filling and coconut oil for butter, ensuring a creamy texture while keeping it dairy-free.
- Fruit Twist: Add a splash of orange or lemon zest to your ricotta filling for a refreshing burst of citrus flavor in every bite.
- Chocolate Lovers: Swap mini chocolate chips for dark or white chocolate chunks, intensifying the richness of the filling and adding a delightful sweetness.
- Spicy Kick: Mix in a pinch of ground nutmeg or a hint of cayenne pepper into the filling for a unique twist that warms your taste buds.
- Alternative Fillings: Experiment with mascarpone cheese for an indulgently creamy filling, or try ricotta mixed with a favorite jam for a fruity surprise.
- Cinnamon Sugar Coating: Mix a hint of nutmeg into your cinnamon sugar before rolling the cookie balls for an added warmth that echoes traditional holiday flavors.
These variations allow your Cannoli Cookies to shine with individuality while providing comfort and nostalgia just like beloved classics such as Chocolate Chip Cookies. So unleash your creativity and make these cookies truly your own!
Expert Tips for Cannoli Cookies
-
Drain Ricotta Well: Ensure ricotta cheese is thoroughly drained to prevent a runny filling, which can make your Cannoli Cookies less enjoyable.
-
Watch Baking Time: Keep an eye on the cookies as they bake; even a minute too long can result in over-browning. You want golden edges, not dark ones!
-
Uniform Size: Roll the dough into even 1-inch balls for consistent baking. This helps achieve the perfect texture across all cookies.
-
Use a Flat Surface: When flattening the dough balls, press gently with your palm or a glass for an even thickness, ensuring even baking and a delightful crunch.
-
Experiment with Flavors: Don’t hesitate to mix up the filling! Add a splash of orange zest or swap in your favorite nuts for a personal touch.
What to Serve with Cannoli Cookies
Indulge in these delightful treats with a variety of pairings that complement their creamy, sweet flavors perfectly.
- Espresso: The bold, rich flavor of espresso cuts through the sweetness, providing a delightful balance while elevating the Italian experience.
- Chocolate Gelato: Creamy, cold gelato offers a smooth contrast to the warm cookies, enhancing the overall dessert experience with its luscious chocolate richness.
- Pistachio Crumble: A sprinkle of crushed pistachios adds a delightful crunch and visual appeal, harmonizing beautifully with the flavors in the cookies.
- Fruit Salad: Fresh, juicy fruits like berries or citrus provide a refreshing, tangy note that brightens each bite, offsetting the richness of the filling.
- Limoncello Spritz: A citrusy cocktail brings a lightness to the indulgent cookies, transforming your dessert into a festive celebration perfect for any occasion.
- Powdered Sugar Dusting: A simple dusting of powdered sugar elevates presentation and adds an extra touch of sweetness that enhances the overall experience with minimal effort.
Cannoli Cookies Recipe FAQs
How do I choose the right ricotta cheese for the filling?
Absolutely! When selecting ricotta, look for a fresh, creamy variety. A well-drained ricotta will help avoid a runny filling. If possible, go for whole-milk ricotta for that rich, luscious texture. Avoid anything that appears watery or past its sell-by date, as it can affect the overall flavor and consistency.
How should I store leftover Cannoli Cookies?
You can store your Cannoli Cookies in an airtight container at room temperature for up to 3 days. If you live in a warmer climate or prefer to keep them for a bit longer, consider placing them in the fridge, where they can last up to a week. Just make sure to place parchment paper between layers to maintain their delightful texture.
Can I freeze Cannoli Cookies?
Absolutely! For freezing, arrange the cookies on a baking sheet in a single layer and place them in the freezer for about an hour. Once they’re frozen, transfer the cookies to an airtight container or freezer bag. They can stay good for up to 3 months. When you’re ready to enjoy them, simply thaw in the refrigerator overnight or let them sit at room temperature.
What if my filling is too runny?
If you find your filling is too runny, try to drain the ricotta more thoroughly next time. You can also add a little more powdered sugar to stiffen it up. If you’re in a pinch, mixing in a bit of cream cheese can help thicken it while adding a smooth texture. Just make sure the flavors harmonize well!
Are there any dietary considerations for Cannoli Cookies?
Many aspects of the Cannoli Cookies can be tailored to dietary needs! For a gluten-free option, simply substitute all-purpose flour with a gluten-free blend or almond flour. As for allergies, ensure that your ricotta and chocolate chips are free from any potential allergens. Always read labels, especially if you’re serving these to guests with specific dietary needs.
Can I customize the filling for Cannoli Cookies?
Very much so! Feel free to experiment with flavors by adding a splash of orange zest or swapping in nuts of your choice. You can even replace the mini chocolate chips with dried fruits, like raisins or cherries, for a delightful twist. The more, the merrier—make these cookies truly your own!
Irresistibly Creamy Cannoli Cookies You’ll Love to Make
Ingredients
Equipment
Method
- Preheat the Oven to 350°F (175°C) and line a baking sheet with parchment paper.
- Prepare the Dry Ingredients by whisking together flour, baking powder, and salt in a medium bowl.
- Cream together softened butter and granulated sugar until light and fluffy, then mix in egg and vanilla.
- Combine dry ingredients with the wet mixture, mixing until just combined to form a soft dough.
- Prepare the Filling by mixing ricotta, powdered sugar, cinnamon, and mini chocolate chips until well combined.
- Form the Cookies by rolling dough into 1-inch balls, coating them in sugar and cinnamon, and flattening slightly.
- Bake the Cookies for 10-12 minutes until the edges are golden brown.
- Cool on baking sheet briefly, then transfer to a wire rack. Sandwich filling between two cookies.
Leave a Reply