
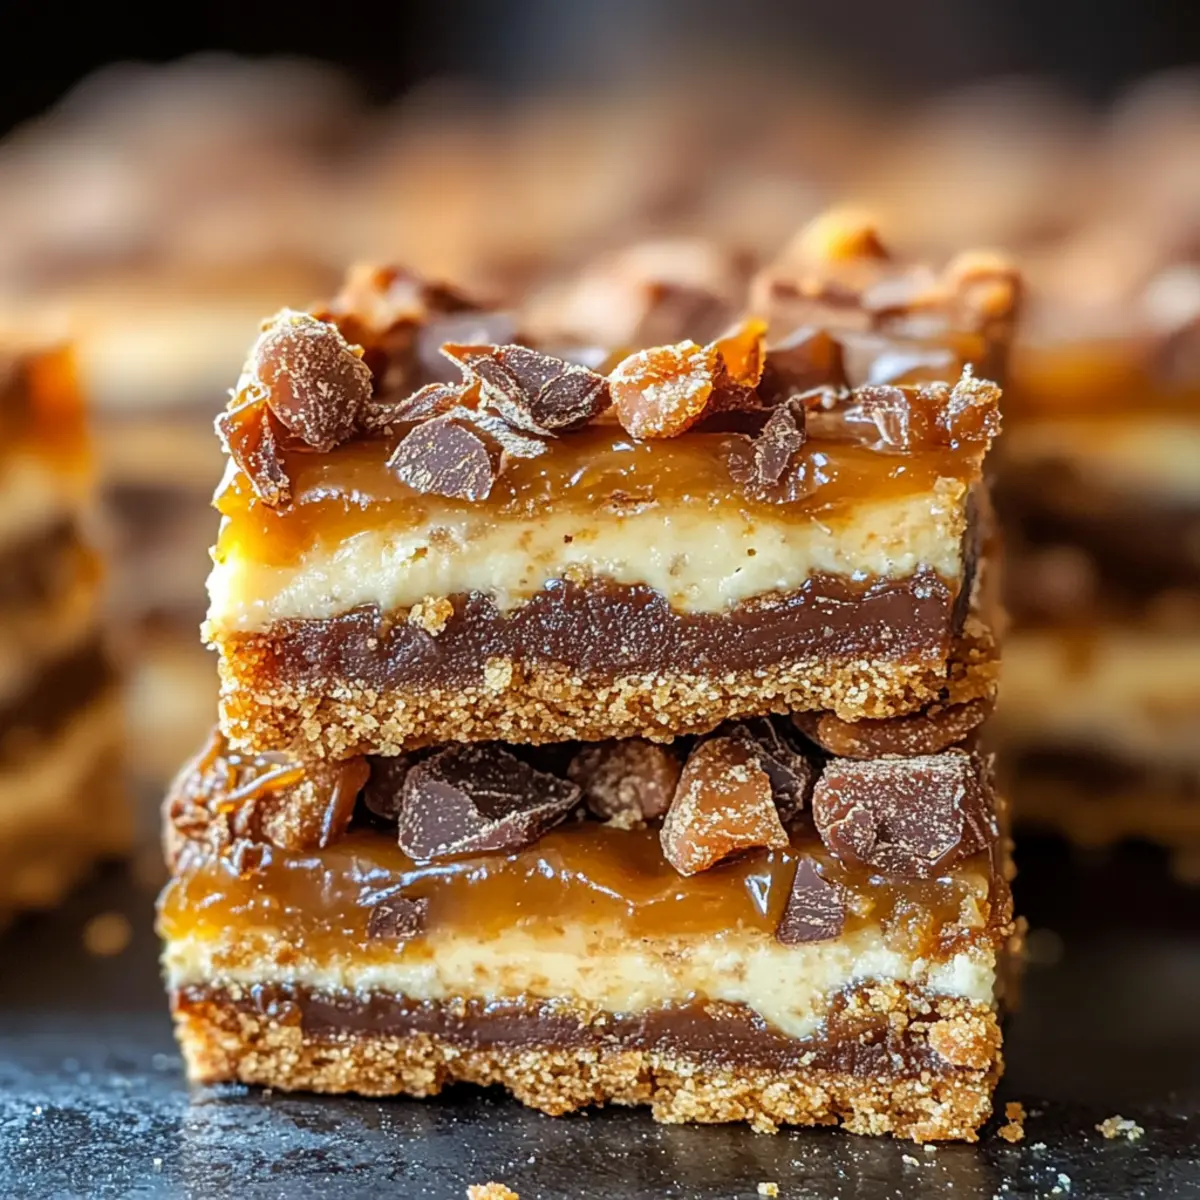
Stepping into the kitchen with the intention of whipping up a homemade treat can sometimes feel like a daunting task. But what if I told you that you can create something delicious without even turning on your oven? Meet the No-Bake Butterfinger Caramel Bars—your new go-to dessert that tantalizes the taste buds while offering maximum reward with minimal effort. These delightful treats layer crunchy Butterfinger pieces with gooey caramel and a crumbly graham cracker base. They’re not only a crowd-pleaser that can be prepped in minutes, but they’re also an excellent opportunity to involve the kids in the kitchen fun! Curious to learn how to whip up this sweet indulgence? Let’s dive in!
Why Are Butterfinger Caramel Bars Irresistible?
Simplicity: These bars require no baking, making them a breeze to prepare.
Decadent Flavor: A delightful fusion of gooey caramel and crunchy Butterfinger pieces creates a mouthwatering treat.
Perfect for Any Occasion: Whether it’s a family gathering or a casual get-together, these bars are sure to be the star of the show.
Kid-Friendly: Encourage little chefs to help assemble layers, fostering kitchen creativity.
Customize Your Way: Swap out Butterfinger for your favorite candies or use flavored graham crackers for extra flair—endless variations await! Enjoy more no-bake creations like Chocolate Oat Bars or explore flavor possibilities with Caramelized Leek Mushroom recipes.
Butterfinger Caramel Bars Ingredients
• For the Base
- Graham Crackers – A sturdy foundation that gives a deliciously crumbly texture; for a gluten-free option, use gluten-free graham crackers.
- Mini Marshmallows – Add a sweet, fluffy layer; large marshmallows can be chopped as a substitute.
• For the Filling
- Caramel Bits – The star of the show that provides that ooey-gooey goodness; look for dairy-free caramel bits for a non-dairy version.
- Milk – Helps to melt the caramel into a smooth mixture; non-dairy milk can be used for a dairy-free alternative.
- Butterfinger Bites – Brings crunch and irresistible flavor; you can use crushed Butterfinger bars or mix it up with other chocolate-peanut butter candies for variety.
• For the Topping
- Semi-Sweet Chocolate – Drizzle on top for an extra layer of chocolaty delight; dark chocolate can be used for a richer flavor.
Step‑by‑Step Instructions for Butterfinger Caramel Bars
Step 1: Prepare the Pan
Start by lining a 9×9 inch baking pan with aluminum foil, allowing some to hang over the edges for easy removal later. Lightly spray the foil with non-stick cooking spray to prevent the bars from sticking. This simple step ensures a smooth release when your delectable Butterfinger Caramel Bars are ready to be sliced.
Step 2: Layer the Base
Begin by placing a single layer of graham crackers at the bottom of the prepared pan, ensuring they fit snugly without gaps. This crumbly foundation will provide the perfect structure for your No-Bake Butterfinger Caramel Bars. Use a rolling pin or your hands to break the graham crackers to fit if needed, creating a tidy and even layer.
Step 3: Add Marshmallows
Evenly distribute the mini marshmallows over the graham cracker layer, covering every inch for that fluffy texture. Aim for a generous layer, as the marshmallows will melt and become a sweet, gooey delight once the caramel is poured on top. This step lays the groundwork for the rich flavor profile of your Butterfinger Caramel Bars.
Step 4: Melt Caramel
In a microwave-safe bowl, combine the caramel bits and milk. Microwave the mixture in 30-second intervals, stirring in between until it melts into a smooth, glossy caramel—this usually takes about 1 to 2 minutes. Keep a watchful eye to avoid scorching. Once you achieve a creamy consistency, it’s time to move on to pouring it over the marshmallows.
Step 5: Pour Caramel
Drizzle the melted caramel evenly over the marshmallows while they are still soft. Use a spatula to gently spread it out, ensuring every marshmallow is coated in the luscious caramel goodness. The warmth of the caramel will help it settle in, creating a delightful layer that enhances the texture of your Butterfinger Caramel Bars.
Step 6: Butterfinger Layer
Now it’s time to add the crushed Butterfinger pieces. Scatter them generously over the warm caramel, pressing them in slightly to ensure they stick. The crunchy texture of the Butterfinger complements the gooey caramel, offering a wonderful contrast that makes these bars utterly irresistible.
Step 7: Melt Chocolate
To finish off your Butterfinger Caramel Bars, melt the semi-sweet chocolate in a microwave-safe bowl. Use the microwave in 30-second bursts, stirring until the chocolate is fully melted and smooth, which should take about 1 to 2 minutes. This melted chocolate will be drizzled over the top to add an extra layer of decadence.
Step 8: Chill
Carefully drizzle the melted chocolate over your layered bars, creating a beautiful finish. Cover the baking pan with plastic wrap and refrigerate for about 1 hour, allowing the bars to set completely. This chilling process not only firms up the layers but also melds the flavors together beautifully.
Step 9: Slice & Serve
Once set, lift the bars out of the pan using the foil edges for easy handling. Place them on a cutting board and slice into squares or rectangles as desired. These delightful Butterfinger Caramel Bars are now ready to be enjoyed, bringing smiles and satisfaction to everyone who takes a bite!
What to Serve with No-Bake Butterfinger Caramel Bars
These delicious bars are the perfect cornerstone for a delightful dessert spread that brings smiles to any gathering.
-
Vanilla Ice Cream: A classic pairing that offers a creamy contrast to the crunchy, gooey texture of the bars. Scoop it generously alongside for a luscious treat.
-
Fresh Berries: Juicy strawberries or raspberries introduce a burst of freshness, balancing the sweetness of the Butterfinger Caramel Bars beautifully. Their natural tang provides a refreshing bite.
-
Chocolate Sauce Drizzle: Elevate the indulgence by drizzling some warm chocolate sauce over the bars. This adds an extra layer of chocolaty goodness that chocolate lovers will adore!
-
Whipped Cream: Light and airy, whipped cream offers a delightful creaminess that complements the rich flavors of the bars. Garnish a serving with a dollop for an elegant touch.
-
Coffee: A cup of freshly brewed coffee pairs beautifully with dessert. The bold flavors make for a satisfying end to the meal and bring out the caramel’s sweetness.
-
Milk: Nothing beats a classic tall glass of milk to wash down these sweet treats. It enhances the nostalgic feel of the Butterfinger flavor while being kid-approved!
-
Chocolate Milkshake: For an extra indulgent pairing, serve a chocolate milkshake alongside. This creamy and rich treat takes dessert to a whole new level!
-
Brownie Bites: Offer a variety by including mini brownie bites alongside your Butterfinger Caramel Bars. The fudginess of brownies pairs well with the crunchy textures.
-
Nutty Trail Mix: A bowl of nutty trail mix adds a crunchy element that contrasts nicely with the softness of the bars. It also brings a hint of saltiness that rounds out the sweetness.
Make Ahead Options
These No-Bake Butterfinger Caramel Bars are perfect for busy weeknights or get-togethers! You can prepare the layers up to 24 hours in advance; just assemble the graham cracker and marshmallow base and refrigerate. Melt the caramel and chocolate just before you’re ready to serve, as this maintains that delightful gooey texture. If you prefer, complete the bars entirely and refrigerate them for up to 3 days. To keep them fresh, tightly cover the baking pan with plastic wrap. When you’re ready to enjoy, simply slice them into squares, and you’ll have delicious homemade treats that are just as indulgent as the day you made them!
How to Store and Freeze Butterfinger Caramel Bars
-
Room Temperature: Store the bars in an airtight container at room temperature for up to 2-3 days. Make sure they are well-wrapped to prevent them from drying out.
-
Fridge: Keep the bars in the refrigerator for up to 3-4 months. Use an airtight container to maintain freshness and prevent odor absorption; this also helps keep the caramel gooey.
-
Freezer: For long-term storage, freeze the Butterfinger Caramel Bars for up to a year. Wrap each bar individually in plastic wrap or foil before placing them in a freezer-safe bag to avoid freezer burn.
-
Reheating: When ready to enjoy, simply remove from the freezer and let them sit at room temperature for about 10-15 minutes. This softens the caramel and makes for a delightful treat!
Expert Tips for Butterfinger Caramel Bars
- Temperature Matters: Allow the bars to sit at room temperature for a few minutes before serving; this softens the caramel and enhances the flavor.
- Pan Preparation: Always line and spray the pan to prevent sticking. A well-prepared pan makes cutting the Butterfinger Caramel Bars much easier.
- Storage Tips: Cover the pan tightly while refrigerating to avoid unwanted odors. Wrap bars individually for freezer storage; this preserves freshness for months.
- Layer Evenly: When pouring caramel, make sure to spread it evenly over the marshmallows; this ensures every bite of your Butterfinger Caramel Bars is decadent.
- Experiment & Customize: Don’t be afraid to try different candies or flavored graham crackers. Each variation can create a unique twist on these treats!
Butterfinger Caramel Bars Variations
Feel free to get creative with your No-Bake Butterfinger Caramel Bars to customize them just the way you like!
- Candy Swap: Use chopped Snickers or Reese’s for a different flavor profile and delightful crunch. This twist opens up a world of flavors that can cater to everyone’s favorites.
- Gluten-Free: Substitute traditional graham crackers with gluten-free versions to ensure everyone can indulge without worry. It’s amazing how little changes can make these treats accessible for all!
- Nutty Addition: Incorporate chopped nuts like pecans or almonds to add crunch and a hint of nutty flavor. This not only enhances texture but also packs a healthy punch!
- Choco-Lovers: Swap semi-sweet chocolate for dark chocolate or even milk chocolate for varying richness and sweetness levels. Dive into a realm of chocolate bliss!
- Make it Spicy: Add a pinch of cayenne or chili powder to the caramel for a surprising kick. This variation not only excites your palate but also balances the sweetness with a warm twist.
- Caramel Alternative: Try using dulce de leche instead of caramel bits for a richer, more complex flavor. This ensures every bite is decadent and utterly irresistible.
- Fruit Layer: Incorporate dried fruits like cranberries or raisins for a chewy, fruity twist amidst the crunchy goodness. The brightness of the fruit beautifully contrasts the sweetness.
- Flavored Graham Crackers: Experiment with flavored graham crackers, such as chocolate or cinnamon, to elevate the base’s flavor profile. A simple swap that can take your dessert to the next level!
Remember, the beauty of these Butterfinger Caramel Bars lies in their versatility. For more delectable and effortless treats, be sure to check out our Chocolate Oat Bars or give the divine flavors in our Caramelized Leek Mushroom a try!
Butterfinger Caramel Bars Recipe FAQs
What kind of graham crackers should I use for Butterfinger Caramel Bars?
You can use regular graham crackers or opt for gluten-free graham crackers for a gluten-free version. If you’re feeling adventurous, flavored graham crackers like chocolate or honey can enhance the base flavor, adding a delightful twist to your bars!
How should I store leftover Butterfinger Caramel Bars?
For short-term storage, keep the bars in an airtight container at room temperature for up to 2-3 days. If you want them to last, the refrigerator is best, where they can stay fresh for 3-4 months. Just be sure to wrap them tightly to prevent any odors from seeping in!
Can I freeze Butterfinger Caramel Bars?
Absolutely! To freeze them, wrap each bar individually in plastic wrap or aluminum foil and place them in a freezer-safe bag. They can be frozen for up to a year. When you’re ready to indulge, let them sit at room temperature for about 10-15 minutes to soften the caramel before enjoying!
What should I do if my caramel is too thick or doesn’t melt properly?
If your caramel seems too thick, it might not have enough liquid. When you’re melting caramel bits, keep adding milk a tablespoon at a time until you achieve a smooth consistency. Be sure to microwave in 30-second intervals, stirring frequently so it doesn’t scorch.
Are Butterfinger Caramel Bars safe for those with nut allergies?
While Butterfinger itself is peanut-based, you can customize the recipe to accommodate nut allergies. Use alternative candies like chocolate-covered caramel candies or even dried fruits for a flavorful substitute. Always check labels to ensure that the specific candies you choose are free from cross-contamination with nuts.
How long will the bars retain their freshness when stored in the freezer?
When properly wrapped and stored in the freezer, your Butterfinger Caramel Bars can maintain their delightful flavor and texture for up to a year. Just remember to label the bags with the date so you can enjoy them at their best!
Irresistible Butterfinger Caramel Bars You Can Make Today
Ingredients
Equipment
Method
- Start by lining a 9x9 inch baking pan with aluminum foil, allowing some to hang over the edges for easy removal later. Lightly spray the foil with non-stick cooking spray.
- Begin by placing a single layer of graham crackers at the bottom of the prepared pan, ensuring they fit snugly without gaps.
- Evenly distribute the mini marshmallows over the graham cracker layer, covering every inch for that fluffy texture.
- In a microwave-safe bowl, combine the caramel bits and milk. Microwave in 30-second intervals, stirring until melted.
- Drizzle the melted caramel evenly over the marshmallows, spreading it out to coat all of them.
- Scatter the crushed Butterfinger pieces generously over the warm caramel, pressing them in slightly.
- Melt the semi-sweet chocolate in a microwave-safe bowl in 30-second bursts until smooth.
- Carefully drizzle the melted chocolate over your layered bars. Cover with plastic wrap and refrigerate for about 1 hour.
- Once set, lift the bars out of the pan using the foil edges. Slice into squares or rectangles as desired.
Leave a Reply