
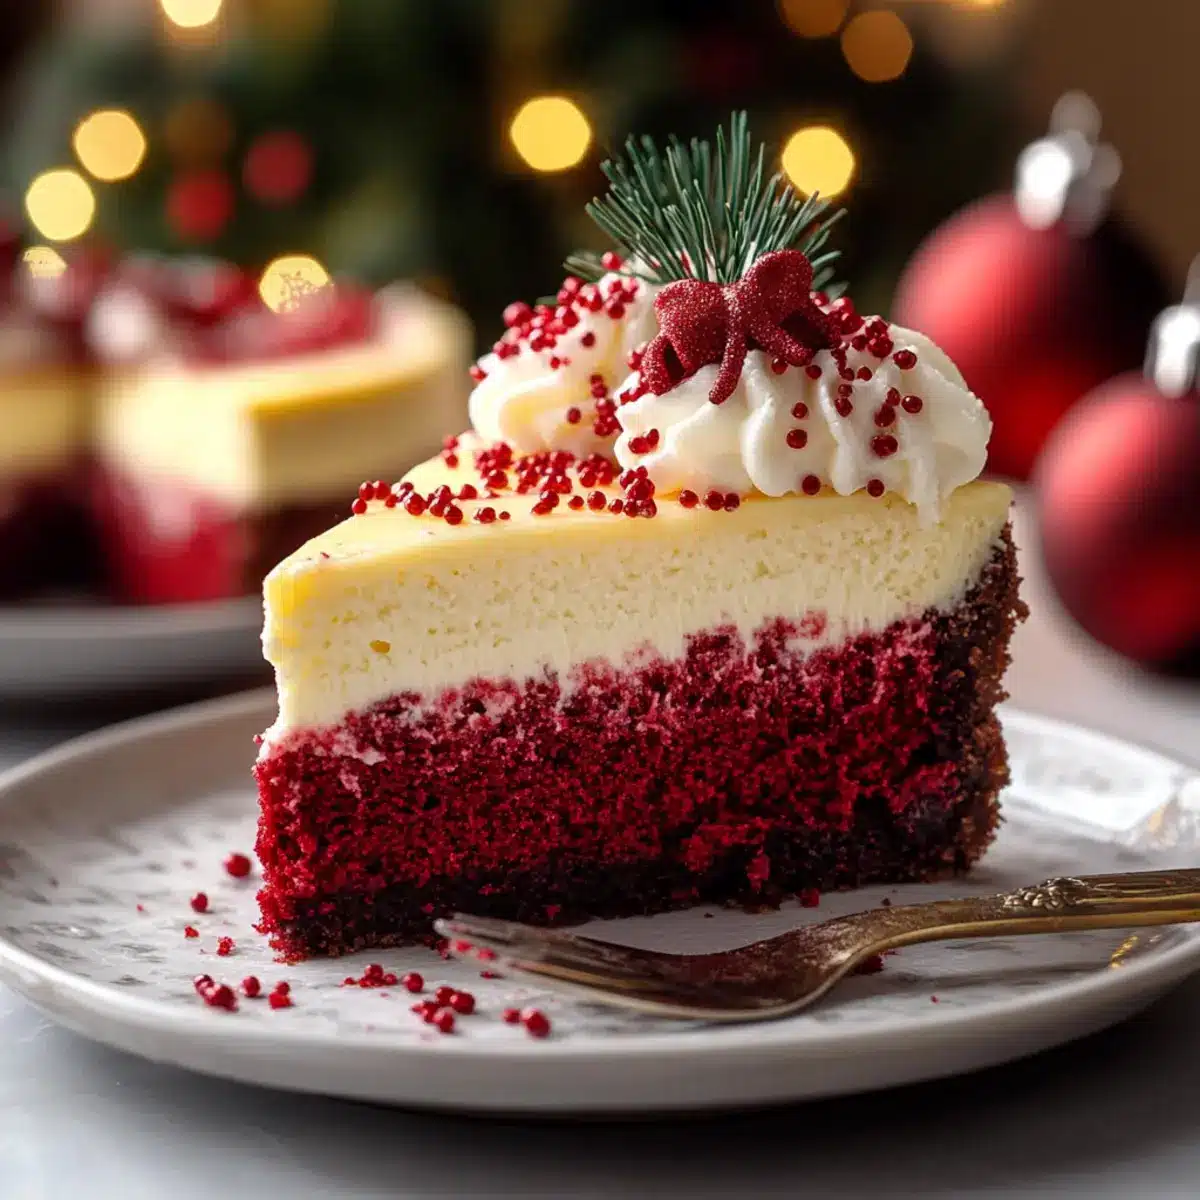
As I stirred the vibrant red batter, a wave of festive spirit enveloped my kitchen, filling it with the promise of holiday cheer. This Delicious Christmas Red Velvet Cheesecake Recipe is more than just a dessert; it’s a delightful centerpiece for your seasonal gatherings. With its creamy texture and rich cocoa hint, it strikes the perfect balance between indulgence and celebration. What I love most is how quickly it comes together—ideal for those less-than-stressful holiday prep days—and it’s bound to be a crowd-pleaser that keeps everyone coming back for seconds! So why not elevate your dessert game this season? Ready to dive into the velvety goodness? Let’s get baking!
Why is this cheesecake so special?
Creamy, Decadent Texture: Each slice boasts a richness that melts in your mouth, perfectly balancing the festive flavors.
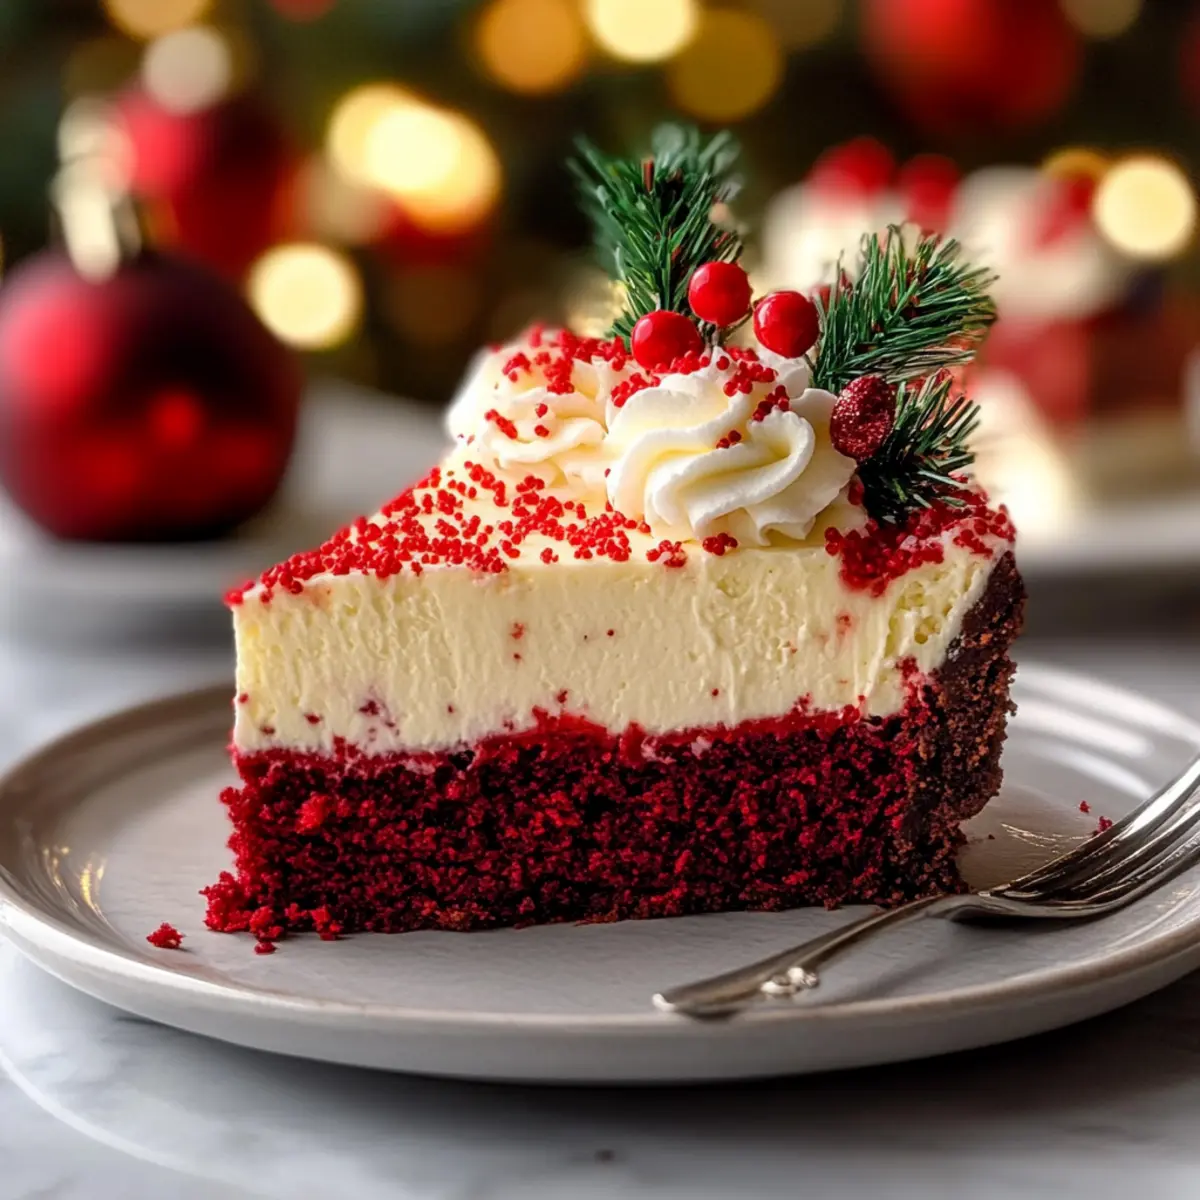
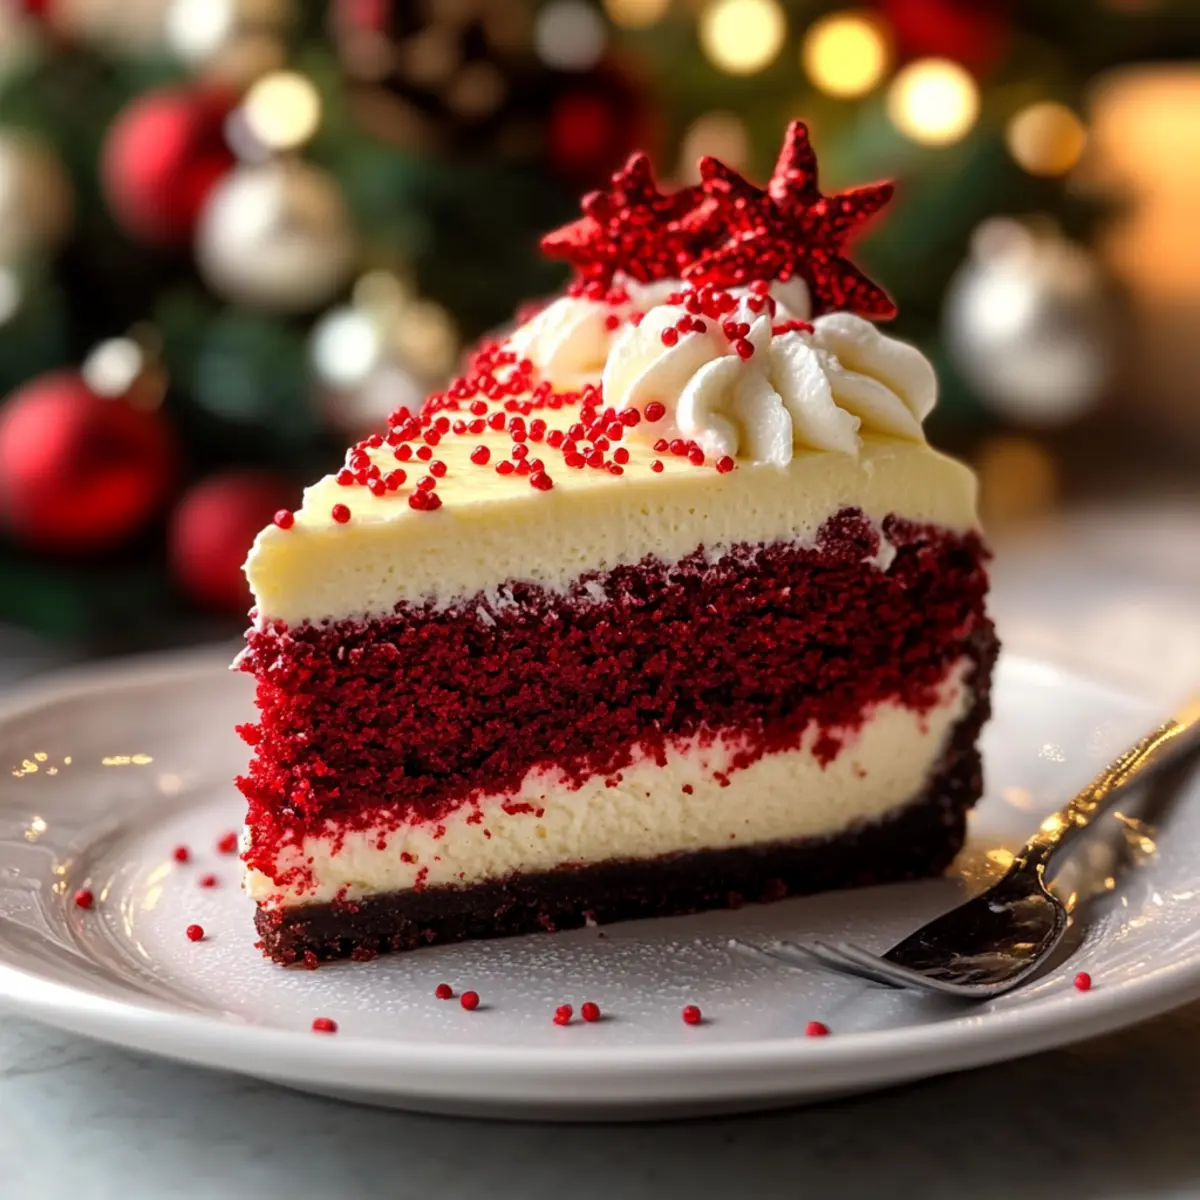
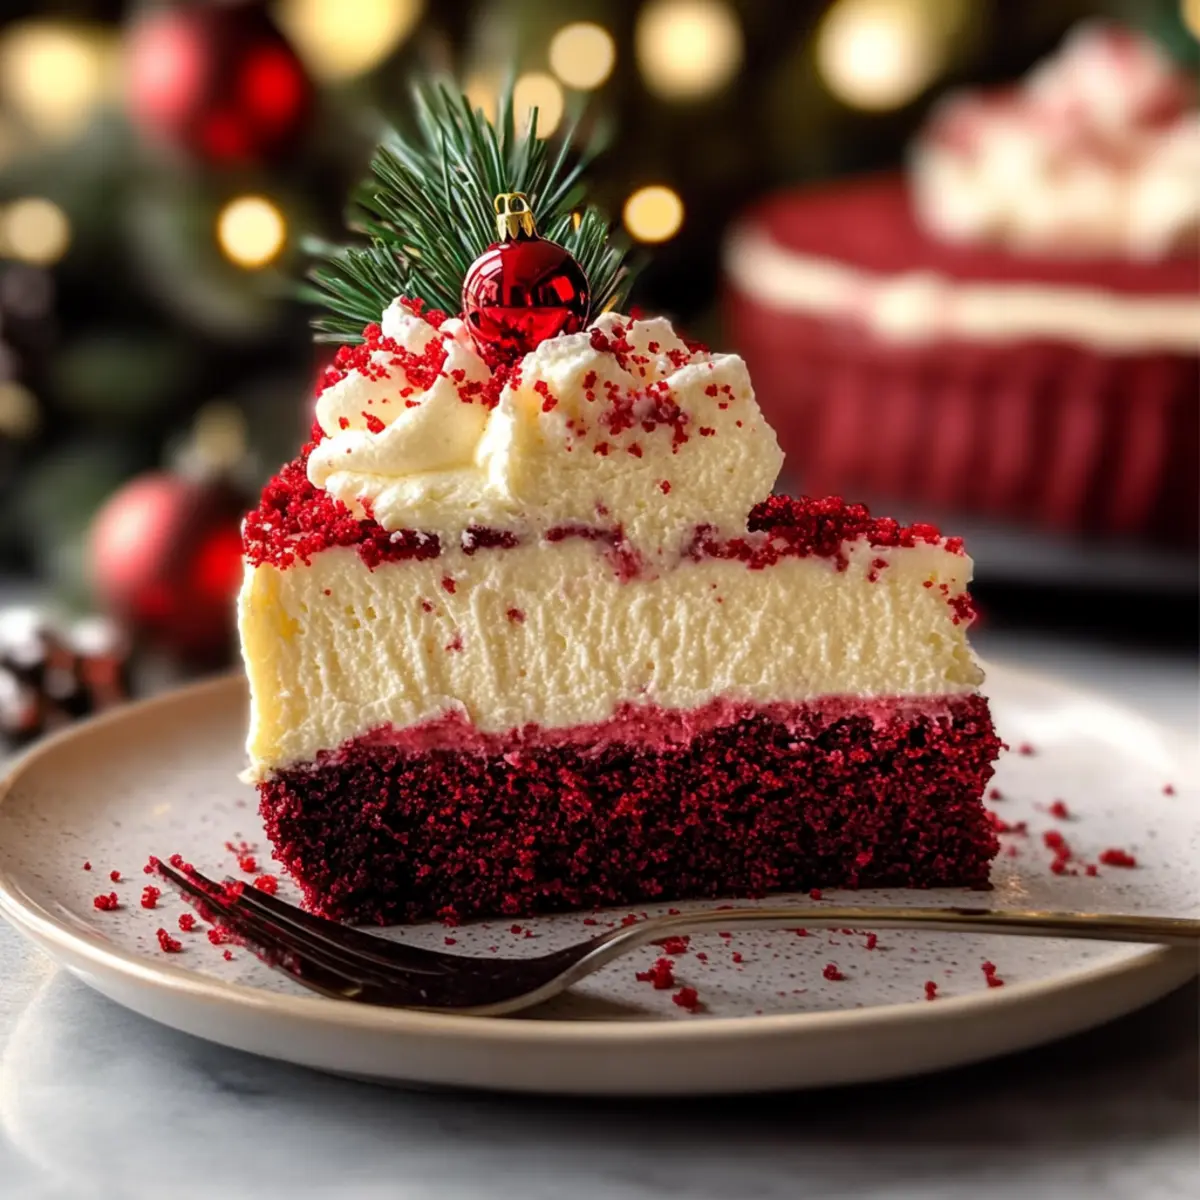
Vibrant Visual Appeal: The eye-catching red hue makes it an excellent centerpiece for holiday gatherings, instantly elevating your dessert table.
Easy to Make: With simple instructions, even novice bakers can impress their friends and family, making it accessible to anyone.
Perfect for Sharing: This cheesecake serves a crowd, ensuring each guest experiences the joy it brings, just like my Ground Beef Bulgogi dish does at dinner parties!
Versatile Flavors: You can easily swap out ingredients for a personalized touch; consider adding chocolate chips for extra delight.
This Christmas Red Velvet Cheesecake is not just dessert; it’s a festive celebration on a plate!
Delicious Christmas Red Velvet Cheesecake Ingredients
• Here are all the ingredients you’ll need to whip up this heavenly festive treat!
For the Cheesecake Filling
• Cream Cheese – 1 cup, must be softened for that creamy texture essential to a perfect cheesecake.
• Powdered Sugar – 1 cup, sweetens and achieves that smooth consistency every cheesecake craves.
• Heavy Cream – 1/2 cup, adds luxurious richness and stability to the filling.
• Vanilla Extract – 1 tsp, enhances the flavor; feel free to switch it up with other flavored extracts.
• Sour Cream – 1/2 cup, contributes to the creaminess and tang; Greek yogurt makes a great substitute!
For the Red Velvet Base
• Red Velvet Cake Mix – 1 package, the primary flavor base that brings festive cheer; any flavored cake mix can also work.
• Unsalted Butter – 1/2 cup, softened, it adds richness and moisture to the batter.
• Cocoa Powder – 1/4 cup, for that hint of chocolatey goodness; unsweetened is preferred.
• Milk – 1/4 cup, ensures the batter has that perfect texture—whole milk is best here!
Optional Add-Ins
• Chocolate Chips – 1/2 cup, optional, for that extra burst of chocolate flavor and delightful texture.
• Red Sprinkles – For decoration, they add a festive touch; you can skip them if you’d like a simpler look.
This Delicious Christmas Red Velvet Cheesecake Recipe is straightforward and sure to impress—get ready to indulge!
Step‑by‑Step Instructions for Delicious Christmas Red Velvet Cheesecake Recipe
Step 1: Preheat the Oven
Begin by preheating your oven to 325°F (160°C). This ensures a perfectly baked Delicious Christmas Red Velvet Cheesecake. While the oven heats, prepare your bakeware by greasing a springform pan to prevent sticking later.
Step 2: Mix the Cheesecake Filling
In a large mixing bowl, combine the softened cream cheese with 1 cup of powdered sugar. Using an electric mixer, blend them together on medium speed until the mixture is smooth and creamy. This should take about 3 minutes, creating a luscious base for your cheesecake filling.
Step 3: Add Cream and Flavorings
Next, gradually pour in the 1/2 cup of heavy cream, 1 teaspoon of vanilla extract, and 1/2 cup of sour cream. Continue mixing on low speed until everything is well combined and smooth. This step contributes richness and depth to your Delicious Christmas Red Velvet Cheesecake, creating a velvety texture.
Step 4: Prepare the Red Velvet Base
In a separate bowl, combine the red velvet cake mix, 1/2 cup of softened unsalted butter, 1/4 cup of cocoa powder, and 1/4 cup of milk. Mix using a spatula until smooth and lump-free, ensuring a rich, delicious flavor profile. This red velvet mix serves as the backbone of your cheesecake.
Step 5: Combine the Mixtures
Carefully fold the cheesecake filling into the red velvet mixture using a rubber spatula. Be gentle to maintain the airy texture. Mix until just combined, making sure not to overmix, as that can lead to cracks in your finished Delicious Christmas Red Velvet Cheesecake.
Step 6: Pour into the Pan
Pour the combined batter into the prepared springform pan, spreading it evenly. The consistency should be thick but pourable. To ensure even baking, gently shake the pan side to side, allowing any air bubbles to escape from the batter.
Step 7: Bake the Cheesecake
Place the pan in the preheated oven and bake for approximately 50 minutes. The cheesecake is done when the center is slightly jiggly but set, indicating it will firm up as it cools. Avoid overbaking to ensure a creamy texture.
Step 8: Cool Down
Once baked, turn off the oven and leave the cheesecake inside, slightly ajar, for 1 hour. This gentle cooling method helps prevent cracking by gradually decreasing the temperature. The cheesecake will set nicely during this time, creating the perfect texture.
Step 9: Chill in the Refrigerator
After cooling, transfer the cheesecake to the refrigerator for at least 4 hours, but overnight is best. This chilling time allows the flavors to meld and ensures the cheesecake is firmly set for slicing. The anticipation will only make the first bite sweeter.
Step 10: Decorate and Serve
Before serving, sprinkle the top with festive red sprinkles for a holiday touch. Pair your Delicious Christmas Red Velvet Cheesecake with fresh berries, whipped cream, or a drizzle of chocolate sauce for an indulgent dessert experience. Each slice will be as delightful as it looks!
Make Ahead Options
These Delicious Christmas Red Velvet Cheesecake can be a real time-saver during the busy holiday season! You can prepare the cheesecake batter and store it in the refrigerator for up to 24 hours before baking, allowing the flavors to infuse beautifully. Additionally, the fully baked cheesecake can be chilled for up to 3 days in advance; simply cover it tightly with plastic wrap to maintain its creamy texture. When you’re ready to serve, just decorate it with sprinkles and any desired toppings, allowing it to come to room temperature for about 30 minutes for the best taste experience. This way, you can enjoy the festive flavors of your Christmas Red Velvet Cheesecake with minimal last-minute effort!
What to Serve with Delicious Christmas Red Velvet Cheesecake?
Indulging in this festive creation is just the beginning; let’s complete your holiday spread!
-
Fresh Berries: Refreshing and tart, berries like strawberries and raspberries contrast beautifully with the rich cheesecake, adding a burst of flavor.
-
Whipped Cream: Light and airy, whipped cream enhances the cheesecake’s creaminess while balancing the sweetness, making each bite a delightful experience.
-
Chocolate Sauce: A drizzle of warm chocolate sauce adds a luxurious touch that pairs perfectly with the cocoa notes in the cheesecake.
-
Spiced Hot Cocoa: Serve a steaming cup alongside for a cozy pairing, wrapping everyone in festive warmth as they enjoy dessert.
-
Gingerbread Cookies: The spiced, slightly crunchy texture of gingerbread cookies brings a festive flair that contrasts nicely with the smooth cheesecake.
-
Pecan Pie: This classic holiday dessert complements the rich cheesecake with its caramelized nutty flavor, creating a delightful duet on your dessert table.
-
Peppermint Bark: A little crunch and a hint of mint from peppermint bark can add a refreshing palate cleanser between bites of the rich cheesecake.
-
Eggnog: This creamy beverage, with its festive spices, creates a wonderfully nostalgic pairing that warms the heart during holiday celebrations.
Elevate your gathering with these perfect companions to the unforgettable delicious Christmas red velvet cheesecake!
Expert Tips for a Delicious Christmas Red Velvet Cheesecake
Room Temperature Ingredients: Ensure all ingredients, especially cream cheese and eggs, are at room temperature for a smoother batter. This helps create a creamy texture in your Delicious Christmas Red Velvet Cheesecake.
Avoid Overmixing: Mix until just combined to prevent cracks in your cheesecake. Overmixing can incorporate too much air, which may lead to unsightly cracks when baking.
Cooling Technique: Let the cheesecake cool gradually in the oven with the door ajar after baking. This helps prevent cracking by allowing the temperature to drop slowly.
Proper Storage: Store any leftovers in an airtight container for up to five days in the refrigerator. For longer storage, freeze slices for up to three months; just remember to thaw in the refrigerator before enjoying again.
Baking Pans Matter: Use a high-quality springform pan to make removing the cheesecake easier. Proper greasing beforehand is essential for a hassle-free release.
These tips will help ensure your Delicious Christmas Red Velvet Cheesecake turns out perfectly!
How to Store and Freeze Delicious Christmas Red Velvet Cheesecake
Fridge: Store leftovers in an airtight container for up to 5 days. This keeps your cheesecake fresh and preserves its creamy texture.
Freezer: You can freeze individual slices for up to 3 months. Wrap each slice tightly in plastic wrap and place them in a freezer-safe container.
Thawing: To enjoy again, simply transfer the cheesecake slices from the freezer to the refrigerator for several hours or overnight before serving.
Reheating: This cheesecake is best enjoyed cold, so skip the reheating. Just add toppings like fresh berries or whipped cream when ready to serve!
Delicious Christmas Red Velvet Cheesecake Variations
Feel free to let your creativity shine with these delightful twists perfect for your festive dessert!
-
Dairy-Free: Substitute cream cheese and sour cream with dairy-free alternatives like cashew cream for a creamy yet considerate option.
-
Low-Sugar: Replace powdered sugar with a sugar alternative like erythritol to craft a dessert that’s kinder to your waistline.
-
Nutty Crunch: Fold in 1/2 cup of crushed walnuts or pecans for an unexpected crunchy texture that contrasts beautifully with the creaminess.
-
Choco-Lover’s Dream: Add 1/2 cup of mini chocolate chips to the batter for a chocolaty surprise that deepens the flavor profile. Who could resist a chocolate lover’s delight?
-
Spice it Up: Incorporate 1 teaspoon of cinnamon or nutmeg into the red velvet mix for a warm, spiced flavor that enhances the holiday spirit beautifully!
-
Fruit Fusion: Toss in 1/2 cup of pureed raspberries or cranberries for a refreshing, tart twist that balances the richness of the cheesecake.
-
Cake Mix Swap: Try using a flavored cake mix like chocolate or caramel for a unique take, instantly transforming your cheesecake into something new.
-
Layered Delight: Create a layered version by alternating layers of red velvet batter with a white chocolate cheesecake layer for an Instagram-worthy dessert that will amaze your guests!
No matter how you choose to customize your Delicious Christmas Red Velvet Cheesecake, just remember that the heart of a great dessert always lies in sharing it with loved ones. If you’re looking for more exciting cheesecake options, try my festive Red Velvet Oreo or Pistachio Mushroom Cheesecake recipes—both sure to impress your holiday guests!
Delicious Christmas Red Velvet Cheesecake Recipe FAQs
What should I look for when selecting a red velvet cake mix?
Absolutely! When choosing a red velvet cake mix, look for one that has a rich red color and is made with quality cocoa powder. Check the label for added ingredients—some mixes may have more artificial flavors than others. A good cake mix will ensure your cheesecake has that signature taste and festive appeal.
How do I store leftover cheesecake properly?
To keep your Delicious Christmas Red Velvet Cheesecake fresh, store it in an airtight container in the refrigerator for up to 5 days. I recommend covering your cheesecake with plastic wrap if it’s not in a container, ensuring it’s sealed tightly to prevent it from absorbing any odors in the fridge.
Can I freeze this cheesecake? If so, how?
Absolutely! To freeze your Delicious Christmas Red Velvet Cheesecake, first, slice it into individual portions. Wrap each slice tightly in plastic wrap and then place them in a freezer-safe container. It can be frozen for up to 3 months. When you’re ready to enjoy it again, just move the slices to the fridge for several hours or overnight to thaw slowly.
Why did my cheesecake crack during baking?
Very! Cheescakes can crack for a few reasons. The most common culprit is overmixing the batter, which can introduce too much air. Additionally, if the oven temperature is too high, the external edges of the cheesecake may bake too quickly, resulting in cracks. To prevent this, mix just until combined and consider lowering the baking temperature slightly. Employing the gradual cooling method in the oven also helps keep cracks at bay.
Is this cheesecake suitable for people with specific dietary restrictions?
While the Delicious Christmas Red Velvet Cheesecake is delicious, it’s important to note it contains gluten due to the cake mix, and dairy from the cream cheese and heavy cream. For those with gluten sensitivities, consider using a gluten-free cake mix. If you’re looking for dairy-free options, there are cream cheese alternatives made from nuts or soy, as well as non-dairy heavy cream.
Can I use a different flavor of cake mix for this recipe?
The more the merrier! You can absolutely experiment with different flavored cake mixes! Vanilla or chocolate mix can provide a variety of tastes while creating a unique cake that suits your preferences. Just be mindful that the overall color and flavor profile will change, but this could lead to some delicious new concoctions!
Irresistibly Delicious Christmas Red Velvet Cheesecake Recipe
Ingredients
Equipment
Method
- Preheat your oven to 325°F (160°C) and grease a springform pan.
- Mix softened cream cheese with powdered sugar until smooth and creamy using an electric mixer.
- Gradually add heavy cream, vanilla extract, and sour cream, mixing on low speed until well combined.
- In a separate bowl, combine red velvet cake mix, unsalted butter, cocoa powder, and milk; mix until smooth.
- Gently fold the cheesecake filling into the red velvet mixture until just combined.
- Pour the batter into the greased springform pan, spreading it evenly.
- Bake for approximately 50 minutes, until the center is slightly jiggly but set.
- Turn off the oven and leave the cheesecake inside with the door ajar for 1 hour to cool.
- Transfer cheesecake to the refrigerator for at least 4 hours, or overnight for best results.
- Before serving, decorate with red sprinkles and serve with berries or whipped cream.
Leave a Reply